

Converters.TV ID 927 Operation Manual
LED Multi-Screen SDI
Video Wall - ID# 927
Operation Manual

Introduction
Features
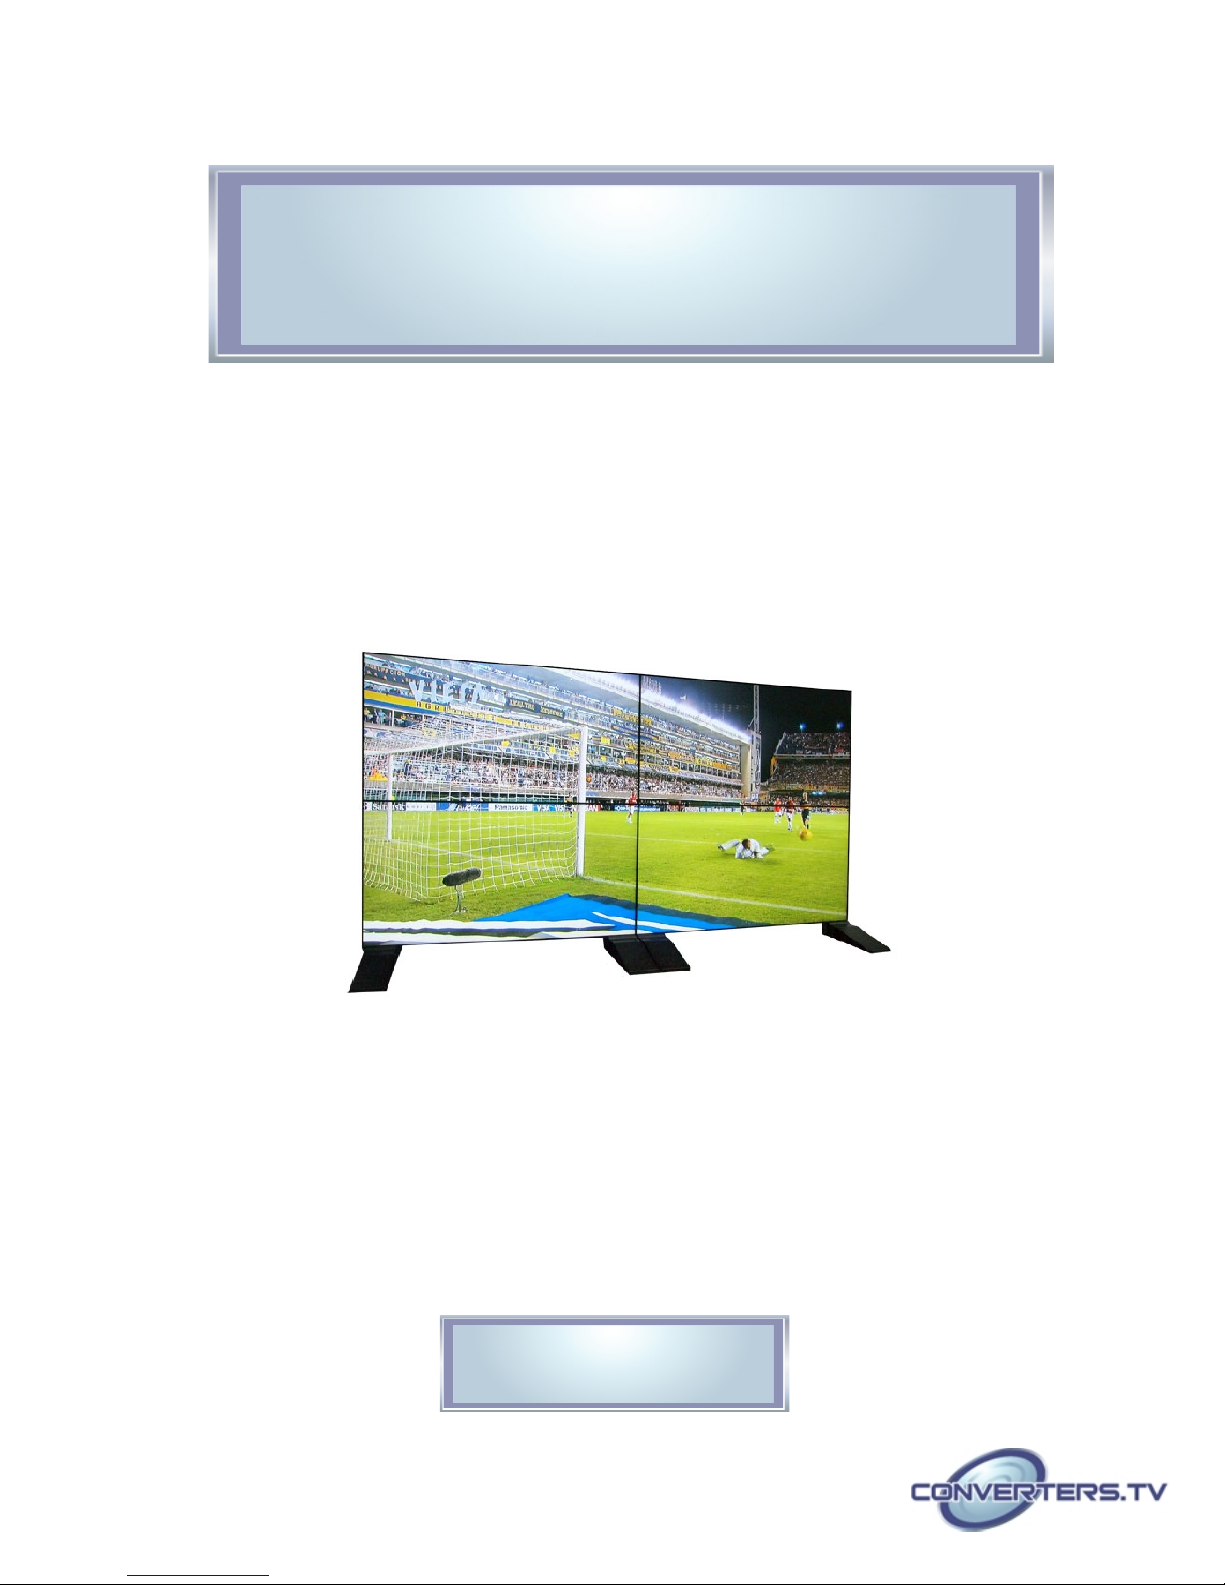
The LED Multi-Screen SDI Video W all allows SDI sources to be shown on
multiple 1366x768 LED panels. Controlled using RS-232 and an IR remote this
video wall has a thin bezel that is just 6mm wide, which allows you to clearly
see your desired video. Including HDMI, SDI and VGA input sources in multiple
combinations like 2x2 (four displays), 3x3 (nine displays) and 4x4 (16 displays)
this system supports input resolutions from 480i/p to 720p & 1080i/p. Thanks to
RS-232 control advanced and professional users can control the displays and
their settings through a PC/Notebook, this system also includes features like
SDI loop through and split screen. From wide 178* viewing angles (horizontal
and vertical lines) and supporting individual picture settings as well as O/U
scan adjustment on this video wall is a great way to show SDI sources to a
large audience.
● 47” LED Display
● Display Resolution = 1366 x 768
● Response Time = 12ms
● Brightness = 700cd/m2
● Contrast Ratio = 1400 : 1
● Viewing Angle = 178° horizontal / vertical
● Input = VGA x 1, IR x 1, HDMI x 2, RS-232 x 2, SDI x 2
● HDTV Video Timings = 480i/p, 720p, 1080i/p
● SDI Video Timings = 480i / 576i / HD-SDI-720p / 1080i / 3G-SDI-1080p
● VGA Video Timings = Up to SXGA (1280 x 1024) and 1920 x 1080
● Power = AC 100~240V AC / 5V(Max) 50~60Hz
● Power Consumption = 140W / 1W Standby
● Optional Accessories = Wall Mount Gear, Display Stand
Applications
● Support 2x2, 3x3, 4x4, and 5x5 video wall settings
● Smart control over RS-232 / UART channel, set up on one single screen to set
up all screens
● Support M x N such as 2 x 3 or 1 x 3 video wall settings
● Built-in frame-shifting feature for the optimization of video display
● Supper-slim frame: 4.2+2.7mm
● Support OSD (On Screen Display) operation
● Support high definition SDI video interface
● Versatile applications: department stores, chain stores, stock broker lobbies,
airport, train / bus stations, and digital signage installation
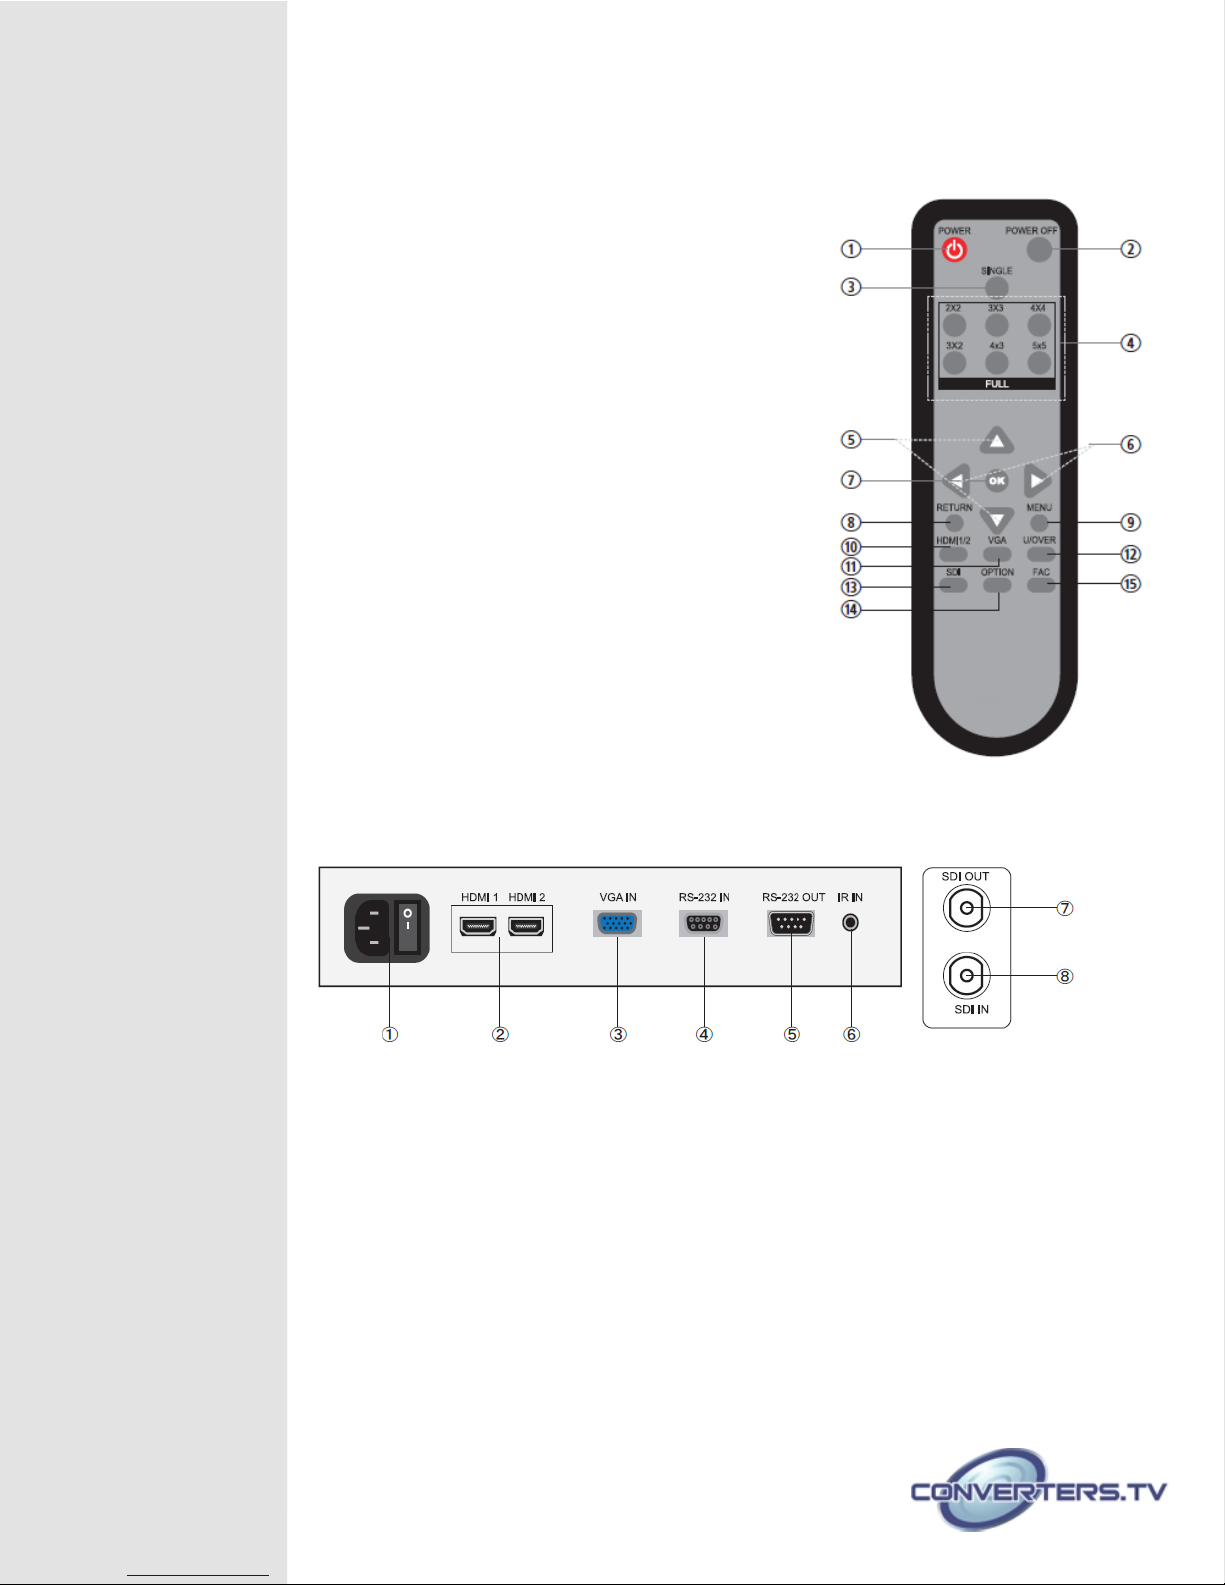
Remote Control
① POWER: Turn on the power of the monitor.
② POWER OFF: Turn off the power of the monitor.
③ SINGLE: Press this button to switch the output image
to single display per monitor.
④ 2x2/3x3/4x4/5x5:Press these buttons to switch the
output image to 2x2/3x3/4x/3x2/4x3 or 5x5 displays per
image.
⑤ ▲/▼: Adjust or select OSD menu up and down.
⑥ ◄/►: Adjust or select OSD menu left and right.
⑦ OK: Press this button to confirm the selection.
⑧ RETURN: Exit the OSD menu or the selection.
⑨ MENU: Display the OSD (On Screen Display) menu.
⑩ HDMI1/2: Press this hot key to switch the input to
HDMI I/2.
⑪ VGA: Press this hot key to switch the input to VGA.
⑫ U/OVER: Press this key to adjust the screen when the
image is underscan or overscan.
⑬ SDI: Press this hot key to switch the input to SDI.
⑭ OPTION: Press this key to switch to the special
setting of the display image set by the factory design.
⑮ FAC:Press this key to enter into the factory mode.
This is not a normal entry therefore, do not press this key
unless it is advised and guide by the special technician.
Signal Terminals
Input/Output
① AC IN: Connect the power cord with the power adaptor included in the package
and plug it into the wall outlet for the power supply.
② HDMI IN 1/2: Connect the HDMI cable from DVD/Blu-ray player for signal input.
③ VGA IN: Connect the D-Sub 15pin cable from the PC/NB device or with RGB to D-
Sub adaptor from the AV device for video signal input.
④ RS-232 IN: Connect the D-Sub 9pin cable from PC/NB device for RS-232 control.
⑤ RS-232 OUT: Connect the D-Sub 9pin cable to the next video/TV wall
panel's(suggest using the same family type) RS-232 IN for unit signal distribution and
displaying.
⑥ IR in: Connect the IR blaster included in the package for receiving remote control's
signal of the device.
⑦ SDI OUT: Connect the SDI cable to the next video/TV wall panel's(suggest using
the same family type) SDI IN for unit signal distribution and displaying.
⑧ SDI IN: Connect the SDI cable from the SDI source equipment for signal input.
 Loading...