

Converters.TV 762 Operation Manual
Wireless PC to TV
- ID# 762
Operation Manual

Introduction
Applications
System
Requirements
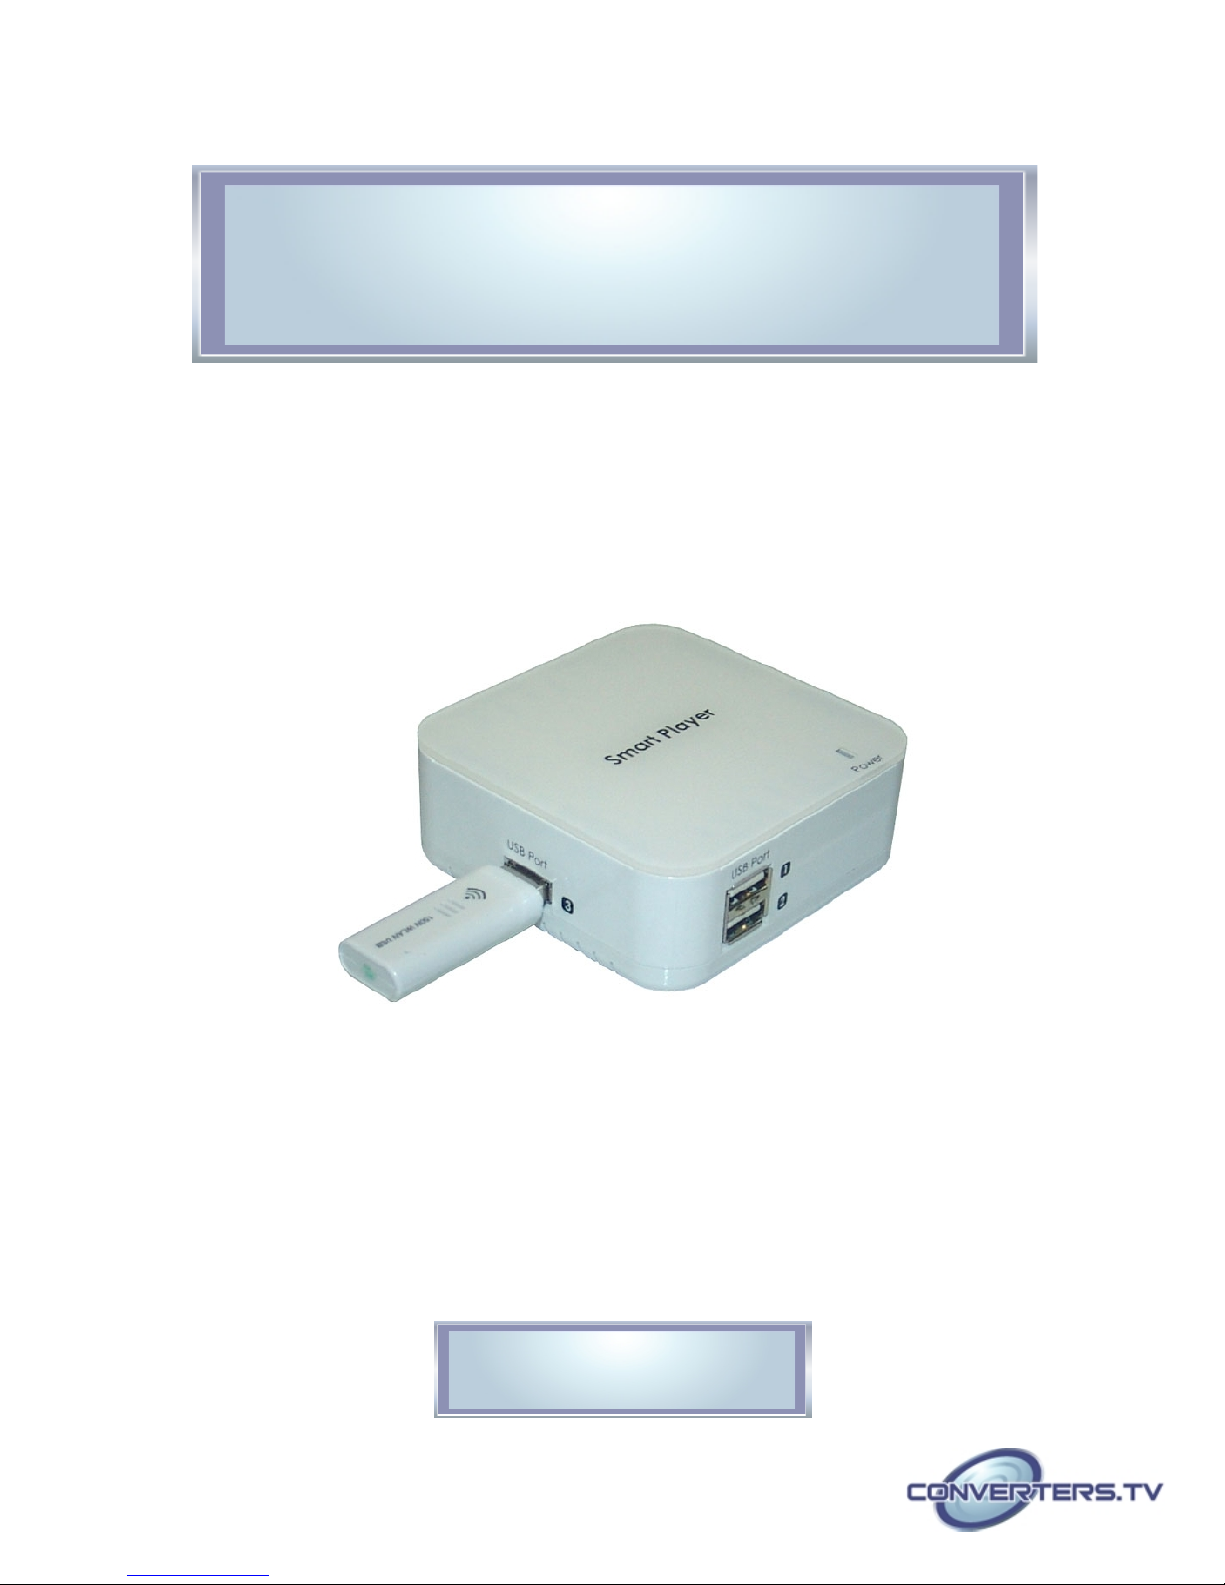
The WiFi Smart Player to TV can send video/audio signals from a smart phone,
PC or Notebook through Wi-Fi to a TV and use it as the primary display. The
SmartPlayer is designed as a DLNA DMR (Digital Media Renderer) which
means users can easily send audio, video and pictures from a computer
wirelessly to TV. This device can also act as a Wi-Fi Access Point for users to
access a wired Internet connection with their laptops or smart phones.
Displaying audio, video and pictures through network streaming the WiFi Smart
Player is a simple yet incredibly useful device for sharing content through
network streaming.
● Wireless PC/NB to TV
● Wireless Smart phone to TV
● Wire PC/NB to TV
● Wi-Fi Access Point
In order to run the application smoothly, please refer to the following
hardware recommendation.
Desktop/Workstation PC:
● CPU: Intel Core 2 Duo 2.0G or better
● Chipset: Intel 965 series chipset or better
● Memory: DDR2-800, 2GB or better
● Graphic Card: NVIDIA GeForce 8400GS / ATI Radeon X300 or better
● Network: 802.11 g/n Wi-Fi and/or 100/1000 Mbps Ethernet
Notebook/Laptop PC:
● CPU: Intel Core 2 Duo 2.0G or better
● Chipset: Intel 965 series chipset or better
● Memory: DDR2-800, 2GB or better
● Graphic: Chipset integrated (Intel X3100 Graphic) or better or NVIDIA
GeForce Go 8200M / ATI Radeon Mobility X300 standalone graphic chip or
better
● Network: 802.11 g/n Wi-Fi and/or 100/1000 Mbps Ethernet
Supported OS:
● Windows 7, x86 and x64
● Windows Vista (Service Pack 1 or later), x 86 and x 64
Windows XP (Service Pack 3 or later)
Features
● Support PC to TV and Smart Phone to TV
● Can be a Wi-Fi AP
● WiFi Smart Player is a device that designed as a DLNA DMR
● (Digital MediaRenderer) device.
● Display various picture, audio, and video contents through network
streaming.
● USB port for Mouse / Keyboard.
● USB flash disk for firmware upgrade.
Operation Controls
and Functions
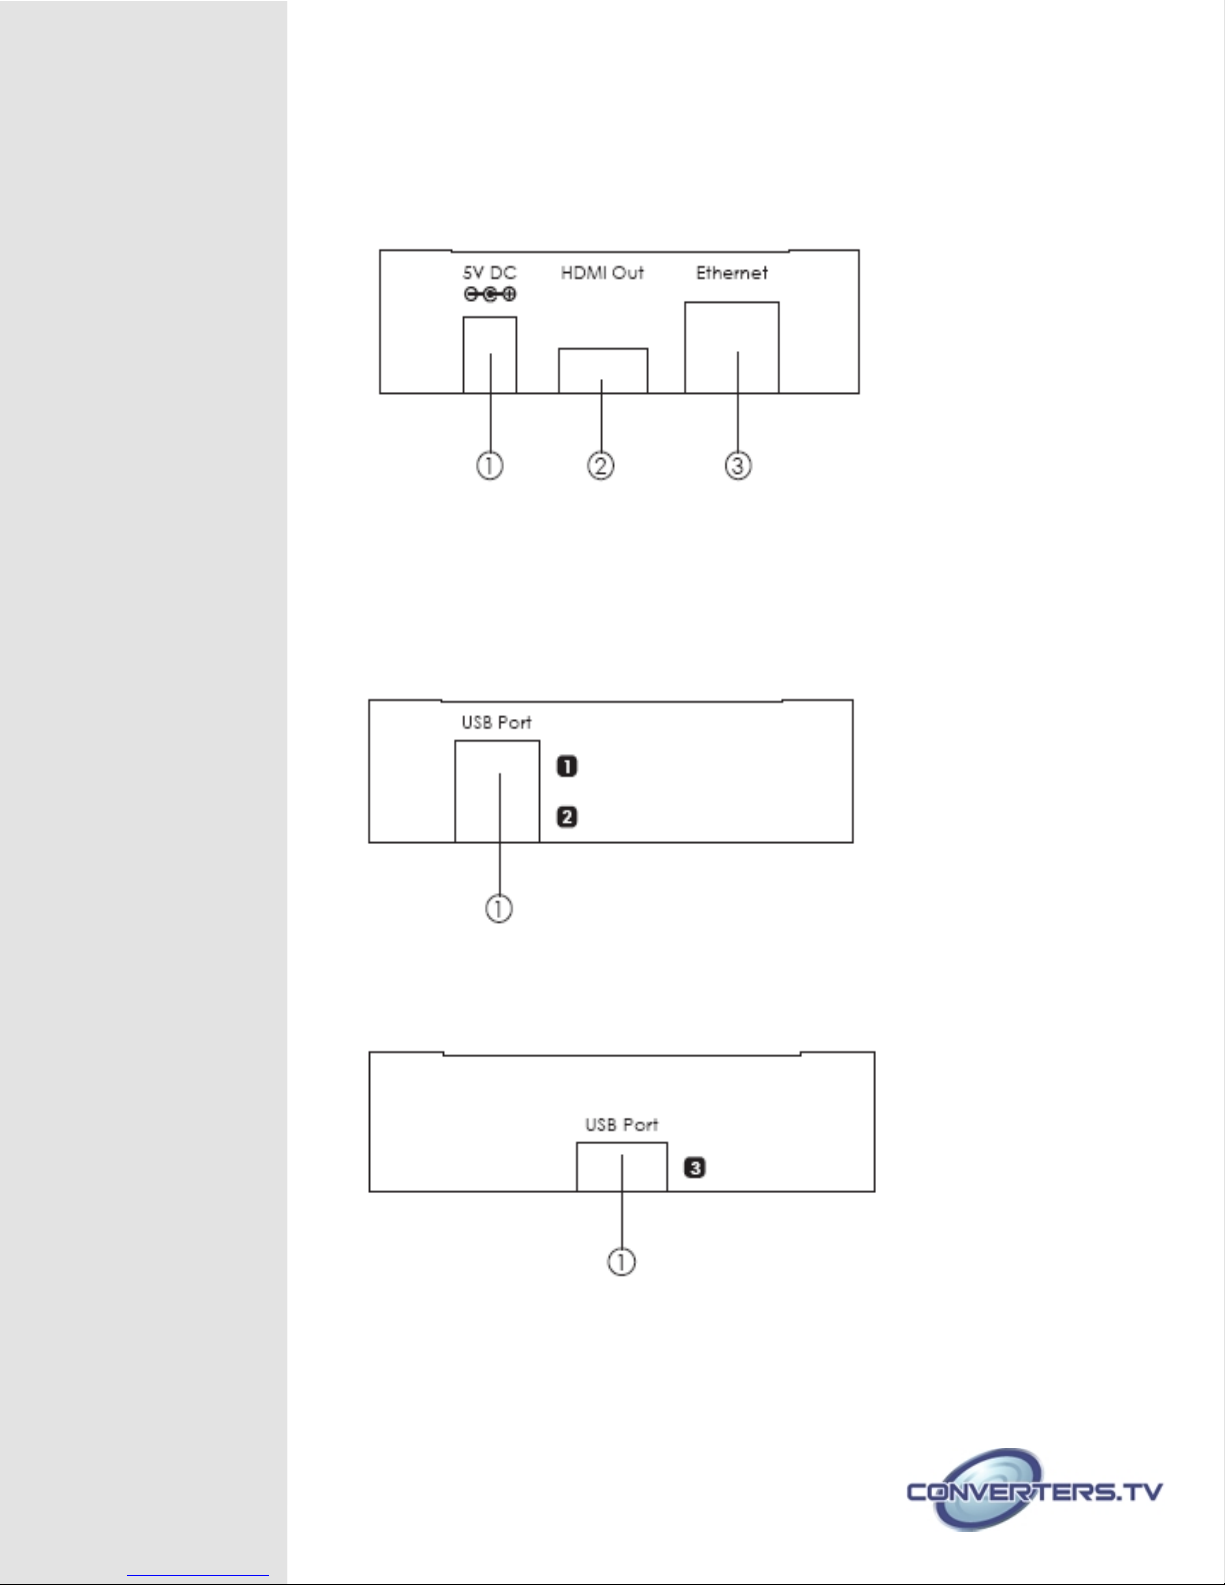
Front Panel
① DC 5V: Plug the 5V DC power supply into the unit and connect the adaptor to AC
wall outlet.
② HDMI out: Connect the output port to the HDMI TV/display.
③ Ethernet IN: This slot is to connect with CAT5e/6 cable from your network
system or PC/Laptop for a wire connection of input signal sending.
Rear Panel
① USB Port 1 & 2: These slots are to connect with Wi-Fi module and USB
devices such as Keyboard and Mousel.
Left Panel
① USB Port 3: This slot is to connect with Wi-Fi module and USB devices such
as keyboard and mouse for control.
 Loading...