

Converters.TV 326 Operation Manual
PC/HDTV to Video
Scan Converter ID# 326
Operation Manual
Introduction
Features
Operation
Controls and
Functions
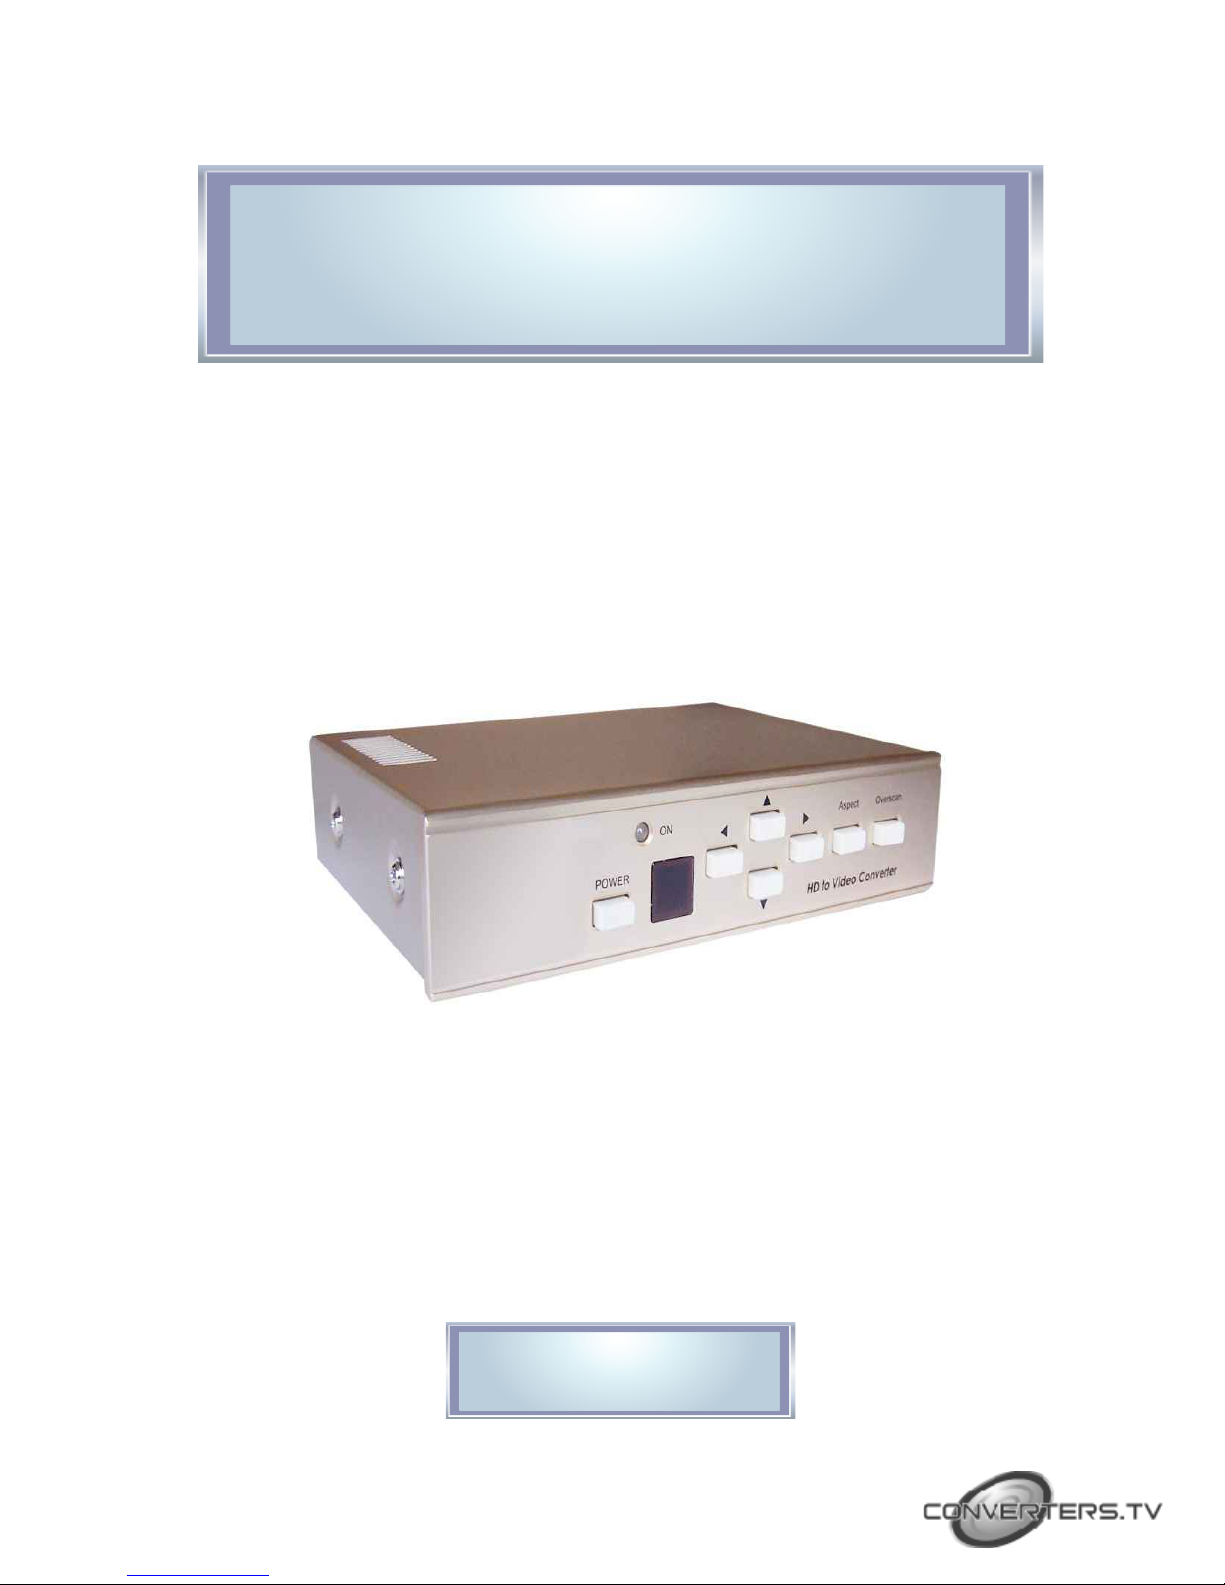
This unit is a high performance and multi-format video scan converter. It is
designed to convert not only PC but also HDTV images to interlace
NTSC/PAL and component output. It is ideal for use in video conferences,
home theater, business presentations or viewing PC/HDTV images on TV.
1. Switch on the back to select PC or HDTV input and down converters to
NTSC or PAL, component output.
2. Supports high resolution PC input up to UXGA (1600 x 1200@60Hz) and
HDTV input up to 1080i @ 60Hz.
3. Output video format is selectable between composite/S-video and
component (YCbCr).
4. Supports high input refresh rate up to 140Hz (VGA).
5. Additional HD-15 and 3-RCA connectors for looping through PC and
HDTV input signal.
6. Adjustable image scaling: Pan, Position and Zoom.
7. Advanced 2-D flicker filter ensures a flicker-free picture.
8. Aspect adjustment for wide-screen HDTV source.
9. Adjustment contrast, brightness, colour and sharpness.
10. Last memory.
11. Useful functions- overscan, freeze, test pattern and magnifier.
12. Adjustment and control through RS-232 interface.
13. Remote control, OSD operation display.
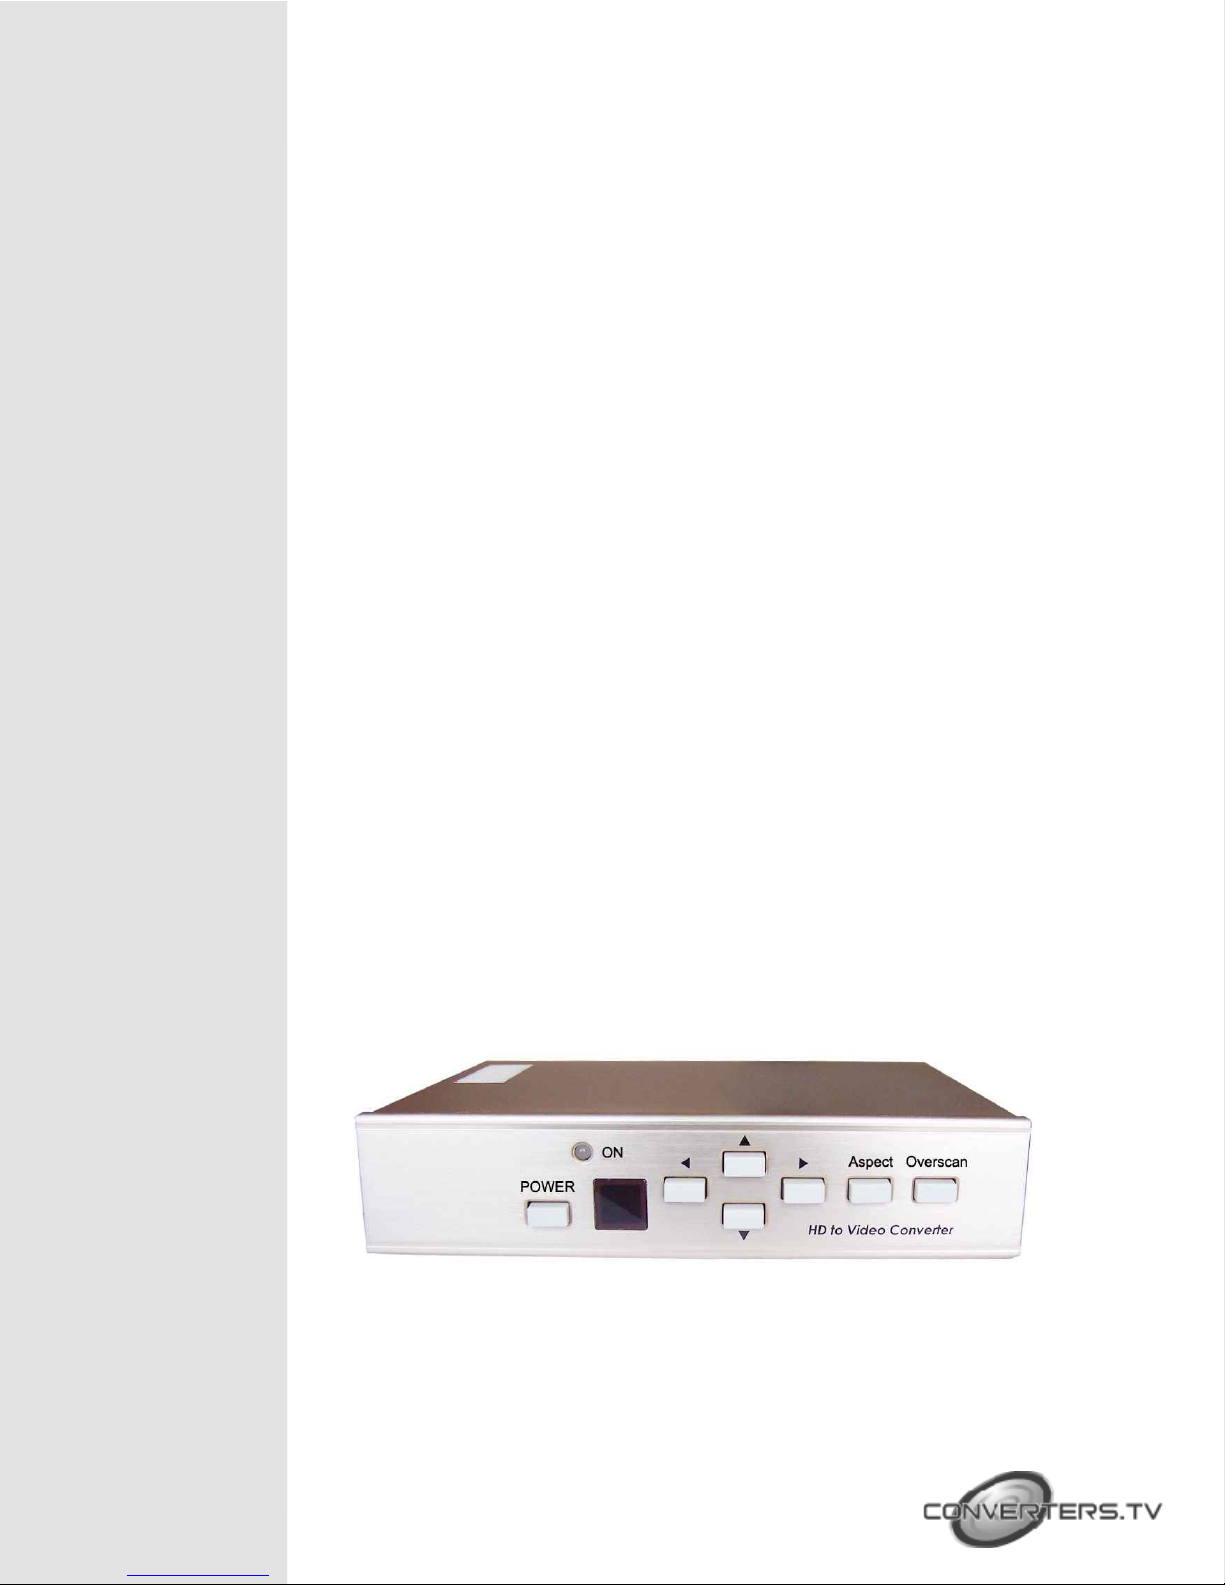
Front Panel
1. Standby/On Indicator: The indicator illuminates in red when it is in
“standby”
mode, illuminates in green when it is in “On” mode.
2. Power Button: Push the button to turn the power “On” or “Standby”.
3. Remote Control Sensor
4. Left Button: Push the button in order to adjust the picture leftward under
position, pan or zoom mode.
5. Right Button: Push the button in order to adjust the picture rightward
under position, pan or zoom mode.
6. Down Button: Push the button in order to adjust the picture downward
under position, pan or zoom mode.
7. Up Button: Push the button in order to adjust the picture upward under the
position, pan or zoom mode.
8. Aspect Button: Push the button in order to select the screen aspect- FullPan and Scan-Letterbox.
9. Overscan Button: Push the button in order to overscan/underscan the
picture.
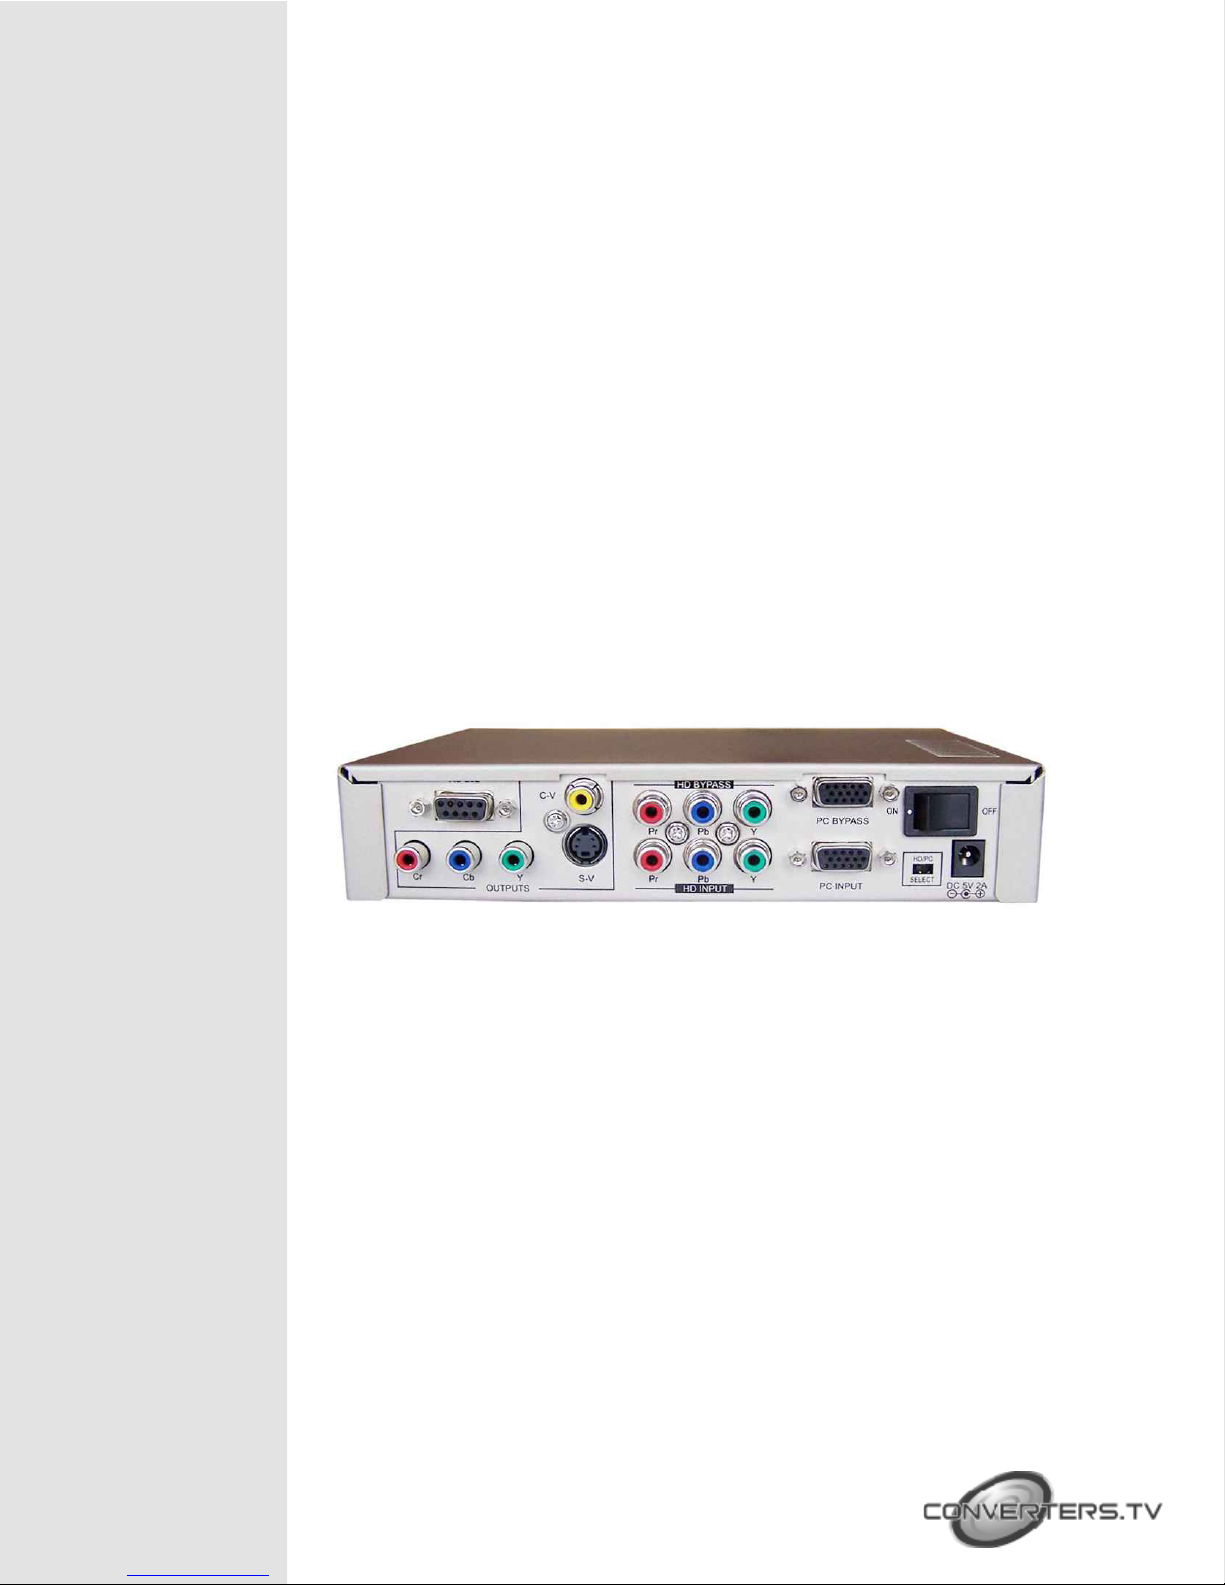
Rear Panel
1. RS-232 DB-9 connector: This is the RS-232 port for connection to the
users PC.
2. Video Output port: This is the Composite Video output connector.
3. HDTV (YPbPr) port: This is the HDTV loop-through output connector.
4. PC output port: This is the PC loop-through output connector.
5. On/Off switch: This is the main power button that switches the unit On or
Off.
6. YCbCr component output port: This is the YCbCr component output
connector.
7. S-Video output port: This is the S-Video output connector.
8. HDTV (YPbPr) input port: This is the HDTV input connector.
9. PC input port: This is the PC input connector.
10. Input source select switch: Set the switch to select HDTV or PC input.
11. DC Power Supply: 5V 2A.
Note: Output video format is selectable between Composite/S-Video and
Component (YCbCr), press “Output” or IR remote to select output format.
 Loading...