

Converters.TV 15155 Operation Manual
Multi-Sources to SDI/HDMI Scaler
Box - ID# 15155
Operation Manual

Introduction
Features
The HDMI/PC/Component/CV to SDI/HDMI Scaler allows you to upscale
HDMI/PC/Component/Composite signals to high definition video of HDMI formats
(720p@50/60 Hz or 1080p@50/60 Hz) and SDI formats (HD-SDI SMPTE 292M or 3GSDI 424M/425M), then output to both ports at the same time. Besides scaling features, the
device also carries functionalities for it to serve as control center of video wall up to
15×15 total 225 displays showing one single picture together
● Supports HDMI, PC, Component and Composite Video input signals
● Supports SDI and HDMI output simultaneously
● Supports SDI output distance up to 100 meters (3G-SDI), or 200 meters (HD-SDI)
and 300 meters (SD-SDI)
1. Scales any input signal to the following output signals: HDMI: 720p@50/60
Hz or HD-SDI: SMPTE 292M (1.485 Gbit/s)
2. HDMI: 1080p@50/60 Hz or 3G-SDI: SMPTE 424M/425M (2.970 Gbit/s)
● Supports HDMI input timings: VGA@60 ~ WUXGA@60 Hz (RB) & 480p/576p ~
1080p@50/60 Hz
● Supports VGA input timings: VGA@60 ~ WUXGA@60 Hz (RB) & 1920×1080@60
Hz
● Supports Component input timings: 480i/576i ~ 1080i/p@50/60 Hz
● Supports Composite Video input timings NTSC, PAL
● Supports video wall controlling
Note: Tested with Belden 1694A cable. Results may vary with cables that have a different
specification.
Applications
System Requirements
● Simultaneous output on HDMI and SDI display
● Up-scales video resolution to HD output display
● TV/Video/Display/Gaming/Movie wall display
● Combination advertising wall
● HDMI/PC/Component/Composite input source signal and connection cables, output
display HDMI & SDI monitors with connection cables.
● Or HDMI/SDI splitter with connection and RS-232 cables, output display TV wall
with connection cables.

Operation Controls
and Functions
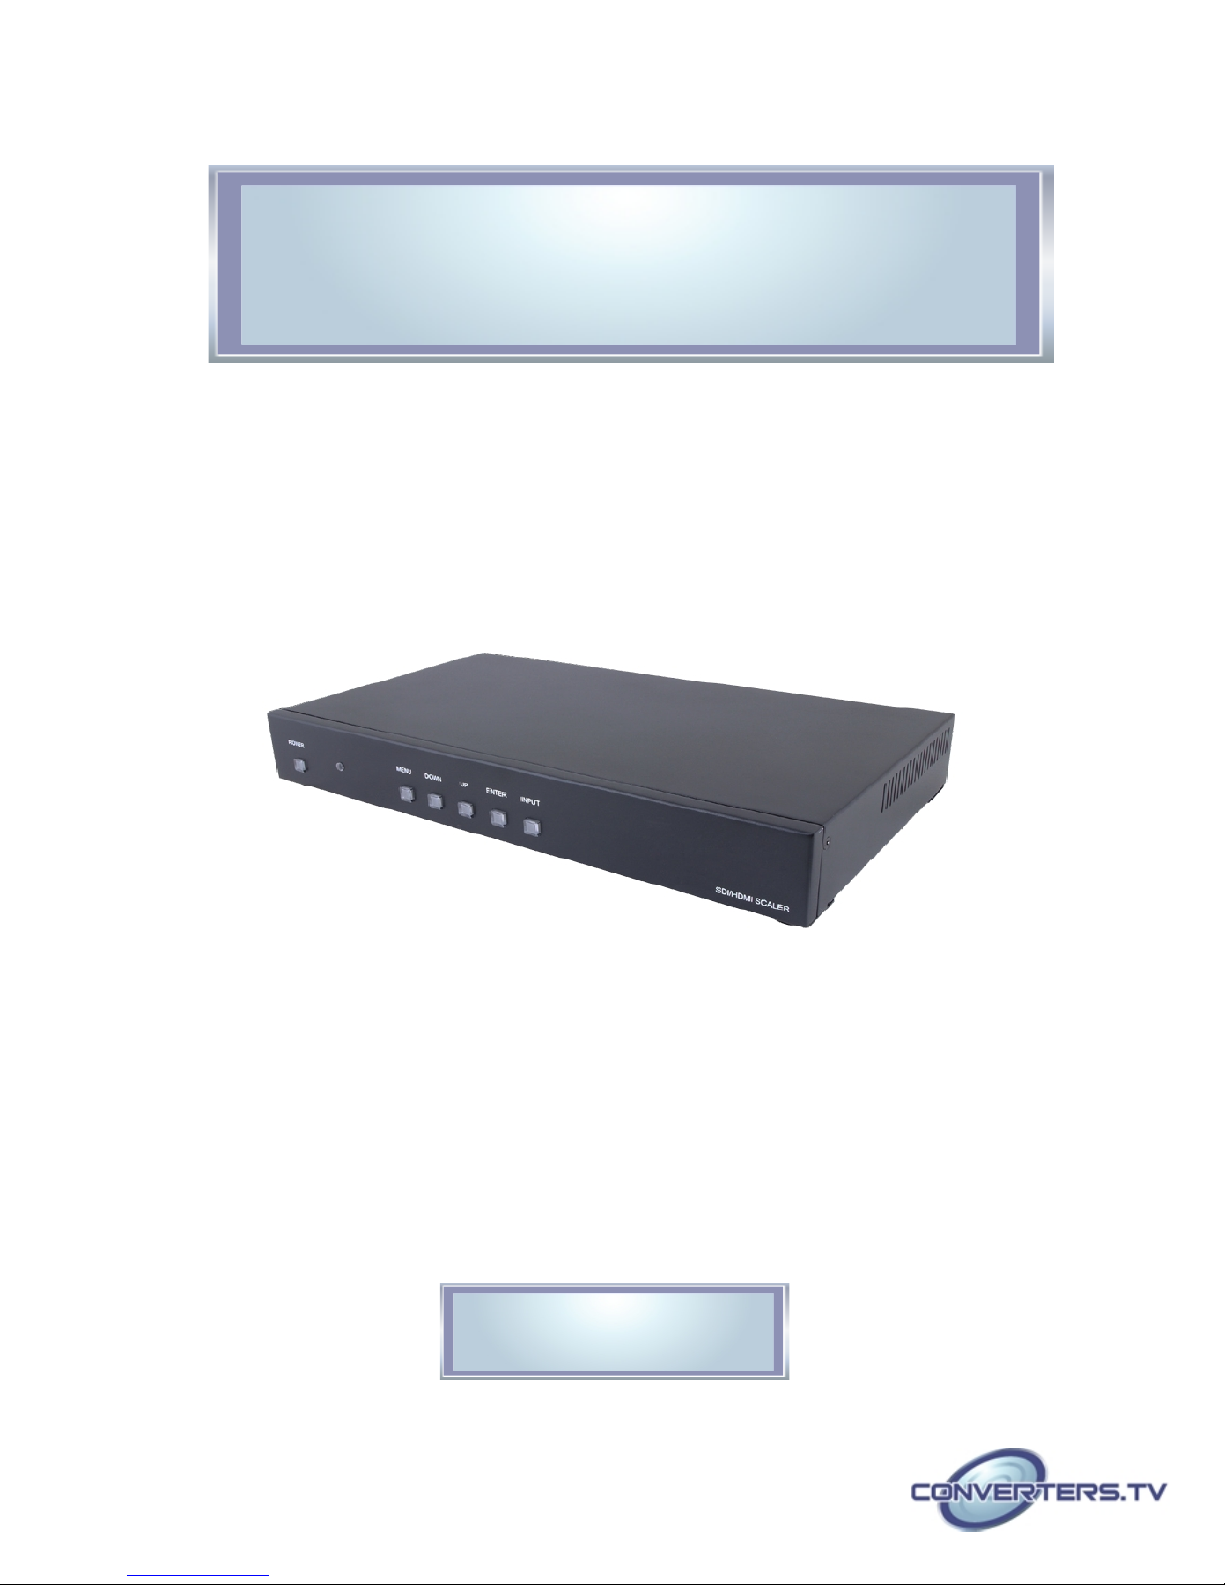
Front Panel
1. POWER
Press this button to switch on the device(s). All the connected Video wall system control
device(s) will be switch to ON.
2. IR Remote Control Sensor
3. MENU
Press this button to enter into the OSD menu.
4. DOWN
a. Press the DOWN button to move down the selection in the OSD menu and value.
b. When in Picture Menu, press DOWN button to show the individual setup slide bar and
continue press the button to reduce the value.
c. Press the DOWN button directly to adjust the audio volume down.
Note: Audio volume adjustment not functional when HDMI source input.
5. UP
a. Press the UP button to move up the selection in the OSD menu and value.
b. When in Picture Menu, press UP button to show the individual setup slide bar and
continue press the button to increase the value.
c. Press the UP button directly to adjust the audio volume up.
Audio volume adjustment not functional when HDMI source input.
6. ENTER
a. Press ENTER to confirm the selection.
b. When in Picture Menu, press ENTER button to move down the cursor.
7. INPUT
a. Press to select the input sources.
b. When enter the OSD menu, press INPUT button to exit the setup.
Note:Points a/b/c defines multiple usage of the key button.
 Loading...