

Conversor CONVERSPRO User Manual
The Assistive Listening Device
by Conversor Limited
User’s Manual

2

Table of Contents:
Welcome! 4
How to Charge Conversor Pro 6
Setting up Conversor Pro for the First Time 7
Make Sure Your Hearing Instrument
is/are Working 7
Setup the Microphone 7
Using the zoom and
Omni-Directional functions 7
Setting up Receiver 8
To use the Receiver on its own 8
How to Listen with Conversor Pro 9
Checking the Sound Balance 9
Sockets and Connections 9
How to use the Neck Cord with the Microphone 13
Care Instructions 14
Changing the Batteries 15
The Pro in Everyday Use 16
Troubleshooting 21
Manufacturer’s Warranty 22
Statements of Compliance and Conformity 23
© Copyright 2008 Conversor Limited. All rights reserved
3
Welcome!
Thank you for your purchase of Conversor Pro, one
of the most versatile and enabling Assistive Listening
Devices available on the market that greatly enhances
the clarity of sound received by your Hearing
Instrument(s) in a variety of everyday situations.
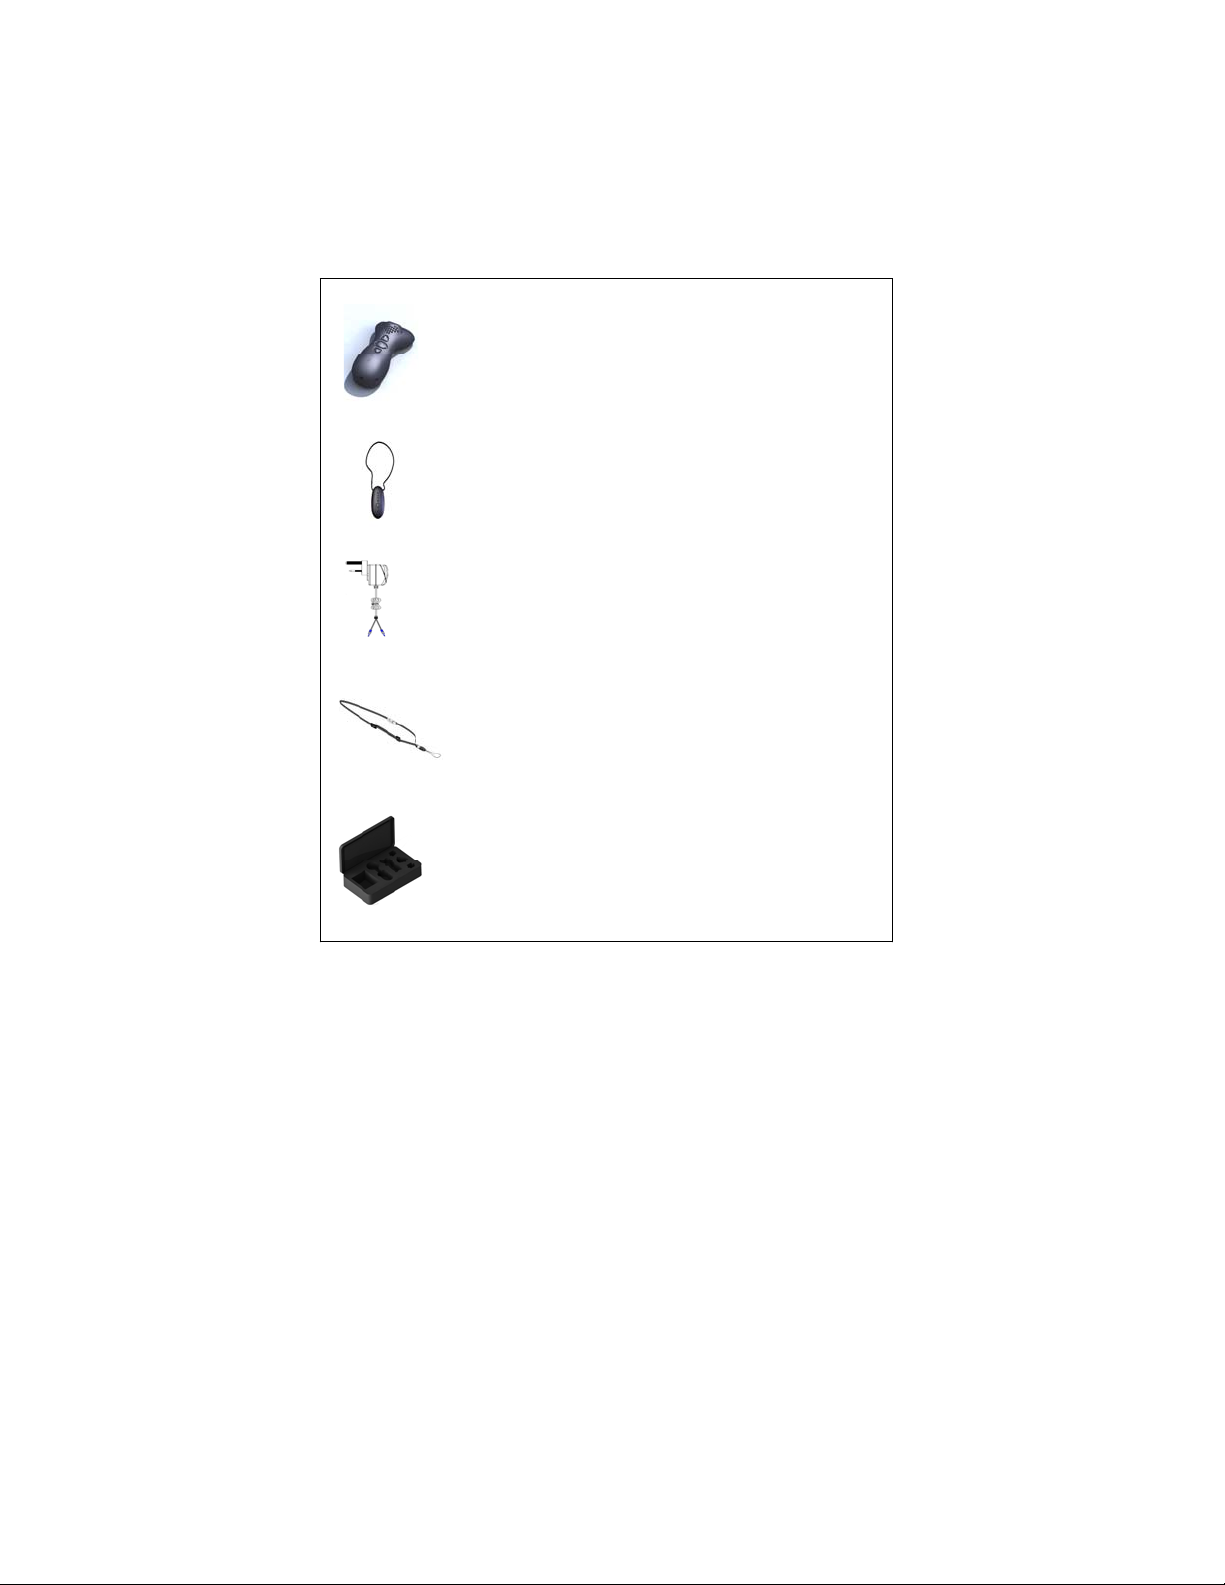
Conversor Pro consists of two lightweight components
and charging system, including:
• A Microphone Transmitter
• A Pendant Receiver
• A Power Supply Unit
• A Mains Lead
• International Plugs
All are enclosed in a padded carry case, which allows
you to protect and store your unit.
A Neck Cord is also supplied to enable the Microphone
Transmitter to be worn optionally by a speaker around
his or her neck.
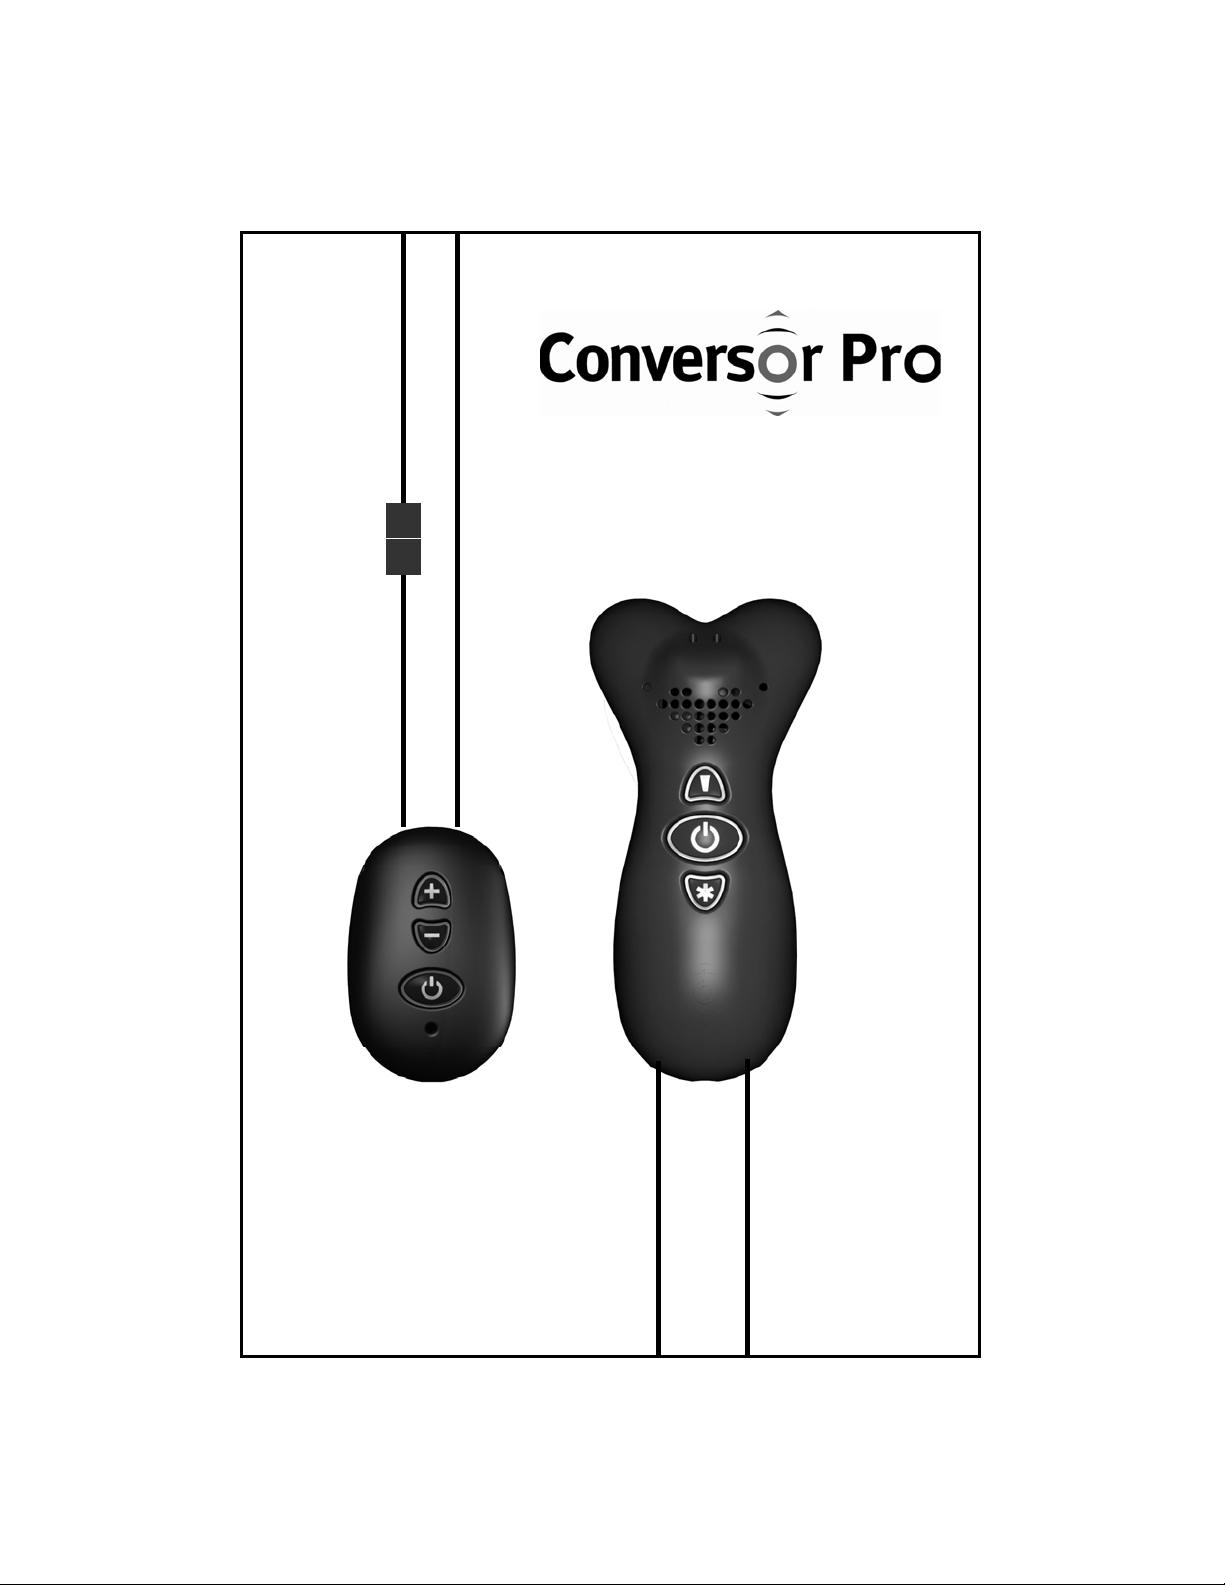
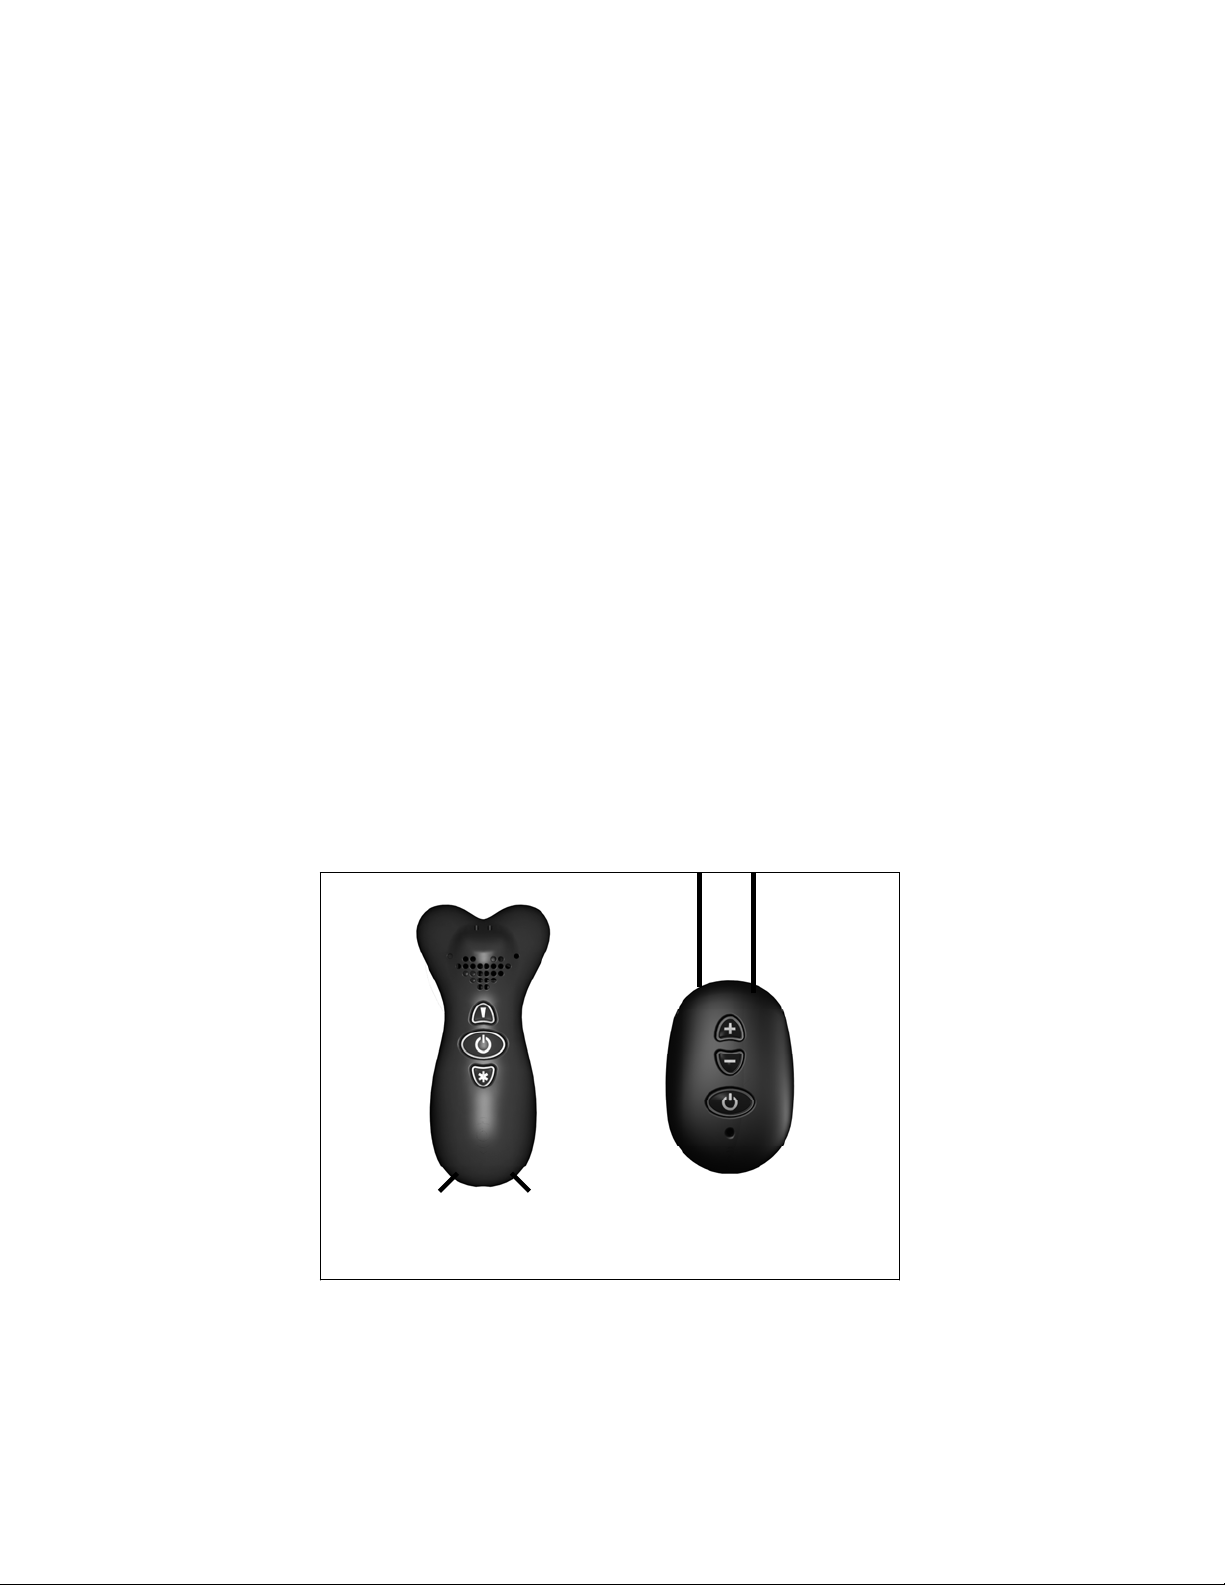
Conversor Pro Transmitter/
Microphone
4
Conversor Pro
Pendant Receiver
Wireless Microphone Transmitter
Pendant Receiver
Power Supply Unit
Neck Cord
Padded Carry Case
Used together with your Hearing Instrument(s),
Conversor Pro will greatly improve your ability to hear,
select and focus on a particular sound. You simply point
the Microphone Transmitter towards, or place it close to,
the sound that you wish to hear. The Pendant Receiver
is worn at all times during use around your neck, either
above or beneath clothing. In order to set up Conversor
Pro correctly and to familiarize yourself with the controls
and buttons, please read this User Guide carefully. *In
order to receive the benefits of Conversor Pro, your
Hearing Instrument(s) must have a “T” or Telecoil
setting.
5
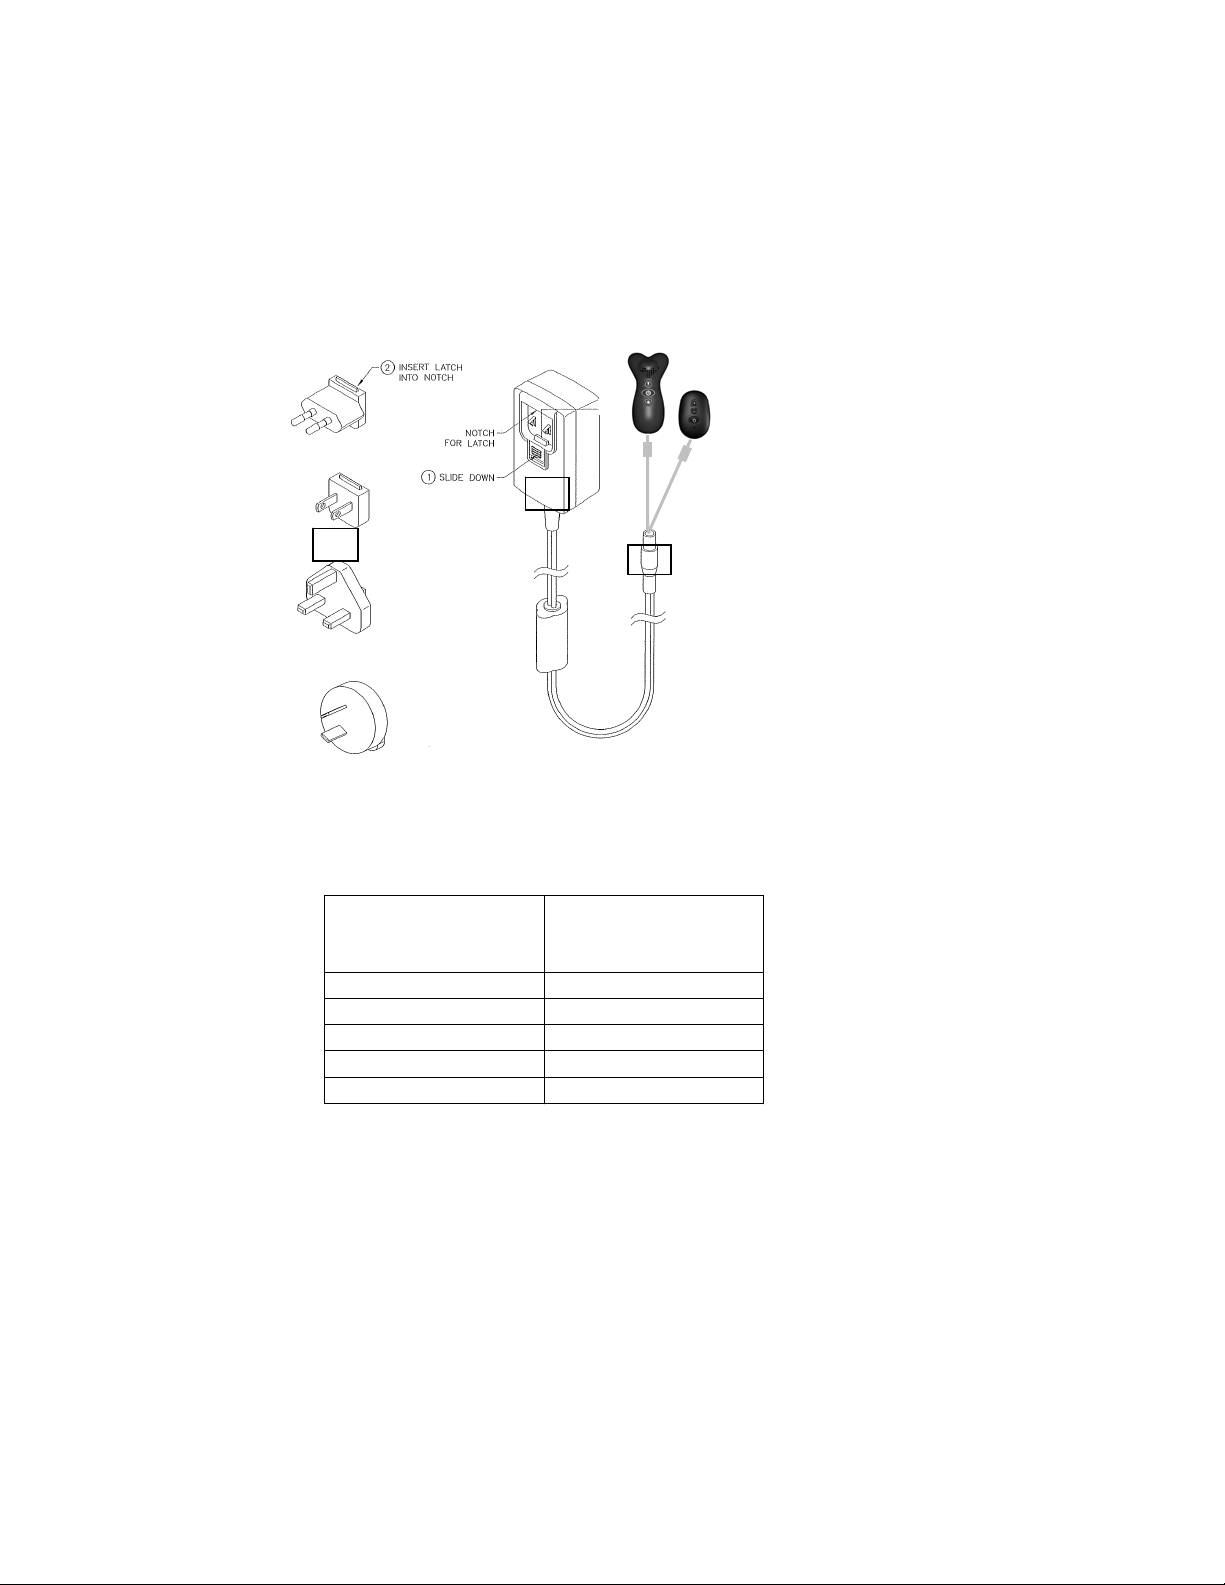
How to Charge Conversor Pro:
1. Attach the correct
2. Attach to the
3
1
Below is a guide showing you charge times
and corresponding battery life.
3. Plug into mains
4. The lights on the
mains adaptor to
the charger
Microphone and
Receiver using the
dual socket
socket and charge
according to the
instructions below.
ON/OFF switch on
the microphone
and receiver will
stay red until the
unit is fully charged
when they will turn
green.
Charge time on
fully discharged
batteries*
25 Minutes 1 Hour
40 Minutes 2 Hours
65 Minutes 4 Hours
90 Minutes 6 Hours
Approximate
battery life
When the battery
indicator light turns red,
it indicates that only
25% charge remains.
The battery needs
recharging soon.
150 Minutes 8 Hours
* Please note that you do not need to wait until your
batteries are completely run down before you recharge
them. You can “top-up” the charge any time at your
convenience. However it is recommended you fully
discharge all batteries approximately once a month.
6
Setting up Conversor Pro for the First Time
Please ensure that the Microphone and the Receiver are
fully charged (see page 6).
1. Make sure your hearing instrument is working
Switch your Hearing Instrument to the Telecoil Mode.
(See your Hearing Instrument User Guide or Consult
your Audiologist.)
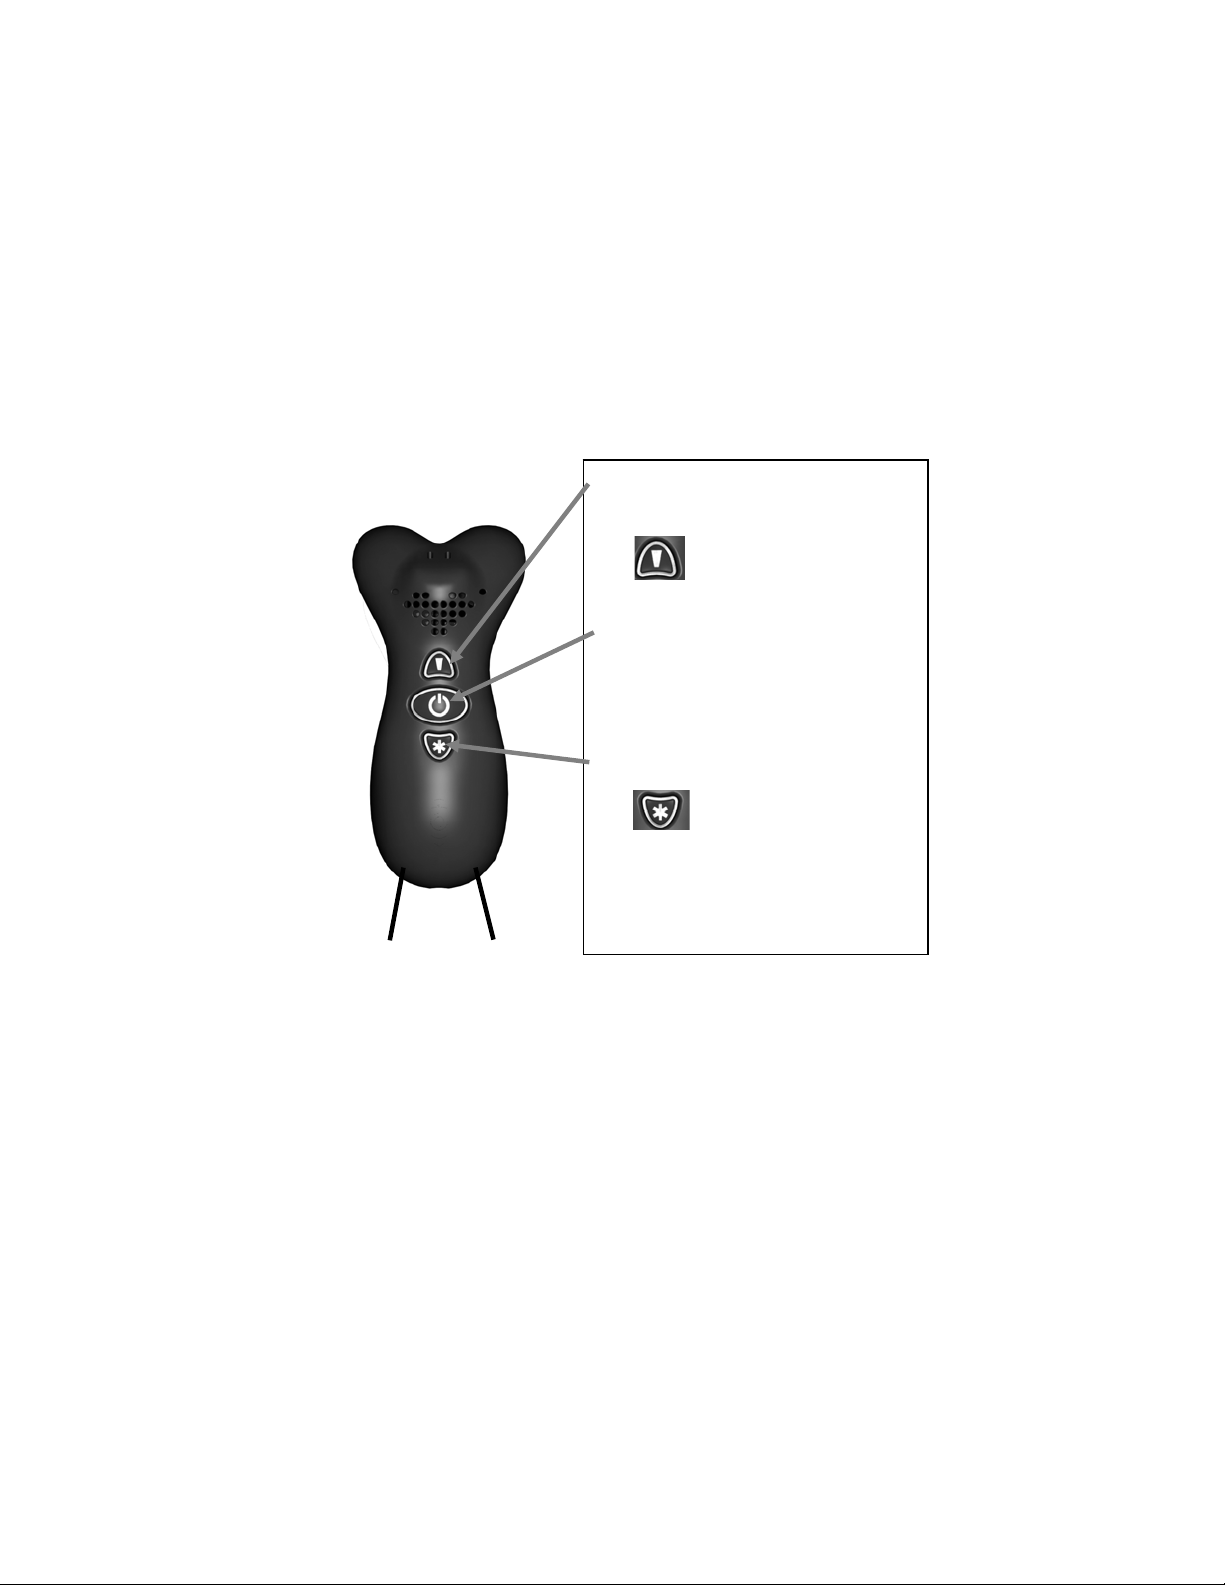
1. To switch between the zoom
2. Microphone Set-up
and omni directional modes
press the button
A green light indicates
zoom mode is ON.
2. Switch the Microphone
ON/OFF by pressing the centre
button. A green light indicates
ON. A red light indicates
battery low.
3. To select the Boost mode
press the Button
A green light indicates
boost is ON.
4. A green light and audible
sound signals the selection of
a mode
3. Using the Zoom and Omni-Directional Functions
Select the boost button for additional amplification
when the speaker or sound source is too quiet.
Select the Zoom mode for one to one conversations
and when in a group listening to a speaker, lecturer
or teacher. Omni-Directional mode is used for family
or group situations where you wish to hear all the
sounds around you.
7
Setting up Conversor Pro for the First Time
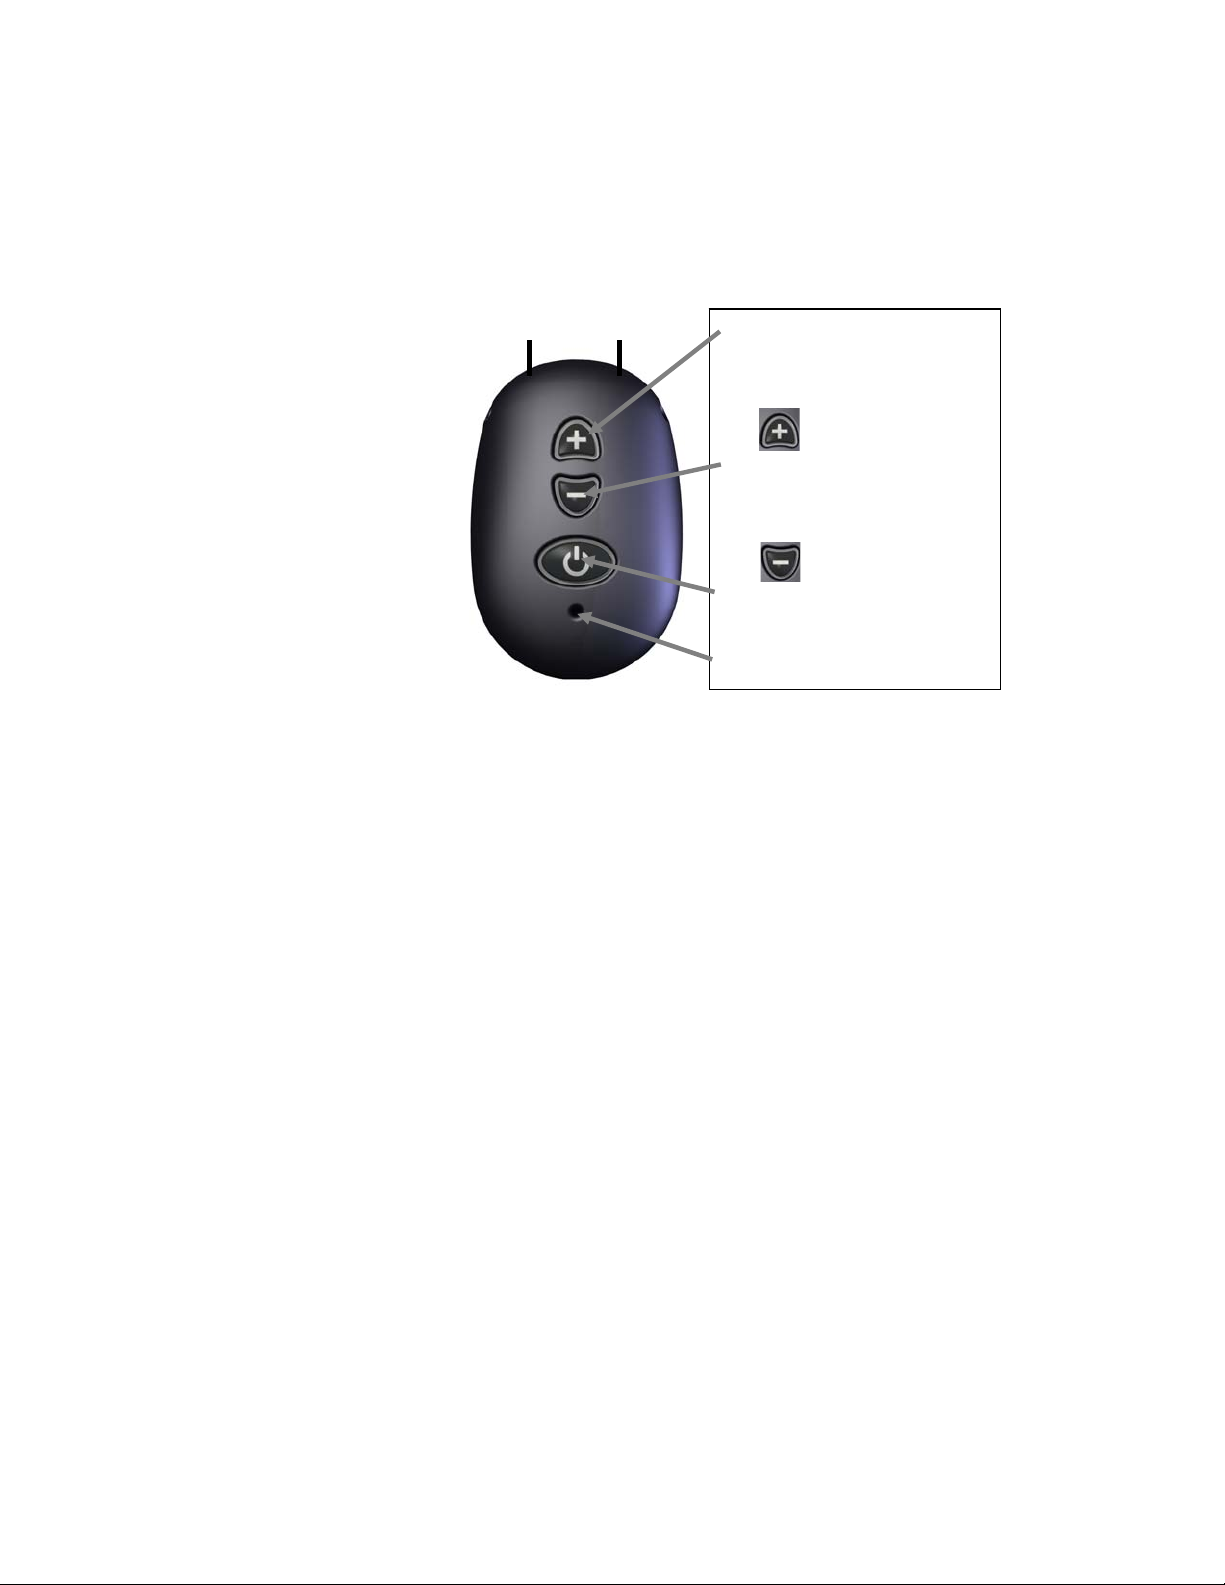
4. Setting up the Receiver
The Conversor Pro receiver has a green light when it is
“paired” correctly with the transmitter
1. To adjust the volume
between high and low
select the button to
increase the volume.
2. To adjust the volume*
between high and low
select the button to
decrease the volume.
3. Switch the Receiver
ON/OFF by pressing the
bottom button
4. Independent Microphone
+
.
If the light goes Red, the battery is low and operation
may stop within the hour. If the receiver’s light is half Red
and half Green the receiver is not paired with the
transmitter, and the receiver uses its interenal
microphone. To restore the connection between
transmitter and receiver, press the power button on the
transmitter twice (OFF then ON).
5. To use The Conversor Pro Receiver on its own
The Conversor Pro Receiver has an onboard
microphone which enables it to be used as an Assistive
Listening Device without the Transmitter. To use in this
mode, turn on only the Receiver.
+
When the receiver is too far away from the transmitter, the receiver
automatically switches to the onboard microphone. The transmitter
has range of approximately 20 metres.
* Volume Memory — The Conversor Pro Receiver automatically
stores the most recent volume level selected before the unit was
switched off. This level remains selected until a new level is chosen.
Each level is indicated by a “beep” when the volume control is
pressed. When the top of the volume range is reached a higher pitch
“beep” can be heard.
8
 Loading...