

Page 1
Media Player
Installation and Setup Guide
Supported Model
C4-MP1-E Media Player
Specifications
This Control4® Media Player operates as part of a Control4 Home-Automation
System to enable easy navigation and playback of video media. The player
installs on a at surface or on a wall behind a wall-mounted TV, and communicates with other devices through a Control4 Controller.
Model:
C4-MP1-E
Media Recognition:
Video les on a network-attached storage
drive
Display:
LED indicators
Power Requirements:
12VDC 1.3A MAX
Dimensions:
H x W x D: 2” x 9 1/8” x 7”
Weight:
2.0 pounds
Communications:
100BaseT Ethernet
WARNING! To reduce the risk of electrical shock, do not expose this
apparatus to rain or moisture.
Important Safety Instructions
1. Read and keep these instructions.
2. Heed all warnings.
3. Follow all instructions.
4. Do not use this apparatus near water.
5. Clean only with a dry cloth.
6. Install in accordance with the manufacturer’s instructions.
7. Do not install near any heat sources such as radiators, heat registers,
stoves, or other apparatus (including ampliers) that produce heat.
8. Protect the power cord from being walked on or pinched, particularly at
plugs, convenience receptacles, and the point where they exit from the
apparatus.
9. Only use attachments/accessories specied by the manufacturer.
10. Refer all servicing to qualied service personnel. Servicing is required
when the apparatus has been damaged in any way, such as powersupply cord or plug is damaged, liquid has been spilled or objects have
fallen into the apparatus, the apparatus has been exposed to rain or
moisture, does not operate normally, or has been dropped.
What’s in the Box?
Carefully unpack the contents from the box, and make sure the following items
are included:
• Control4 Media Player
• Power supply
• Control4MediaPlayerInstallationandSetupGuide (this document)
• Control4MediaPlayerUserGuide
IMPORTANT!Only use the power supply included in this box.
Note: Peel off the protective lm from the front of the device.
Requirements
Control4 Components:
• A Controller fully installed and congured with a Control4 project (for the
homeowner). The Media Player communicates with these Controllers via
an IP connection (Ethernet).
• Control4 Composer Pro software (Professional Edition for the Control4
Dealer) for initial project setup.
• Control4 Composer software (Media Edition or Home Edition for
homeowners—optional) for initial and future scanning of video les.
• Prior to installing this product, ensure that a wired Ethernet network is in
place.
• IP connected (Ethernet) network-attached storage drive where video
content is stored.
Additional Resources
The following resources are available to provide you with additional support.
• Control4 web site: http://www.control4.com
• Control4 Dealer web site: http://www.control4.com/dealer
• Control4 Knowledgebase: http://www.control4.com/knowledgebase
• Composer Pro online Help
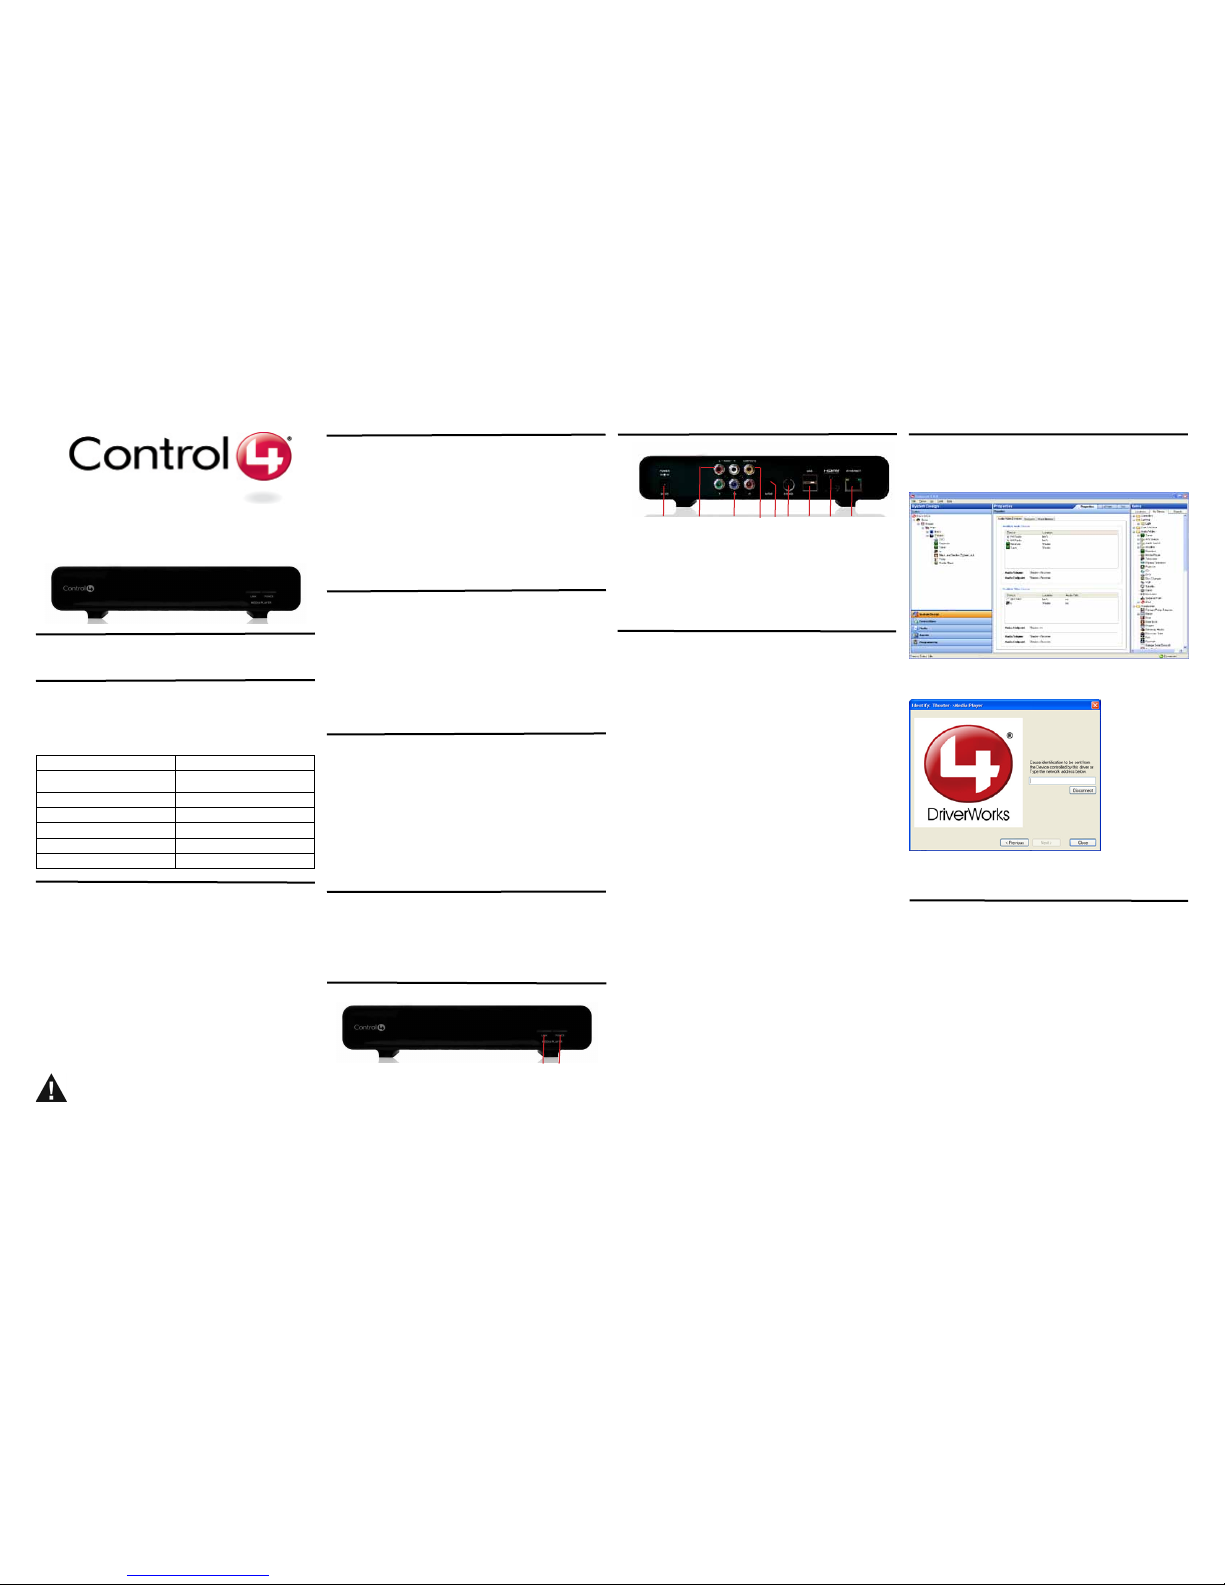
Back View
Introduction to Control4 Media Player
A key component of the Control4 vision to automate, control, and provide
entertainment throughout the home is the Control4 Media Player—a device
that plays back video les from the home network.
Using the Control4 Media Player with the Control4 system allows customers
to view their video les on their TV and eliminates the need to watch them on
their computer. The Control4 system already allows users to browse cover
art and play back their DVD and Blu-ray™ discs from any Control4 Navigator.
With the addition of the Control4 Media Player, now users also can navigate
and play their video les from the same user interface.
IMPORTANT! Before you install the device, refer to “Important Safety Instruc-
tions” in this document.
1. Power port
2. Left/Right Audio
3. Component Video (YPbPr)
4. Composite Video
5. Digital Audio Output S/PDIF (Optical)
6. S-Video
7. USB ports (used only for software upgrades)
8. HDMI
9. 100BaseT Ethernet
Front View
1. Link—This LED glows Blue when the Media Player has been identied
in a Control4 Composer project and is communicating with the Controller.
The Link button also serves as the ID button.
2. Power—This LED glows Blue when the power is on.
1 2
1 2 3 4 5 6 7 8 9
Add and Identify the Media Player to the Project
Note: The Documentation tab in the driver’s Properties page contains some
valuable information about the Player that you should consider during installation. Refer to this page as needed.
1. Use the Composer Pro software to add and identify the Media Player to
the Control4 system. Refer to the ComposerProUserGuide online Help
for details.
2. When you identify the device in Composer, press the Link LED on the
front of the device to identify it to the system.
Installation Instructions
Before you install the Media Player, rst determine where you will place the
device. It can be installed in a rack, mounted on the wall, or placed on a at
surface near the TV or other A/V equipment.
Installing on a at surface:
1. Place the Media Player on a at surface or in a rack.
2. Connect the Media Player to the home network.
3. Determine which A/V connections you will use, and connect the Media
Player directly to the TV, Receiver or Video Switch, Connect Power.
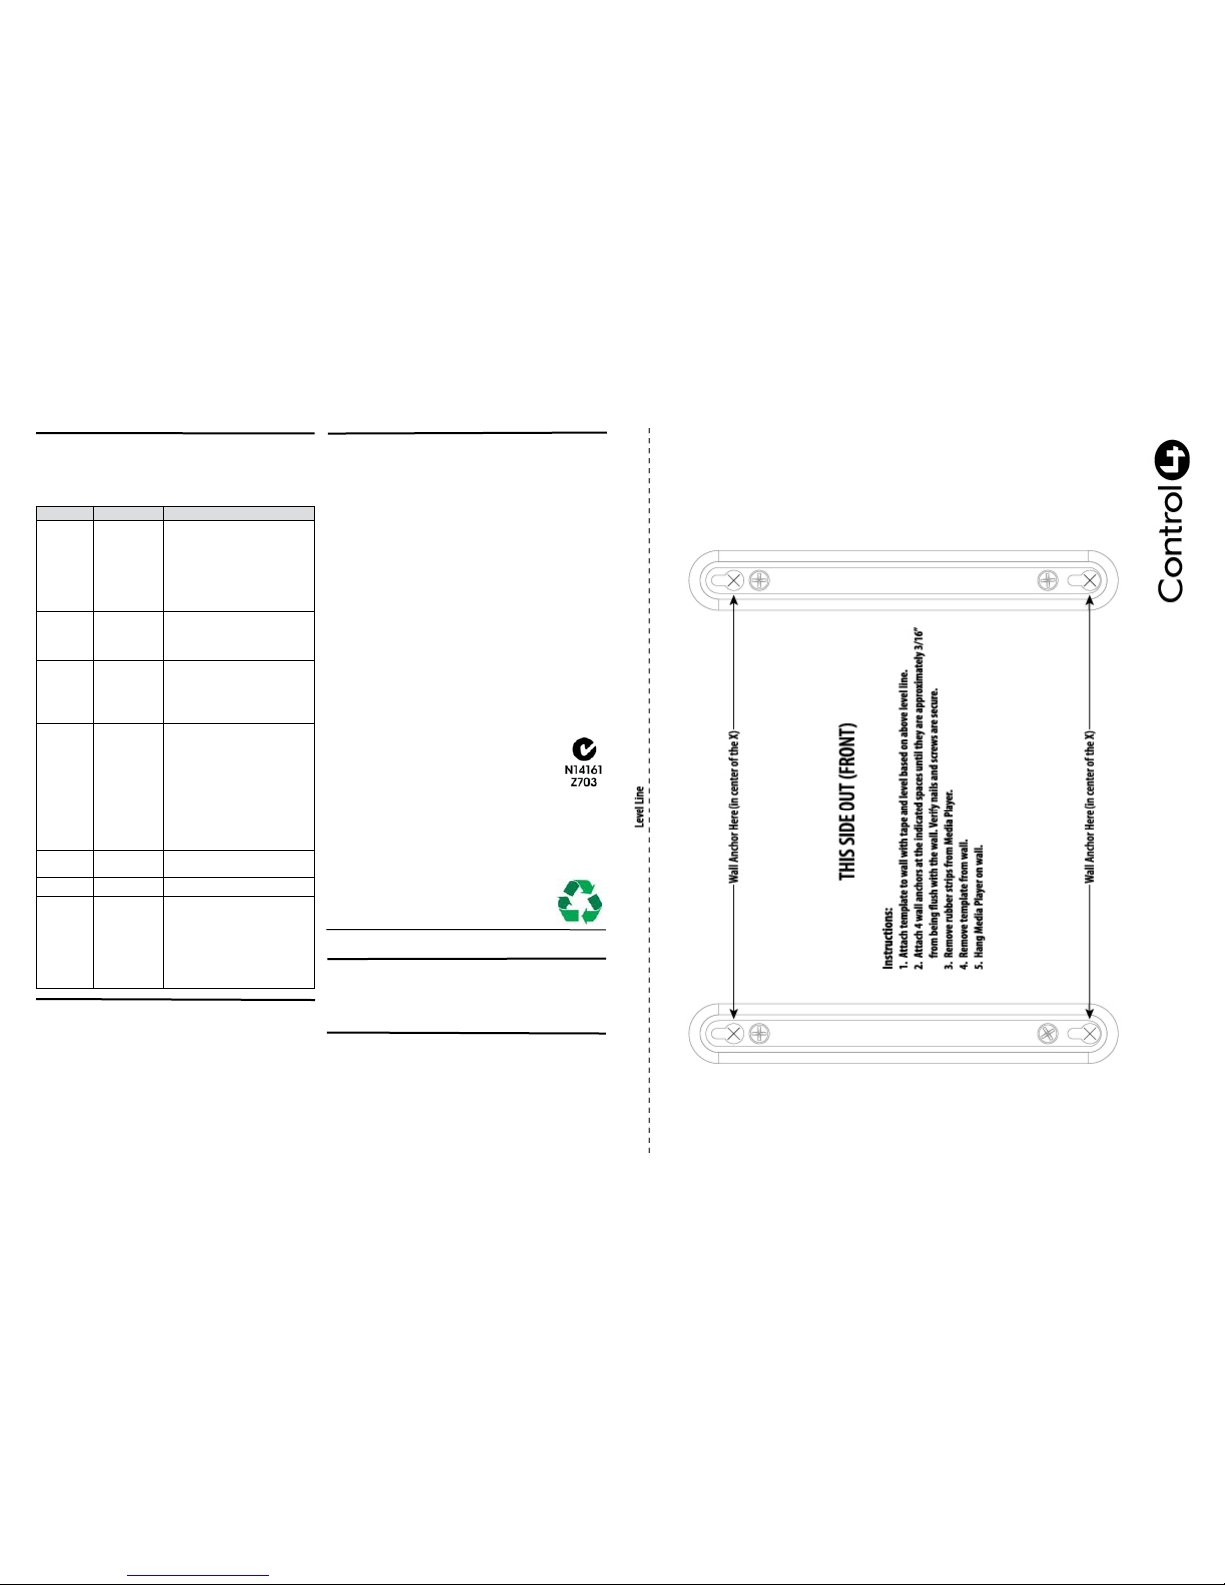
Mounting on a wall:
1. Place the Media Player upside down on a at surface.
2. Remove the rubber feet from the bottom of the device to expose the
mounting holes.
3. If a at-screen TV is mounted to the wall, remove the TV from the wall.
4. Use the template provided (see “Wall Mount Template” on the next page)
to mark on the wall where the wall anchors are to be installed for the
Media Player.
Note: We recommend that the Media Player be mounted using wall
anchors to ensure that it is not inadvertently pulled from the wall.
5. Install four (4) wall anchors to the wall directly behind the at-screen TV.
(Mount the Media Player on the side closest to the AV connections. See
the next step.)
6. Attach the Media Player to the wall anchors.
7. Connect the Media Player to the home network.
8. Determine which A/V connections you will use, and connect the Media
Player directly to the TV, Receiver or Video Switch, Connect Power.
9. Mount the TV to the wall.
Note: You can use the Composer Pro software to step through the connection
process before or after the physical connections are completed.
Tips:
Foraudio,youhavethree(3)options:
1. Audio and Video are both available through the HDMI connector.
2. S/PDIF. If the TV or Receiver supports this connector, use this one.
3. Left/Right audio. Note: DTS audio is available only via HDMI or S/PDIF.
Forvideo:
Connect to the TV, Receiver or Video Switch. Note: If you connect HDMI, all
other video ports will be disabled.
Scan the Media in Composer
Note: A network-attached storage drive must be congured to work in your
project and showing online in Composer.
1. Use the Composer software (Media Edition, Home Edition, or the Media
view in the Professional Edition) to identify videos that you want the
Media Player to be able to play. Videos can be added manually, or
Composer can scan network-attached storage locations to add video les
automatically.
2. In Composer, click the Media view.
3. Select the network-attached storage drive where the videos are located,
and then click the Scan or New button. Scan will automatically identify
some types of video les (normally ISO and IFO/VOBS les in a videoTS
folder). Other types of video les can be added using the New button.
This action automatically updates the Navigators and provides cover art
(if available) for easy video recognition.
4. For videos that haven’t been identied in the scan process, use the New
function to add the videos manually.
Additional details for advanced functions, such as adding your own cover art,
are available in the ComposerProUserGuide online help.
Page 2
Limited 2-Year Warranty
Control4 Corporation (“Control4”) warrants that at the time of rst-consumer sale, this
product will be free from defects in material and manufacture. Control4 further warrants that for a period of 2 years (24 months) after initial consumer sale, the product will
function in accordance with its specication, provided that it is installed and maintained
under normal and proper use. This warranty extends only to products purchased directly
from Control4 or an Authorized Control4 Reseller. If the product proves to be defective
in material or workmanship during the warranty period, it may be returned to the place
of purchase and Control4 will, at its sole option, repair or replace the product with a like
product. This warranty provides the consumer purchaser with specic legal rights, which
may vary per state or country. For complete warranty information, including details on
consumer legal rights as well as warranty exclusions, visit www.control4.com/warranty.
Regulatory Compliance
North America
FCC Interference Statement
This device complies with Part 15 of the FCC Rules. Operation is subject to the following
two conditions: (1) this device may not cause harmful interference, and (2) this device
must accept any interference received, including interference that may cause undesired
operation.
This equipment has been tested and found to comply with the limits for a Class B digital
device, pursuant to Part 15 of the FCC Rules. These limits are designed to provide
reasonable protection against harmful interference in a residential installation. This
equipment generates, uses, and can radiate radio frequency energy and, if not installed
and used in accordance with the instructions, may cause harmful interference to radio
communications. However, there is no guarantee that interference will not occur in a
particular installation. If this equipment does cause harmful interference to radio or televi-
sion reception, which can be determined by turning the equipment off and on, the user is
encouraged to try to correct the interference by one or more of the following measures:
Troubleshooting
TIP: When you connect to a TV, the screen displays the Media Player’s IP
address, software version and MAC address should you ever need that infor-
mation.
IMPORTANT! Any changes or modications not expressly approved by Control4 for
compliance could void the user’s authority to operate this equipment.
Australian / New Zealand
This product has been tested to the requirements of, and shown to be in
compliance with, the following requisite standard:
• AS/NZS CISPR 22: 2002—Information Technology
Equipment—Radio disturbance characteristics.
Industry Canada Statement
This Class B digital apparatus complies with Canada ICES-003.
Cet appareil numérique de la classe B est conforme à la norme NMB-003 du Canada.
• Reorient or relocate the receiving antenna.
• Increase the separation between the equipment and receiver.
• Connect the equipment into an outlet on a circuit different from that to which the
receiver is connected.
• Consult the dealer or an experienced radio/TV technician for help.
About this Document
United States Patents Pending. ©2009 Control4. All rights reserved. Control4, the
Control4 logo and Everyday Easy are registered trademarks or trademarks of Control4
Corporation in the United States and/or other countries. All other names or brands may
be claimed as property by their respective owners. Pricing and specications subject to
change without notice. Part Number: 200-00148 Rev C 11/30/2009
Protected under U.S. Patents 7,335,845, 7,106,261 and licensed under U.S. Patents
5,905,442 and 5,982,103
Recycling
For recycling information, please go to www.control4.com/recycling.
Wall Mount Template
Use the following template holes to mount your Media Player on the wall.
Below is the list of power supplies which can be used with this product.
Manufacturer
ELEMENTECH INTERNATIONAL CO., LTD.............................
ELEMENTECH INTERNATIONAL CO, LTD...............................
SUNNY COMPUTER TECH CO., LTD........................
SHENZHEN DOKOCOM ENERGY TECH CO., LTD.
Model
AU1241202g
Au-7970u
SYS1308-2412-W2
DK-S24-12US
Problem Possible Cause Possible Solution
Error: could not
play video.
Unsupported video
codec, audio codec,
le type, or codec and
le combination.
Corrupt le.
Make sure the video le is in a format supported by
the Media Player. Try converting the video le into a
format known to be compatible with the Media Player.
If possible, create a new version of the video from the
original. Playing the video le on a computer can help
you determine if the le is corrupted. This can help
you conrm that the video le is in a format that the
Media Player supports also. For a list of supported
formats, see the Documentation tab of the Media
Player’s driver in Composer Pro.
Error: cannot
nd video le.
NAS drive ofine.
Video le has been
deleted from NAS
drive.
Ensure that your NAS drive is powered ON, properly
connected to the network, and Enabled in Composer.
Add the video le to the NAS drive (scanning the
video through Composer will be required also).
After a movie
is selected for
playback, the
Media Player
continues to display the status
screen or screen
saver.
Media Player is not
communicating with
the Controller.
Ensure that the Media Player is:
• Powered ON
• Properly connected to the network
• Has an IP address
• Is properly identied in the project
• Both LEDs should be Blue
Video playback
is not smooth,
has pauses, or
skips.
Problem with the
video le.
Network bandwidth
issues.
Network Attached Storage issues.
If possible, create a new version of the video from the
original. If this is a high denition video le. Try reduc-
ing the video resolution.
Ensure there is sufcient network bandwidth available
for video playback. Playback of multiple video les
over the network or large Internet downloads during
video playback can limit network availability and im-
pact video playback quality. The Media Player buffers
approximately 10 seconds of video to help alleviate
these problems, but if network issues persist, then
video playback issues may arise. If needed, work with
a networking professional to ensure your network has
sufcient available bandwidth for video playback.
Ensure that the NAS where your video les are stored
is functioning properly.
Poor Video
Quality.
The video le is
encoded in a low
resolution.
If possible, create a new version of the video from the
original using higher resolution settings.
Wrong language
is playing.
Video may have multiple language tracks.
Provide the video le with only the desired language
track.
Video plays,
but there is no
audio.
Audio track is encoded
in DTS.
Unsupported audio
codec.
The Media Player support DTS pass through only –
meaning that it will pass the DTS signal through the
digital optical (S/PDIF) and HDMI connections to a receiver or TV which must then decode the DTS signal.
A DTS compatible receiver or TV is required for DTS
audio to work. When playing a video le that has DTS
encoded audio the Media Player will not output any
audio over the Left/Right RCA audio outputs.
If possible, create a new version of the video from
the original.
The following table lists common problems that may occur.
 Loading...