

Control M6001A Instruction Manual
5+1+1 day Programmable Thermostat
For electric baseboard & convection heaters
Instruction Manual
model: M6001A
High VOLTAGE
120 V/240 V AC, 60 Hz
BY/PAR
CANARM
1
Table of Contents
Introduction and Features
Warning and Safety Precautions
Compatibility
Choosing a Location for the Thermostat
Installation Precautions
Installation Procedure
Reset the Thermostat After Installation
LCD Screen
Buttons
Option Settings
Heat Cycle Rate Supplementary Information
Pre-Comfort Recovery Supplementary Information
Setting of High-Limit Function
Clock Settings
About Programs
Default Programs and Customize Programs
Customizing the Programs
Reset Programs / All Settings
Temporary Override and Hold Function
Current Temperature Display, Power Bar and Heat "ON" Icon
Usage Monitor
Memory Backup and Thermostat Surface Temperature
Specications
Troubleshooting
Warranty
2
3
4
5
6
7
8
9
10
11
12
13
14
15
16
17
18
19
20
21
22
23
23
24
25
Prior to Use
Installation
Buttons and Display
Setup
Programming
Operation
Supplementary Info.
2
Introduction
This thermostat is compatible with electric baseboards, fan-assisted (convectors) and radiant ceiling heating systems.
The unit is rated for high voltage wiring only (120 V/240 V).
The minimum load requirement is 500 W. This thermostat is NOT compatible with central heating systems
(24 V or mV). Please see the compatibility chart on page 4 for more details.
Features
• Ideal for electric baseboards, fan assisted (convectors) and radiant floor/ceiling heating
• 5+1+1 day programming - set one program for Monday to Friday, one program for Saturday and one
program for Sunday with up to 4 temperature settings per day (morning, day, evening, night)
• Set and display temperature in Celsius or Fahrenheit (in half degrees)
• High limit function - set a maximum temperature to help manage heating costs
• TRIAC system operates on 20-second or 240-second cycles for accurate
temperature reading, and provides quiet operation
• Maintain room temperature accurately to within +/- 0.3°C (+/- 0.6°F)
• Usage monitoring - tracks total ON time
• Automatically pre-heats room prior to program start-time
• Easy-to-read LCD
• 12-hour or 24-hour clock display
• Simple two-wire installation
Package Contents:
M6001A Thermostat
Instruction Manual (this document)
2 Screws
2 Wire Nuts
NOT for use with low voltage (24 V)
central heating & cooling systems
& wall-mounted furnaces.
Prior To Use
3
Warning and Safety Precautions
• Read this instruction manual thoroughly prior to the installation and the use of the thermostat.
• Follow all instructions in this manual.
• Keep this instruction manual for future reference.
• See page 6 for detailed installation precautions.
• Clean the thermostat only with a dry cloth.
• Do not operate this thermostat with wet hands.
• Do not block any ventilation openings of the thermostat.
• Do not expose this thermostat to dripping or splashing.
• Do not expose this thermostat to excess heat.
• Do not attempt to disassemble, repair or modify this thermostat.
Prior to Use
THIS PRODUCT MUST BE INSTALLED IN ACCORDANCE WITH THE CANADIAN ELECTRICAL
CODE. IT IS STRONGLY RECOMMENDED TO HAVE A CERTIFIED ELECTRICIAN ON SITE TO
ENSURE THE SAFE INSTALLATION OF YOUR THERMOSTAT.
IN QUEBEC, THIS PRODUCT MUST BE INSTALLED BY A QUALIFIED ELECTRICIAN.
The manufacturer assumes no responsibility for improper wiring - or any resulting damages.
Improper installation by a non-professional automatically voids the warranty.
4
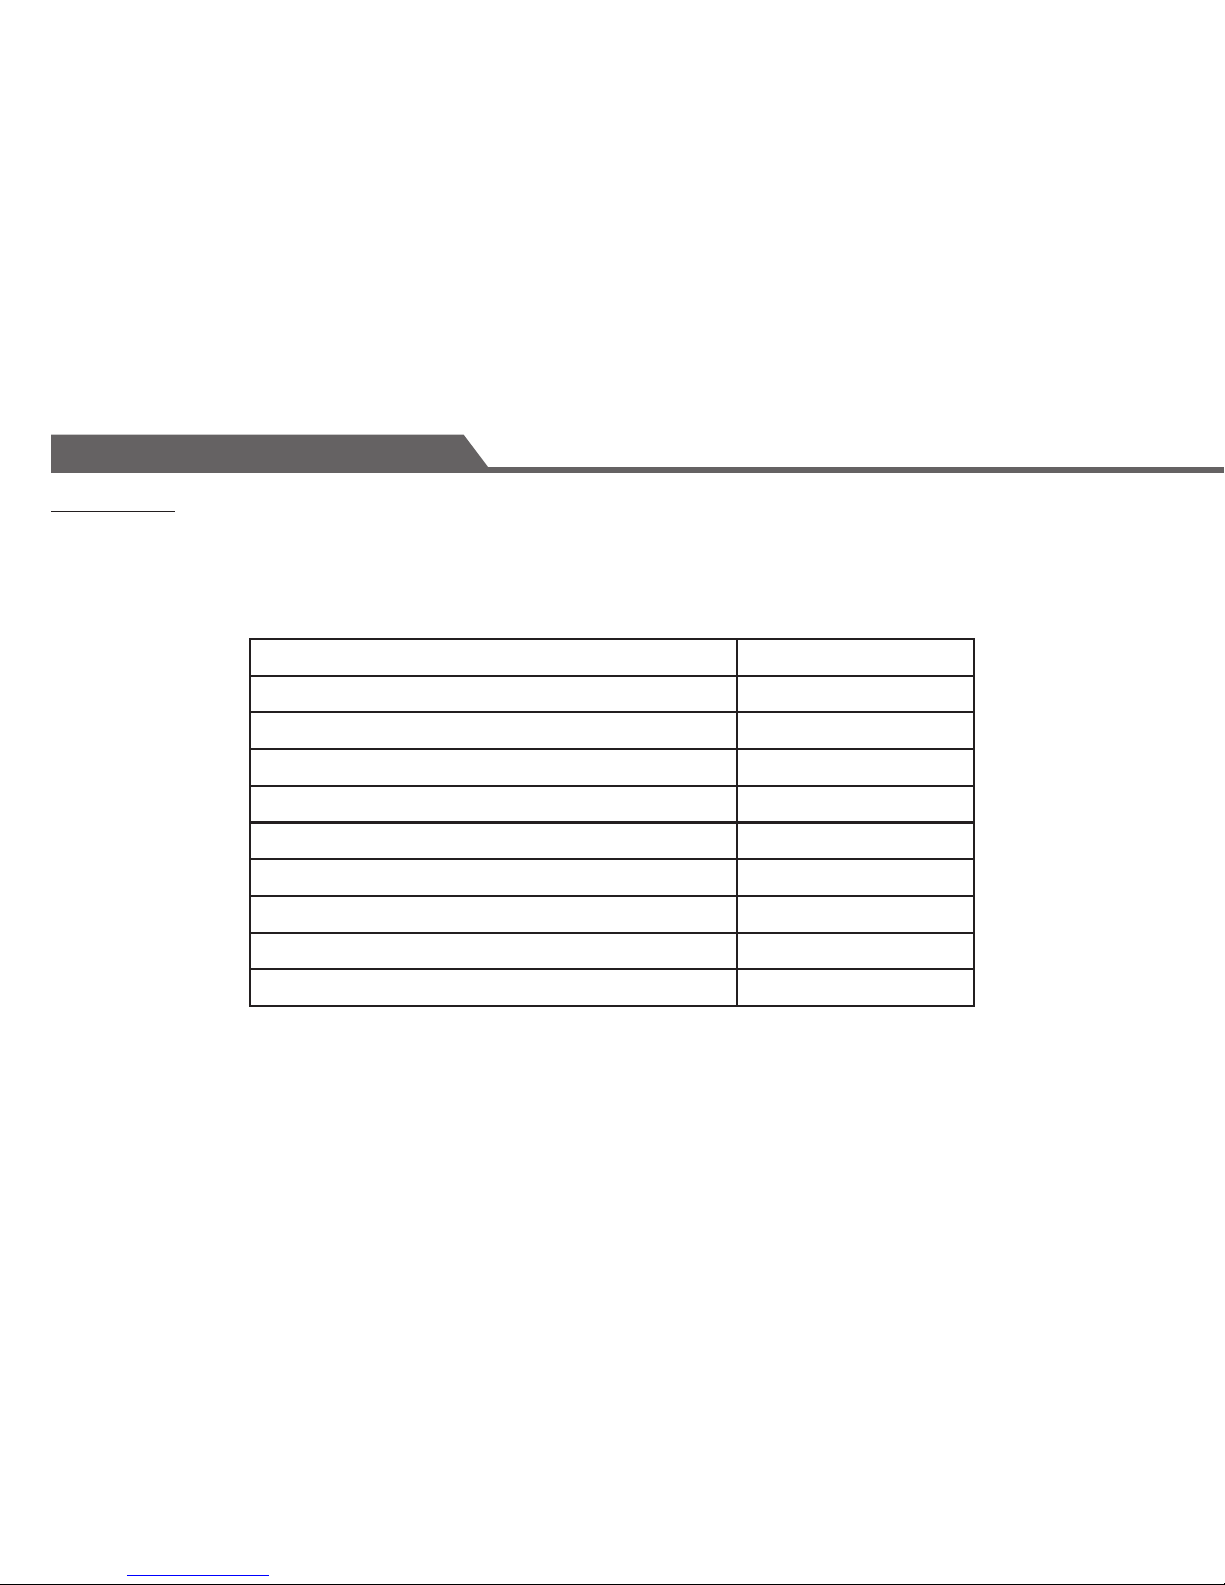
Compatibility
In general, equipment with high voltage control is only compatible with the electric baseboards, convectors or radiant
heating systems.
HEATING/COOLING SYSTEMS COMPATIBILTY
Central heating furnace system (24 V)**
Wall-mounted furnace
Multi-stage system
Single stage heat pump
Electric radiant oor heater
Heat pump
Electric baseboard heater (120 V/240 V) •
Fan assisted (convection heaters) •
Electric radiant ceiling heater •
**Not compatible with some hot water heating systems.
NOT COMPATIBLE WITH CENTRAL HEATING FURNACES (LOW-VOLTAGE CIRCUITS).
DO NOT WIRE TO A SYSTEM EXCEEDING 12.5 A (3000 W @ 240 V OR 1500 W @ 120 V)
5
Choosing a Location for the Thermostat
When replacing an existing thermostat, the new thermostat should be mounted on the existing metal electrical box
that controls your heater.
Safety Note: Ensure the thermostat is not near heat sensitive/ammable material, such as exposed wood, wallpaper,
loose papers, or other re hazards. The normal surface temperature of the operating thermostat is 45-55ºC (113-131ºF).
The thermostat is rated to operate safely at these temperatures but should be kept away from re hazards.
For NEW home installation, choose the location of the metal electrical box carefully.
It SHOULD BE MOUNTED:
・
Approximately 5' (1.5 m) from the oor.
・
Near or in a frequently used room, preferably on an inside partitioning wall.
・
On a section of wall without pipes or duct work.
It SHOULD NOT BE MOUNTED:
・
Near temperature-radiating objects that may cause false readings.
(For example: near a window, next to a door leading outside, or near the heat from a lamp,
direct sunlight or a replace.)
・
Near concealed pipes and chimneys.
・
In areas with poor air circulation. (For example behind a door or in an alcove.)
6
Installation
Installation Precautions
THIS PRODUCT MUST BE INSTALLED IN ACCORDANCE WITH THE CANADIAN ELECTRICAL CODE. IT
IS STRONGLY RECOMMENDED TO HAVE A CERTIFIED ELECTRICIAN ON SITE TO ENSURE THE SAFE
INSTALLATION OF YOUR THERMOSTAT. IN QUEBEC, THIS PRODUCT MUST BE INSTALLED BY A QUALIFIED
ELECTRICIAN.
The manufacturer assumes no responsibility for improper wiring, or any resulting damages.
Improper installation by a non-professional automatically voids the warranty.
Before installation begins:
• Verify that the heating appliance being connected to is within the specied load range.
• Ensure that the thermostat being replaced is also rated for 120 V or 240 V.
• Ensure that the heating system is protected by appropriate circuit breakers or fuses connected to
COPPER conductors only.
TO AVOID FIRE, SHOCK OR DEATH, SHUT OFF POWER
SUPPLY AT THE CIRCUIT BREAKER OR FUSE AND TEST
THAT THE POWER IS OFF BEFORE WIRING.

7
Installation Procedure
1. Disconnect the power to your existing thermostat and the heater(s)
it controls.
2. Remove the existing thermostat carefully and identify the two wires
from the wall box.
The wiring designation is generally: BYPASS / CONNECT.
3. Gently remove the faceplate from the new thermostat to reveal the
mounting holes but DO NOT remove the screws from the back of
the unit. These screws hold the thermostat together.
4. Using the wire nuts provided, securely fasten each wire from the
new thermostat to the live wires in the wall box. Refer to the
diagram.
CAUTION: ENSURE NO BARE WIRE IS EXPOSED.
Note: If there are four wires connected to the old thermostat,
the two extra wires should be connected together with a wire nut
(not supplied).
5. Mount the thermostat on the wall box, using the two supplied
screws, through the mounting holes, then replace the faceplate.
(Place screws in the two right or two left holes.)
6. Reconnect power supply. Installation is complete.
Installation
Remove Faceplate
To remove the
thermostat faceplate,
very gently apply
pressure to the crease
of the thermostat
to detach the four
notches. Then pull the
faceplate forward.
4-WIRE INSATALLATION:
Metal Wall Box
Wire Nut
Wire Nut
Bypass120 V/240 V AC Lines
Electric
Heater
 Loading...