

Page 1
H GARANTIE
Cet appareil est couvert par une garantie.
Les conditions de garantie sont fournies par le distributeur.
Le fabricant ne saurait être tenu pour responsable des informations
erronées issues d'erreurs d'impression ou de transcription dans le
présent manuel. Le fabricant se réserve le droit de modifier ses
produits, s'il le juge nécessaire ou
sans compromettre leur sécurité et leurs caractéristiques
techniques.
dans l'intérêt de l'utilisateur,
INSTRUCTIONS BOOKLET
CEHC029FSA CEHC129FSA
CEHC299FSA CEHC439FSA
COOKER HOOD
EnFr
Page 2
H WARRANTY
The new equipment is covered by warranty.
The warranty conditions are provided by the distributor.
The manufacturer is not liable for any inaccuracies in this booklet
resulting from printing or transcription errors. The manufacturer
reserves the right to modify its products as it considers necessary
or in the interests of the user,
safety and operating characteristics.
without compromising their essential
MANUEL D'INSTRUCTIONS
CEHC029FSA
CEHC299FSA CEHC439FSA
CEHC129FSA
HOTTE ASPIRANTE
En Fr
Page 3
A AVERTISSEMENTS
F PACKING LIST
Veuillez conserver ce manuel d'instructions avec l'appareil pour
toute référence ultérieure. Si vous vendez ou donnez cet appareil,
veillez à fournir ce manuel afin que le nouveau propriétaire dispose
de toutes les consignes de sécurité et informations relatives à
l'utilisation de l'appareil. Ces avertissements visent à garantir votre
sécurité et celle
attentivement avant d'installer et d'utiliser cet appareil.
Cet appareil n'est pas prévu pour être utilisé par des personnes (y
compris les enfants) dont les capacités physiques, sensorielles ou
mentales sont réduites, ou des personnes dénuées d'expérience ou
de connaissance, sauf si elles ont pu bénéficier, par l'intermédiaire
d'une personne responsable de
d'instructions préalables concernant l'utilisation de l'appareil.
des autres. En conséquence, veuillez les lire
leur sécurité, d'une surveillance ou
Il convient de surveiller les enfants pour s'assurer qu'ils ne jouent
pas avec l'appareil.
Si le câble d'alimentation est endommagé, il doit être remplacé par
le fabricant, son service après vente ou des personnes de
qualification similaire afin d'éviter un danger.
éventuelle du système électrique en vue de l'installation de l'appareil
doit être effectuée par un électricien qualifié.
Il est dangereux de modifier ou de tenter de modifier les caractéristiques
de ce système. En cas de
l'appareil par vous-même. Vous risqueriez d'endommager l'appareil ou
de vous blesser. Pour toute réparation ou intervention sur l'appareil,
contactez un centre agréé.
Assurez-vous toujours que les pièces électriques (éclairage, système
d'aspiration) sont hors tension lorsque vous n'utilisez pas l'appareil.
Lisez entièrement ce manuel d'instructions avant
l'appareil.
Cette hotte aspirante est uniquement conçue pour l'extraction des
fumées de cuisine. Le fabricant ne saurait être tenu pour
responsable de l'utilisation détournée de l'appareil. Le poids
maximal de tout objet placé sur la hotte, ou accroché à celle-ci (le
cas échéant),
partie métallique de la hotte, nettoyez-la pour retirer les résidus de
colle et les tâches de graisse ou d'huile. Il est conseillé d'utiliser le
chiffon de nettoyage recommandé par le fabricant. Le fabricant ne
saurait être tenu pour responsable des
de différents types de détergents.
ne doit pas dépasser 1,5 kilos. Après avoir installé la
dysfonctionnement, ne tentez pas de réparer
dommages liés à l'utilisation
Toute modification
toute intervention sur
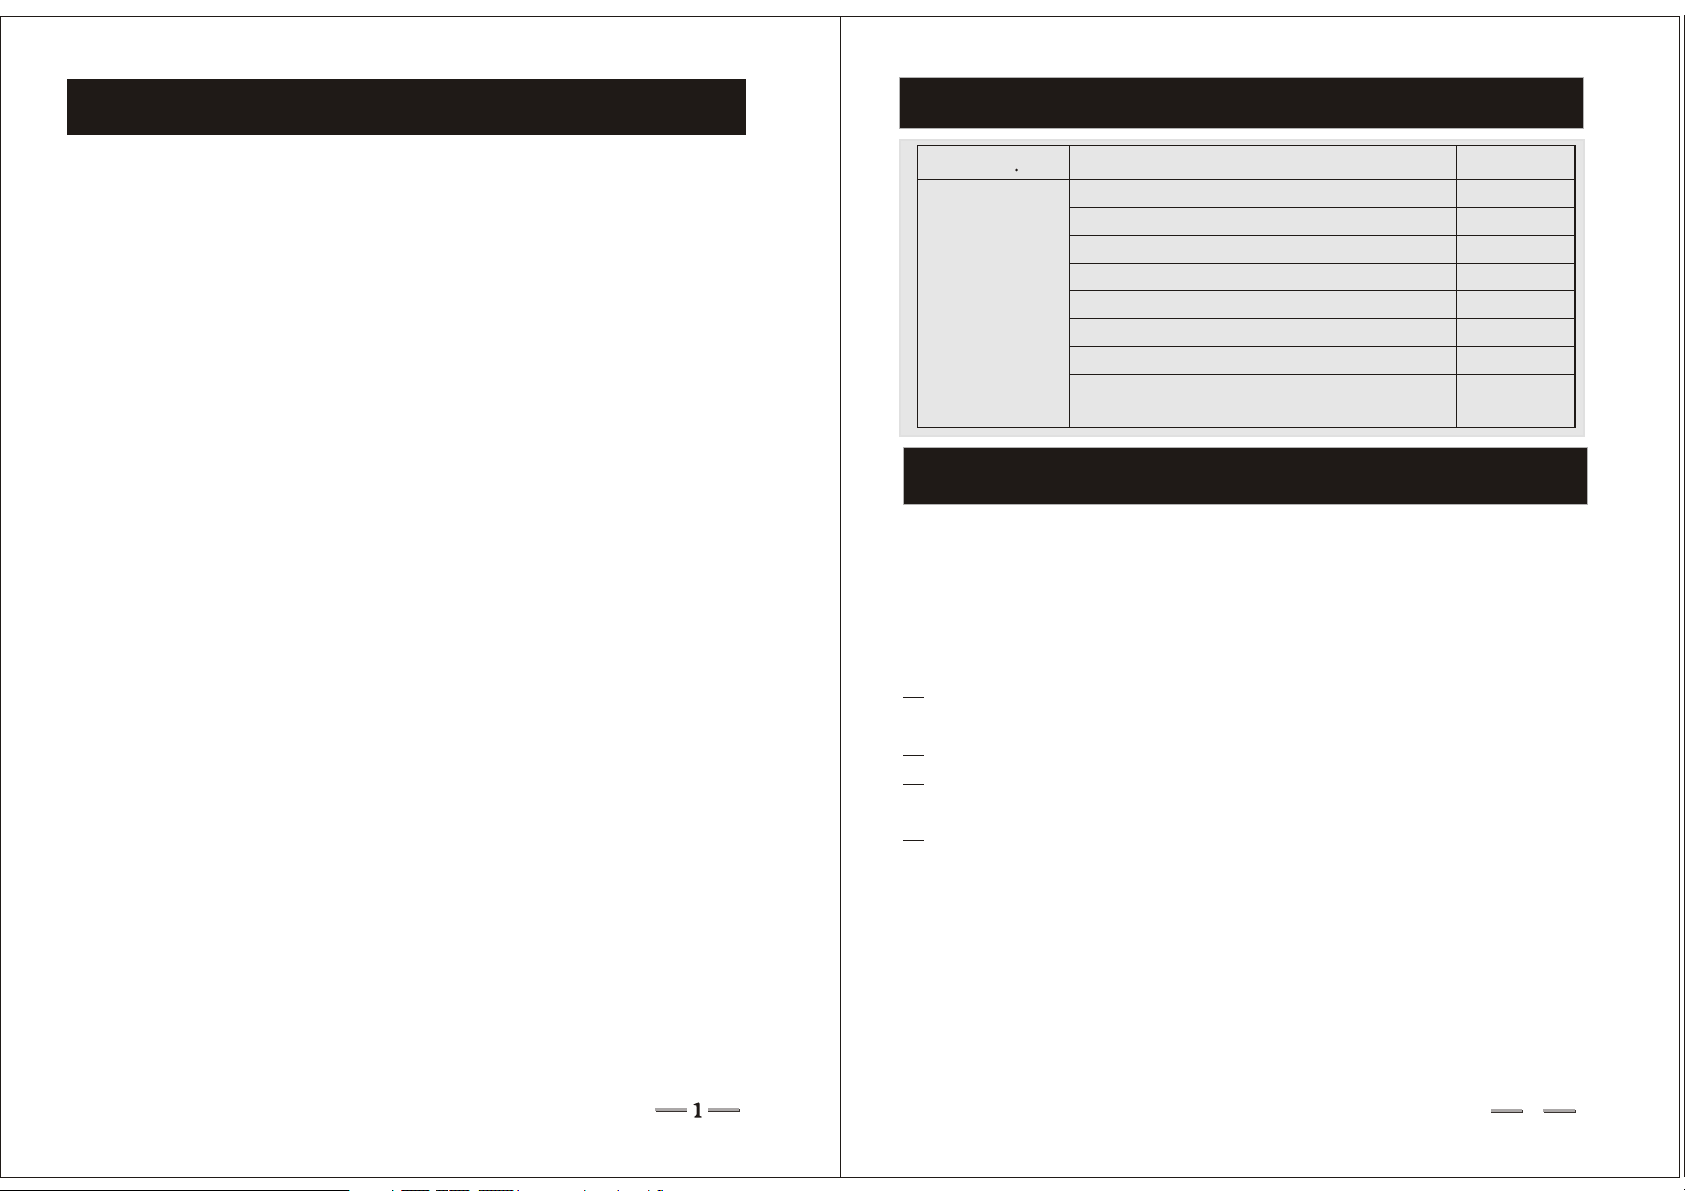
Model No
CEHC0 29FS A
CEHC1 29FS A
CEHC2 99FS A
CEHC4 39FS A
Instructions booklet
Cooker hood
Element
Extension
Bracket
Support bar
Duct
Plastic screw anchors
Corresponding screws
Name
Etc.
Quantity
1
1
1
1
1
1
1
1bag
G SAFETY WARNINGS
Do not connect the appliance to flues(from boilers, fireplace, etc.). Make
sure the mains voltage corresponds to the values on the rating plate
located inside the cooker hood. The minimum safety distance between
the cooktop and the cooker hood must be at least 650mm.
Never cook on open flames under the cooker
Check deep-fryers during use: superheated oil may be flammable.
Ensure there is adequate ventilation of the room when the cooker hood
is used at the same time as appliances burning gas or other fuels.
Do not flambe under the cooker hood
The exhaust air
exhausting fumes from appliances burning gas or other fuels.
Ensure that all regulations concerning the discharge of exhaust air
have been fulfilled before you use the appliance.
Before performing any cleaning or maintenance operations,
disconnect the appliance by unplugging it or using the main switch.
The manufacturer disclaims all liability for any damage that may be
directly or indirectly caused to people, things and animals due to
the failure to follow all the instructions provided in this booklet and
above all the warnings relating to
maintenance of the appliance.
must not be discharged into a flue which is used for
the installation, operation and
EnFr
hood.
6
Page 4

E MAINTENANCE AND CLEANING
B INSTRUCTIONS DE MONTAGE
Constant maintenance ensures the correct operation and efficiency of
the appliance over time. Special attention should be paid to the metal
grease-trapping filters and the charcoal filters. Frequent cleaning of
the filters and their supports will ensure that fats and grease do not
accumulate on the cooker hood, with the consequent
risk of fire.
1. METAL GREASE-TRAPPING FILTERS
These trap the fat and grease particles suspended in the air, and
therefore should be washed every month in hot water and detergent,
without bending them. Wait until they are completely dry before
repositioning them. The metal filters could be cleaned in a dishwasher.
2. CHARCOAL
FILTERS
These trap the odours present in the stream of air that passes through
them. The air is purified by passing a number of times through the filters
and being recirculated into the kitchen. The charcoal filters cannot be
cleaned, and should be replaced on average every 3-4 months(according
to use).
3. CLEANING THE OUTSIDE OF THE APPLIANCE
The outside of the cooker hood should be cleaned using a damp cloth
and neutral liquid detergent or denatured alcohol.
Do not use products that contain abrasive substances, rough cloths or
cloths specifically designed for cleaning steel. Using abrasive substances
or rough cloths will
inevitably damage the finish of steel.
The steel surface will be irrevocably damaged if the instructions above
are not complied with.
Keep these instructions together with the instructions for use of your
hood.
The manufacturer accepts no liability for any damage caused by
non-compliance with the instructions above.
4. CLEANING THE INSIDE OF
THE APPLIANCE
The electrical parts or parts of the motor assembly inside the range
hood must not be cleaned using liquids or solvents.
Do not use abrasive products.
All the above operations must be performed after having
disconnected the appliance from the mains power supply.
Étape 1
Posez la barre de support contre le mur en respectant un écart avec le plan
de travail calculé comme suit : X+(650~700) mm (Fig.1).
Vérifiez l'alignement horizontal à l'aide d'un niveau à bulle et marquez les 4
trous à percer (1).
Percez les trous. Insérez les chevilles de 8 mm (2) et fixez la barre (3) à l'aide
des vis correspondantes (Fig. 2).
Étape 2
Après avoir déterminé la position optimale, posez le support (B) contre le mur,
vérifiez l'alignement horizontal à l'aide d'un niveau à bulle et marquez les 2
trous à percer aux extrémités. Percez les trous (4). Insérez les 2 chevilles de
8 mm (5) et fixez le support (B) à l'aide des vis correspondantes.
Étape 3
Positionnez le verre sur la hotte, fixez-le en utilisant 4 vis. Insérez le conduit
dans le raccord prévu pour celui-ci et fixez-le à l'aide
Le kit de recyclage d'air a été préfixé dans la rallonge. Pour séparer le kit de
recyclage d'air et la rallonge, fixez le tuyau, puis réinstallez le kit de recyclage
et la rallonge.
Étape 4
Fixez la rallonge à
P lacez l'élément et la rallonge sur le conduit d'évacuation jusqu'à insertion
complète.
Étape 5
Accrochez la hotte de la plaque de cuisson sur la barre de support Assurez vous qu'elle soit solidement fixée (9).
Étape 6
Faites
Étape 7
de fixation (B) à l'aide des vis
(11).
Étape 8
nécessaire. (Fig. 4).
sortir le conduit à l'extérieur de la cuisine, comme sur la Fig. 3 (10)
Vissez la rallonge sur la patte
our le filtre à charbon si
l'élément (8) en la faisant glisser à la hauteur souhaitée.
X
de deux vis ST2.9*10 (7).
Fig.1
En Fr
5
2
Page 5

1:2
D OPERATION
B
A
Fig.2
1:2
Fig.3
Fig.4
(9)
(9)
C SPÉCIFICATIONS TECHNIQUES
N° de modèle
Éclairage
Puissance
Niveau
acoustique
CEHC029FSA
CEHC129FSA
CEHC299FSA
CEHC439FSA
20W×2
220V~240V/50Hz
58dB(A)
52dB(A)
48dB(A)
Puissance du
moteur
Dimensions
Conduit
d'extraction
Capacité
d'aspiration
(1)
190W
600×500×560
900×500×560
150mm
3
700
m/h
3
460
m/h
3
300
m/h
1. FIVE FINGER TOUCH BUTTON CONTROL PANEL
LIGHT button
Touched: the light is on Touched again: the light is off
MOTOR button 1,2,3,OFF
1: start the motor at minimum speed
2: start the motor at medium speed
3: start the motor at maximum speed
OFF:
Touched : stops the motor after 1
minute and shows a flickering light
OFF LIGHT
321
Fig.5
Touched again: stops the motor immediately
2.FOUR ELECTRONIC BUTTON CONTROL PANEL
Tur n on the power, the buzzer will buzz once. The sound shows that the
appliance is powered.
LIGHT button
Pushed: the light is on
Pushed again: the light is off
LIGHT
21
3
MOTOR button - 1,2,3
1: starts the motor at minimum speed, the indicating light on, the buzzer
buzz once, Push it again the motor will stop.
will
2: starts the motor at medium speed, the indicating light on, the buzzer
will buzz once, Push it again the motor will stop.
3: starts the motor at maximum speed, the indicating light on, the buzzer
will buzz once, Push it again the
motor will stop.
3
EnFr
4
Page 6

D FONCTIONNEMENT
1:2
B
A
Fig.2
1:2
Fig.3
Fig.4
(9)
(9)
C TECHNICAL SPECIFICATIONS
CEHC029FSA
Model No
Illumination
Power
Noise
CEHC129FSA
CEHC299FSA
CEHC439FSA
20W×2
58dB(A)
52dB(A)
48dB(A)
Motor inpu t power
Dimension
Duct output
Suction capacity
(1)
190W
600×500×560
900×500×560
150mm
3
700
m/h
3
460
m/h
3
300
m/h
1. PANNEAU DE COMMANDE TACTILE
Touche LIGHT
Première pression sur la touche : l'éclairage s'allume.
Deuxième pression sur la touche : l'éclairage s'éteint.
Touche MOTOR (positions 1, 2, 3, OFF)
1 : le moteur passe en vitesse minimale.
2 : le moteur passe en vitesse moyenne.
3 : le moteur passe en vitesse maximale
Touche
Une pression sur la
OFF:
touche : arrête le moteur au bout de 1 minute, un voyant
OFF LIGHT
321
Fig.5
clignote.
U ne deuxième pression sur la touche : arrête le moteur immédiatement.
2. PANNEAU DE COMMANDE ÉLECTRONIQUE
Mettez l'appareil sous tension. Un signal sonore retentit pour indiquer que
l'appareil est prêt à l'emploi.
Touche LIGHT
Première pression sur la touche : l'éclairage s'allume.
Deuxième pression sur la touche : l'éclairage s'éteint.
Touche MOTOR (positions 1, 2, 3)
1 : le moteur passe en vitesse minimale.
Le voyant correspondant s'allume et un
LIGHT
21
signal sonore retentit. Appuyez une nouvelle fois sur la touche pour arrêter le
moteur.
2 : le moteur passe en vitesse moyenne. Le voyant correspondant s'allume et un
signal sonore retentit. Appuyez une nouvelle fois sur la touche pour arrêter le
moteur.
3 : le moteur passe en vitesse maximale. Le voyant correspondant s'allume et un
signal sonore retentit. Appuyez une nouvelle fois sur lat ouche pour arrêter le
moteur.
3. PANNEAU DE COMMANDE A TOUCHE CINQ PRESSIONS
Voyant LUMINEUX
U ne pression sur la touche : le voyant s'allume ;
une deuxième pression : le voyant
le moteur passe en vitesse minimale.
s'éteint.
le moteur passe en vitesse moyenne.
le moteur passe en vitesse maximale
le moteur s'arrête
3
En Fr
3
4
Page 7

E ENTRETIEN ET NETTOYAGE
B MOUNTING INSTRUCTIONS
Un entretien régulier de l'appareil garantira son fonctionnement et son
efficacité. Une attention toute particulière doit être apportée aux filtres
à graisse métalliques et aux filtres à charbon. Le nettoyage fréquent
des filtres et de leurs supports empêche l'accumulation de graisses sur
la hotte et réduit les risques d'incendie.
1.FILTRES À
Ces filtres captent les particules de graisse en suspension dans l'air. Il
est recommandé de les faire tremper dans un mélange d'eau chaude et
de détergent au moins une fois par mois, en veillant à ne pas les courber.
Attendez qu'ils soient entièrement secs avant de les remettre en
Les filtres métalliques peuvent passer au lave-vaisselle.
2.FILTRES À CHARBON
Ces filtres captent les odeurs présentes dans l'air aspiré. L'air traverse
plusieurs fois ces filtres pour être purifié puis renvoyé dans la cuisine.
Les filtres à charbon ne peuvent pas être nettoyés. Ceux-ci doivent être
remplacés tous les 3 à 4
3.NETTOYAGE DE L'EXTÉRIEUR DE L'APPAREIL
Nettoyez l'extérieur de l'appareil à l'aide d'un chiffon humide et de
détergent liquide neutre ou d'alcool dénaturé.
N'utilisez pas de produits à base de substances abrasives, de chiffons
rêches ou de chiffons conçus pour le nettoyage des surfaces métalliques.
L'utilisation de substances abrasives ou
endommager définitivement la finition métallique.
Veuillez respecter les instructions ci-dessus pour ne pas endommager
la surface métallique de la hotte.
Conservez ces instructions pour toute référence ultérieure.
Le fabricant ne saurait être tenu pour responsable des dommages liés
au non-respect des instructions ci-dessus.
4.NETTOYAGE DE L'INTÉRIEUR DE L'APPAREIL
parties électriques ou les pièces du moteur de la hotte ne doivent
Les
pas être nettoyés à l'aide de liquides ou de solvants.
N'utilisez pas de produits abrasifs.
Veillez à débrancher l'appareil du secteur avant de suivre les
instructions fournies ci-dessus.
GRAISSE MÉTALLIQUES
place.
mois (selon l'utilisation).
de chiffons rêches peut
Step 1
Rest the support bar against the wall at a height from the cooktop
determined by the sum of the distance X +(650~700)mm(Fig.1).
Check the horizontal alignment with a spirit level and mark the 4 holes
to be drilled(1).
Drill the holes,
bar(3) using the corresponding screws(Fig2).
Step 2
Once having found the optimum position, rest the bracket(B) against
the wall, check the horizontal alignment using a spirit level and mark
the 2 holes to be
Drill the holes(4), insert 2 x 8mm dia. screw anchors(5) and fasten the
bracket(B)using the corresponding screws.
Step 3
Put the glass on the hood ,fasten it using 4 relative screws.Insert the
duct on the duct connection, fix the duct using
Recirculation kit was pre-fixed in the extension. To separate the
insert four 8mm dia. screw anchors(2), and fasten the
drilled at the ends.
two ST2.9*10 screws(7)
.
recirculation kit and extension, assemble the pipe, then reinstall the
recirculation kit and extension.
Step 4
Fix the extension to element(8), sliding it to the desired height.
Place element and the extension onto the chimney until is fully inserted.
Step 5
Hook the cooker hood to the support bar. Make sure that it is fully
hooked(9).
Step 6
Lead the duct out side the
kitchen as per Fig.3(10).
Step 7
Tighten the extension
to the bracket(B) using
the screws(11).
X
Step 8
For Carbon filter if
necessary.(Fig.4)
Fig.1
5
EnFr
2
Page 8

A WARNINGS
F INVENTAIRE
This instruction booklet must be kept together with the appliance
for future reference. If the appliance is sold or consigned to other
parties, check that the booklet is supplied with it, to ensure that
the new user has the correct information on the operation of the
cooker hood and is aware
been provided for your safety and the safety of others. As a result,
please read them carefully before installing and operating the
appliance.
This appliance is not intended for use by young children or infirm
persons unless they have been adequately supervised by a responsible
person to ensure that they can use the appliance safely. Young children
should be supervised to ensure they do not play with the appliance.
The appliance must be installed by qualified personnel, in accordance
with the standards in force. If the supply cord is damaged, it must be
re-placed by the manufacturer,
persons in order to avoid a hazard. Any modifications that may be
required to the electrical system for the installation of the cooker hood
must only be made by qualified electricians.
It is dangerous to modify or attempt to modify the characteristics of this
system. In
appliance, do not attempt to solve the problems directly.
Repairs performed by unqualified persons may cause damage. For all
repair and other work on the appliance, contact an authorised service/
spare parts centre.
Always check that all the electrical parts(lights,
when the appliance is not being used. Read the entire instruction booklet
before performing any operations on the cooker hood.
The cooker hood must only be used for the exhaust of cooking
fumes in home kitchens. The manufacturer disclaims all liability
for any other use of the
object placed above the hood, or hung to it(if possible) must not
exceed 1,5 kilos. After installing the stainless steel hood, clean
it in order to remove any residue of the protective glue, and stains
of grease or oil. The manufacturer recommends its cleaning cloth
available for purchase. The manufacturer accepts no liability in
case of damage caused by the use of different detergent types.
the event of malfunctions or if repairs are required to the
of the warnings. These warnings have
its service agent or similarly qualified
exhaust device), are off
appliance. The maximum weight of any
N° de
modèle
CEHC0 29FS A
CEHC1 29FS A
CEHC2 99FS A
CEHC4 39FS A
Nom
Manuel d’instructions
Hotte
Élément
Extension
Barre de support
Support
Conduit
Chevilles en plastique
Vis correspondantes,etc
Quantité
1
1
1
1
1
1
1
1 sachet
G CONSIGNES DE SÉCURITÉ
Ne raccordez pas l'appareil aux conduits d'autres appareils (chaudière,
cheminée, etc.). Assurez-vous que la tension du secteur correspond à
celle indiquée sur la plaque signalétique située à l'intérieur de la hotte.
La distance de sécurité minimale entre le plan de travail et la hotte doit
être de 650 mm.
Ne faites
Si vous utilisez une bassine à friture, veillez à ce que l'huile bouillante
ne s'enflamme pas.
Assurez-vous que la pièce est correctement aérée lorsque vous
utilisez la hotte avec d'autres appareils à combustible (gazinières,
par exemple).
Ne faites pas flamber vos aliments sous la hotte.
L'air ne doit ne pas être évacué dans un conduit d'extraction de
fumées provenant d'appareils à combustible.
Assurez-vous de la conformité du système d'évacuation de l'air avant
d'utiliser l'appareil.
Avant
hors tension. Le fabricant ne saurait être tenu responsable des
dommages directs ou indirects causés à des personnes, des objets
ou des animaux en cas de non-respect des instructions fournies
dans ce manuel, notamment celles concernant l'installation, le
fonctionnement et l'entretien de l'appareil.
pas flamber vos aliments sous la hotte.
toute intervention sur l'appareil, débranchez-le ou mettez-le
En Fr
6
 Loading...