

Page 1
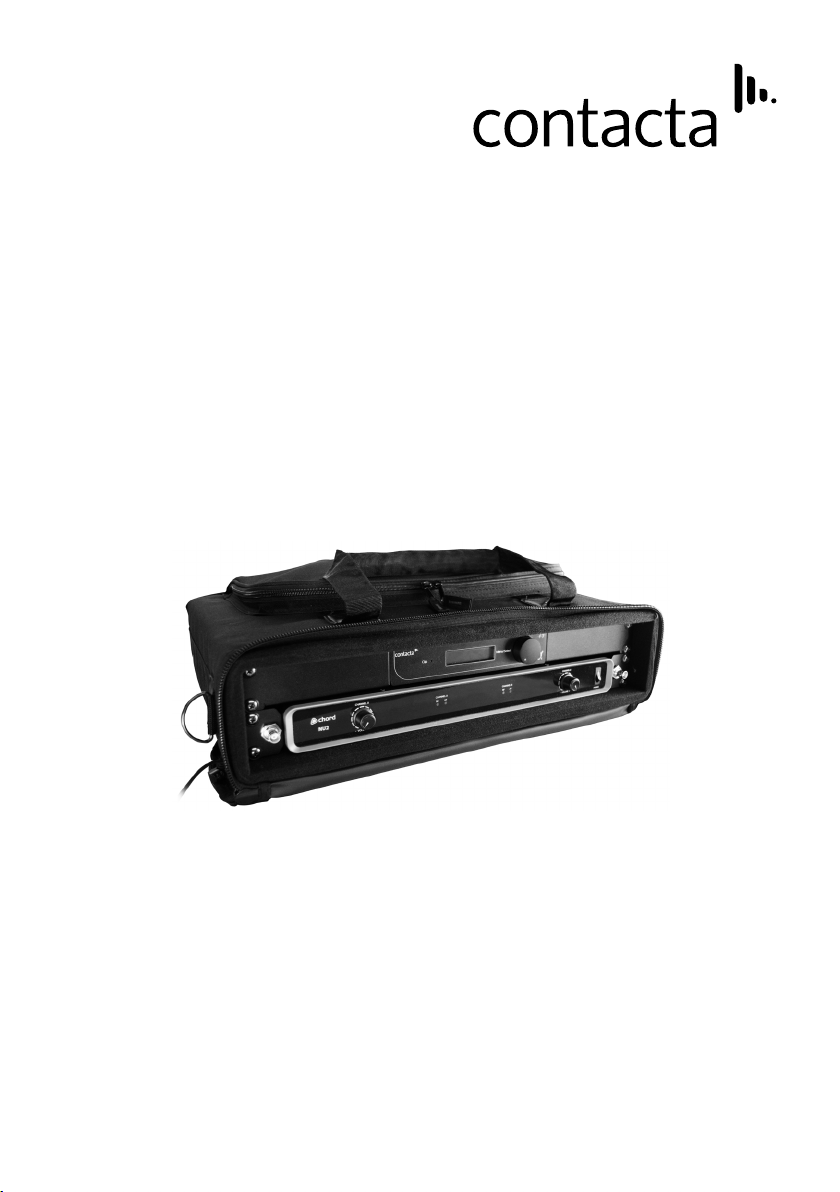
Portable Large Area Loop
PLALS-V
Set-Up Guide
January 2018
1
Page 2

Contents
Product Overview
Components
Installation & Testing Instructions
Troubleshooting
3
4
5
6
Contacta has a policy of continuous product development, therefore small specication changes
may not be reected in this manual. Images, labels, packaging, accessories and product colours
are subject to change without notice.
2
Page 3
Product Overview
Our Portable Large Area Loop is an all-in-one fully portable hearing
loop, ideal as a temporary solution or for use in multiple venues.
It has a built in V7 constant current hearing loop driver, a multi-
frequency receiver, and an auxiliary input. The receiver is licence-free
and generally approved for operation in EU and EFTA countries.
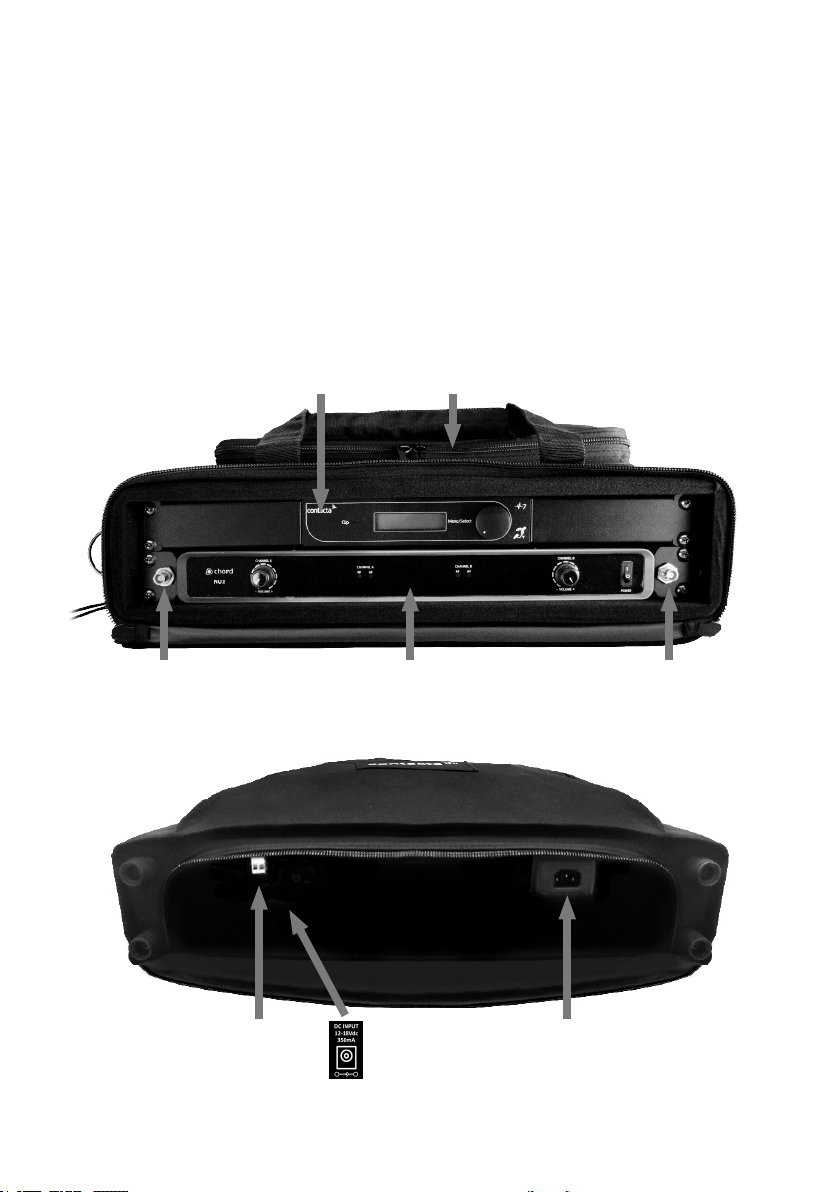
Front of Portable Large Area Loop
V7 Hearing
Loop Driver
Accessory Pouch
Aerial
Connection #1
Chord NU2
Multi-Frequency Receiver
Rear of Portable Large Area Loop
Loop Input
Connector
[Note: Recessed]
Chord NU2 Power Supply Input
Aerial
Connection #2
V7 Power Supply Input
3
Page 4
Components
4
1
2
9
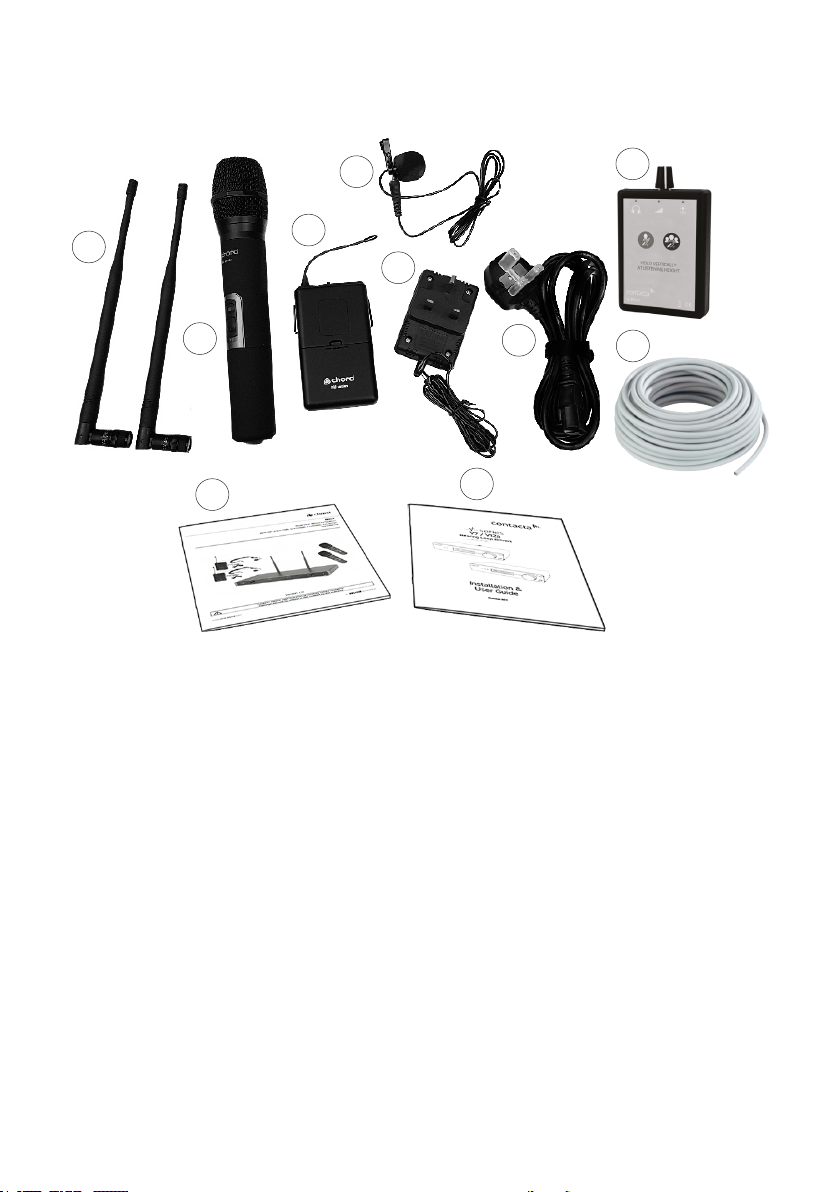
1. Aerials x2
2. Handheld Microphone
3. Multi-Frequency Beltpack Microphone
4. Lapel Microphone
5. Chord NU2 Power Supply
6. V7 Power Supply
7. Loop Listener
8. Hearing Loop Cable
9. Chord NU2 Multi-Frequency Receiver User Guide
10. V7 Hearing Loop Driver User Guide
3
5
6
10
7
8
4
Page 5

Installation & Testing Instructions
Note: Consult the provided Chord NU2 Multi-Frequency Receiver and
V7 Hearing Loop Driver’s user guides if instructions are required.
1. Run the provided hearing loop cable around the area you wish to
loop, ensuring that it is taped down securely. Do not leave any
trailing leads that may cause a trip hazard.
2. Connect the hearing loop cable to the loop input connector on the
rear of the Portable Large Area Loop.
3. Unpack the 2 aerials from the accessory pouch. Connect them to
aerial connection #1 and #2 on the front of the Portable Large Area
Loop.
4. Connect both the V7 power supply and the Chord NU2 power
supply to their respective power supply inputs on the rear of the
Portable Large Area Loop; then connect the power supplies to a
mains power source.
5. Power on the Chord NU2 Multi-Frequency Receiver.
6. Unpack the Handheld Microphone from the accessory pouch and
turn the power on. The Channel A/B “RF” LED on the Chord NU2
will light up once the Handheld Microphone has been powered on.
7. Unpack the Loop Listener from the accessory pouch and turn the
power on. Connect it to the provided headphones.
8. While using the Loop Listener, speak into the Handheld
Microphone. Ensure the signal strength of the hearing loop meets
requirements.
9. If necessary, adjust the signal strength of the hearing loop using
the V7 Hearing Loop Driver to achieve required levels. For detailed
instructions, consult the provided V7 user guide.
10. Installation and testing is now complete.
5
Page 6

Troubleshooting
Symptom Possible Fault Action
No audio is available
through the hearing loop.
1) The user’s hearing instrument
is not turned on.
2) No power to the system.
1) Switch the hearing instrument
to the Telecoil setting.
2) Check that the power supply is
connected to the Portable Large
Area Loop and switched on at
the mains power source.
Audio through the hearing
loop is too quiet.
Interference (buzzing,
whistling or hissing) is
heard through the hearing
loop.
3) The microphone is switched
o.
4) The microphone is muted.
5) The microphone is positioned
incorrectly.
6) Drive level too low.
7) The hearing loop aerials are
not connected.
8) The Chord NU2 Multi-
Frequency Receiver is turned o.
1) Microphone sensitivity is too
low
2) Drive level is too low.
3) Line level is too low.
4) Receiver level is too low.
1) Unscreened or poorly earthed
third party equipment is being
used in close proximity.
3) Check batteries/charge level.
4) Check the mute switch on the
microphone is not held.
5) Reposition the microphone
input so that the speaker comes
through clearly.
6) Adjust the V7 Hearing Loop
Driver’s drive level.
7) Ensure the aerial is plugged
into a power socket.
8) Turn on the Chord NU2 Multi-
Frequency Receiver.
1) Adjust the V7 Hearing Loop
Driver’s microphone level.*
2) Raise the V7 Hearing Loop
Driver’s drive level.*
3) Raise the V7 Hearing Loop
Driver’s line level.*
4) Raise the Chord NU2
*
multi-frequency receiver’s
level.*
1) Switch o any third party
equipment to identify the source
of interference.
Please contact your distributor (or Contacta if appropriate) if you are experiencing technical diiculties
with the product.
*Consult the provided Chord Nu2 and V7 user guides if instructions are required.
6
Page 7

7
Page 8
Local dealer:
UK & ROW
+44 (0) 1732 223900
Contacta Systems Ltd.
Oice 13, Dana Trading Estate
Transfesa Road
Paddock Wood, Tonbridge
TN12 6UT
www.contacta.co.uk
US & Canada
+1 616 392 3400
8
 Loading...