

Page 1
www.conta-clip.com
Installing the Driver of your Plotter- / Engraver
By executing the supplied setup program the driver for your device will be pre-installed. When the
device is switched on after the software setup, Windows completes the installation of the driver
installation automatically.
Please leave your plotter / engraver switched off during the software setup.
The driver is compatible with the windows versions 2000, XP, Vista, 7, 8, und 8.1.
The installation process for the different windows versions is described in detail.
1. Vista and Windows 7
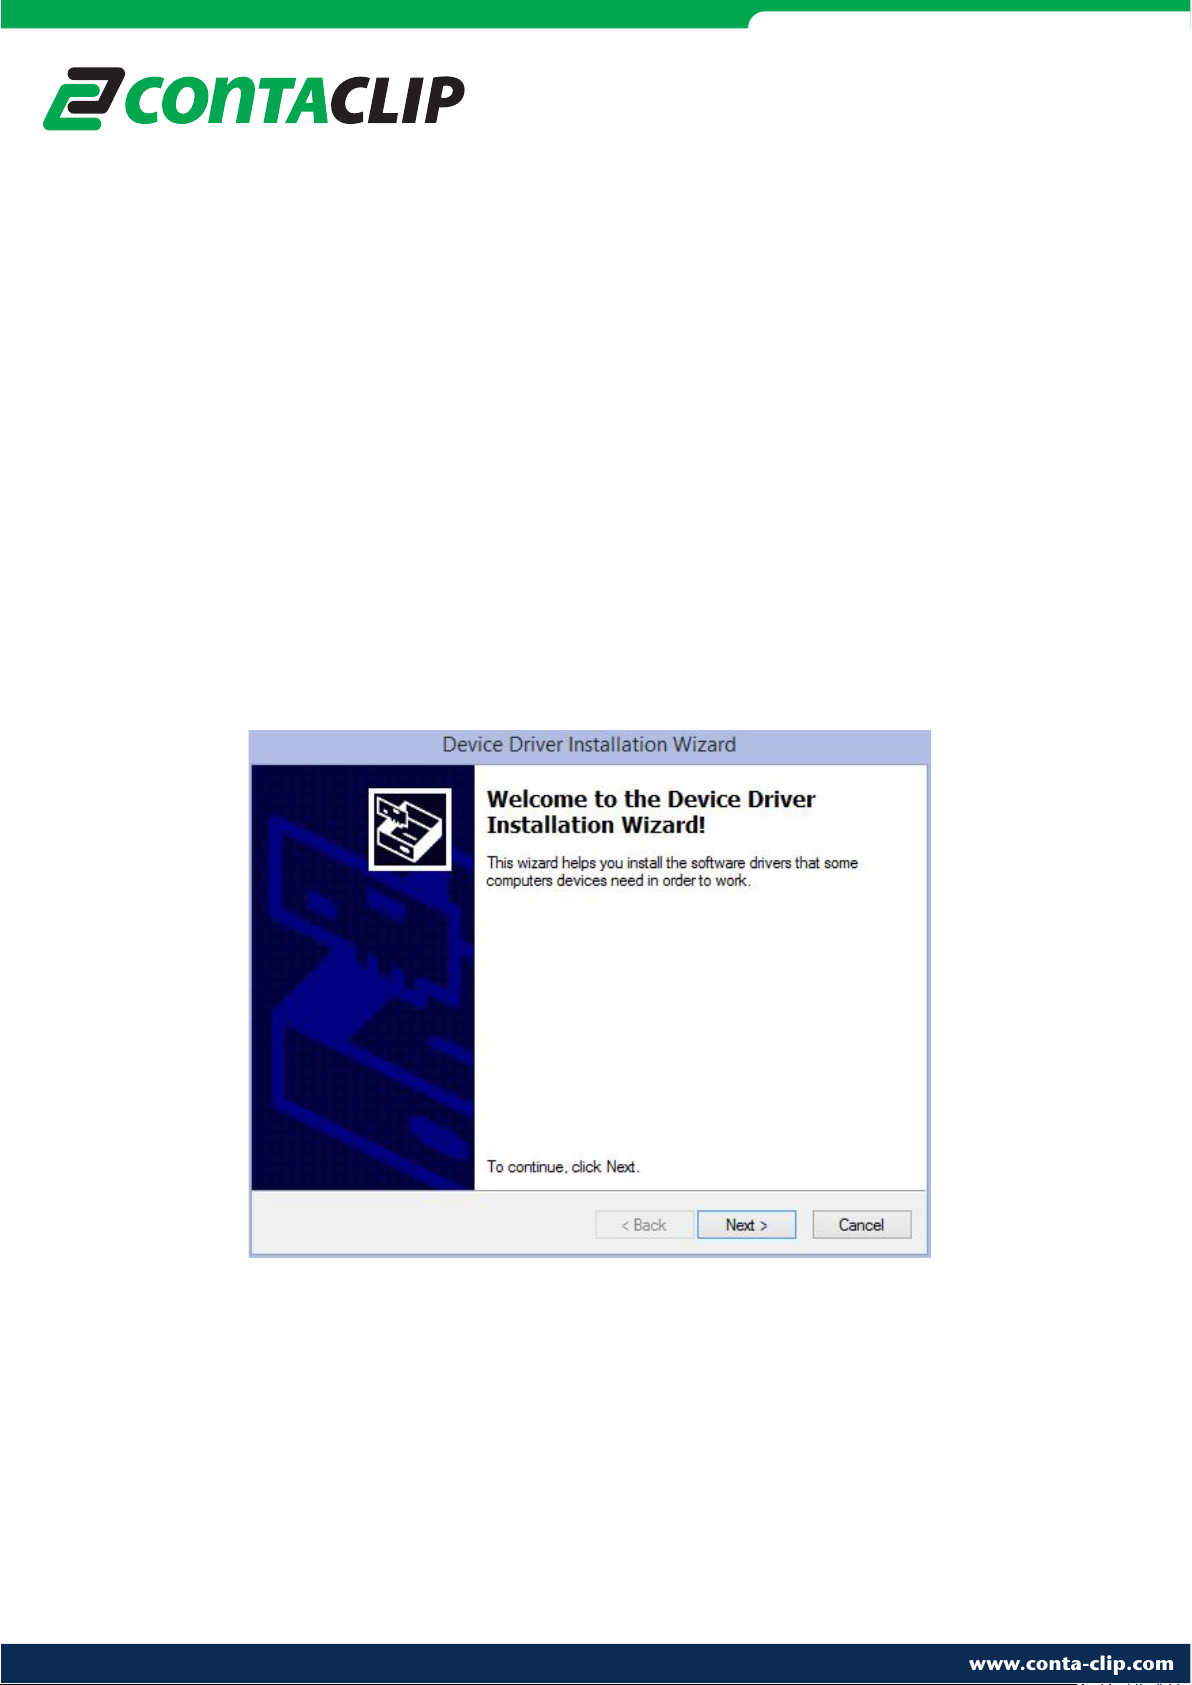
1. Open the Folder “Psetup” and start the program “psetup.exe”
A window named “Device Diver Installation Wizard” will appear.
Click on “next” to begin the driver installation.
Page 2
www.conta-clip.com
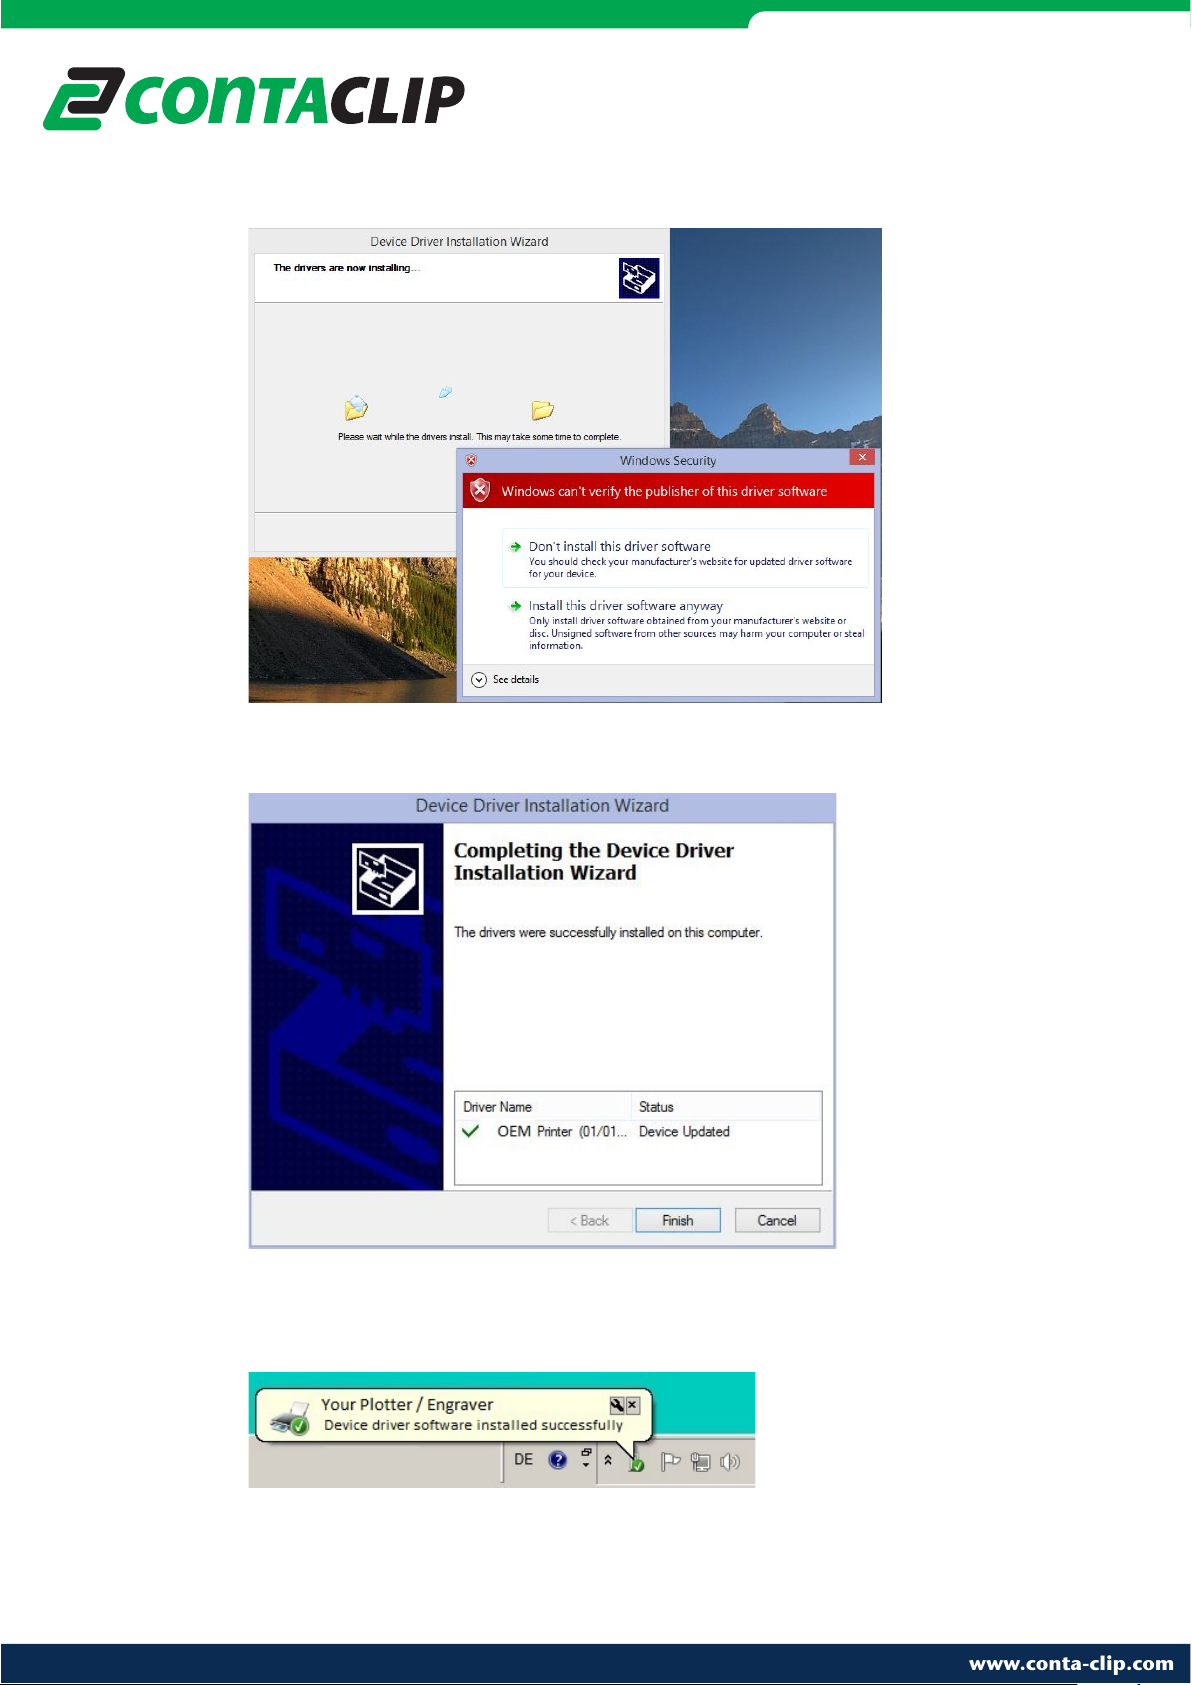
2. When the message: “Windows can’t verify the publisher of this driver software”
appears, click on “Install this driver software anyway”.
3. Click on the “Finish” button to complete the driver pre-installing process.
4. When the plotter / engraver is switched on the first time, Windows completes the driver
installation automatically. After completion, you will be notified by a taskbar bubble.
2. Windows 8 and Windows 8.1
Page 3
www.conta-clip.com
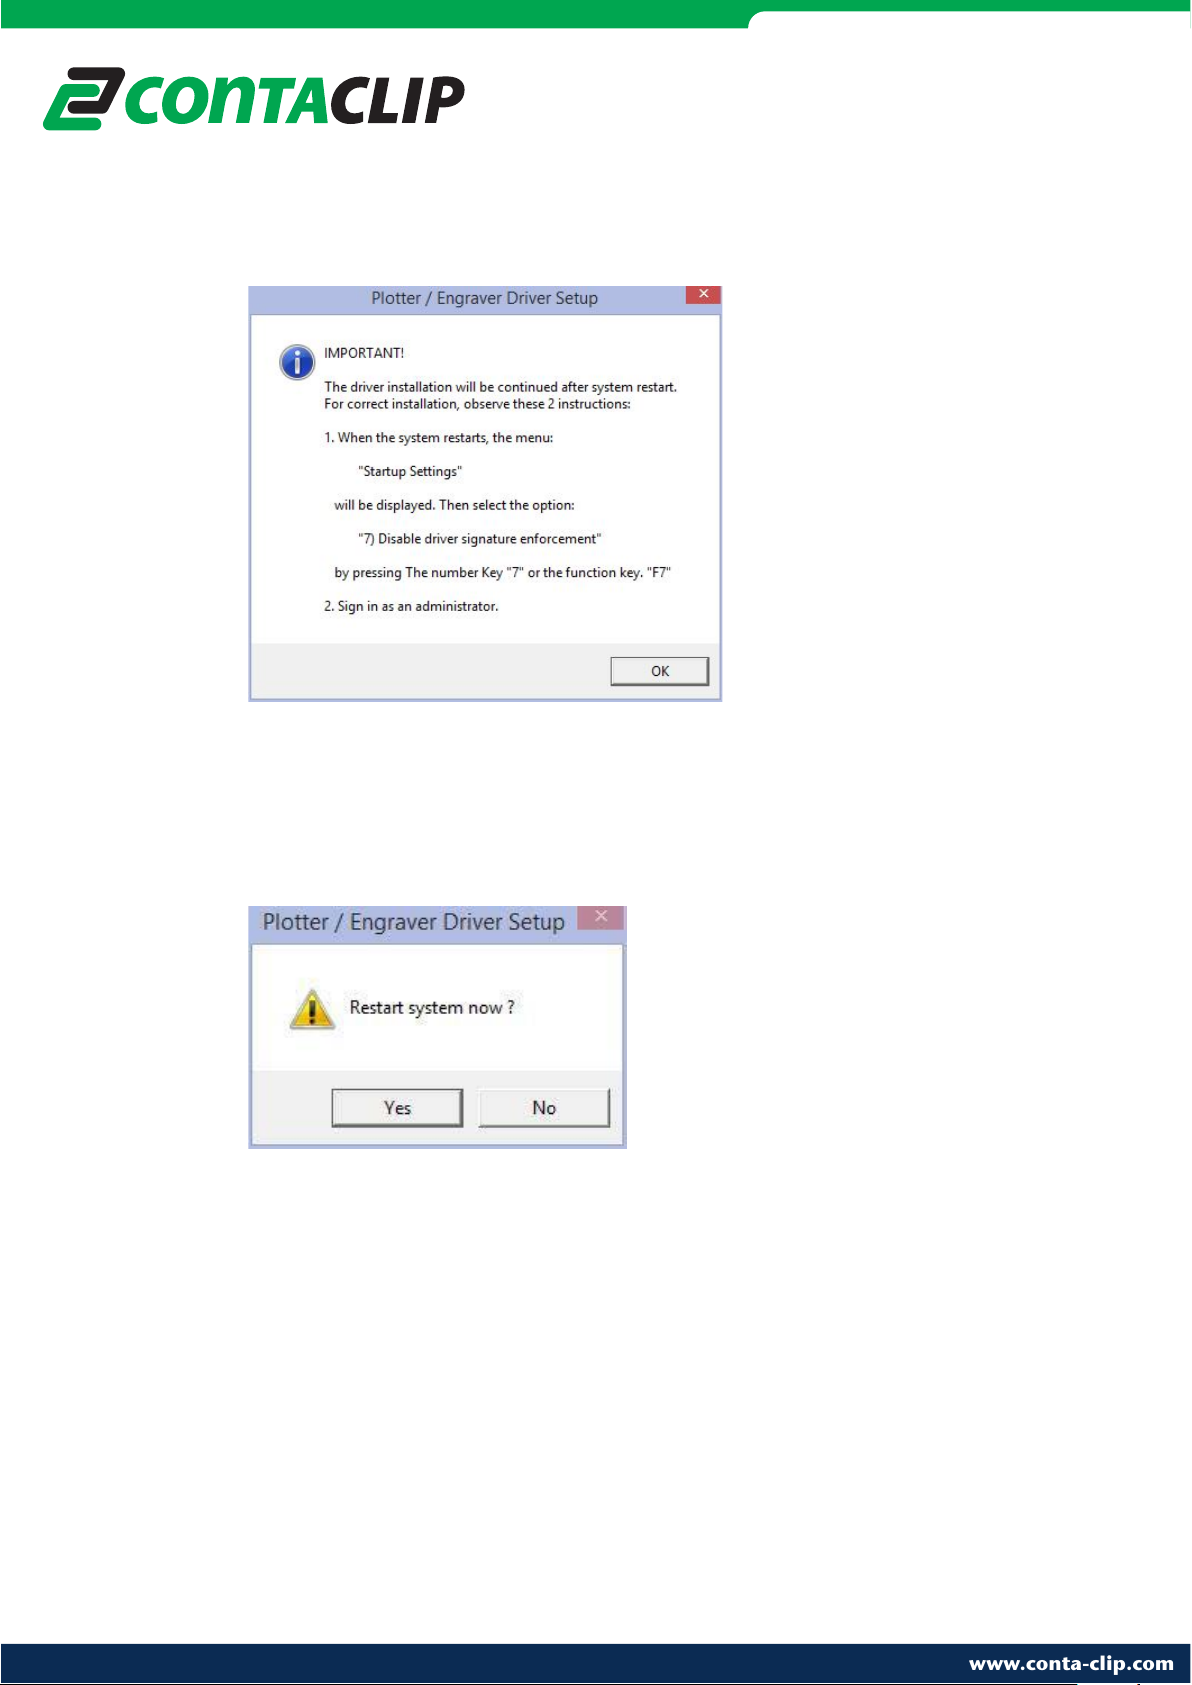
1. Open the Folder “Psetup” and start the program “psetup.exe”
The window shown below appears giving you instructions for installing the driver
(described here in detail). Click “OK” to acknowledge.
2. To continue the installation, you must restart your computer and sign in as an
administrator. Click on “Yes” in the next window to restart immediately or “No” to
continue the installation later.
Page 4
www.conta-clip.com
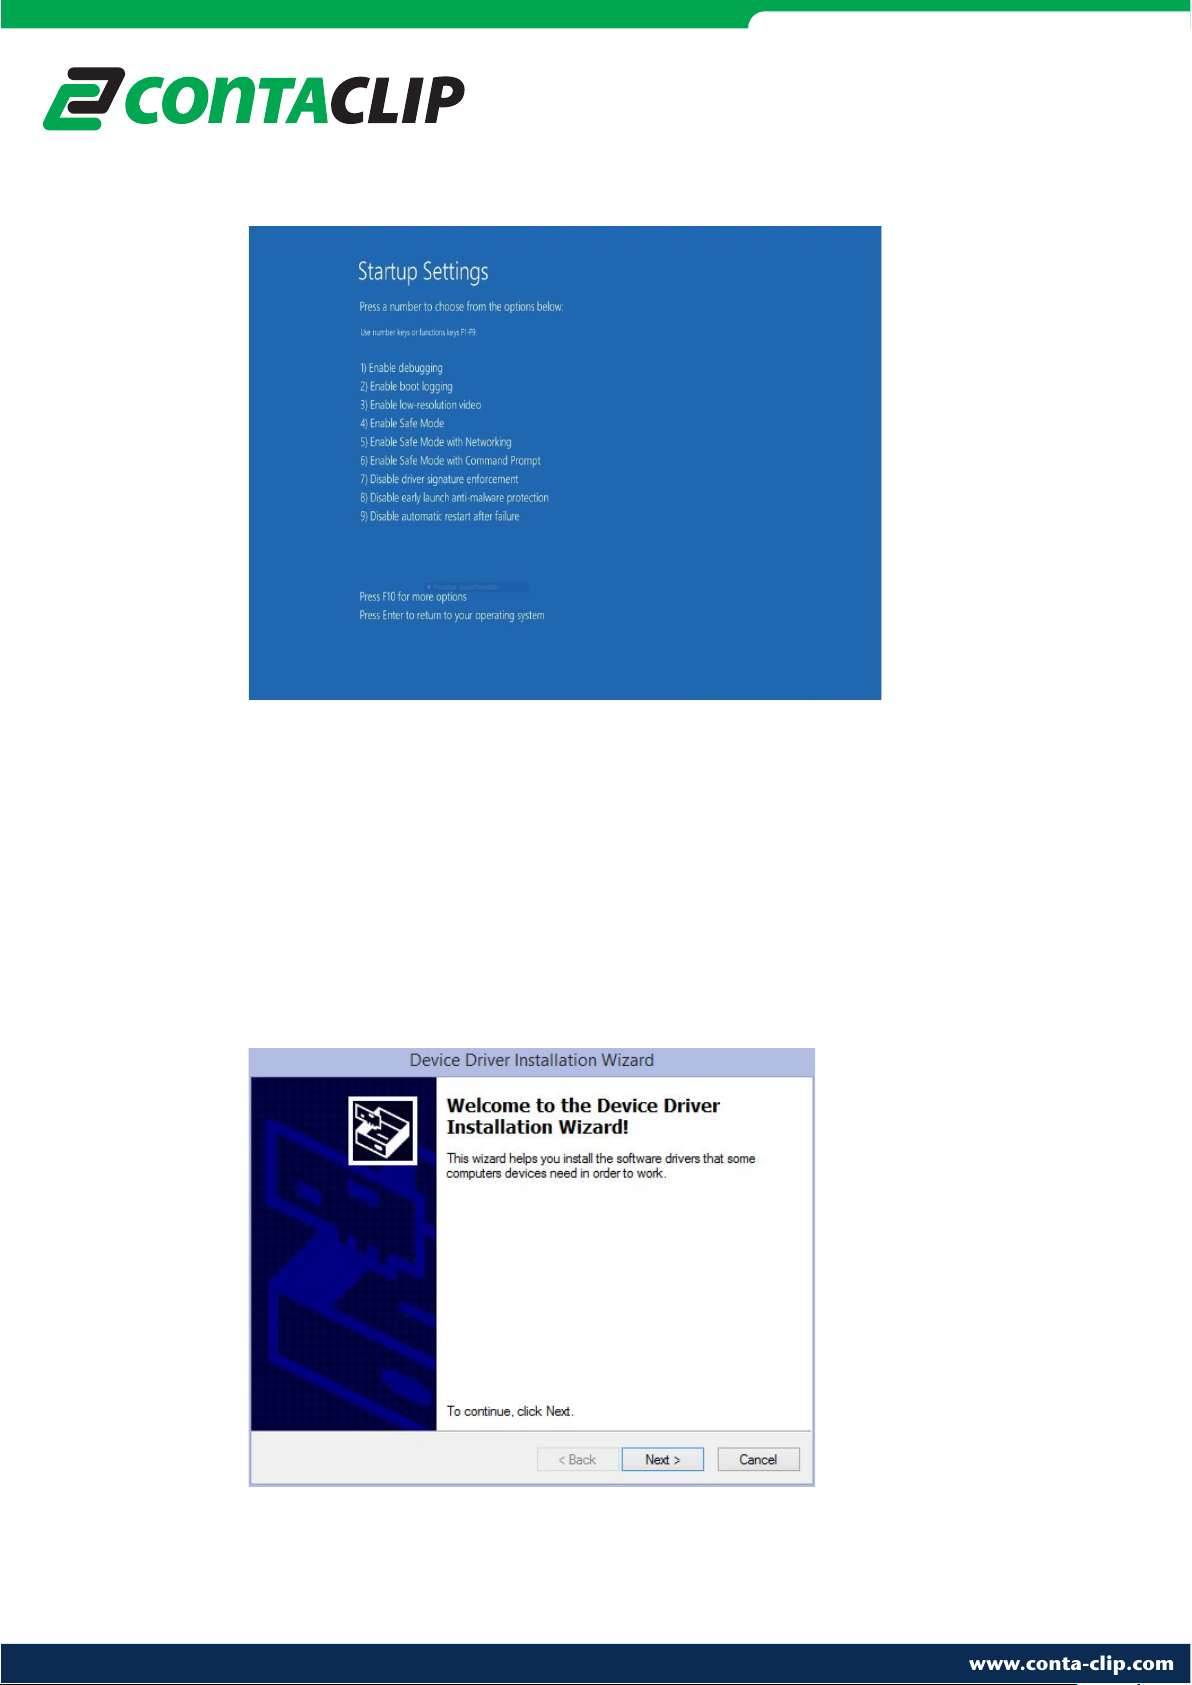
3.
Upon restart, the menu “Startup Settings” will appear.
Choose the option:
“7) Disable driver signature enforcement“
by pressing the “7” or “F7” key.
4. Sign in with your administrator account.
5. After signing in, the “Device Driver Installation Wizard” starts automatically.
Click on “Next” to start the driver installation.
Page 5

www.conta-clip.com
6. When the message: “Windows can’t verify the publisher of this driver software”
appears, click on “Install this driver software anyway”.
7. Click on the “Finish” button to complete the driver pre-installing process.
Page 6

www.conta-clip.com
8. When the plotter / engraver is switched on for the first time, Windows completes the
driver installation automatically (this may take a few minutes). During this procedure
you will see a symbol on the taskbar. If you click on it, you can see the progress of the
installation.
The symbol and message window will disappear after the installation is completed.
9. If you want to check the success of the installation, please go to “Devices and Printers”
under the control panel. There you will see your plotter / engraver in the list of printers.
Page 7

www.conta-clip.com
3. Windows XP
1. Sign in as an administrator. Open the Folder “Psetup” and start the program
“psetup.exe”
2. A message window will remind you to keep the plotter / engraver switched off. Click on
“OK” to start the pre- installation.
3. During the installation of the plotter / engraver software the message “The software you
are installing… has not passed Windows Logo testing...” appears.
Click on “Continue Anyway”.
4. When the pre- installation is finished, you will be notified that you can now connect and
switch on your plotting or engraving device. Acknowledge with “OK”.
Page 8

www.conta-clip.com
5. Connect the plotter / engraver to your computer and switch on.
The “Found New Hardware Wizard” starts. When asked „Can windows connect to
Windows Update to search for the software?“, choose “No, not this time“.
6. When asked “What do you want the wizard to do?” Choose
“Install the software automatically (Recommended)”.
Page 9

www.conta-clip.com
7. When the message “The software you are installing… has not passed Windows Logo
testing...” appears, click on “Continue Anyway”.
8. Click on the “Finish” button to complete the driver installation.
The plotter / engraver can now be used. You can sign in with your user account.
Page 10

www.conta-clip.com
4. Windows 2000
1. Sign in as an administrator. Open the Folder “Psetup” and start the program
“psetup.exe”
2. A message window will remind you to keep the plotter / engraver switched off. Click on
“OK” to start the pre- installation.
3. During the installation of the plotter / engraver software the message window
“Digital signature not found” appears.
Answer the question “Do you want to continue the installation?” with “Yes”.
4. When the pre- installation is finished, you will be notified that you can now connect and
switch on your plotting or engraving device. Acknowledge with “OK”.
Page 11

www.conta-clip.com
5. Connect the plotter / engraver to your computer and switch it on.
6. The message window “Digital signature not found” will appear again.
Answer with “Yes”.
The plotter / engraver can now be used. You can sign in with your normal user account.
 Loading...