

Connect SmartHome CSH-FLDLCAM Quick Start Manual
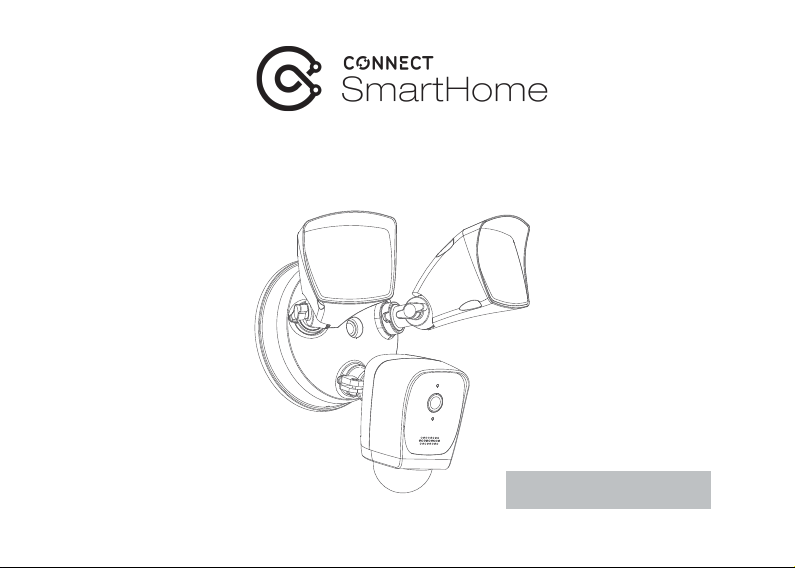
Outdoor Smart Wireless Floodlight Camera
Quick Start Guide
Model: CSH-FLDLCAM
Welcome
Thank you for choosing our Floodlight Camera.
Getting started is easy.
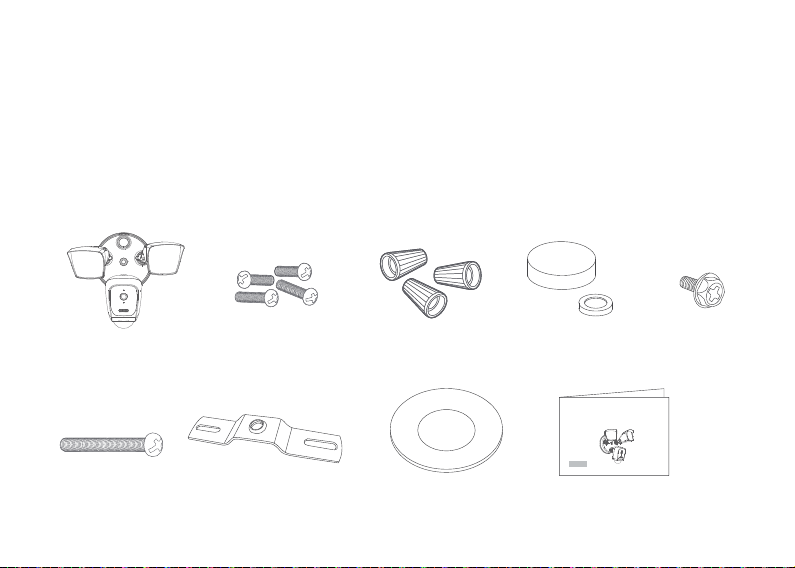
1. What’s Included
Floodlight Camera Bracket Screws Wire Nuts Silicone Cap
Smart Wireless Floodlight Camera
Model: E97A
Bracket Screw
Wire Nuts Waterproof Cushion Quick Start Guide
Bracket Screw
Quick Start Guide
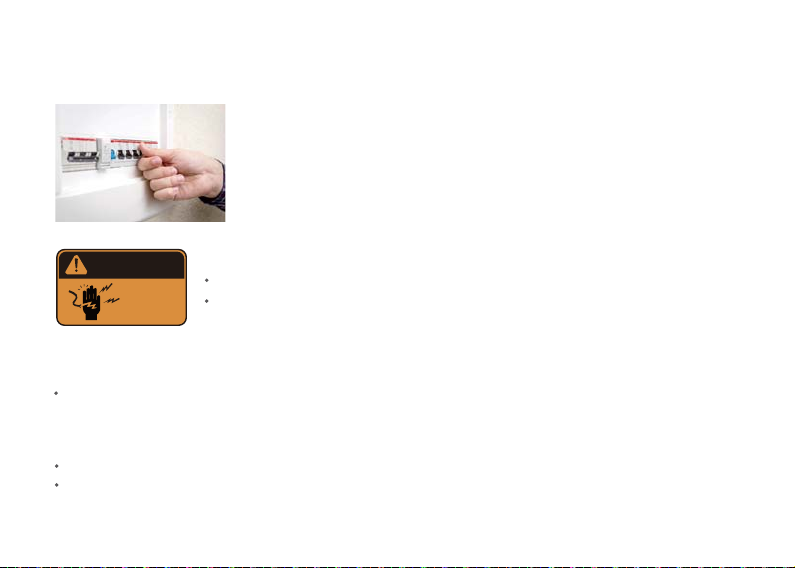
2. Shut off the power
Turn off the power before installing the floodlight
camera.
WARNING
LIVE
WIRES
KEEP OUT
CAUTION: Risk of fire
Do not install near combustible or flamable surfaces.
NOTICE
Do not connect this light fixture to a dimmer switch or timer.
Floodlight Cam must be installed on a wall and on a UL listed junction box.
WARNING: Risk of electrical shock
Turn off and disconnect the power before installing.
Verify that the supply voltage is correct. Connect fixture to a AC100V-240V,
50/60 Hz power source.
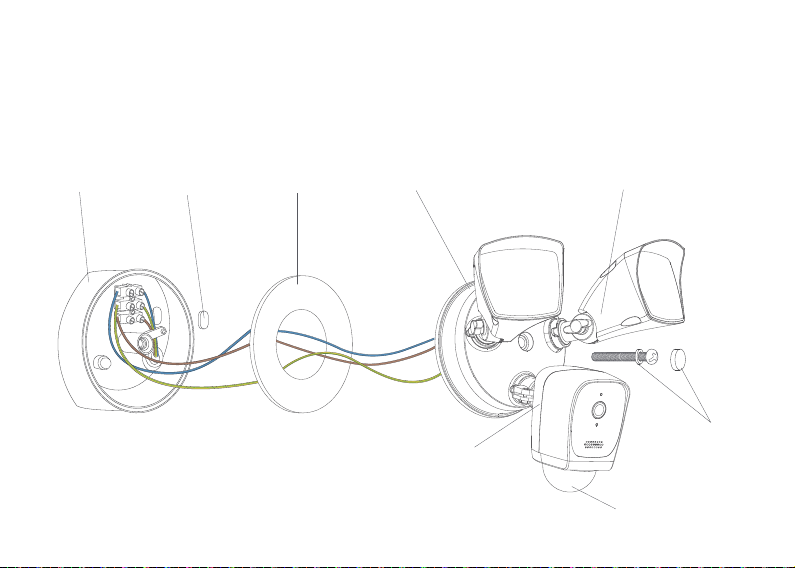
3. How it fits all together
Australia gauge power cord color:Blue , Brown, Yellow green. Connect
Floodlight Camera cables to a normal socket.
Blue
Yellow green
Light
Lock
Collar
Brown
Junction Box
Silicone
Cap
Waterproof
Cushion
Light
Adjustment
Knob
Camera
Lock
Collar
Silicone Cap
Motion Detector
 Loading...