

Page 1
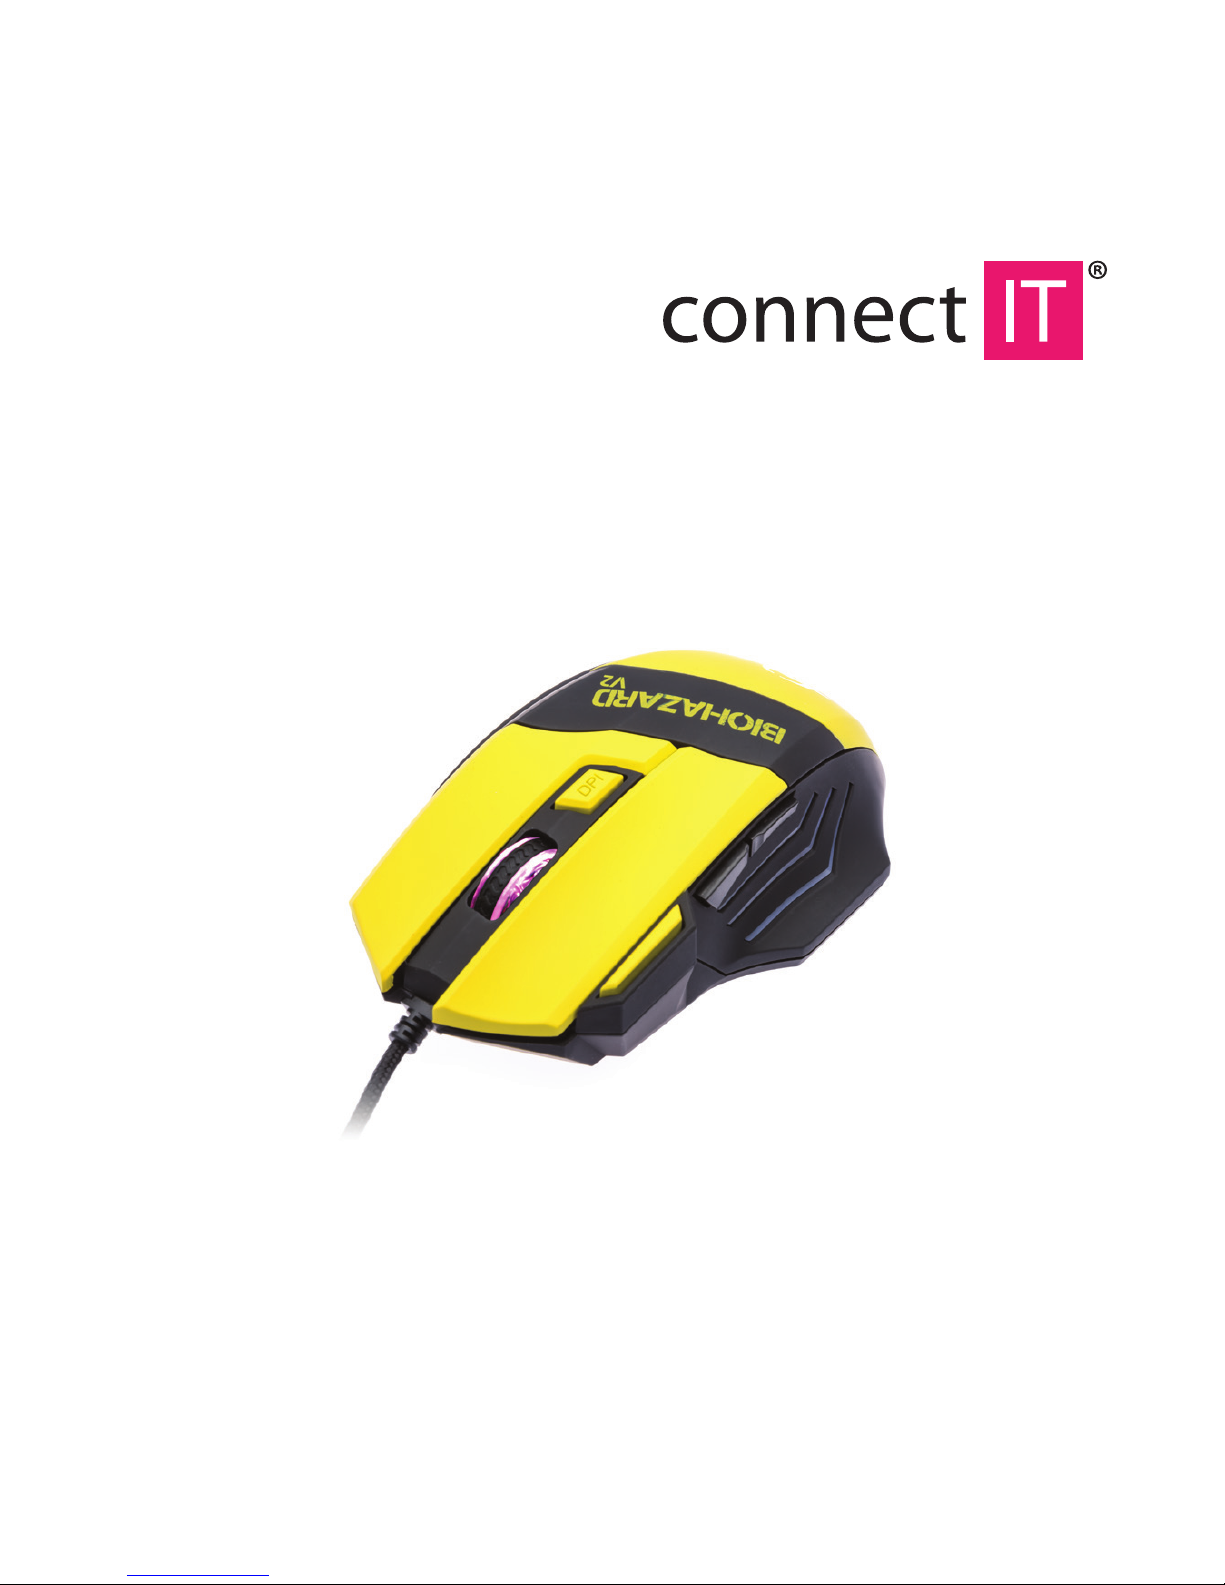
BIOHAZARD MOUSE V2
USER MANUAL
Page 2
1 System requirements
Microsoft Windows
USB port
Optical drive
50 MB free disk space
2 Installation
Connect the BIOHAZARD MOUSE V2 to your computer and install the software on the
enclosed CD. Proceed as follows:
1. Open the driver le and click setup.exe.
2. Click “Next”.
3. Select the folder where you wish to install the software and click “Next”.
4. Click “Finish” to complete the installation.
3 Software
After installation, the Windows notication area will display the software icon. Click it to
launch the conguration software.
Main control
Page 3

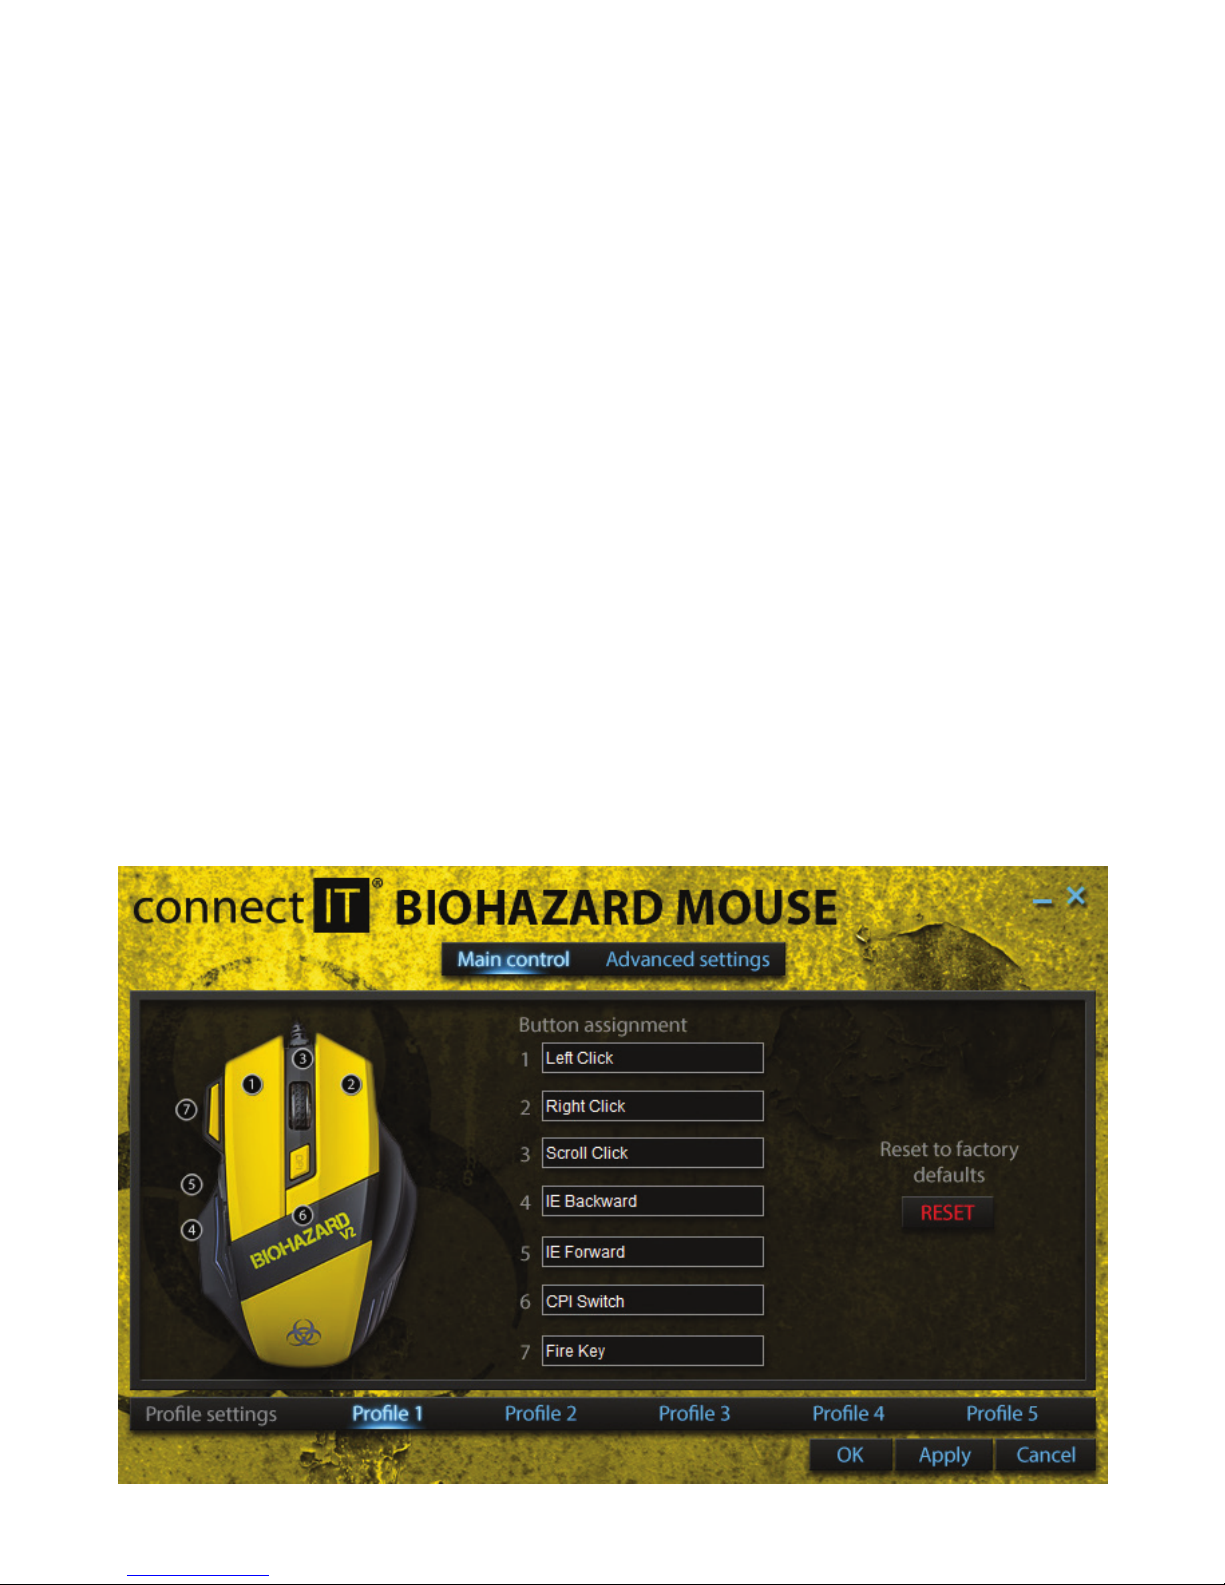
Mouse preferences can be set on the introductory screen of the software included with
the BIOHAZARD MOUSE V2. Here you can assign various functions to the buttons (see the
Button Function table), reset settings and select proles.
Prole settings
Settings for various applications and games may be saved as individual proles. Up to ve
congurations may be saved.
Button function
BIOHAZARD MOUSE V2 has a total of 7 buttons which may be assigned various functions.
The following may be assigned by clicking on one of the seven available rows:
Left Click
Right Click
Scroll Click Middle click, enables content to be moved in web browser
IE Forward Forward in web browser history
IE Backward Backward in web browser history
DPI Switch Adjust sensor resolution
Double Click
Fire Key Repeat clicking – frequency is settable in Advanced Settings
Single Key Key assignment
Button O
Multimedia Next/previous song, stop, play/pause, mute, reduce/increase
volume
Assign Macro Assign Macro and access Macro Manager
Macro manager
Macros record keystrokes made while the macro is being recorded. It serves to simplify
simple, repeated tasks (e.g., generating magic in games, etc.). Access to the Macro Manager is via the Assign Macro selection in the Key Setup menu.
Recording
1. Click “New”, enter macro name and conrm by “ENTER”.
2. If you wish individual keystrokes to contain time delays, check “Record Delays
Between Key Commands”.
3. Press the “Start Recording” button.
Page 4
4. Press the keys you wish the macro to record.
5. Once recording is complete, press “Stop Recording” and click OK to save.
6. Assign the macro to the desired key in the Assign Macro list.
Advanced settings
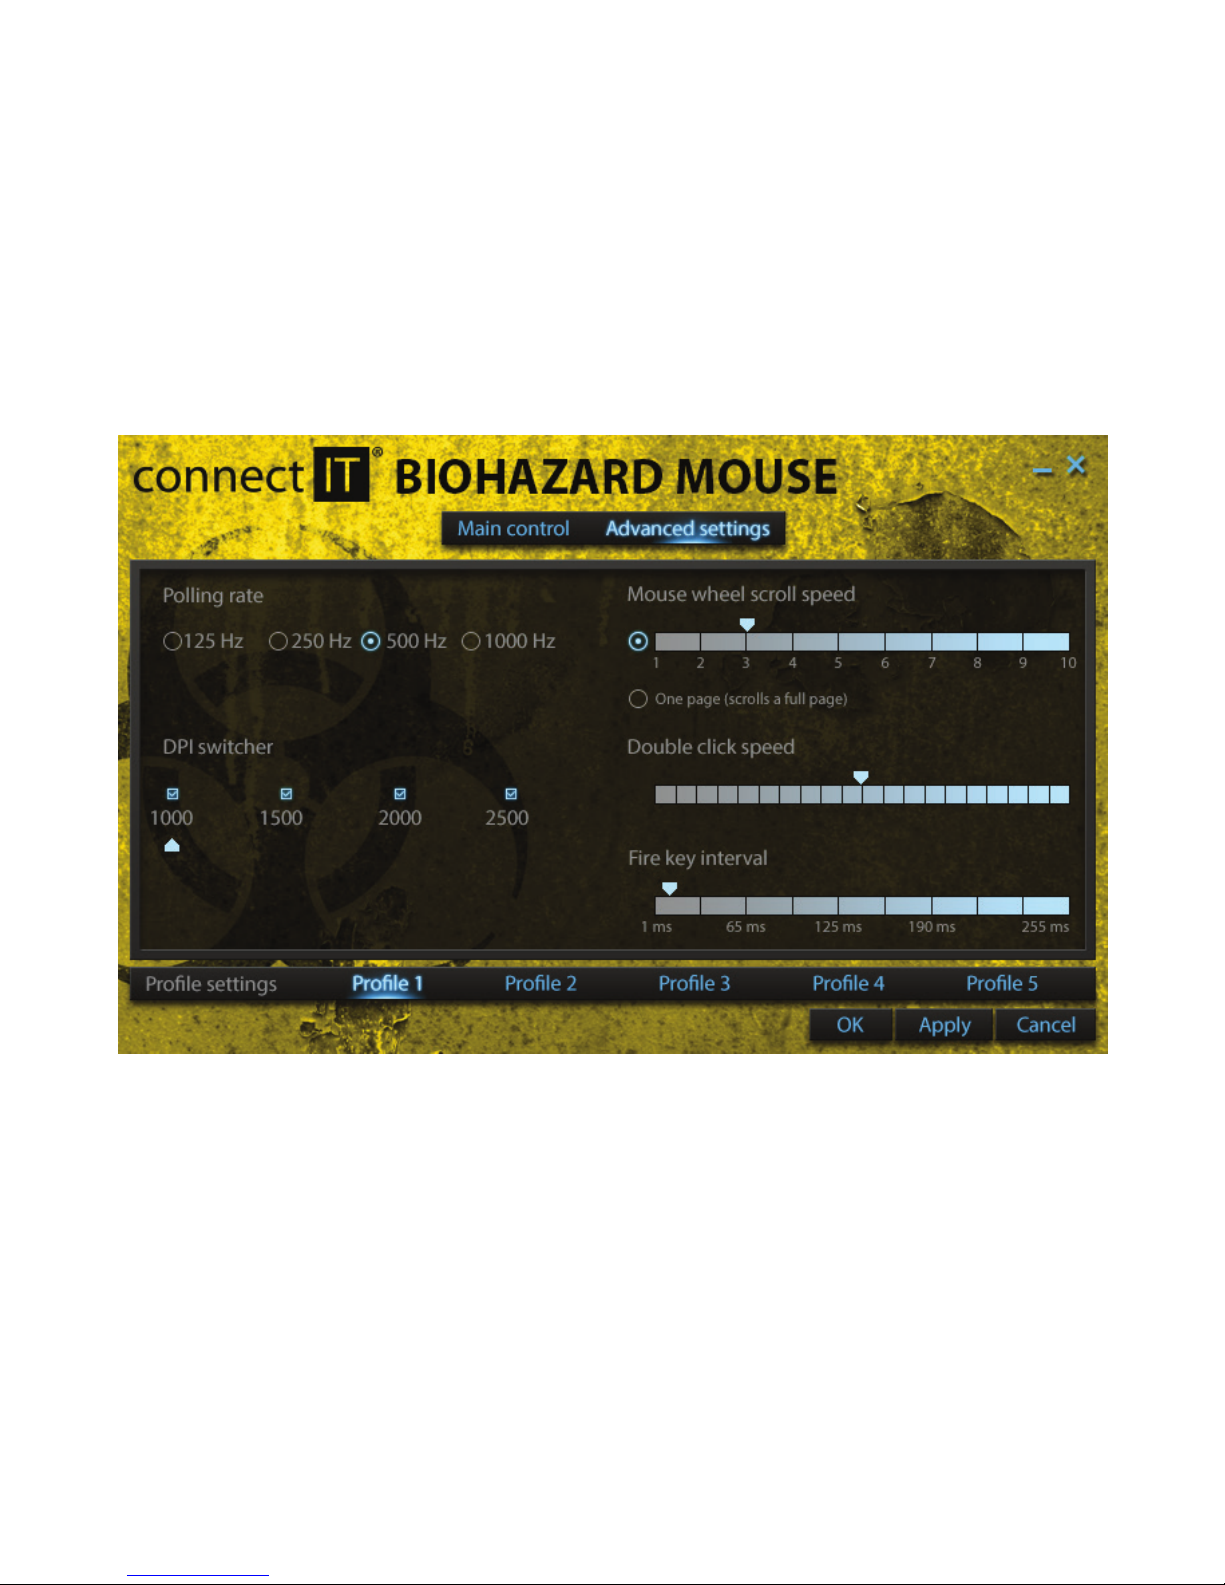
Advanced Settings are available from the upper menu. Settings here include Polling Rate,
DPI Switcher, Mouse Wheel Scroll Speed, Double Click Speed and Fire Key interval.
Polling rate
Sets the polling frequency for the mouse. Higher values equal more frequent polling.
Saving settings
To save click “Apply”.
 Loading...