

Page 1
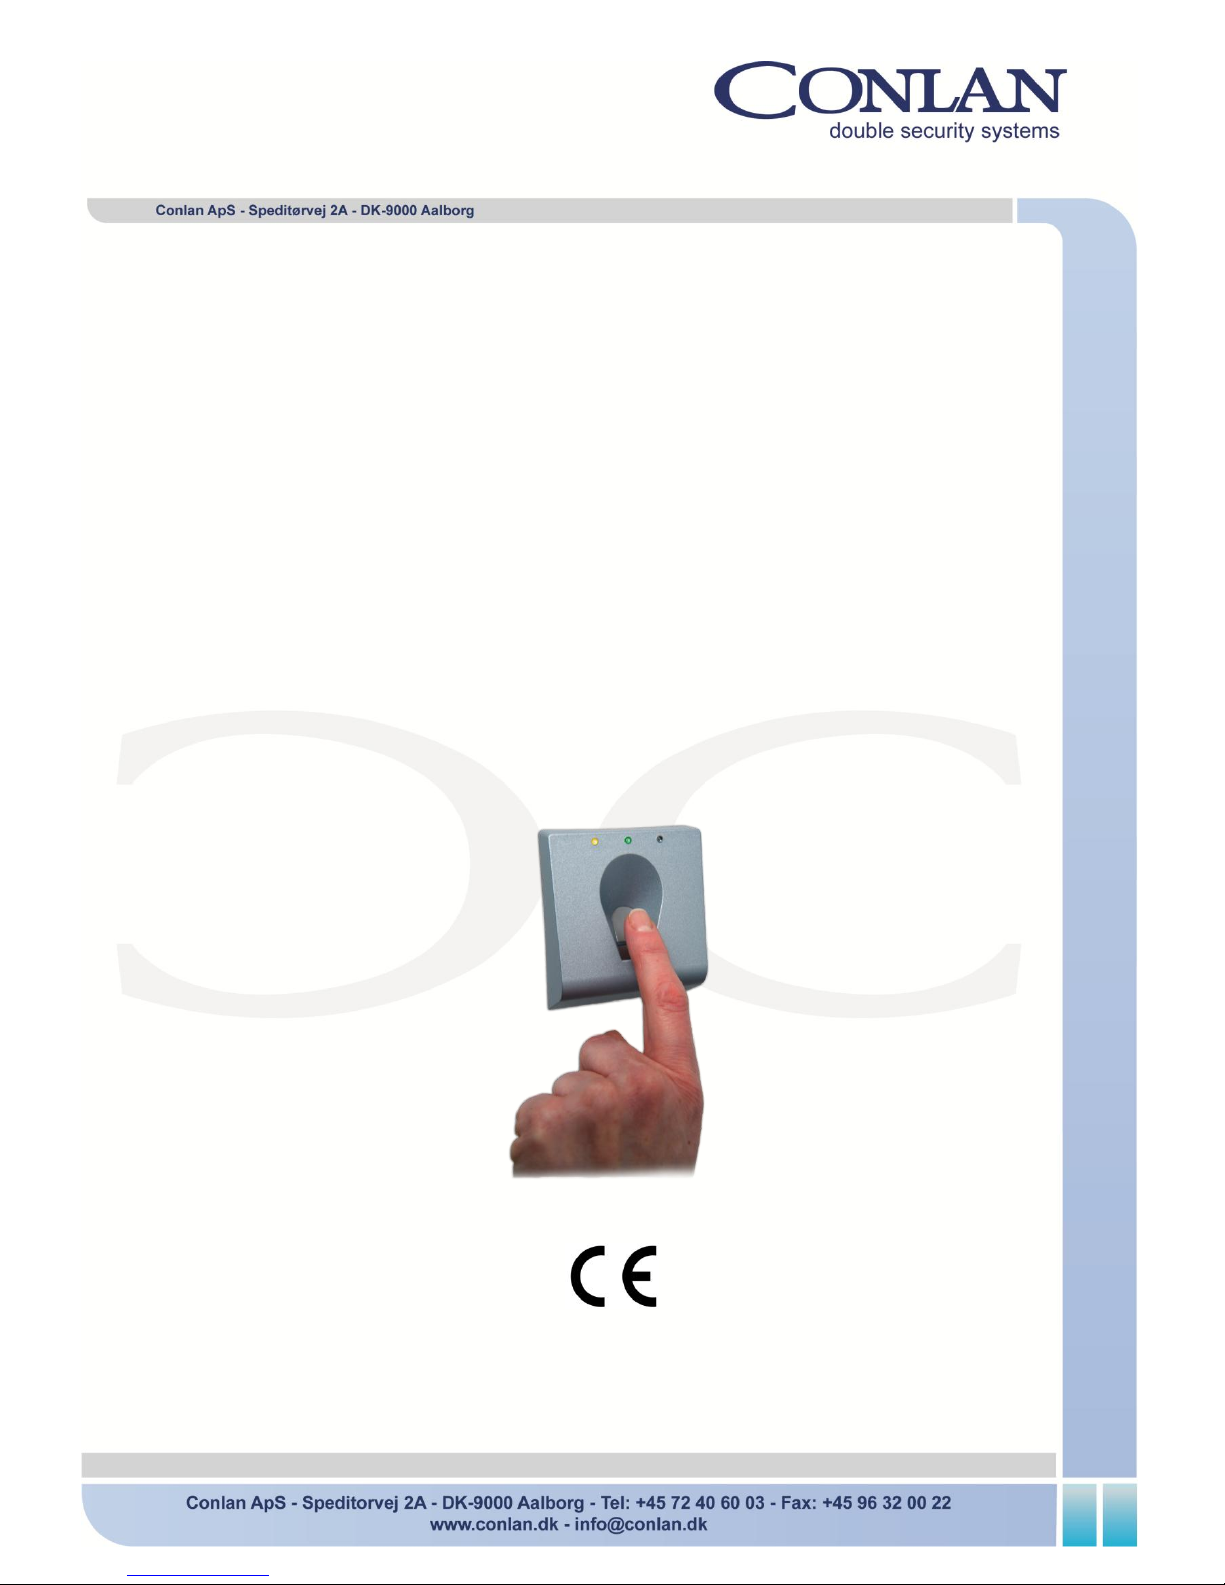
BioTag Home
Fingerprint
Art. No.: 460190
User’s Manual
BioTagHomev.2 Inst.Man. ENG dec 2011
Page 2
Page 2 BioTag Home
Introduction
BioTagHome is a flexible fingerprint reader for a lot of applications: At normal work
the yellow LED is lit (the left one). The activation of the outputs is confirmed with the
green LED (in the middle, lightning as long as the outputs are activated). There is a
buzzer integrated also for indication, either confirmed/not confirmed fingerprint.
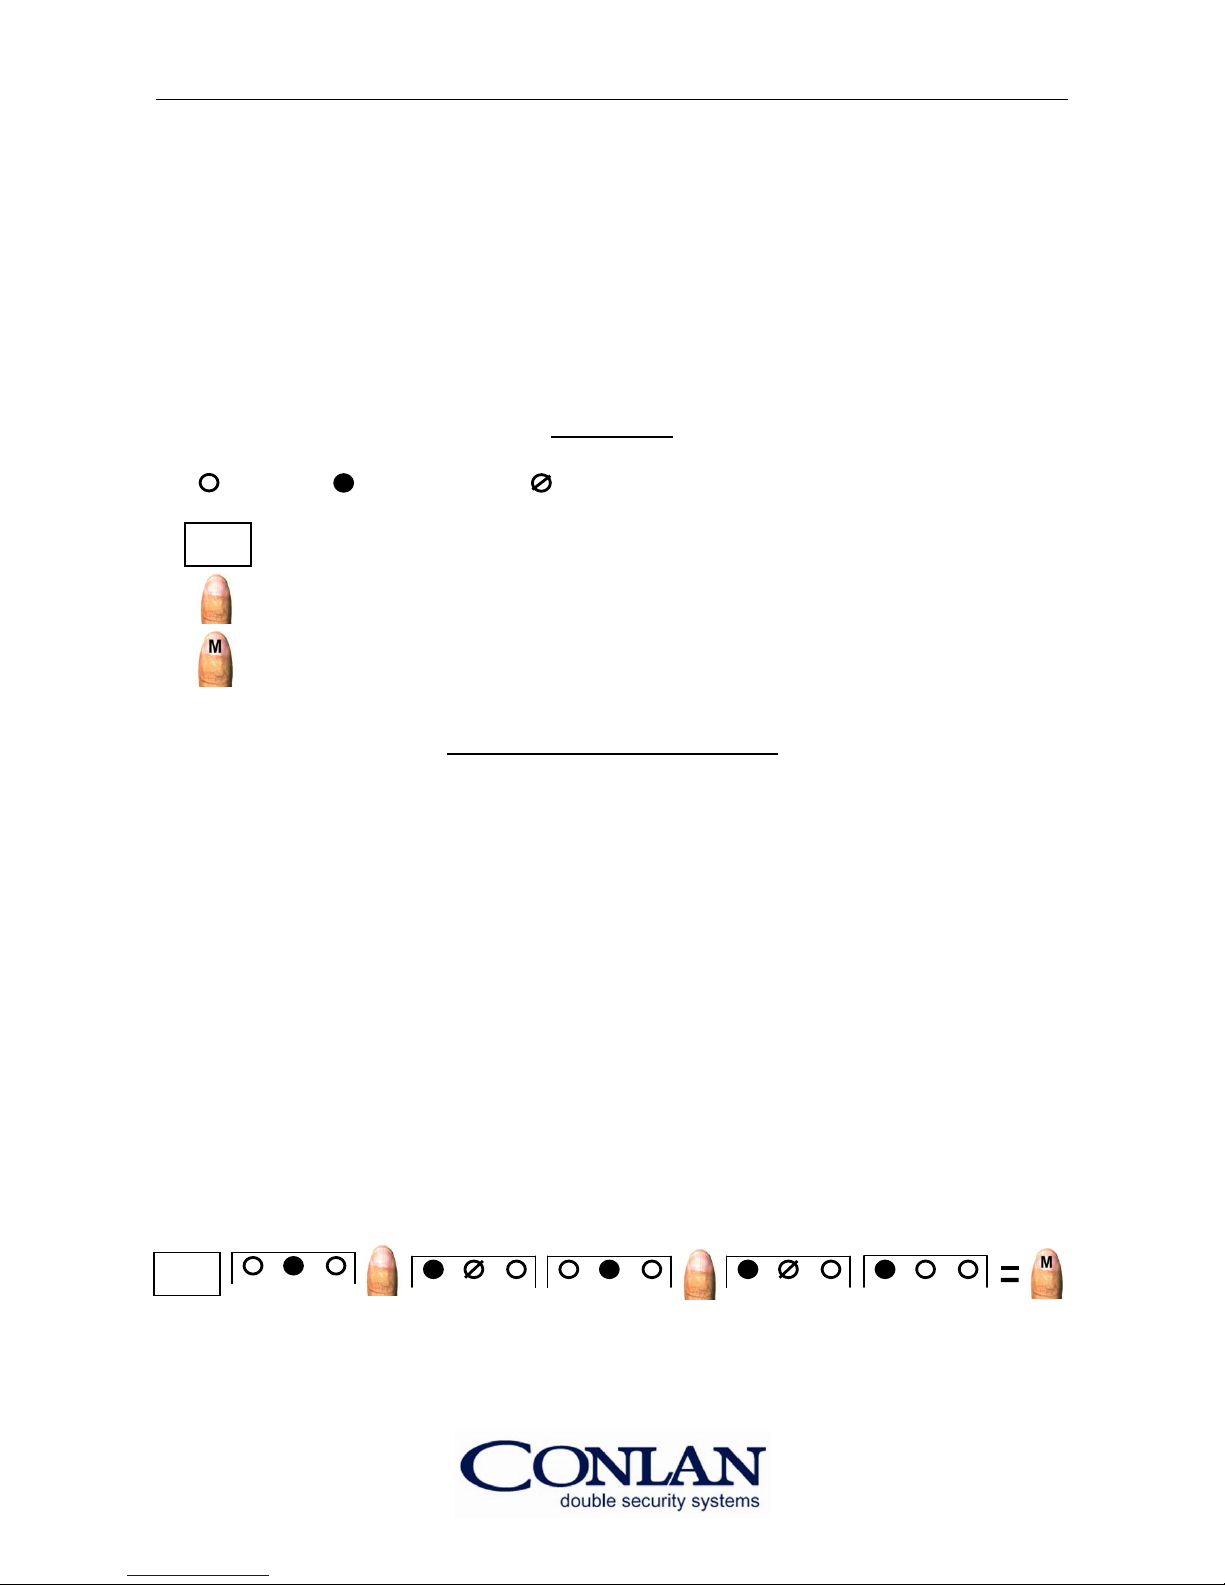
Legends
= Off = Light = Flash
= “Enr” button
= Finger
= Masterfinger
Enroll the Masterfinger
The fingerprint reader is delivered in default settings. There is no finger enrolled.
If you try to activate the output with your finger, the red LED (on the right) will lighten
and you will hear a buzz tone.
Press the “Enr” button to enroll the Masterfinger. Just the green LED is lightning
now. The fingerprint reader is ready to enroll a Masterfinger. Enroll any finger of
your choice over the finger scan. The yellow LED is lightning and the green LED
flashes 4 times. The green LED is lightning again so you have to enroll the same
finger over the finger scan one more time to confirm the process. The green LED
will flash 4 times as confirmation. The yellow LED is lightning now and the
fingerprint reader is ready for use. The even enrolled finger is your Master finger.
You can enroll other fingers and activate the output with yourMaster finger.
Enr
Enr
Page 3
User’s Manual Page 3
Enroll other finger (user):
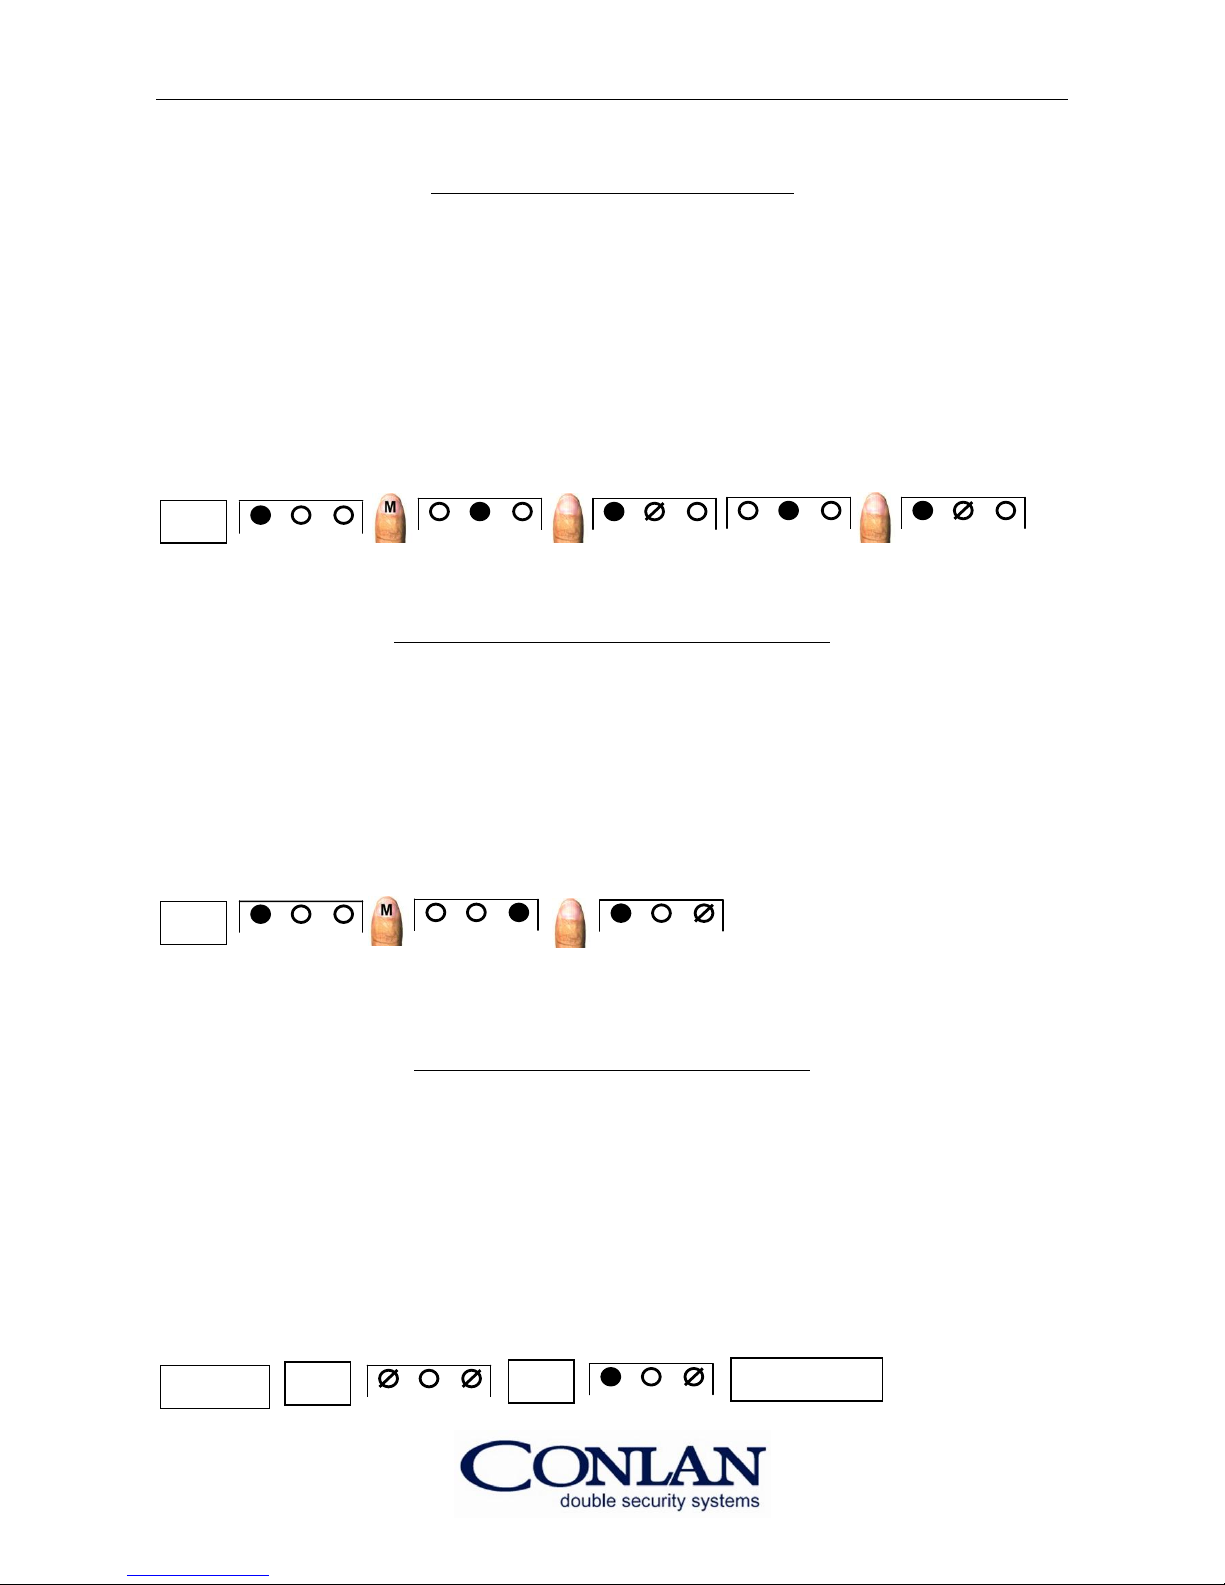
The “Enr” button is to be used to enroll user finger, the same as enrolling the
Masterfinger. Press the button and the yellow LED will be lightning further on. Enroll
the Master finger and the green LED starts to lighten. You can now enroll a new
user finger. After enrolling over the scanner, the yellow LED is lightning and the
green LED flashes 4 times as first confirmation. Just the green LED is lightning now.
Enroll the same user finger over the scanner again for confirmation. The yellow LED
is lightning now and the fingerprint reader is ready for use. The new enrolled user
finger can activate the output now.
Delete individual finger (user):
Use the “Del” button in order to delete individual finger. Press the button, but the
yellow LED will continue to light. Enroll the Master finger over the scanner and the
red LED starts to lighten. Choose an individual finger you want to delete and enroll it
over the scanner. The yellow LED turns on and the red LED flashes 3 times. The
finger you have chosen is deleted now. All individual fingers can be deleted the
same way.
Reset manually (delete all):
Install the jumper in the assembly box and press the “Res” button. The red and the
yellow LED are flashing now. You are in the reset mode and if you really want to
delete all, push the “Res” button again within 15 seconds. The yellow LED lightens
and the red LED flashes 3 times as confirmation. Unplug the jumper. The Master
finger and all other finger are deleted now. The fingerprint ready was reset to the
default settings and the yellow LED is lightning.
Enr
Del
Jumper
Res
Res
Unplug jumper
Page 4
Thank you for choosing Conlan’s products.
Please contact our support service or further
Information whenever needed.
 Loading...