

Page 1

User Manual
Tough Tracker
FC C ID: 2AJR6TOUGHTRACKER
Concirrus Limited
Page 2

Tough Tracker
User Manual V1.0
September 19, 2016
Page 3

TTaabbllee ooff CCoonntteenntts
s
T
C
S
.
P
S
N
.
C
A
N
.
S
A
N
.
L
L
I
N
S
N
.
V
A
M
M
S
N
.
M
D
S
D
S
S
N
.
D
S
.
H
A
T
M
S
N
.
A
S
A
S
S
.
C
N
S
TTTTUUII//L
S
OOLLUUTTIIOON
A
A
PPPPLLIICCAATTIIOON
OOGG
PPPPLLIICCAATTIIOON
I
S
N
CCRREEEEN
T
AABBLLEE OOFF
!"! ICONS AND COLOUR CODES 3!
22.
!
2.1! Brief description 7!
C
OONNTTEENNTTS
P
RREESSEENNTTAATTIIOONN OOFF TTHHEE
2.2! Support 7!
2.3! Referenced Documentation 7!
33.
C
OONNNNEECCTTIINNGG TTOO TTHHEE
!
3.1! Web Access 8!
3.2! Authentication 8!
44.
S
TTRRUUCCTTUURREE OOFF TTHHEE
!
4.1! Layout 9!
4.2! Menus 10!
4.3! Icons / Shortcuts 14!
4.4! Functionalities 16!
4.4.1! Functionalities Presented/Described 16!
55.
L
OOGG IINNTTOO
!
5.1! Log into the Tough Tracker Web App using the following URL :
http://52.30.36.6/#/login which will guide you to the main TT UI page. 17
2!
7!
8!
9!
17!
!
5.2! Screenshot 17!
Login Page 17!
66.
V
A
IIEEWW
SSSSEETT OONN
!
6.1 Screenshot 18!
M
//M
AAPP
AAPP
S
CCRREEEEN
6.1! Descriptions of fields, content 18!
6.2! Description of actions 19!
77.
M
D
AAIINN
AASSHHBBOOAARRDD
!
7.1! Screenshot 20!
S
EETTTTIINNGGSS
//D
AASSHHBBOOAARRDD
S
EETTTTIINNGGSS
S
CCRREEEEN
7.2! Descriptions of fields, content 20!
88.
D
EETTAAIILLS
!
8.1! Details 21!
99.
!
9.1! History 23!
H
IISSTTOORRYY
//A
SSSSEET
M
OOVVEEMMEENNTT
S
CCRREEEEN
9.2! Description of actions 25!
1100.
A
!
10.1! Screenshot 26!
LLAARRMM
S
EETTTTIINNGGSS
//A
LLAARRMM
S
CCRREEEENNS
10.2! Description of actions 27!
18!
20!
21!
23!
26!
1111.
C
OONNTTAACCTTSS
!
11.1! Screenshot 28!
&&N
OOTTIIFFIICCAATTIIOONNS
Version V1.0
28!
2
Page 4
11.2! Description of actions 29!
.
Q
V
L
T
p
1122.
Q
!
UUIICCKK
V
IIEEWW
L
AAYYOOUUT
30!
!"!ICONS AND COLOUR CODES#
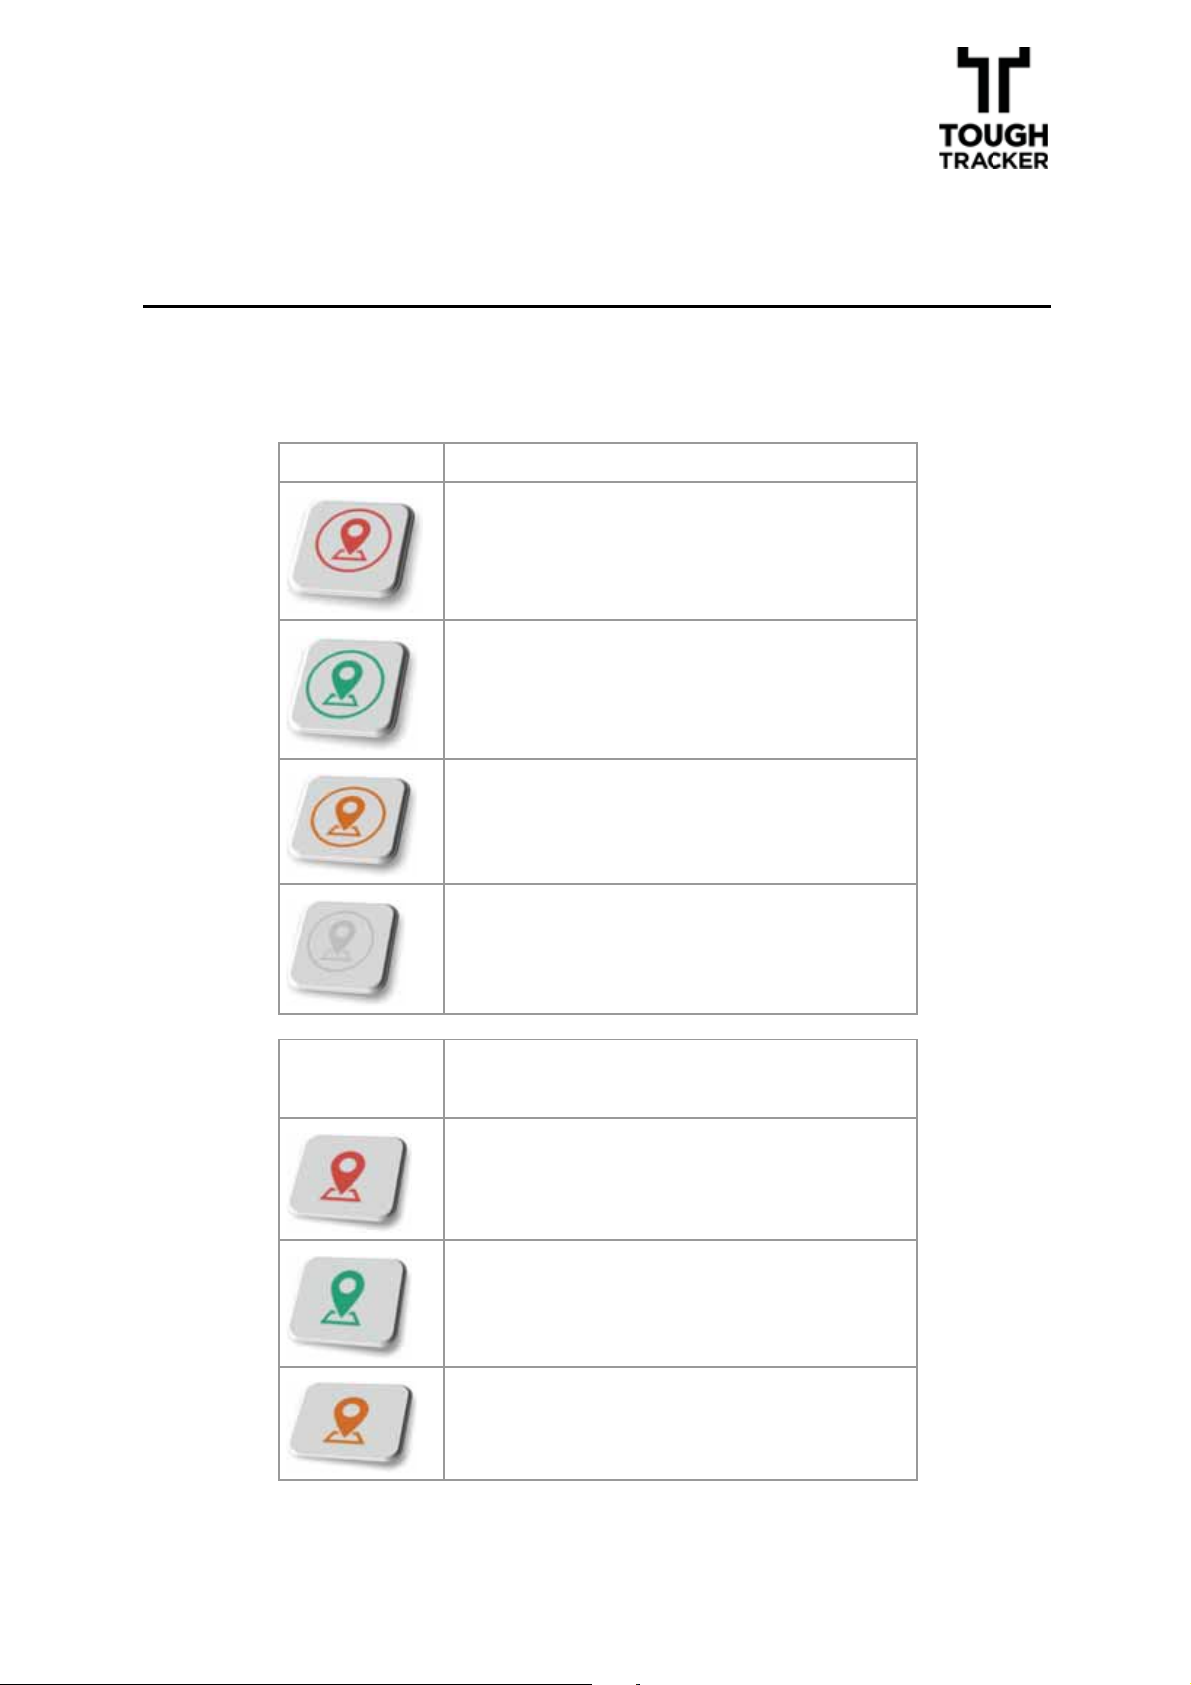
Throughout this section the following icons are used within the Web Application/User Interface (UI).
Side Panel Geo-fence Icons
Breached Geo-fence
Armed Geo-fence
Geo-fence Pending
Disarmed Geo-fence
Geo-fence Icons which appear when
you roll over the asset Icon on the
ma
Breached Geo-fence Icon appears
when you roll over the asset icon on
the map.
Armed Geo-fence Icon appears when
you roll over the asset icon on the
map.
Geo-fence Pending Icon appears when
you roll over the asset icon on the
map.
Version V1.0
3
Page 5
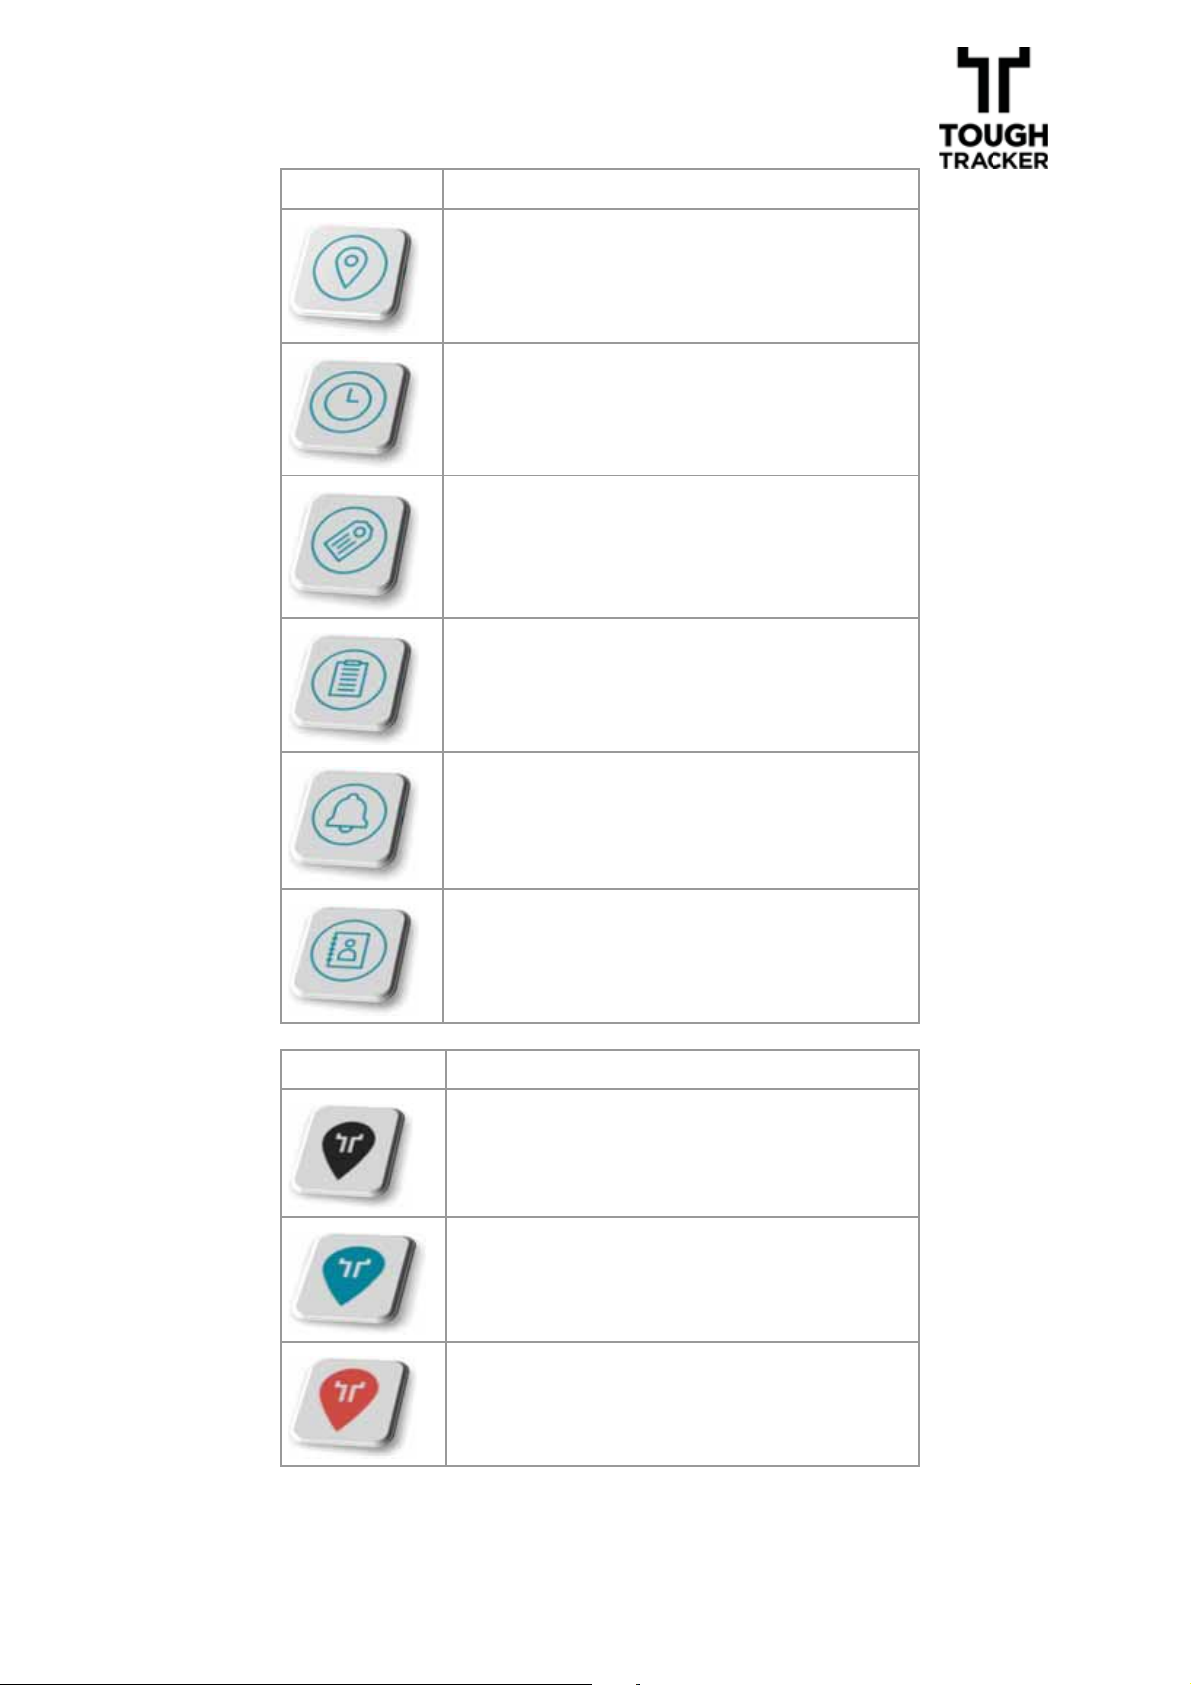
Side Panel Icons
p
Location
Check-in Details
Asset Details
History
Alarm Settings
Contacts and Notifications
AAsssseett IIccoonn oonn tthhee MMaap
Icon indicating asset on the map
Icon indicating asset on the map when
you roll over the asset
Icon indicating asset on the map when
the geo-fence is breached
Version V1.0
4
Page 6
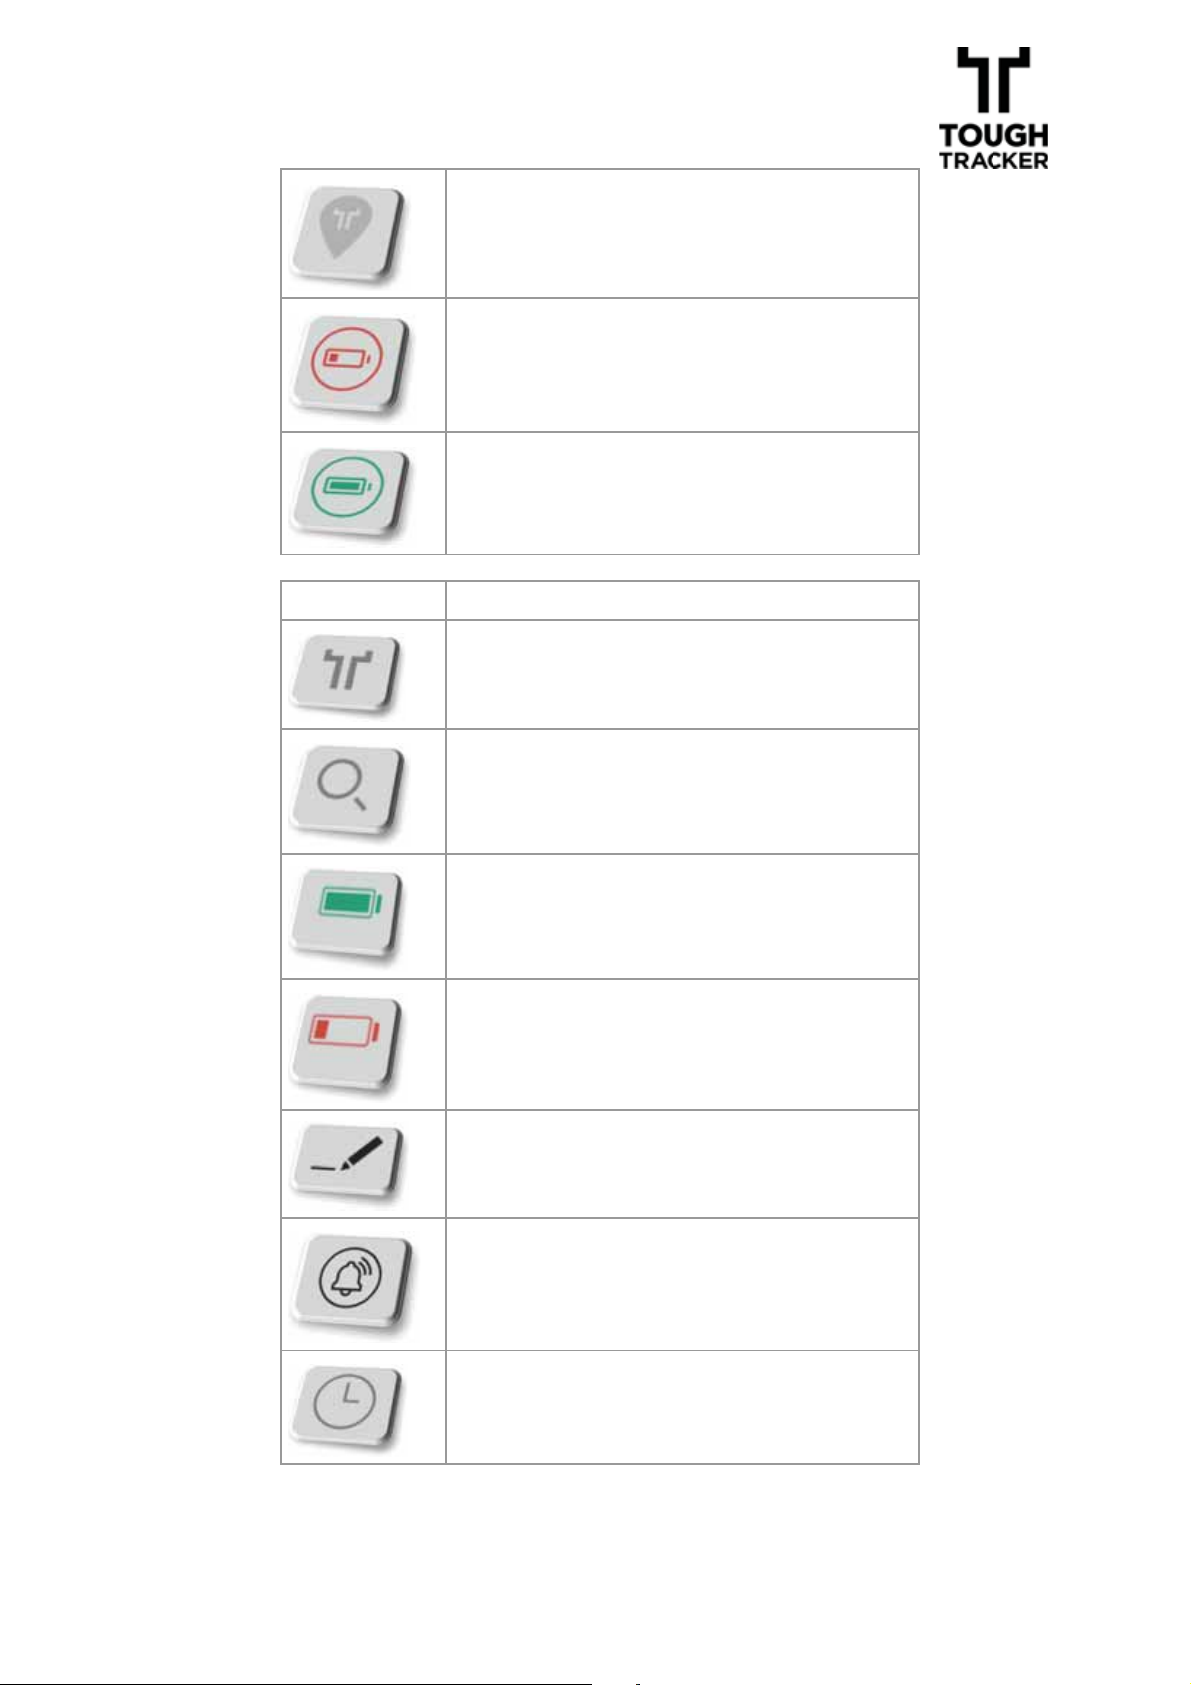
Icon indicating asset on the map when
s
geo-fence is disarmed
Battery Status – Battery less than 20%
Battery Status – Battery fully charged
OOtthheerr IIccoonns
Tough Tracker Logo
Search Icon
Battery Status – Fully charged
Battery Status – Battery less than 20%
Enter text in field
Alarm Notifications
Last check in
Version V1.0
5
Page 7
Information Updated
Version V1.0
6
Page 8

22.
.
P
E
S
N
P
RREESSEENNTTAATTIIOONN OOFF TTHHE
!
S
OOLLUUTTIIOON
2.1!BRIEF DESCRIPTION
Tough Tracker is an extremely resilient asset tracking technology, with patented, industrial strength design to deter against theft. TT allows you to
keep track of your assets via a simple dashboard, receive SMS/E-mail alerts
to notify you when an asset is moved/stolen. Tough Tracker has an antitamper system that triggers an alert notification in the event of attempted
removal. Tough Tracker is easily installed to a large variety of assets.
2.2!S
UPPORT
If you require technical support with your ToughTracker Solution, please
visit:
https://support.toughtracker.com/
Our Support team will endeavour to be in touch within the next 24 hours.
In the event of emergency please call:
Tel. +44(0) 845 5650549
To track progress please quote your ticket reference number which you
should be given once logging your case.
2.3!R
EFERENCED DOCUMENTATION
For more information on Tough Tracker, Technical Specification and
Installation Guide please read documents included in the product box:
-! Tough Tracker Technical Spec
-! Tough Tracker Installation Guide
Version V1.0
7
Page 9
33.
.
C
E
A
N
,
l
s
r
:
C
OONNNNEECCTTIINNGG TTOO TTHHE
!
A
PPPPLLIICCAATTIIOON
3.1!WEB ACCESS
To connect to the User Interface application please use the following
address:
http://52.30.36.6/
3.2!AUTHENTICATION
To log into the Web App you will be provided with a user name and password by your
NNaammee,, EE--mmaaiill aaddddrreesss
Once you have your log in credentials please visit http://52.30.36.6/ to log
AAsssseett DDiissttrriibbuuttoorr,
MMoobbiillee NNuummbbeer
,
please make sure you’ve provided your
, in order to receive log in details.
FFuulll
in.
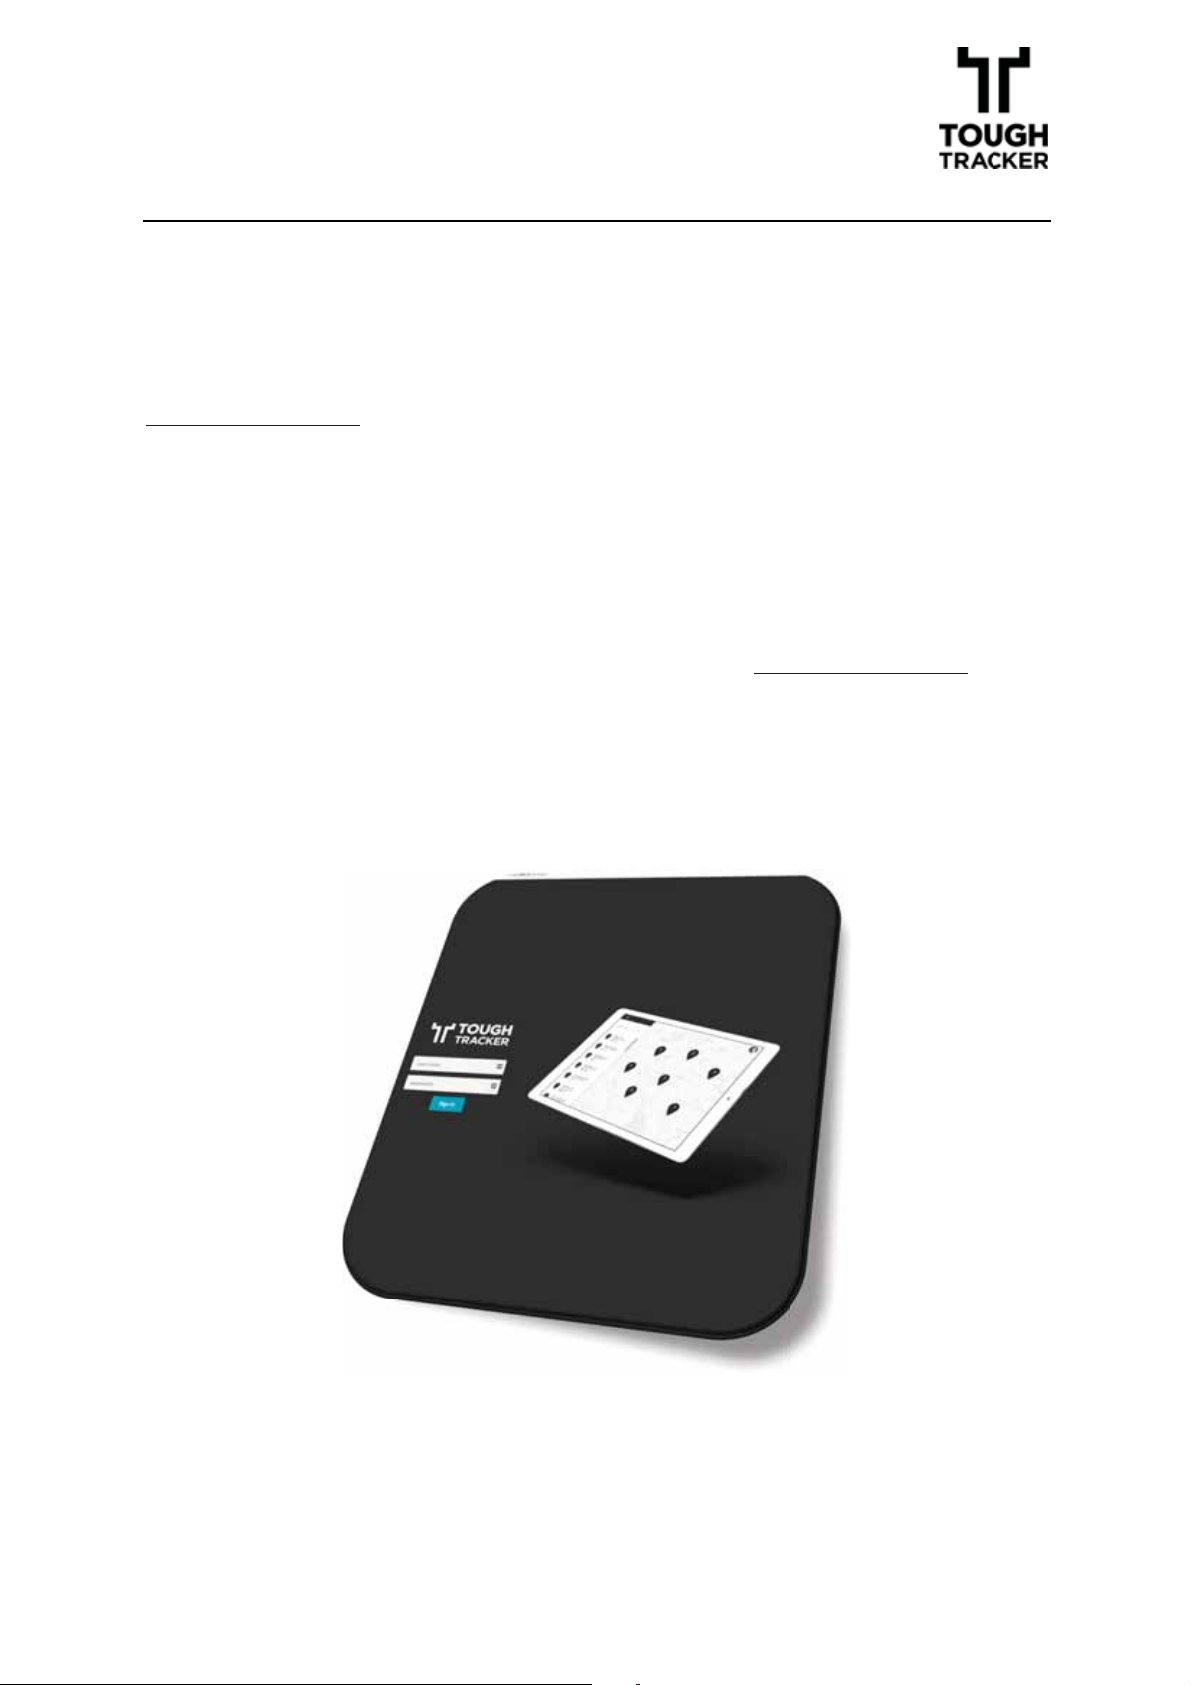
LLooggiinn ssccrreeeenn:
Version V1.0
8
Page 10
44.
.
S
A
N
S
TTRRUUCCTTUURREEOOFF TTHHEE
!
A
PPPPLLIICCAATTIIOON
4.1!LAYOUT
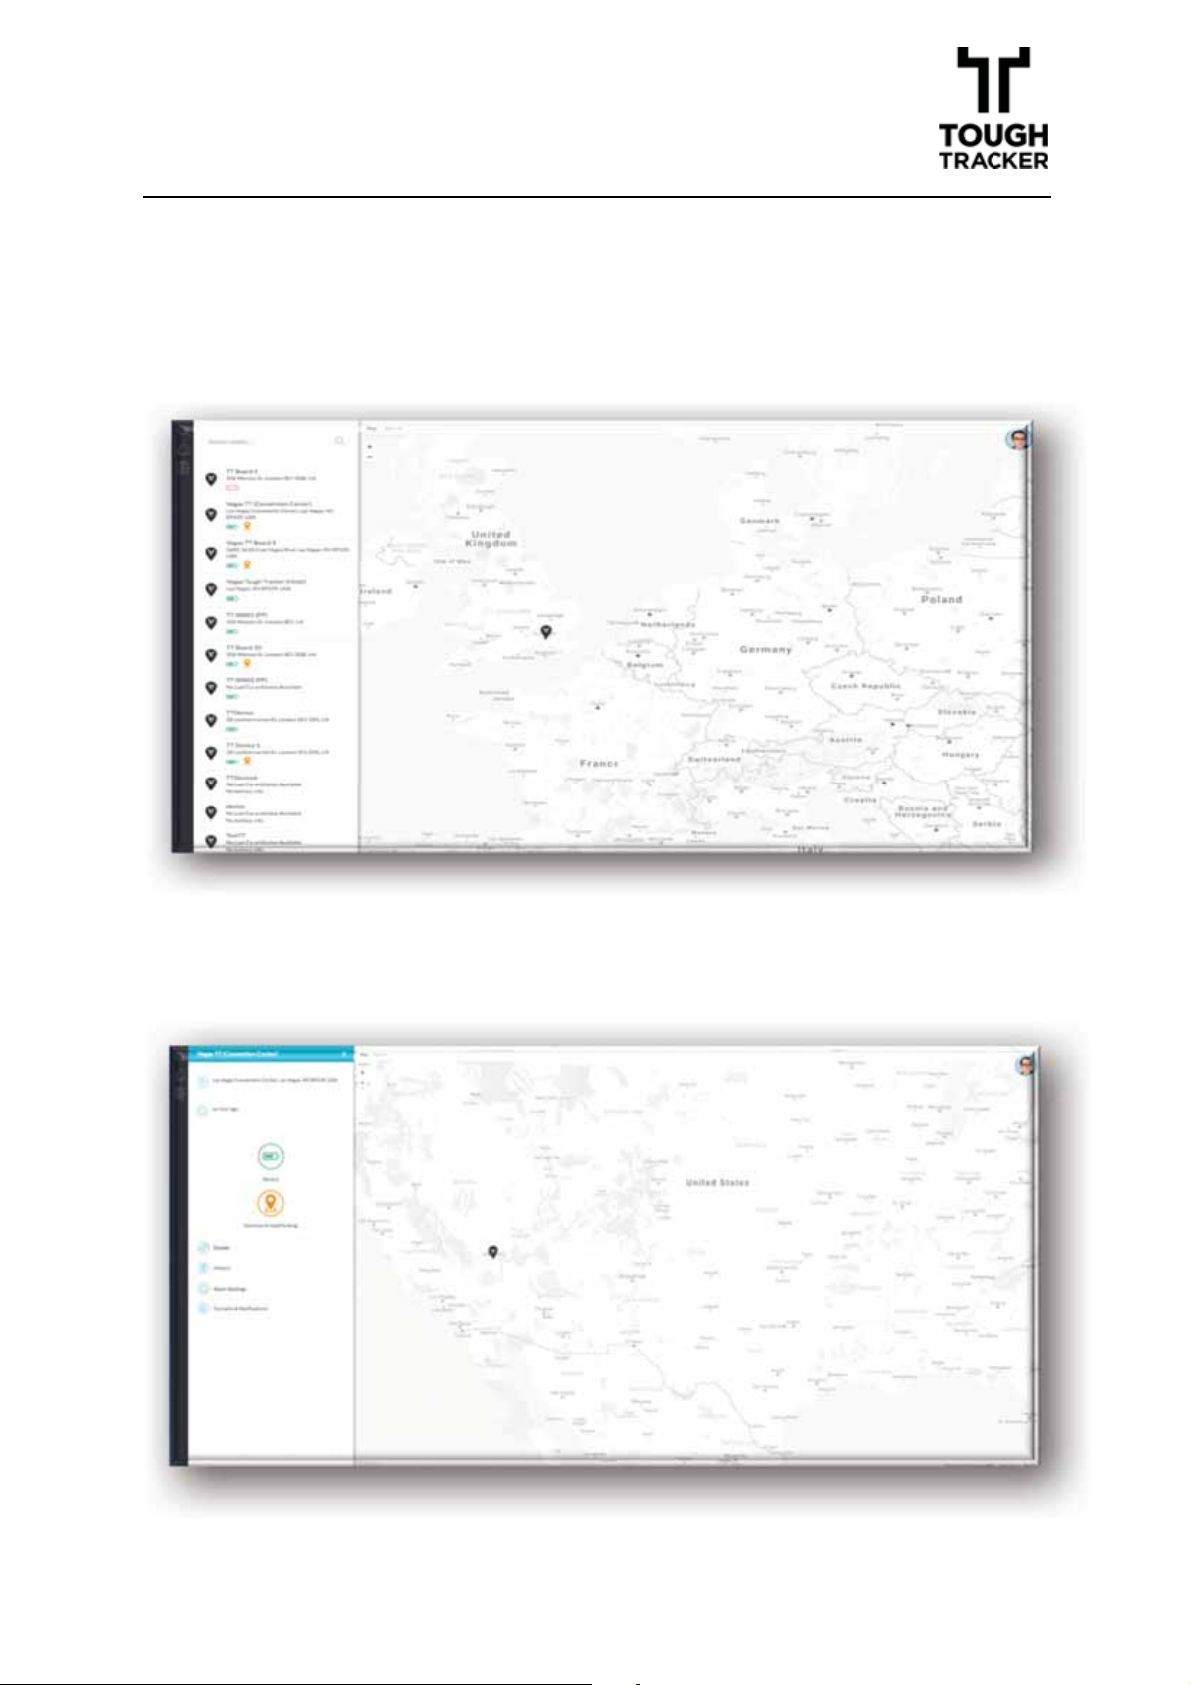
Once logged in, you will be taken to the main dashboard page, on the left
hand side you can view a list of devices and a map with assets locations:
Choose any of the asset marker pins on the map, or from the list panel on
the left hand side of the screen to view an individual asset’s overview page.
This page allows you to perform variety of action settings to any of the assets you have within your account.
Version V1.0
9
Page 11
Please remember that Assets will be added to your account by your Tough
s
:
Tracker distributor, therefore you will be able to see those once logged into
the system. It will be your responsibility though to manage their settings
and perform any changes if required.
4.2!M
ENUS
When logged into the main page, choose any of the asset icons on the left
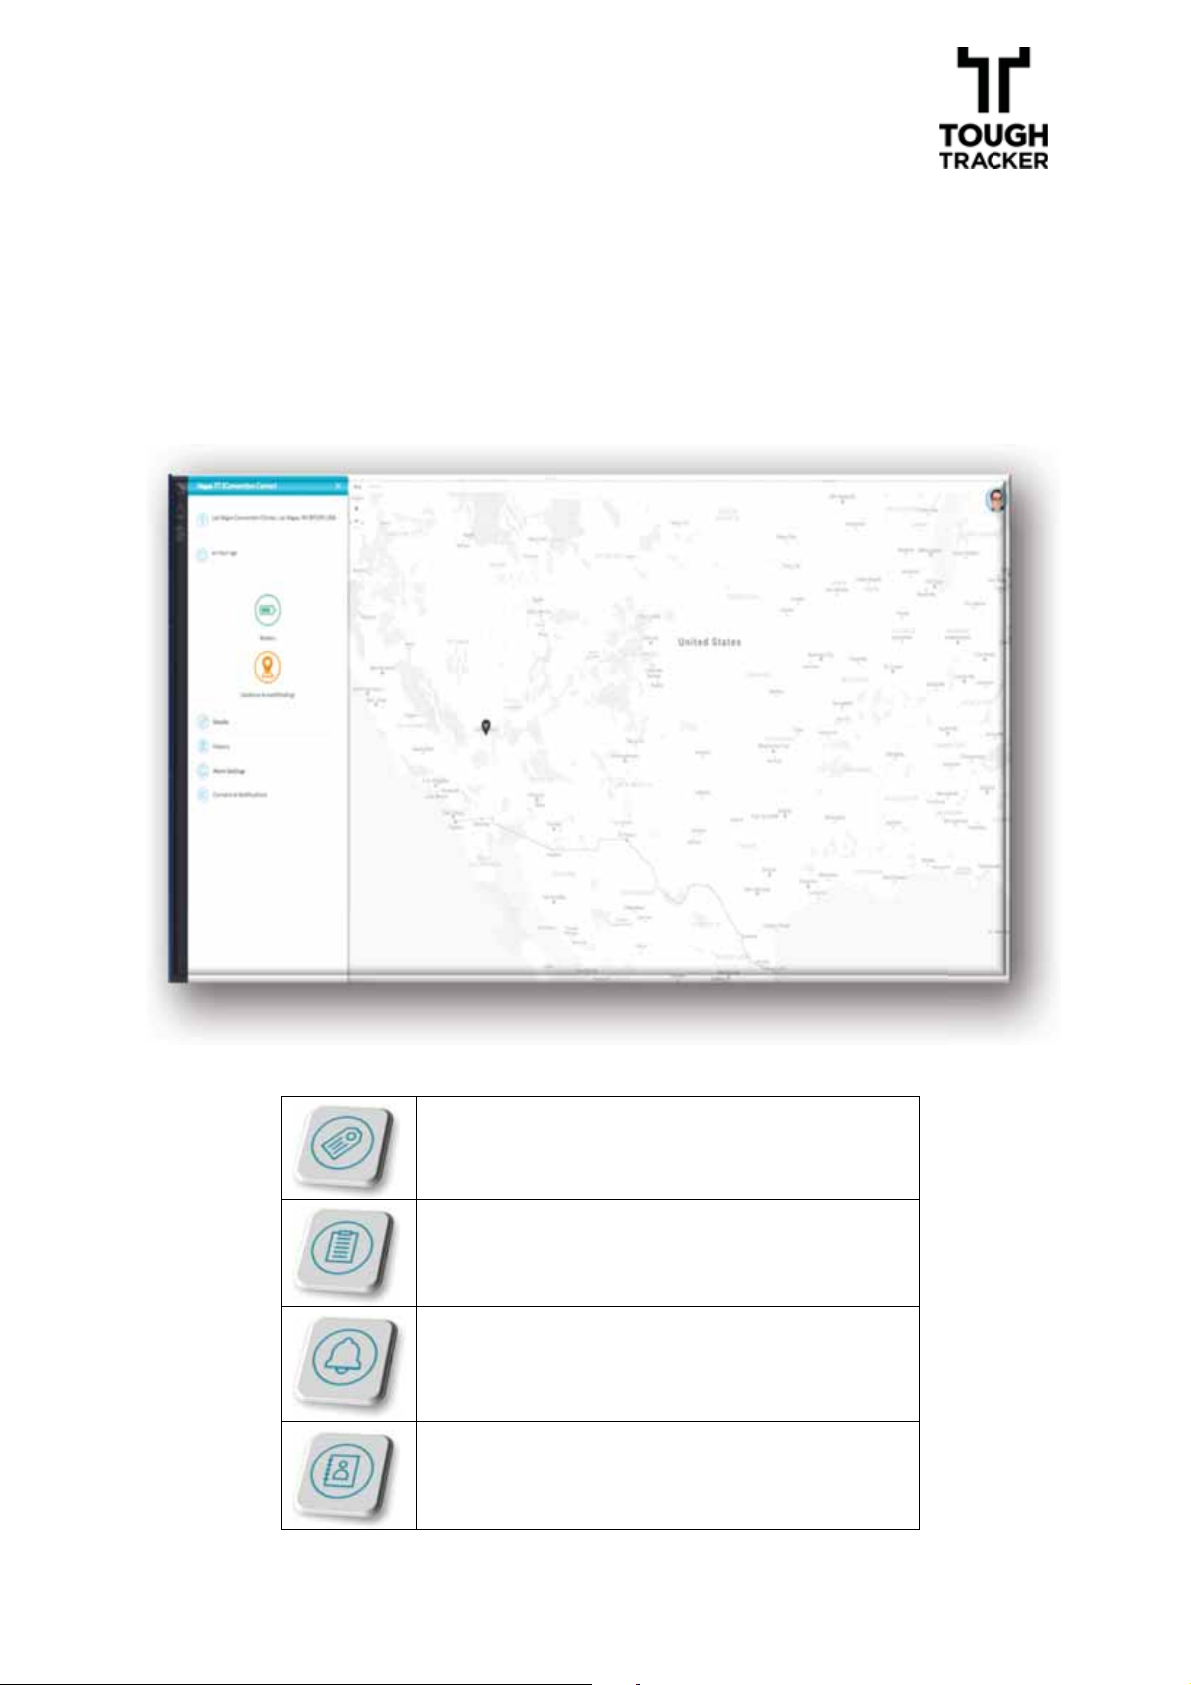
hand side to view the
MMaaiinnDDaasshhbbooaarrddFFuunnccttiioonns
:
MMaaiinn DDaasshhbbooaarrddFFuunnccttiioonnss:
Details – where you can perform
History
Alarm Settings
Contacts & Notifications
Version V1.0
10
Page 12
DDeettaaiillss-
-
y
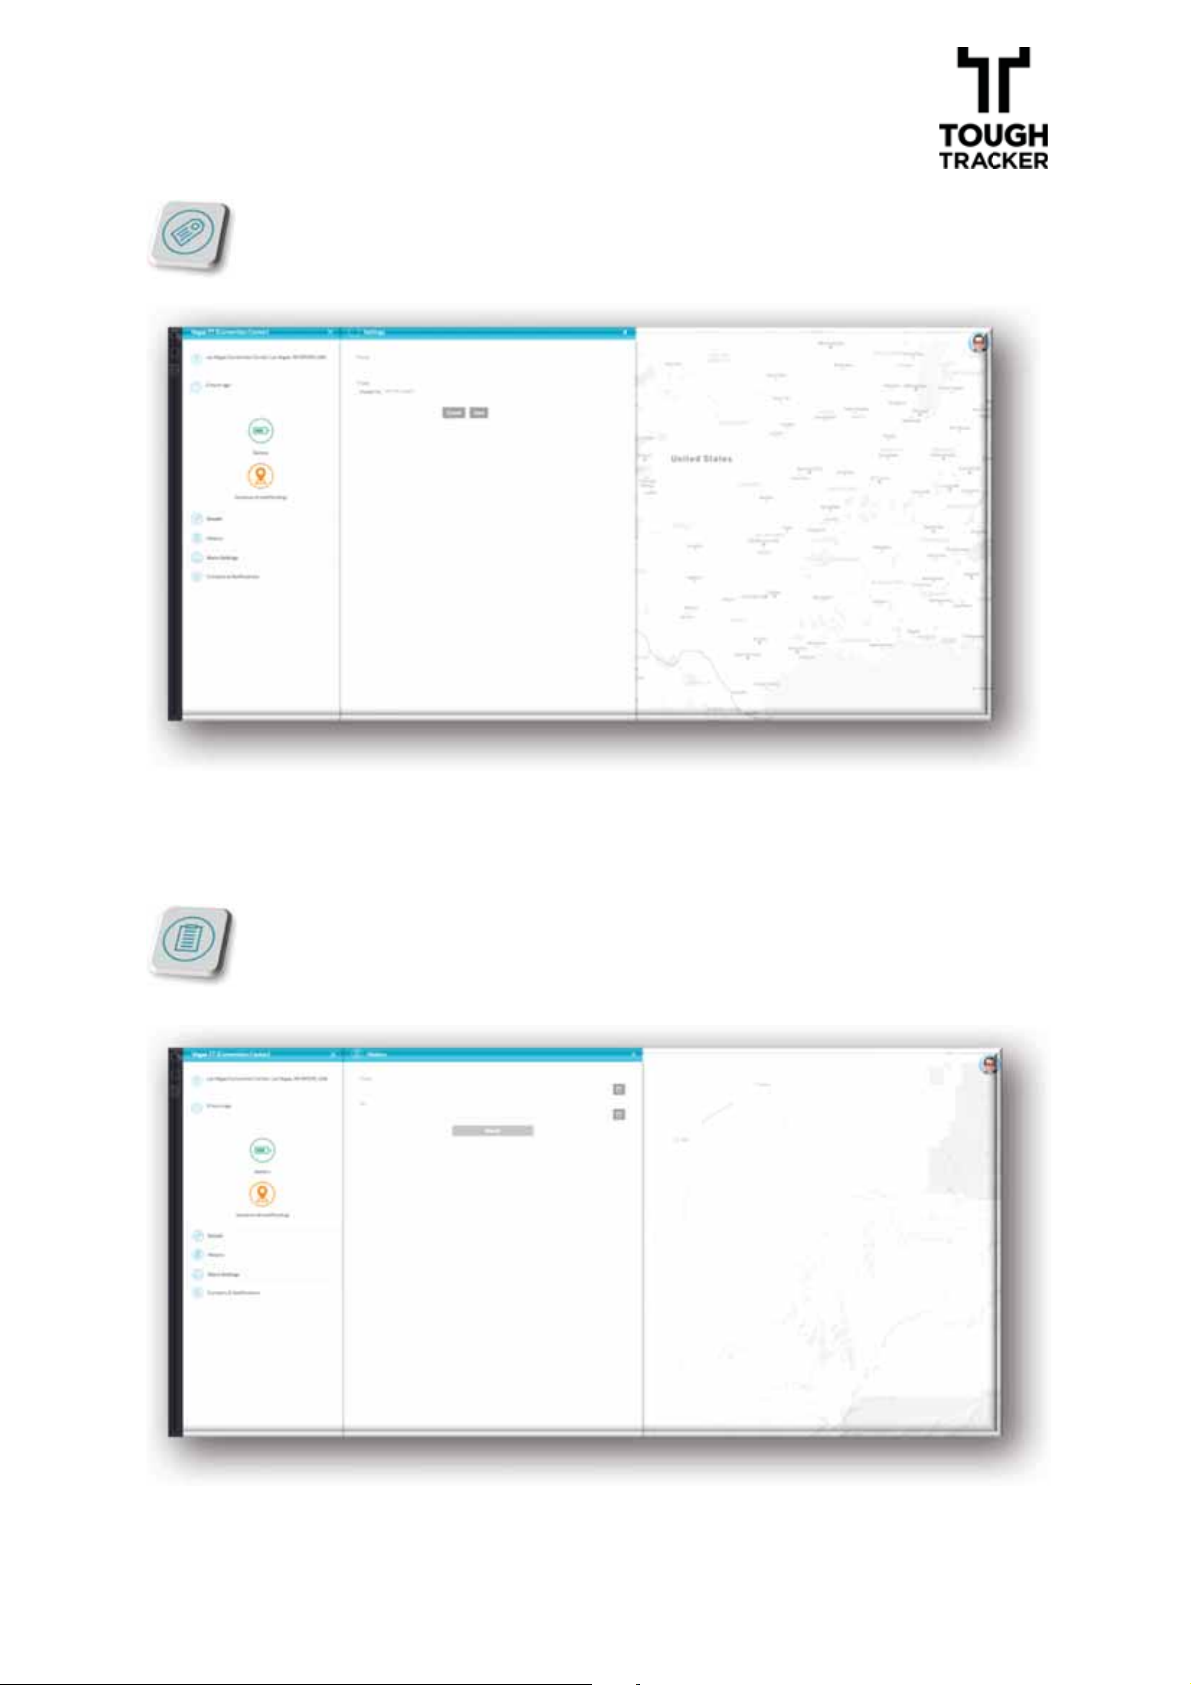
is the place to be if you would like to change your asset
name and add an image of the asset.
HHiissttoorry
- is the place to be if you would like to see last check-in
date & time, event type and location of your asset.
Version V1.0
11
Page 13
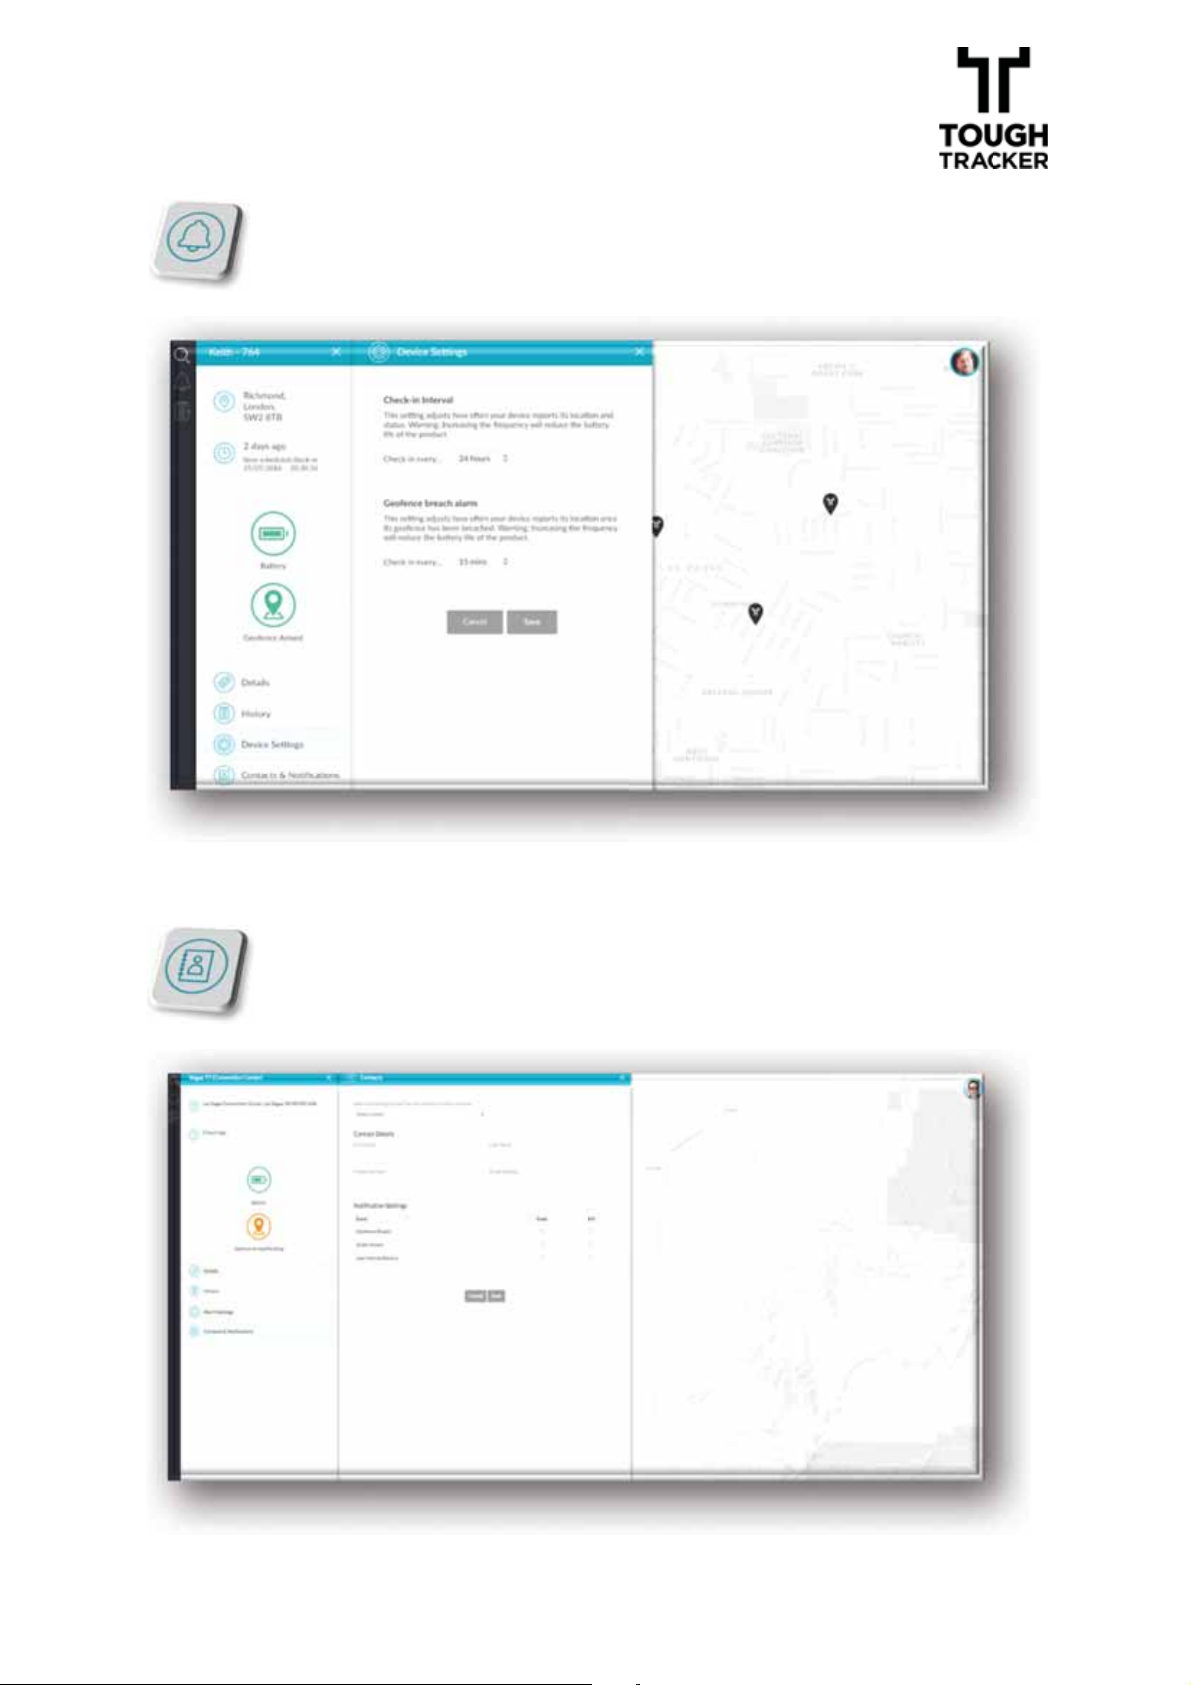
AAllaarrmm SSeettttiinnggss –
–
–
is the place to be if you would like to set up
your Alarm Notification Settings.
You can set up device report frequency, location and status.
IMPORTANT: increasing the check-in frequency will reduce TT battery life.
We usually recommend that you have your device reporting once per day.
CCoonnttaaccttss aanndd NNoottiiffiiccaattiioonnss –
is the place to be if you would like
to change the contact details and get your Notifications set up.
Version V1.0
12
Page 14
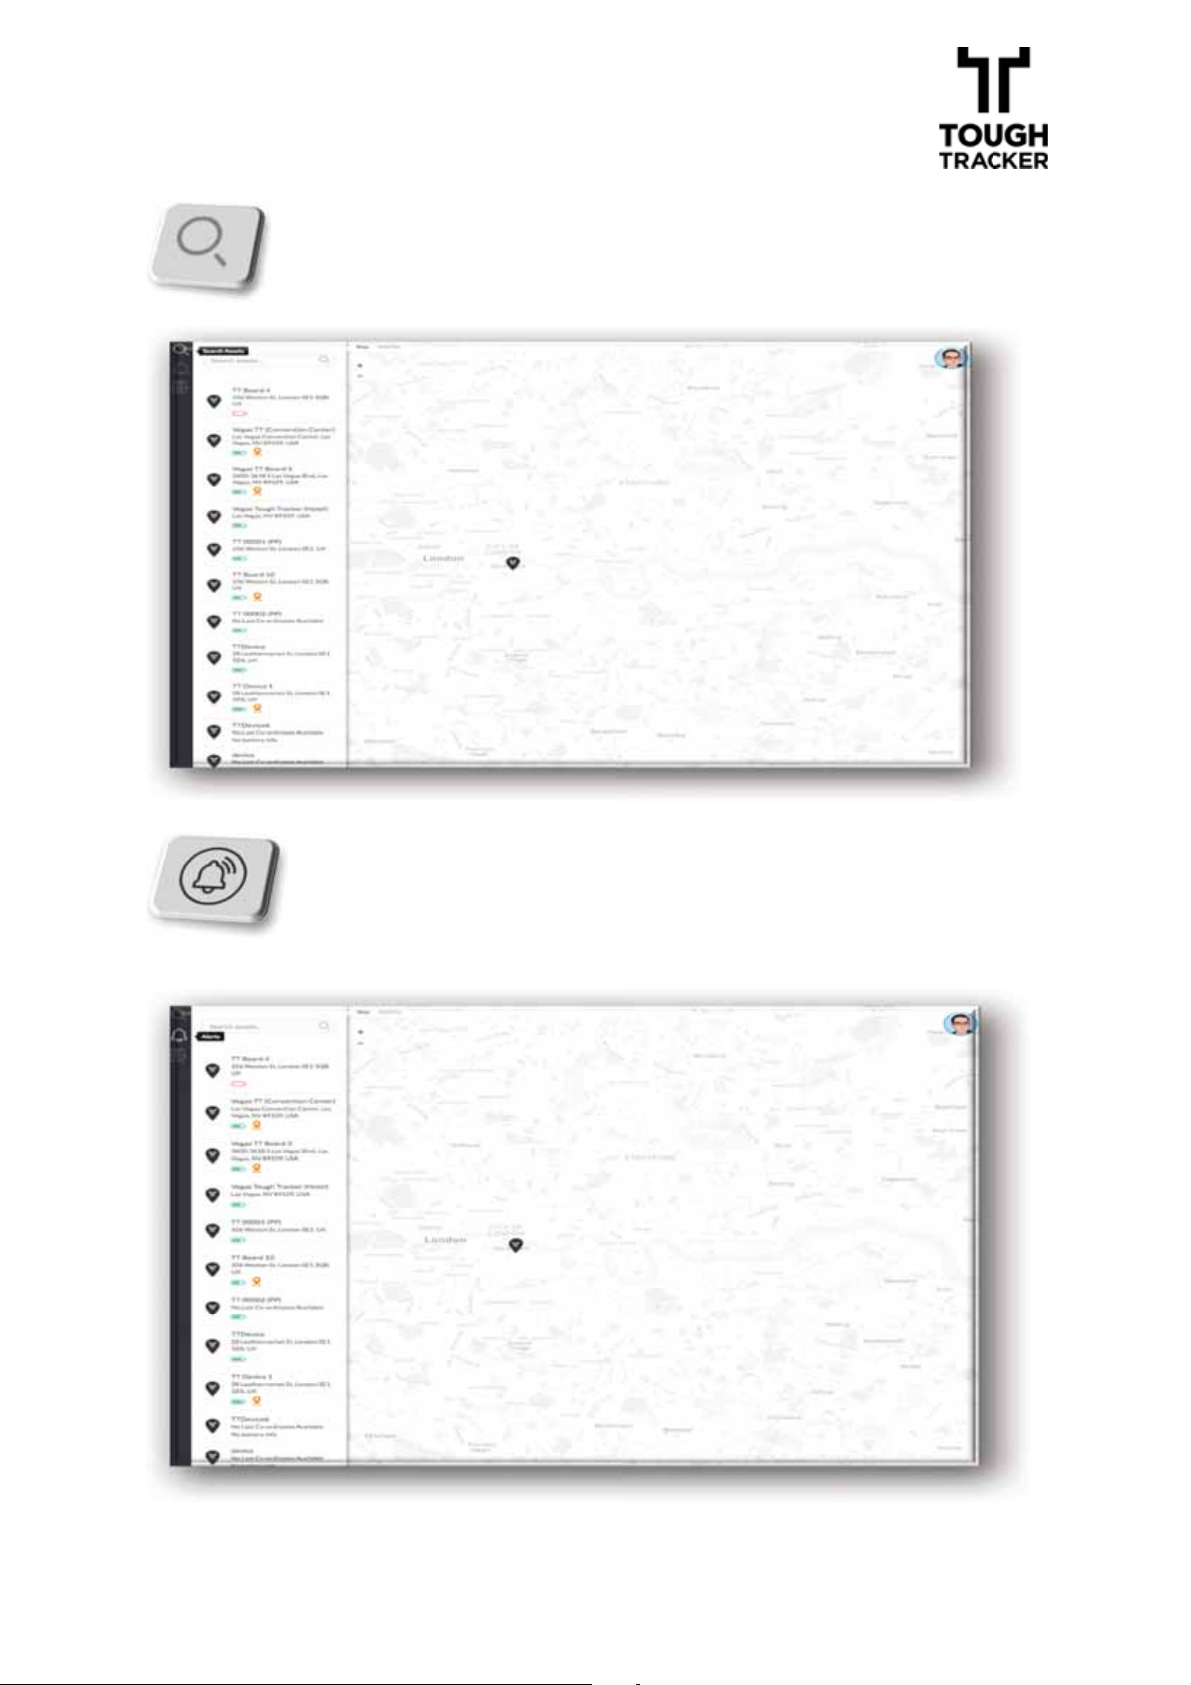
SSeeaarrcch
h
s
– is the place where you can perform a search through
all of your assets.
AAllaarrmms
– is the place to be if you would like to view all alarm
notifications and where located on the map.
Version V1.0
13
Page 15
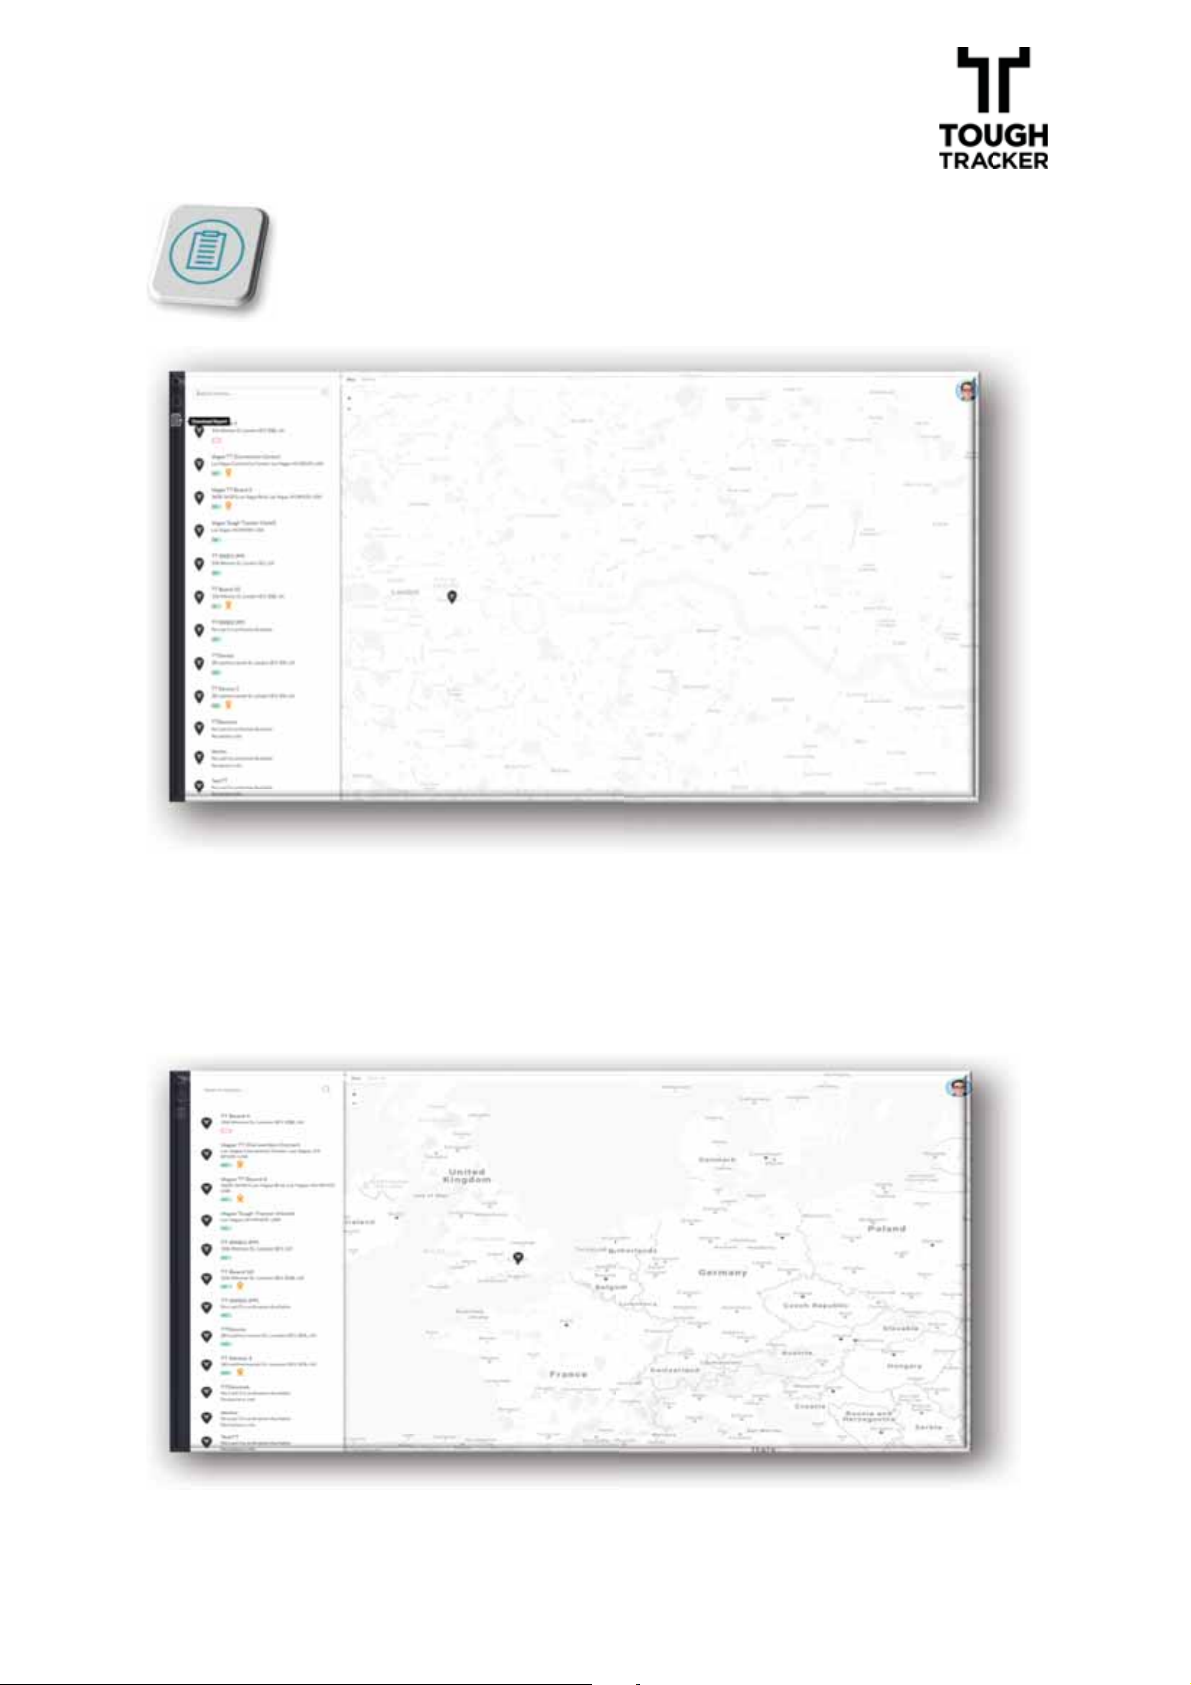
RReeppoorrttss–
–
is the place to be if you would like to export an Excel
(CSV) file with information about your asset, which includes:
Asset Name, Last Check-In, Geo-fence Status & Location.
4.3!ICONS /SHORTCUTS
Side Bar Icons: You can find the side bar icons in the asset list on the left
hand side of the asset map.
Once you have logged into your account, go ahead and click on any of the
asset map marker pins which you see located on the map.
Version V1.0
14
Page 16
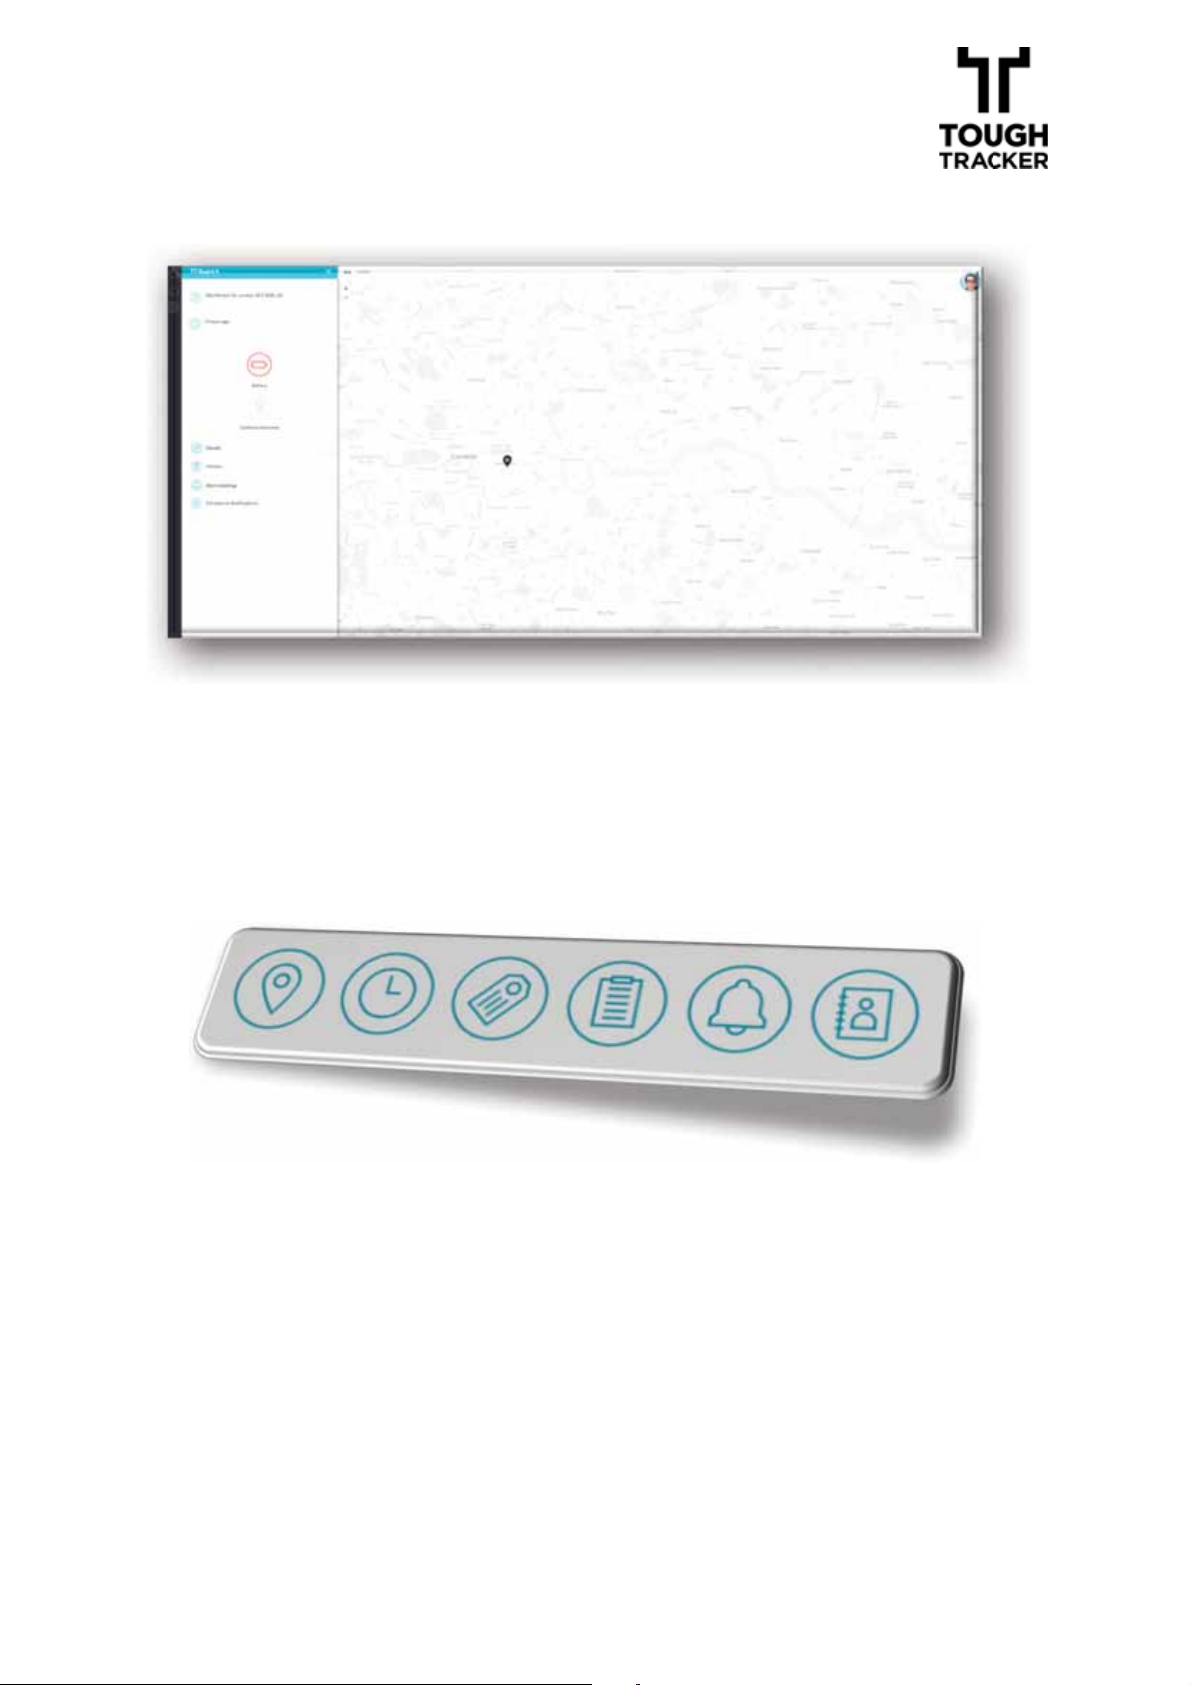
Choosing any of the asset map icons will lead you to the main Side Bar
Menu Settings.
Main Side Bar Menu is the place where you can perform settings changes
and find information about Asset Location, Last Check-In, Details, Asset History, Alarm Settings, and Contacts and Notifications.
Version V1.0
15
Page 17
LLooccaattiioon
n
n
s
y
s
s
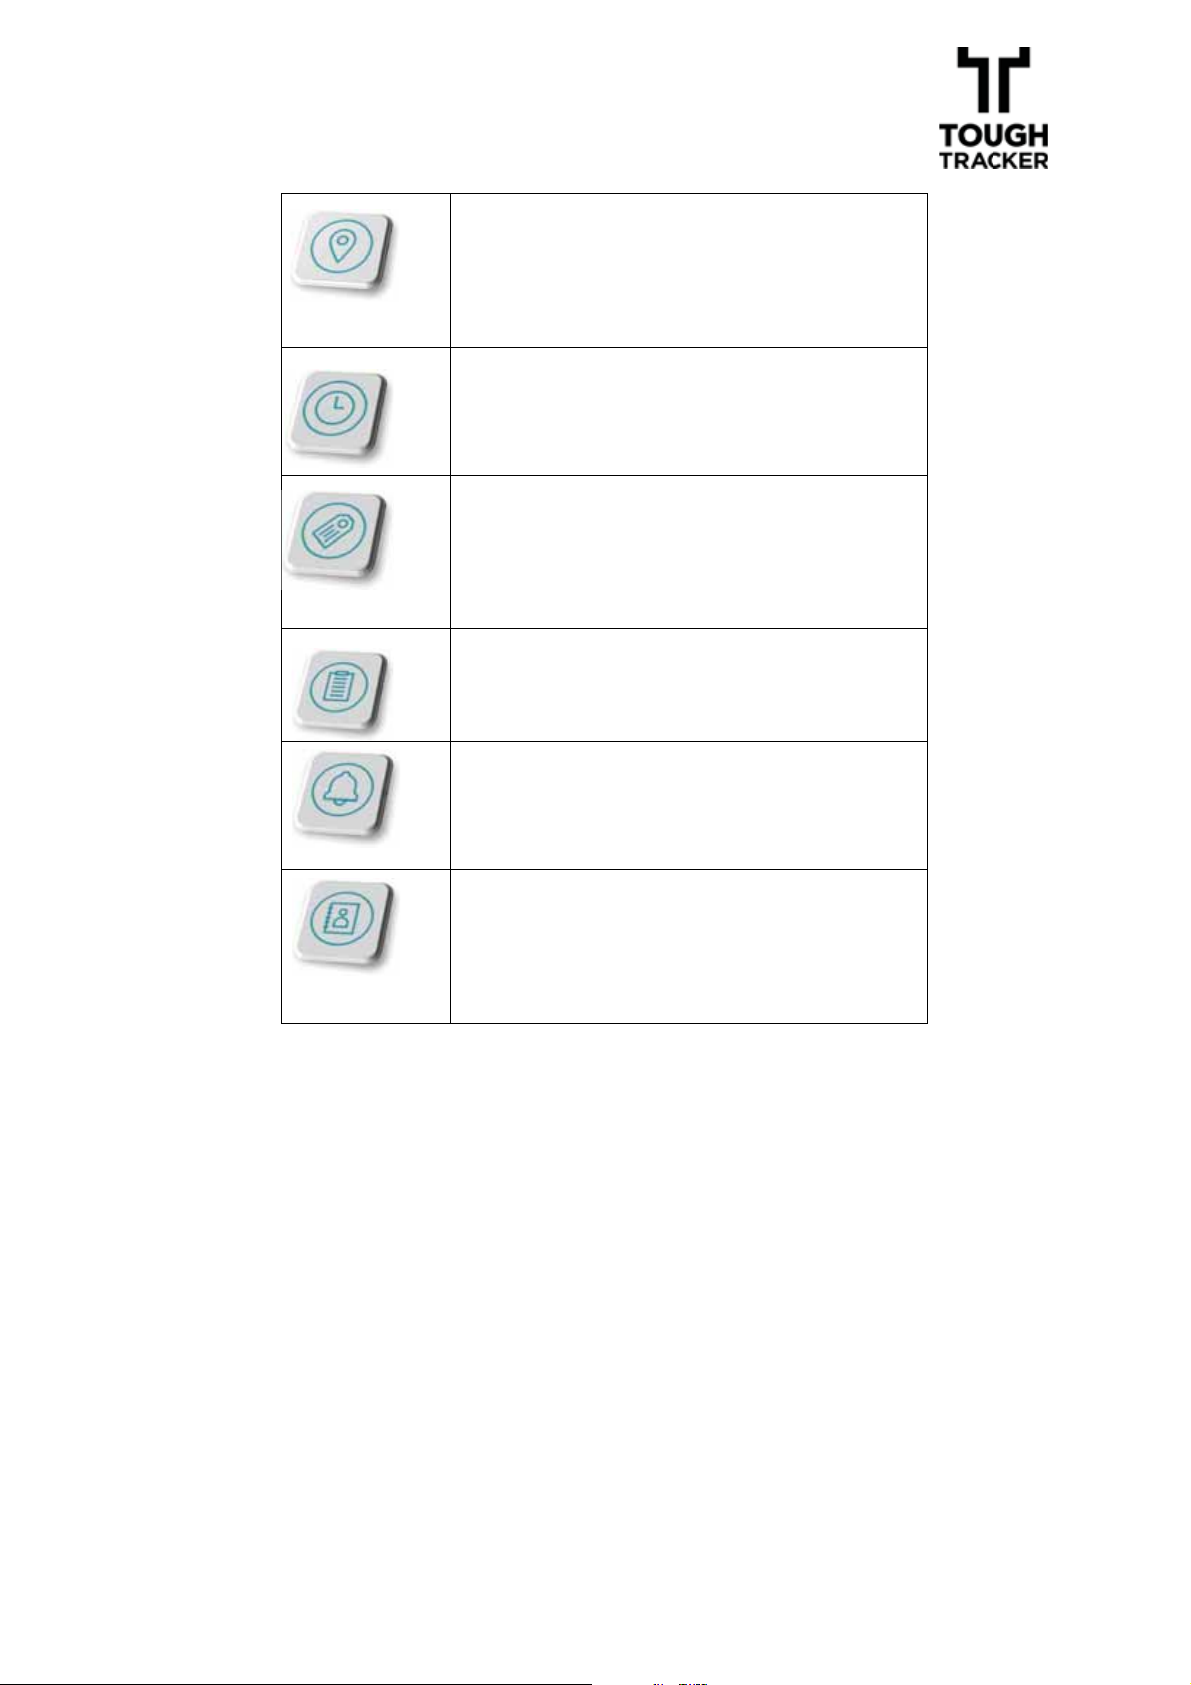
– is the icon that gives an
overview of where your asset is at any
given moment of time and precise
address of location.
CChheecckk--IIn
– gives an overview of asset
last check-in.
DDeettaaiills
– allows you to add asset
name and upload an image of the asset.
HHiissttoorry
– view information about asset
movement history.
AAllaarrmm SSeettttiinnggs
– set up asset check in
time
CCoonnttaaccttss && NNoottiiffiiccaattiioonns
– create new
contact and set up event notifications
such as geo-fence breach, under attack, high temperature & low battery.
4.4!FUNCTIONALITIES
4.4.1!FUNCTIONALITIES PRESENTED/DESCRIBED
a.!Log into TT UI
b.!View Asset on Map
c.!Main Dashboard Settings
d.!Details - Set Up Asset name and upload asset image
e.!History - View Asset Movement History
f.! Alarm Settings - Set Up Alarm Check-In
g.!Contacts & Notifications Set Up Contacts and Notifications
h.!Search – perform search throughout assets
i.! Alarms – view list of alarm notifications
j.! Export files – download a list of assets on CSV/ Excel file
Version V1.0
16
Page 18
55.
.
L
L
I
N
S
N
L
!
OOGG IINNTTOO
TTTTUUII//L
I
OOGG
S
N
CCRREEEEN
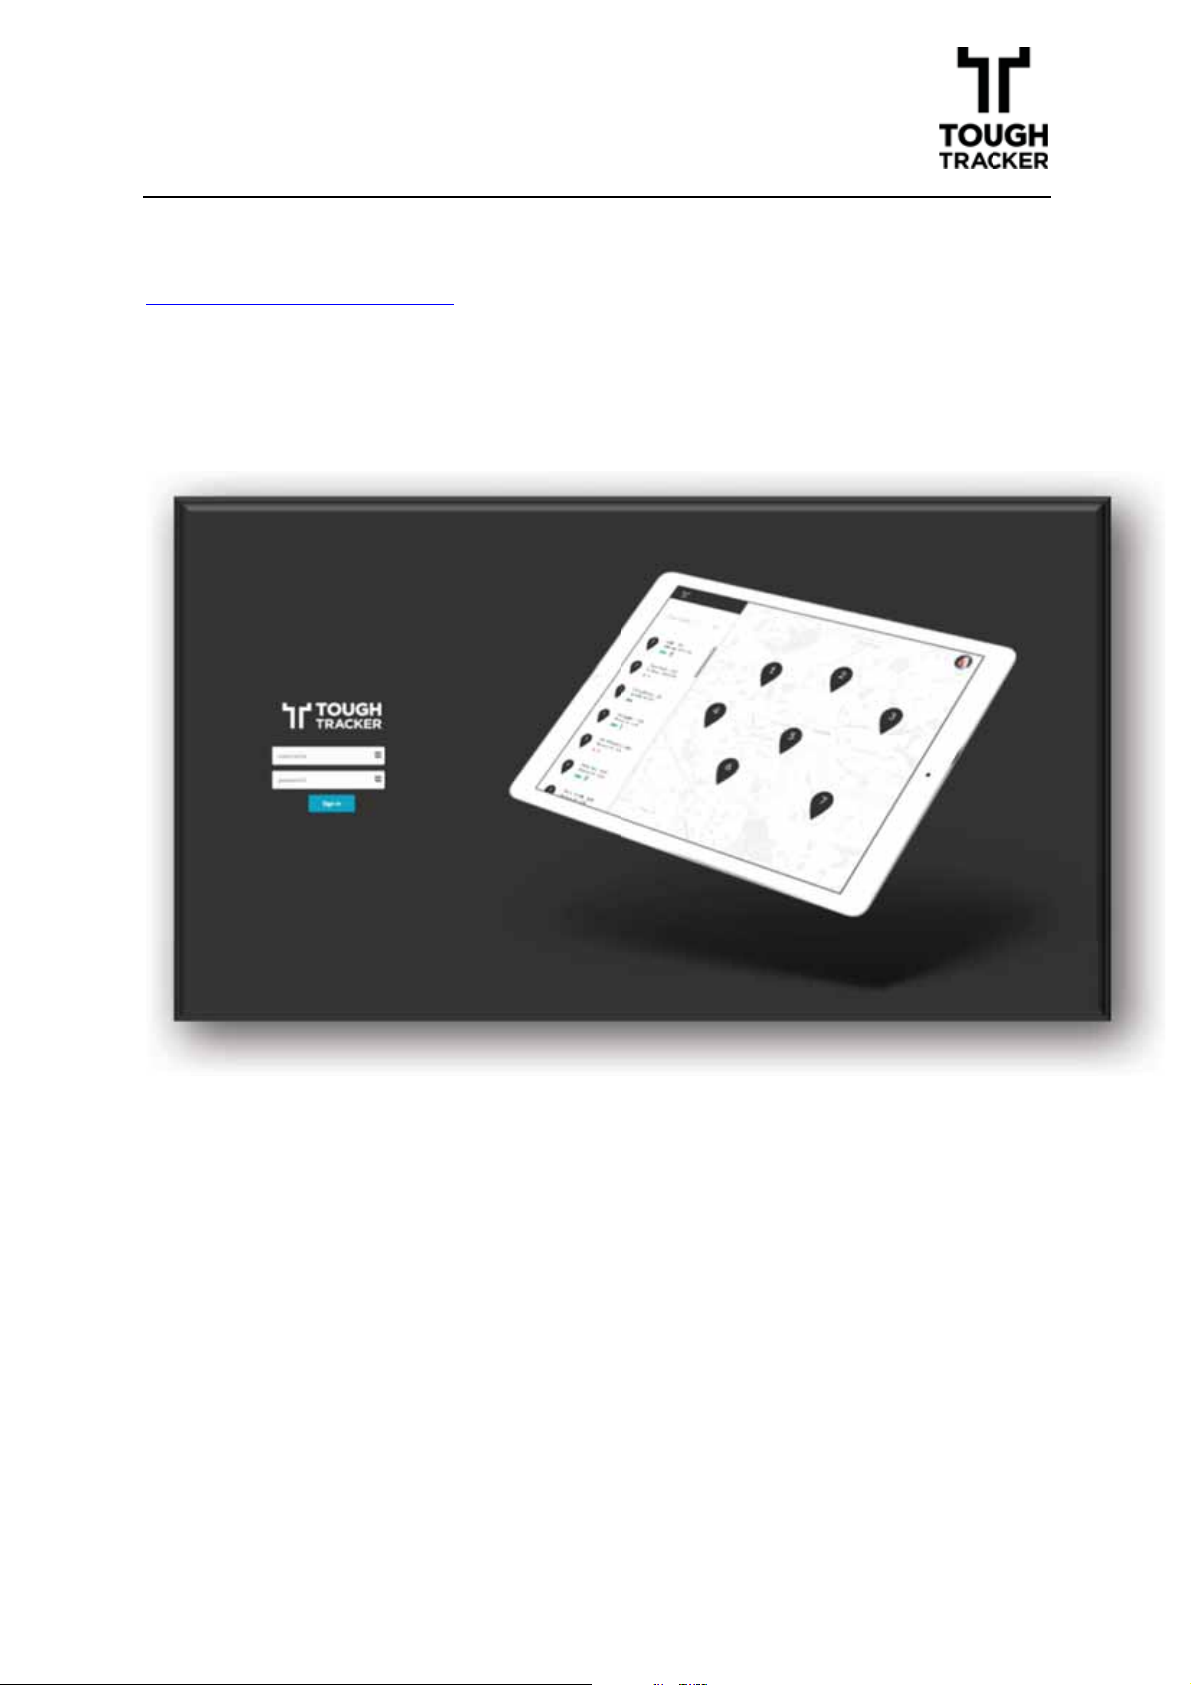
5.1!LOG INTO THE TOUGH TRACKER WEB APP USING THE FOLLOWING URL :
HTTP://52.30.36.6/#/LOGIN WHICH WILL GUIDE YOU TO THE MAIN TT UI PAGE.
5.2!SCREENSHOT
LOGIN PAGE
Use your user name and password provided to you by your distributor to
login.
Version V1.0
17
Page 19
66.
.
V
W
A
M
P
M
S
V
!
IIEEW
A
SSSSEETT OONN
M
AAP
//M
AAPP
S
CCRREEEENN
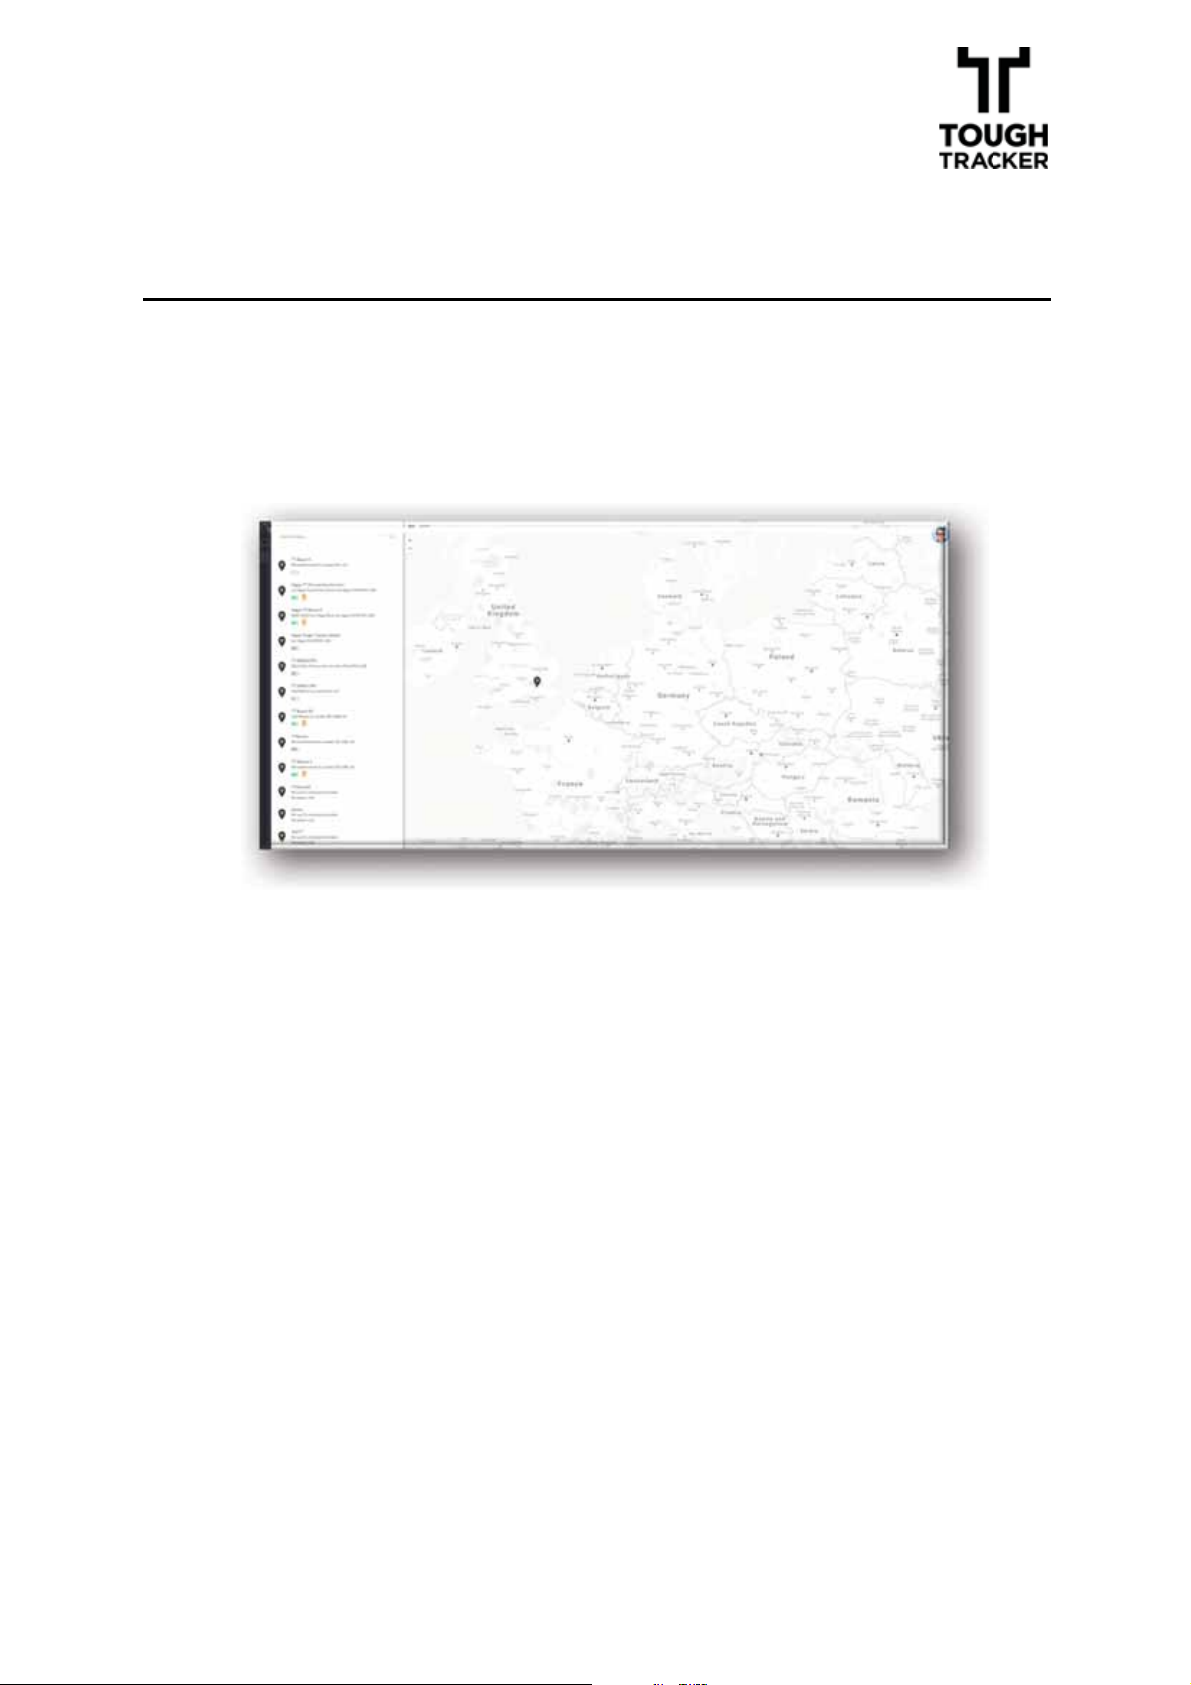
Once you’ve logged into Tough Tracker Web App you will be taken to the
main page, where you can view all assets locations on the map.
CREENSHOT
6.1 S
6.1!DESCRIPTIONS OF FIELDS, CONTENT
-! At the top right hand side corner, you can view Profile picture,
manage option and log off option.
-! In the left hand panel, you can view a list of assets on map and all as-
sets locations.
-! Battery Level.
-! Geo-fence status – Armed, Disarmed or Pending geo-fence;
-! The black menu bar to the left allows quick access to search, alarm
notifications and allows you to export a list of devices in CSV/Excel
format.
-! Whilst on this page you can choose any of the Map icons to view De-
vice settings.
Version V1.0
18
Page 20
6.2!DESCRIPTION OF ACTIONS
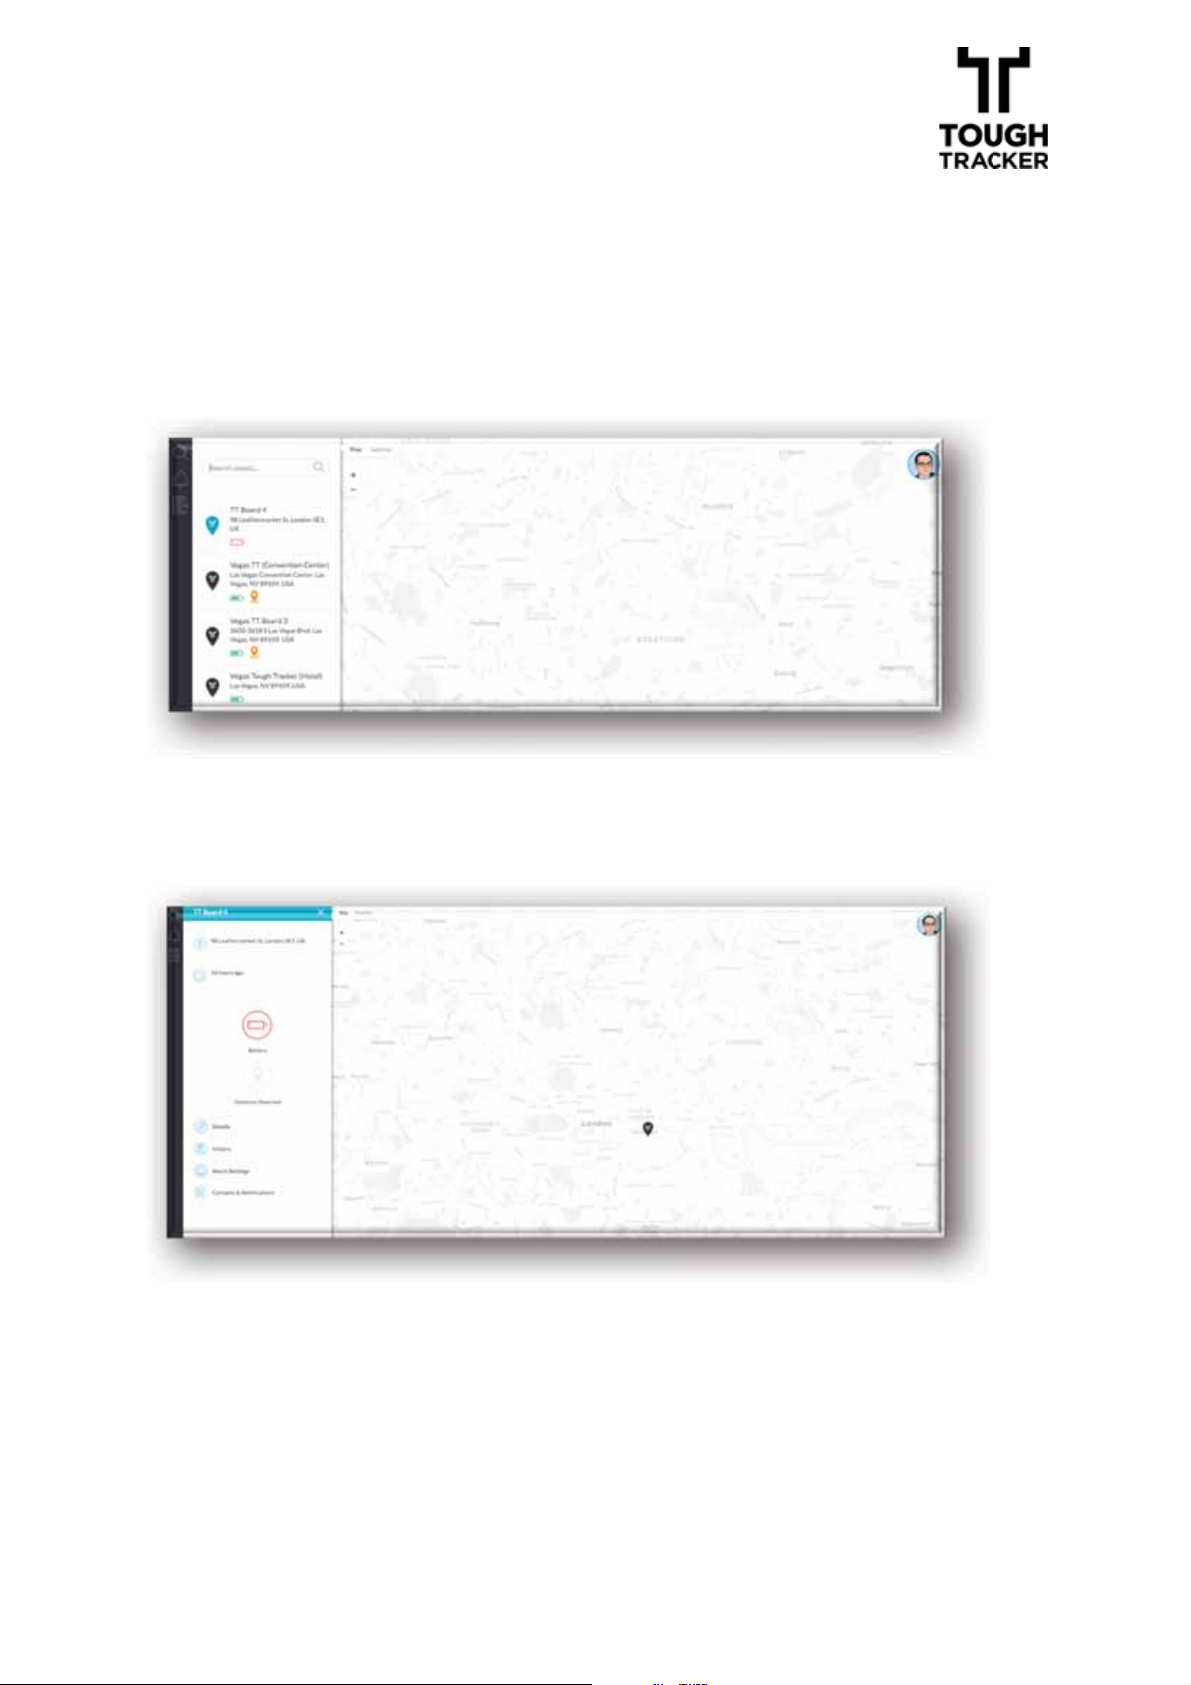
Choose any of the marker pins on the map to view an overview of that asset.
Version V1.0
19
Page 21
77.
.
M
D
S
D
S
S
M
!
AAIINN
D
AASSHHBBOOAARRDD
S
EETTTTIINNGGSS
//D
AASSHHBBOOAARRDD
S
EETTTTIINNGGSS
S
CCRREEEENN
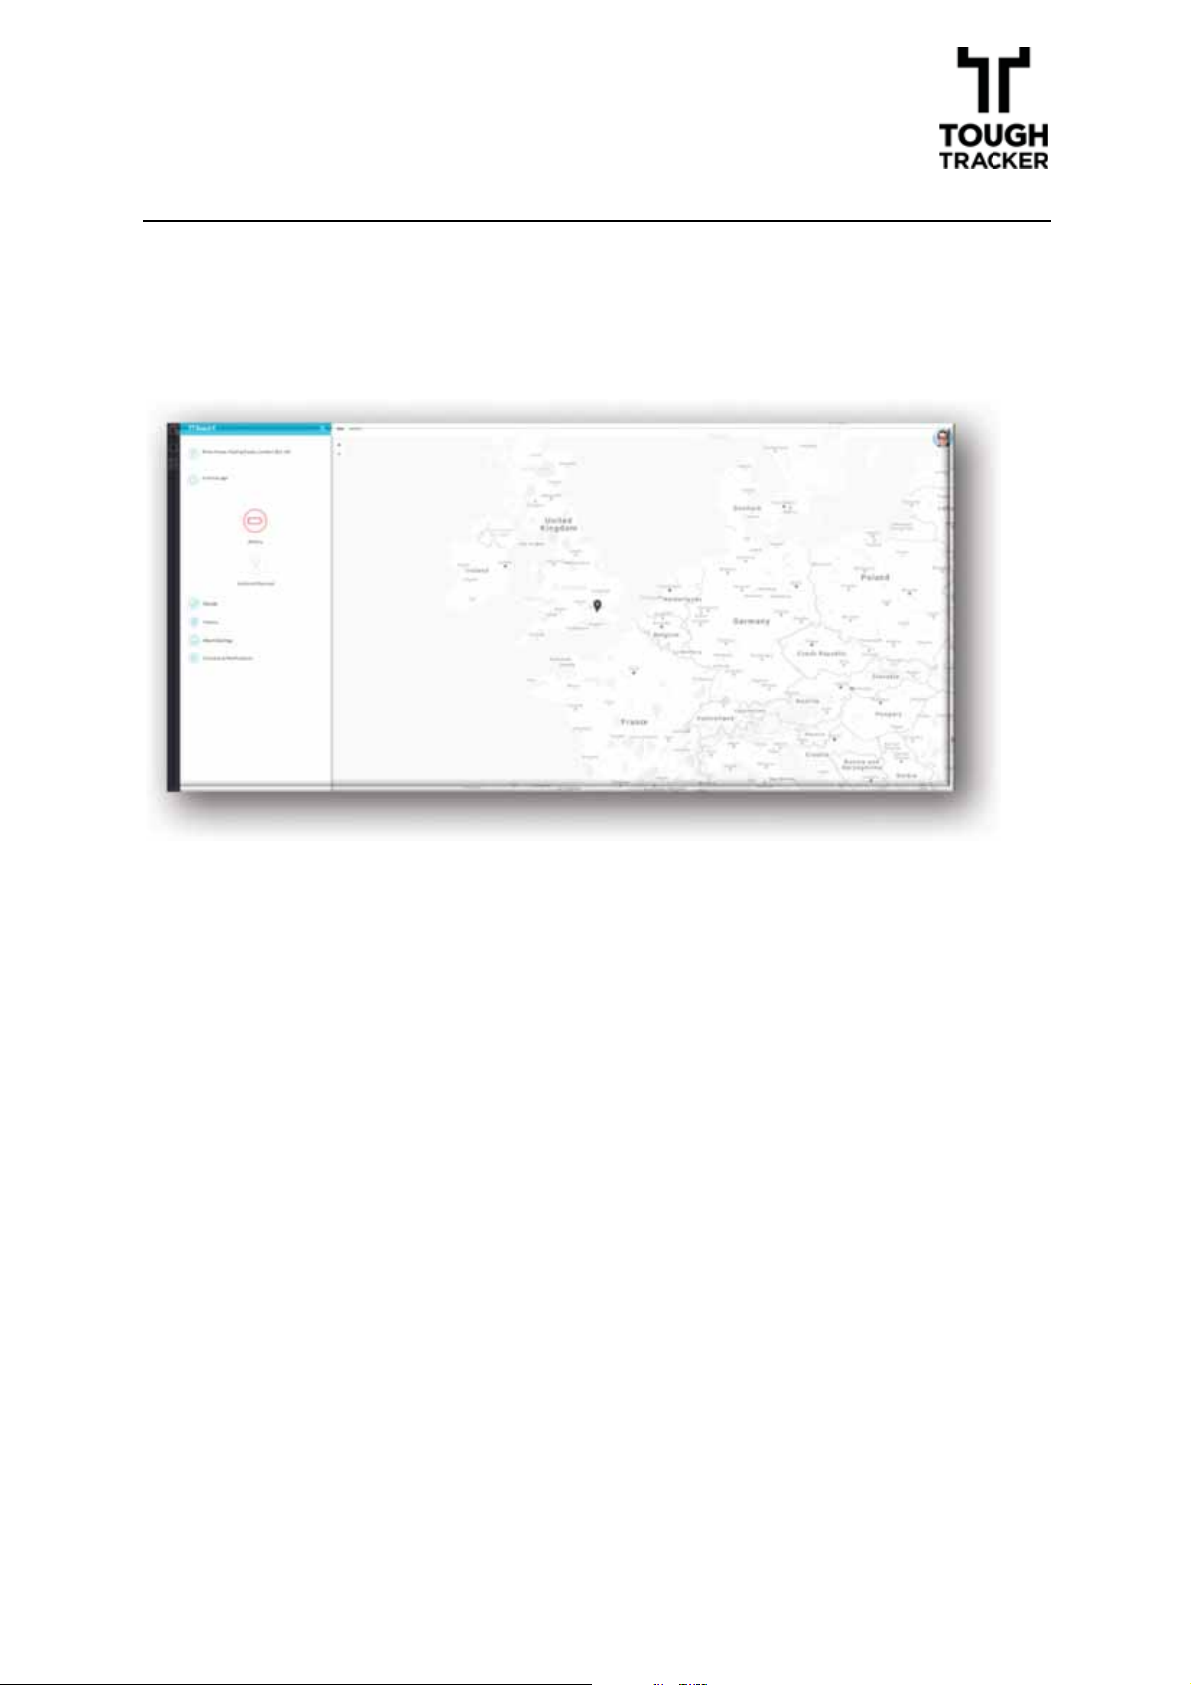
Here you can view a list of settings: Asset Details, Asset History, Alarm Settings & Contacts & Notifications
CREENSHOT
7.1!S
7.2!DESCRIPTIONS OF FIELDS, CONTENT
The dashboard settings page is where you perform variety of actions like:
-! View asset location (address).
-! Asset Last check-in
-! Battery Level
-! Geo-fence Status – Armed/Disarmed/Pending
-! Details – set asset name and upload an image of the asset
-! Asset History – view asset movement history
-! Alarm Settings – set up alarm
-! Contacts & Notifications – set up contacts, geo-fence breach notifica-
tions; Under attack notifications; Low battery notifications
Version V1.0
20
Page 22
88.
.
D
D
EETTAAIILLSS
!
8.1!DETAILS
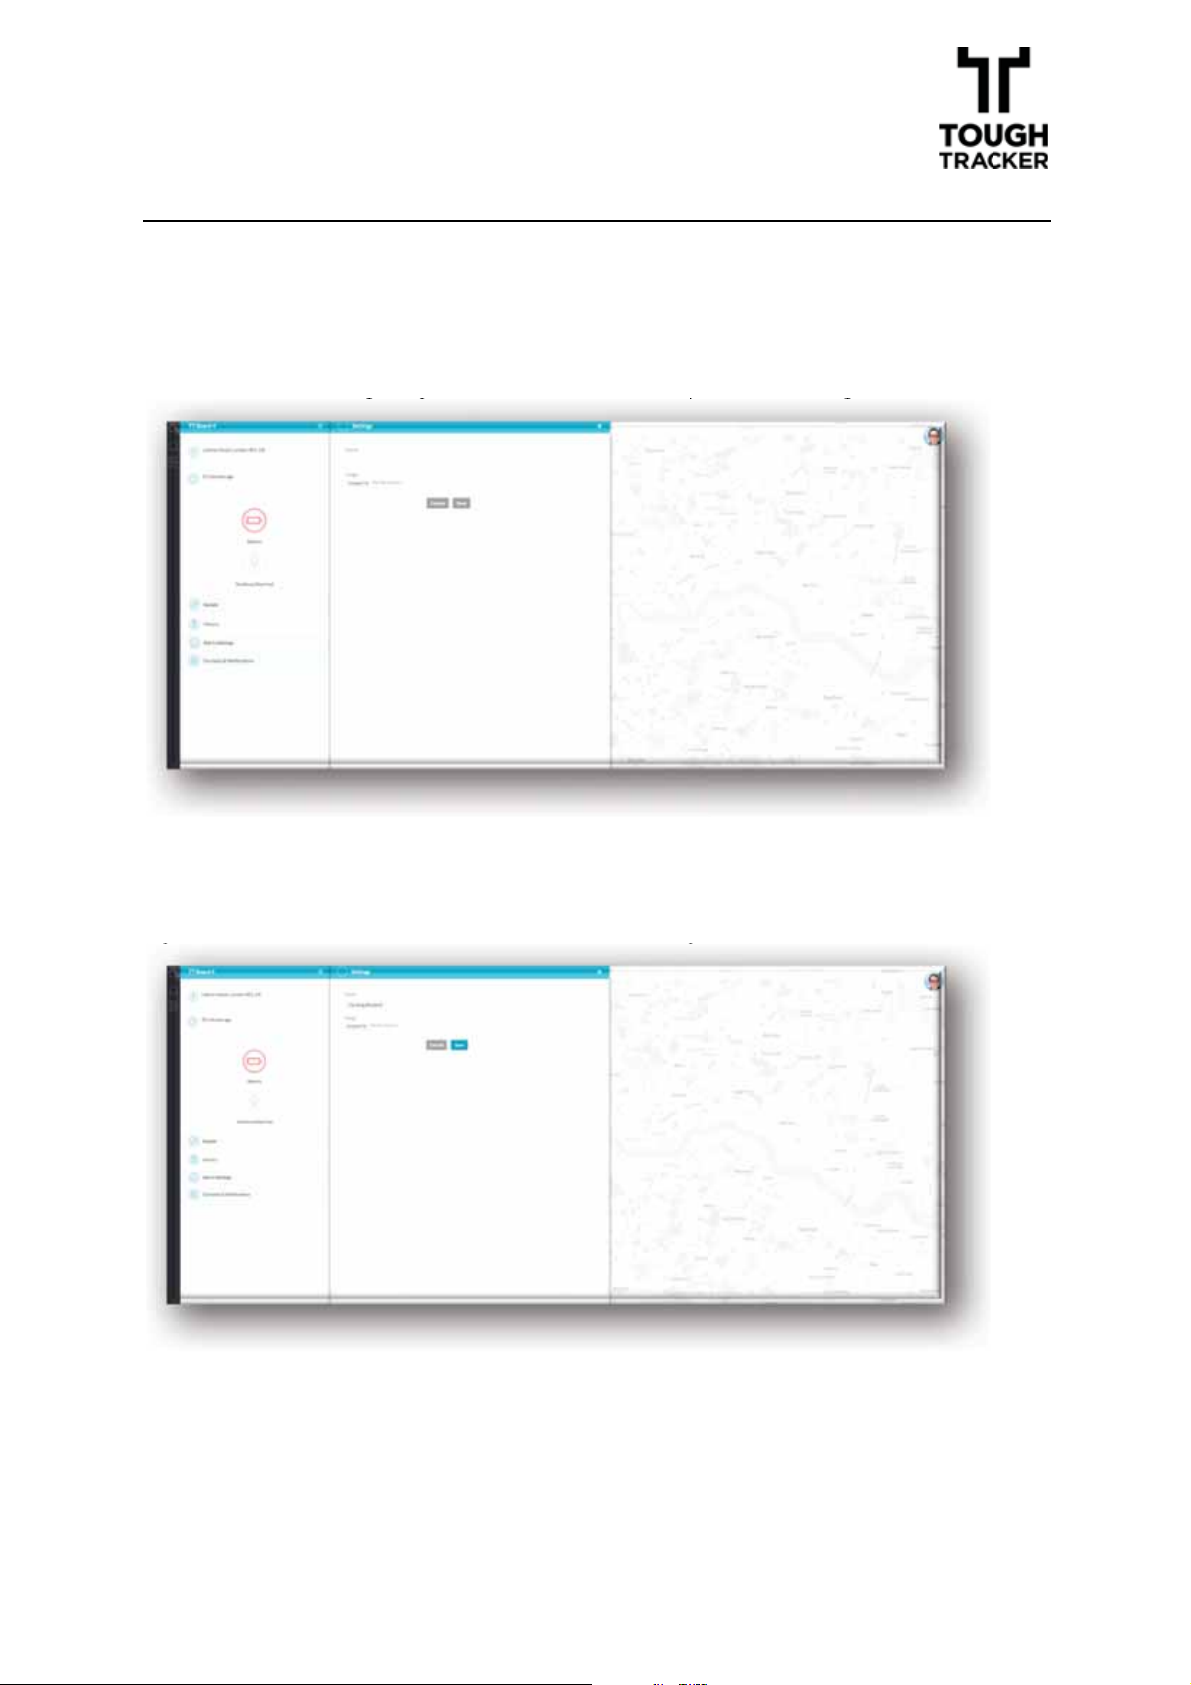
Choose Details to give your asset a name or upload an image of the asset.
Type an asset name into the field that is empty and click save.
Version V1.0
21
Page 23
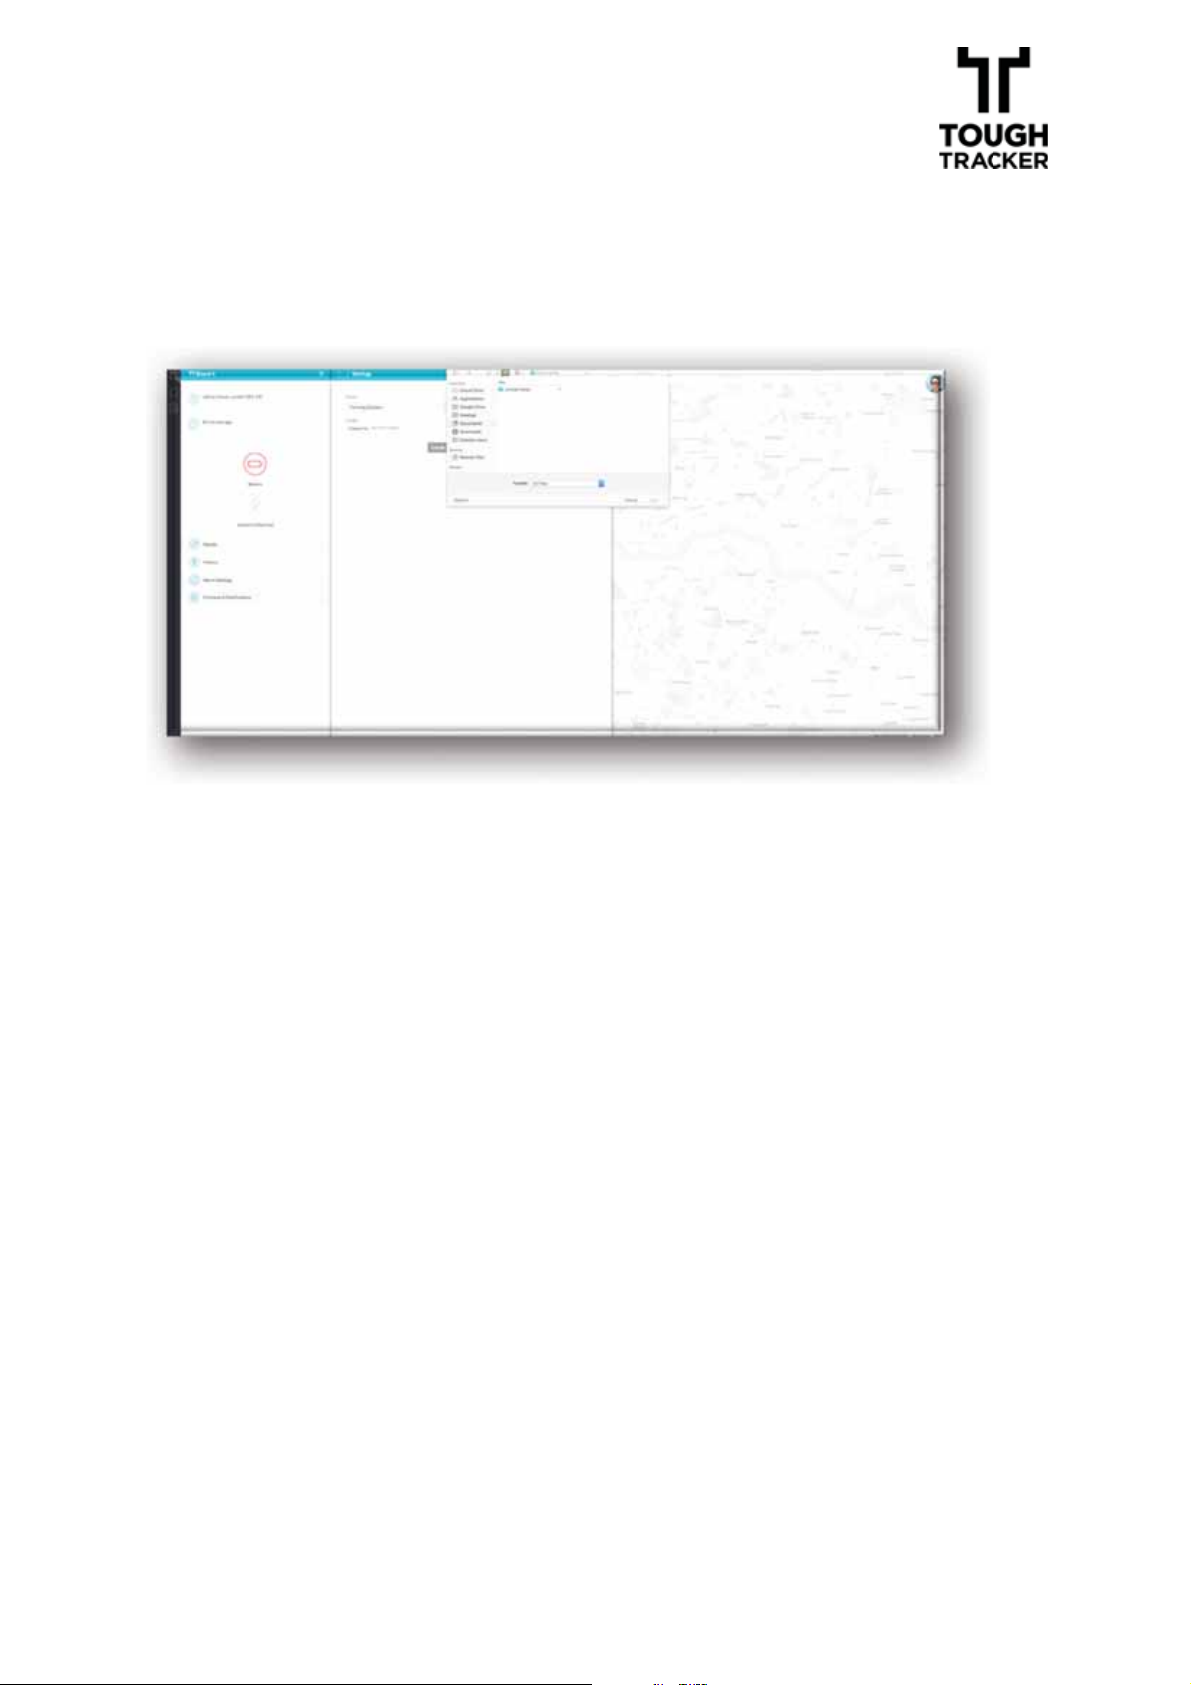
Click on upload image from file to upload an image, then click save.
Version V1.0
22
Page 24
99.
.
H
A
T
M
S
N
”
H
IISSTTOORRYY
!
//A
SSSSEET
M
OOVVEEMMEENNTT
S
CCRREEEEN
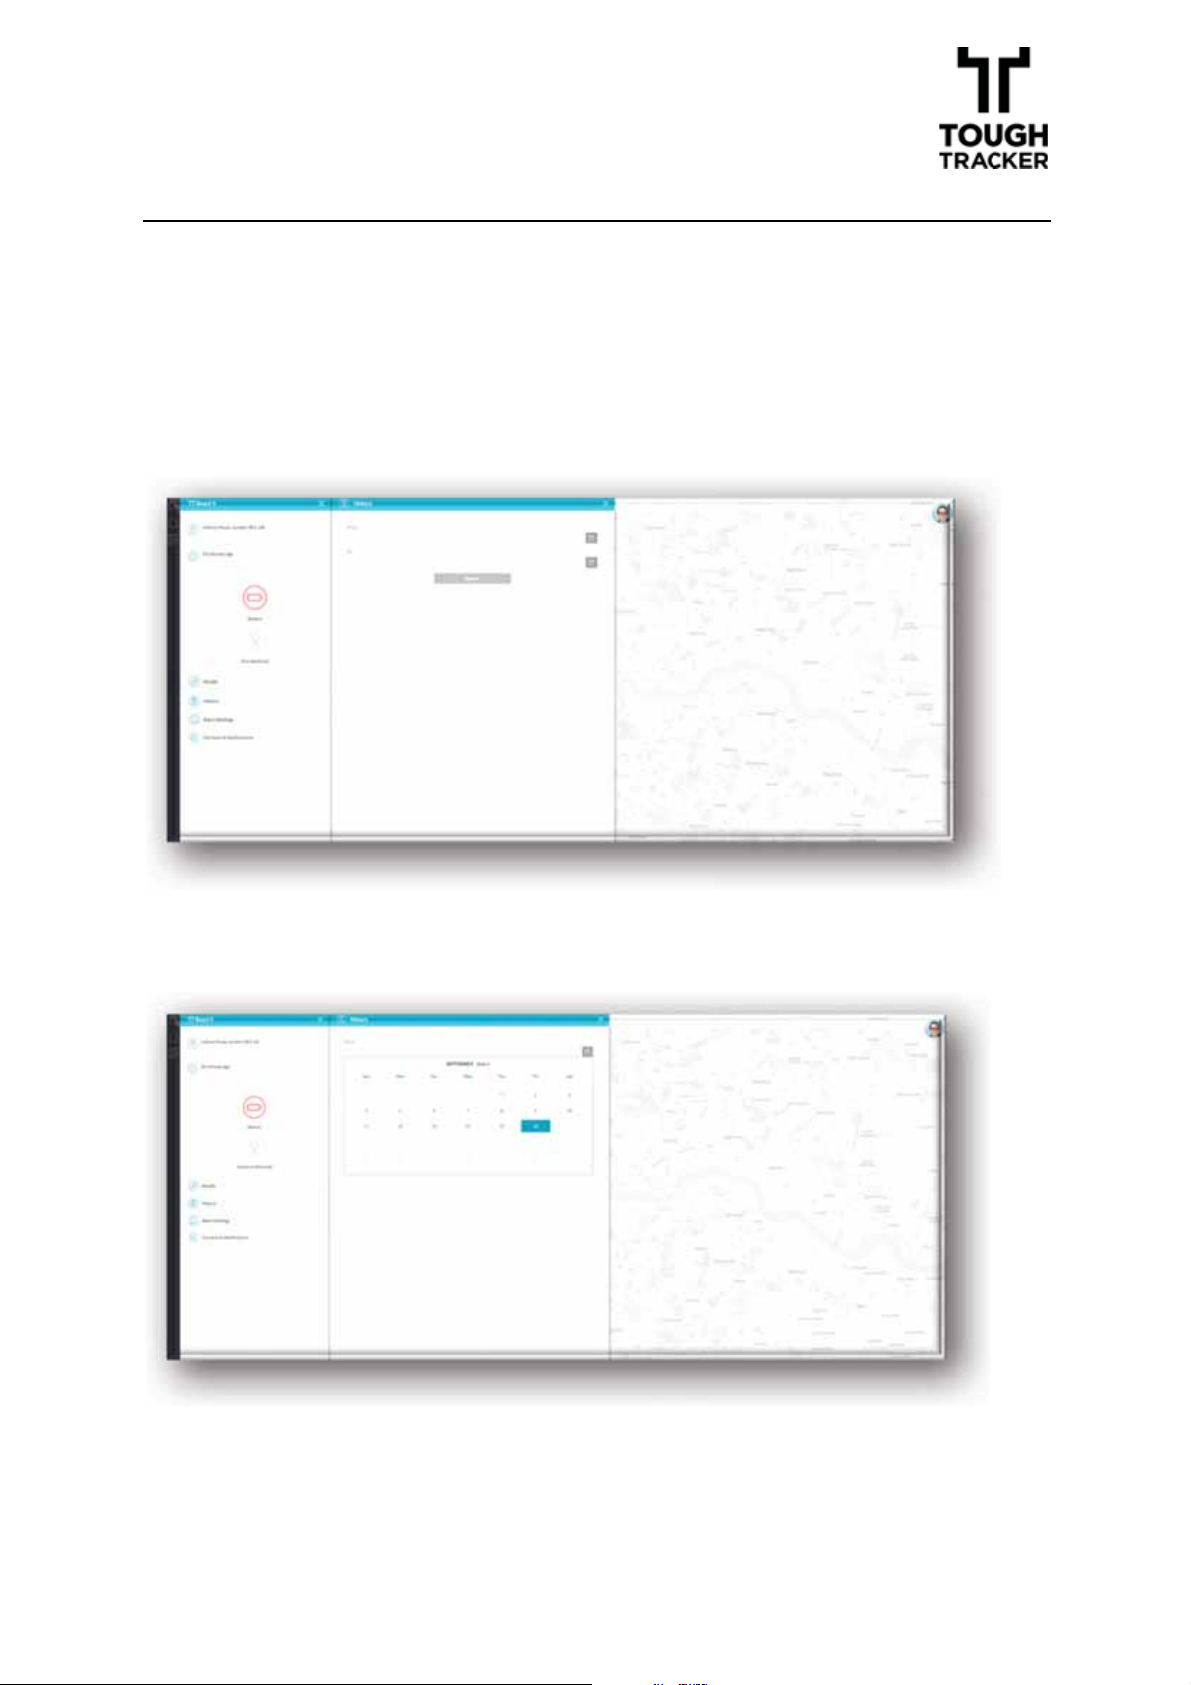
This is where you view your assets movement history.
9.1!H
ISTORY
Click on History then go ahead and choose a date from which you would
like to track asset movement
Choose “
FFrroomm”
date
Version V1.0
23
Page 25
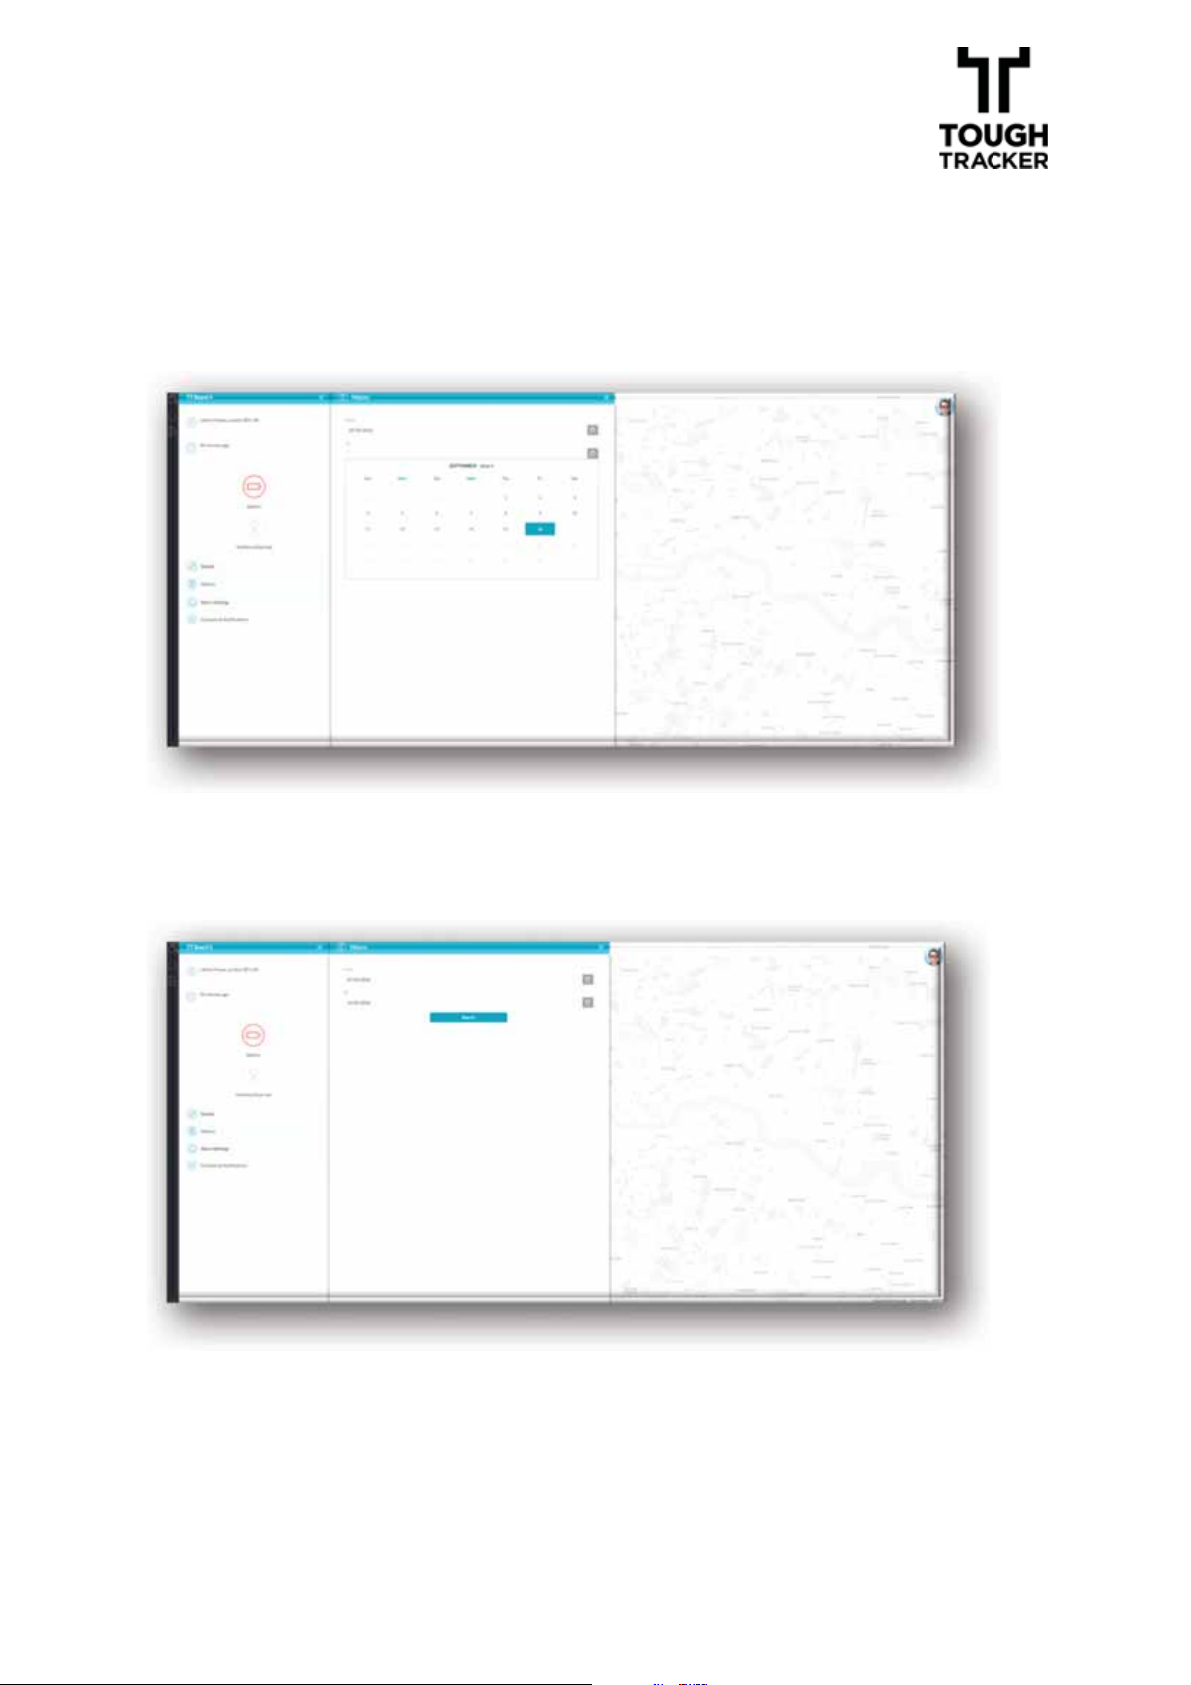
Choose “
”
TToo”
date
Choose Search
Version V1.0
24
Page 26
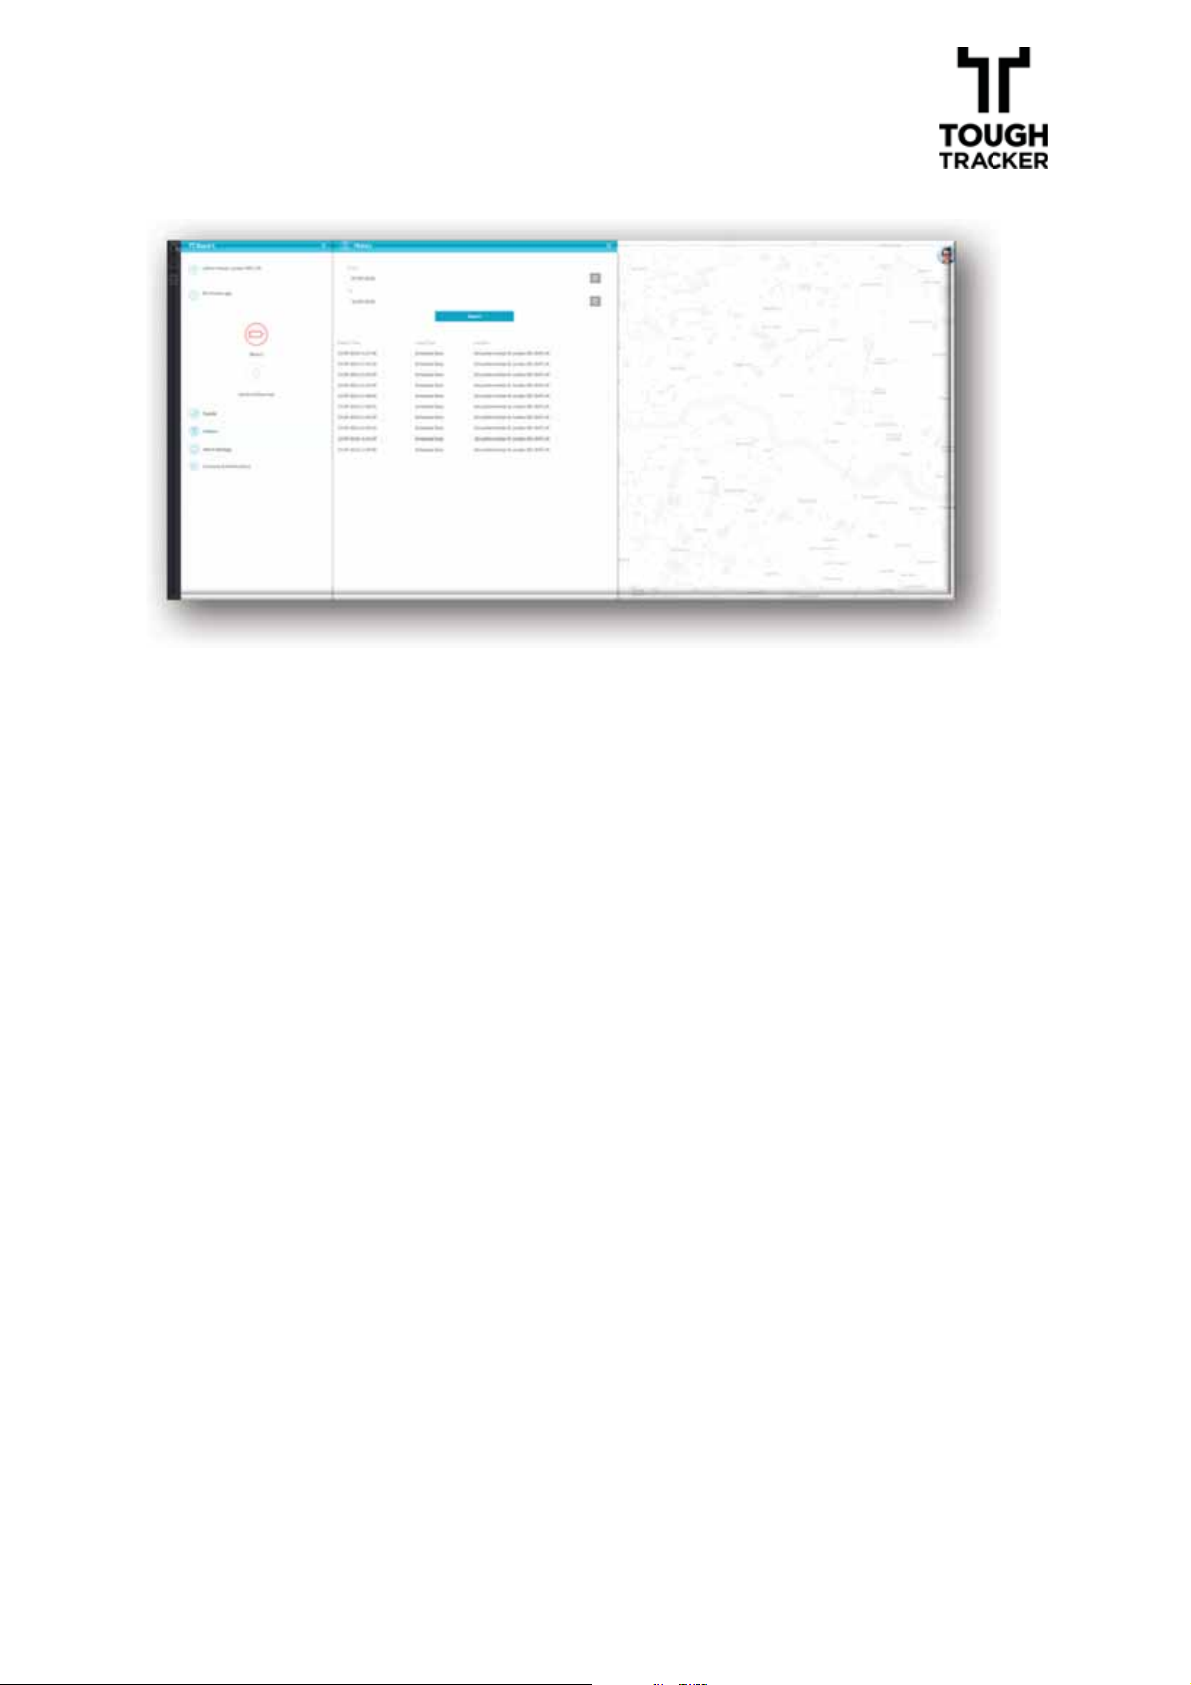
View movement History
9.2!DESCRIPTION OF ACTIONS
-! Go to History
-! Choose From which date you would like to view movement history
-! Choose To which date you would like to view movement history
-! Choose Search
-! View required movement history
Version V1.0
25
Page 27
1100.
.
A
S
A
S
.
A
LLAARRMM
!
S
EETTTTIINNGGSS
//A
LLAARRMM
S
CCRREEEENNSS
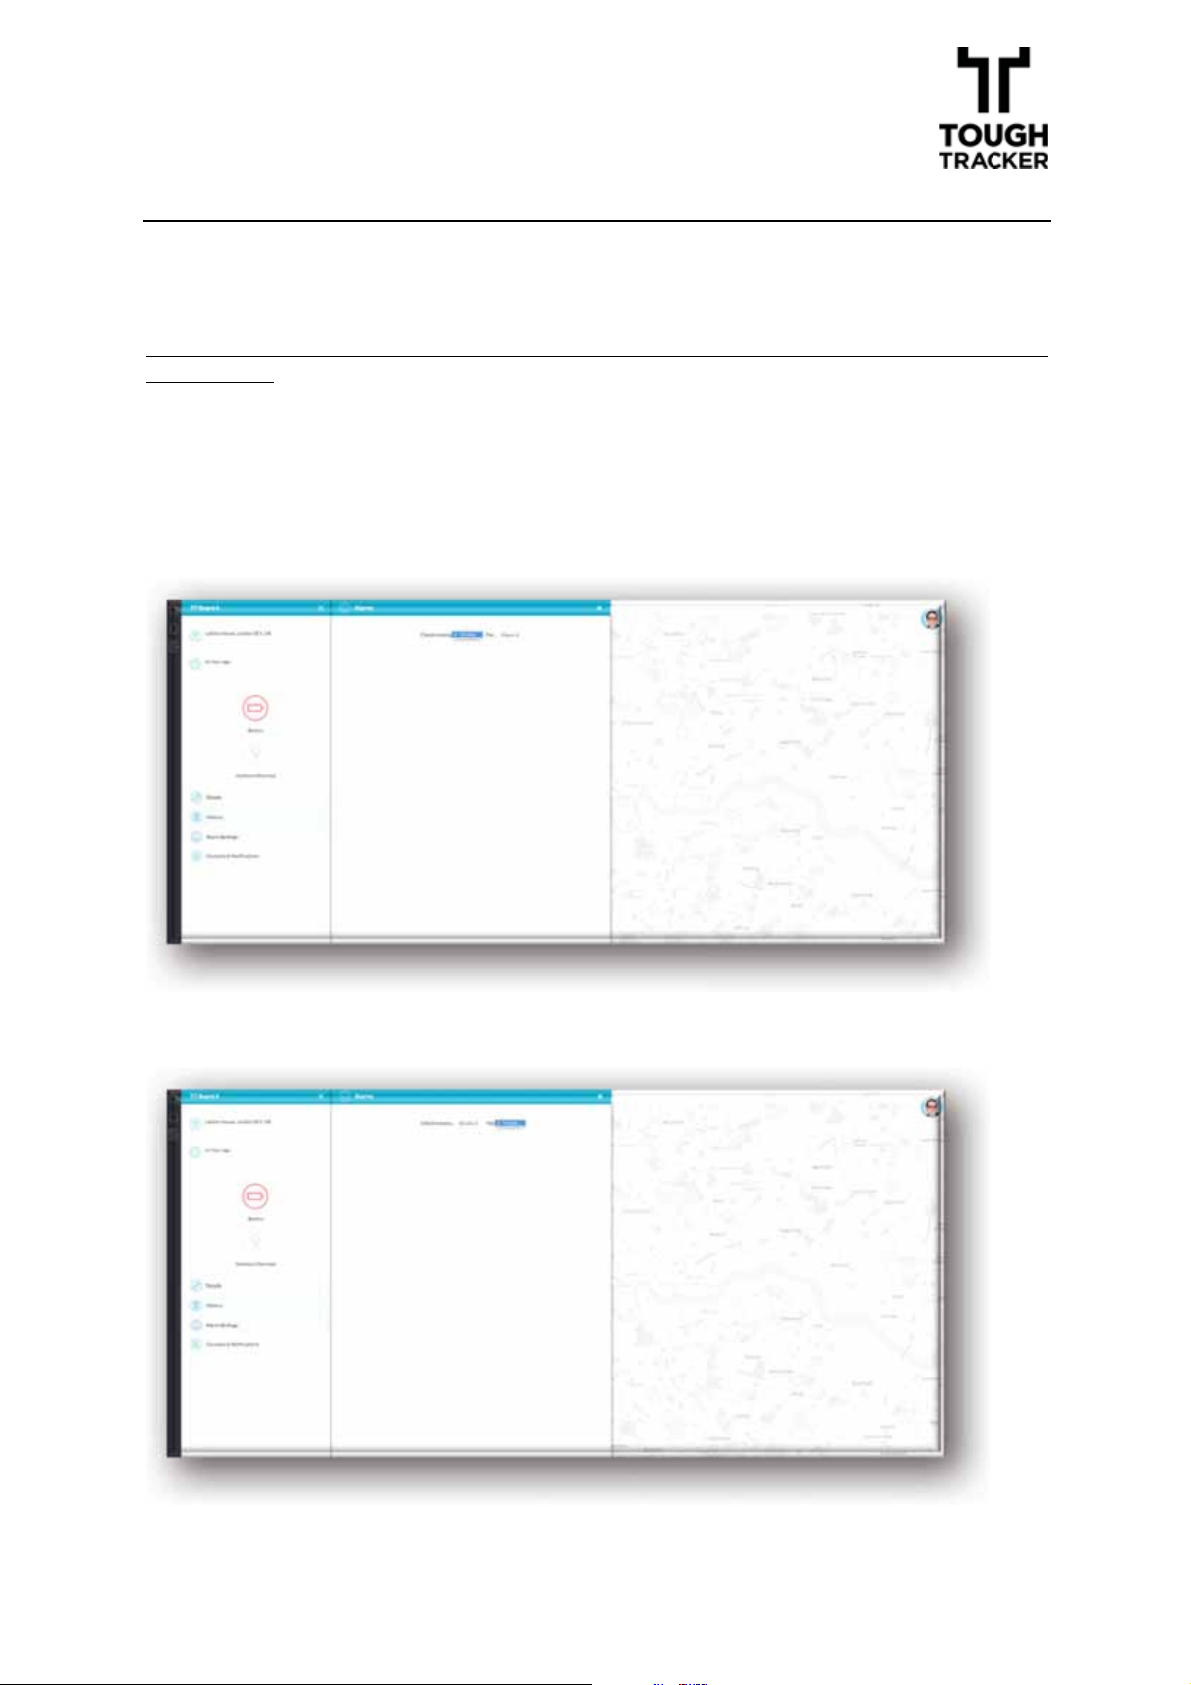
Alarm Settings is where you set up your asset Alarm Check-in time or how
often you get updates in the event your asset gets stolen.
PPlleeaassee rreemmeemmbbeerr tthhaatt tthhee mmoorree ffrreeqquueenntt tthheecchheecckk--iinn,,tthhee mmoorree bbaatttteerryy lliiffee
iiss rreedduucceedd.
10.1!SCREENSHOT
Choose check-in Minutes
Choose Check in Hours
Version V1.0
26
Page 28

10.2!DESCRIPTION OF ACTIONS
-! Go to Alarm Settings
-! Choose minutes check-in time
-! Choose Hours Check-in time
Version V1.0
27
Page 29
1111.
.
C
N
C
OONNTTAACCTTSS
!
&&N
OOTTIIFFIICCAATTIIOONNSS
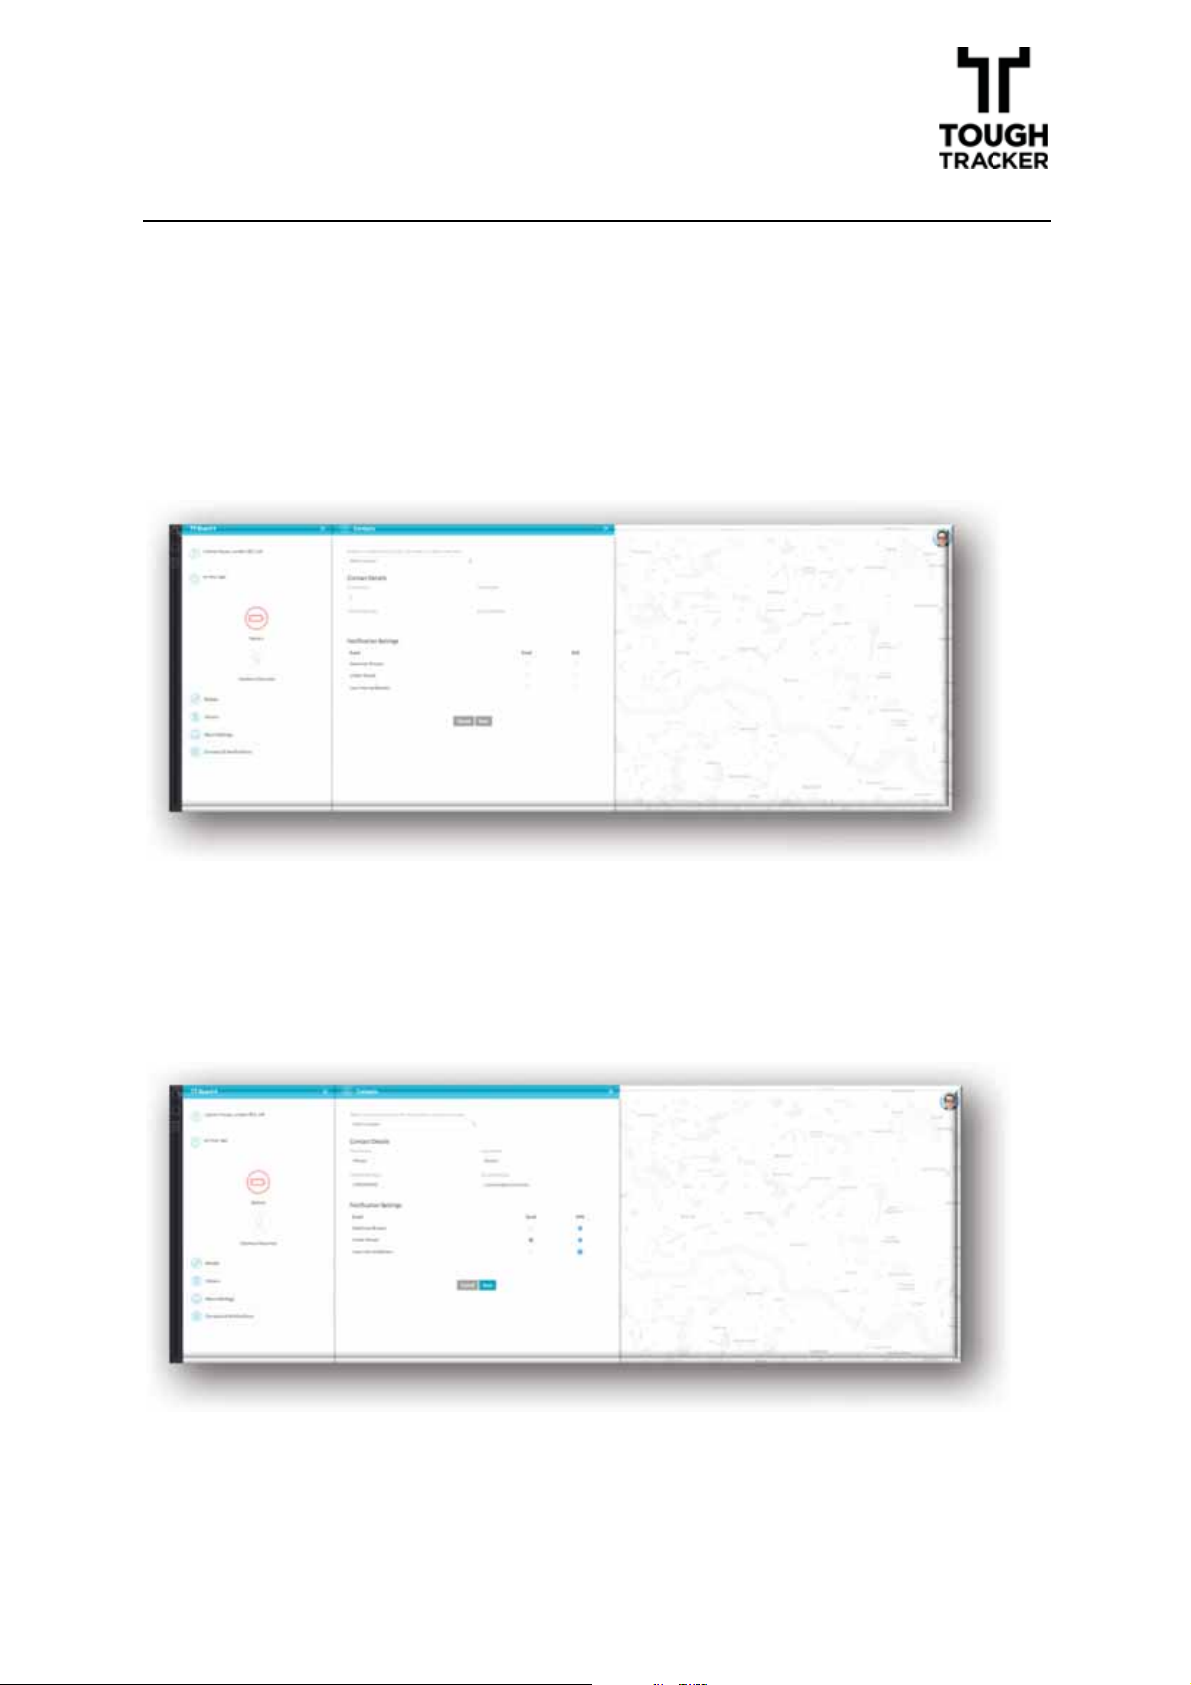
Contacts & Notifications is where you set up the contacts details of the
person who is to receive Geo-fence breach notifications, Under attack
notifications or Low battery notifications.
11.1!S
CREENSHOT
Go to Contacts & Notifications
Fill in empty fields: First Name, Last Name, Mobile Number, E-mail address,
Choose Notification Settings (Geo-fence Breach, Under attack, Low Battery).
Version V1.0
28
Page 30
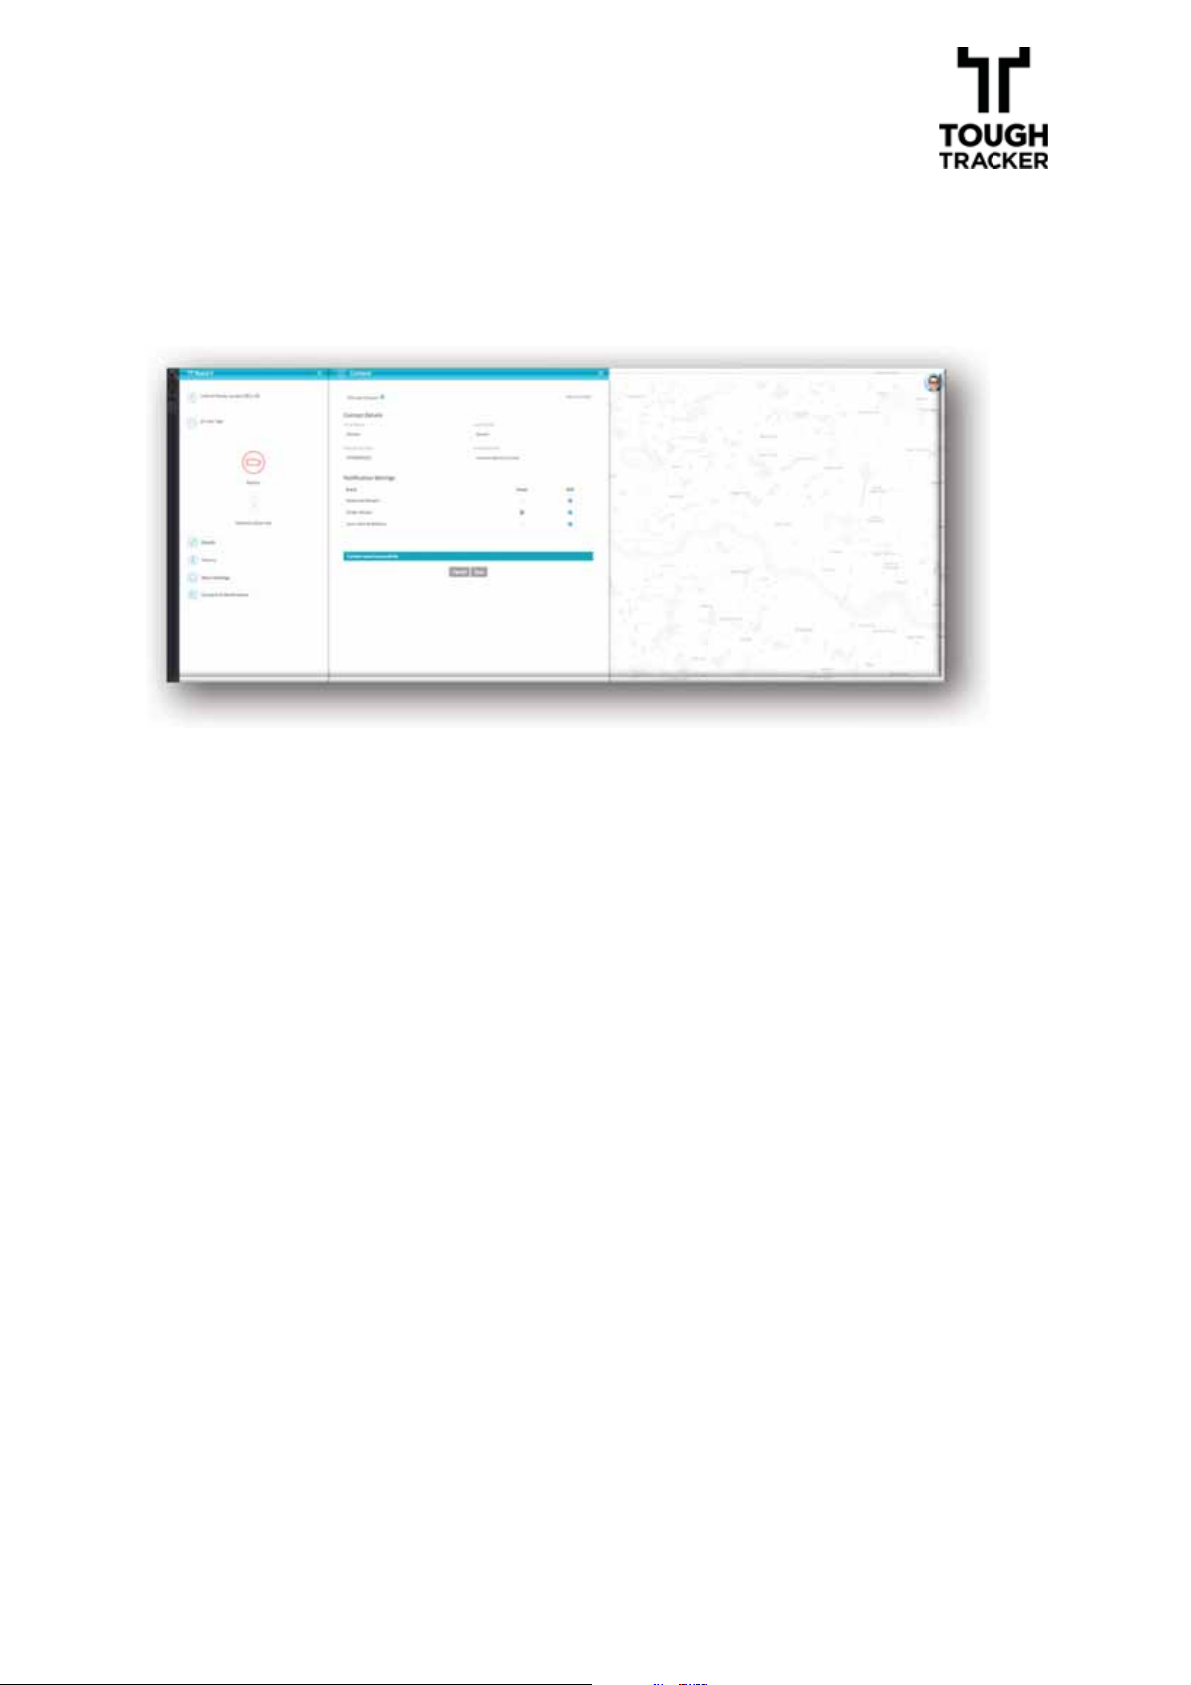
Choose Save.
11.2!DESCRIPTION OF ACTIONS
-! Go to contacts & Notifications
-! Fill in contact details – First name, Last name, Mobile Number, E-mail
address
-! Choose Notification settings – Geo-fence Breach, Under attack, Low
battery
-! Choose save
Version V1.0
29
Page 31
1122.
.
Q
V
L
Q
!
UUIICCKK
V
IIEEWW
L
AAYYOOUUTT
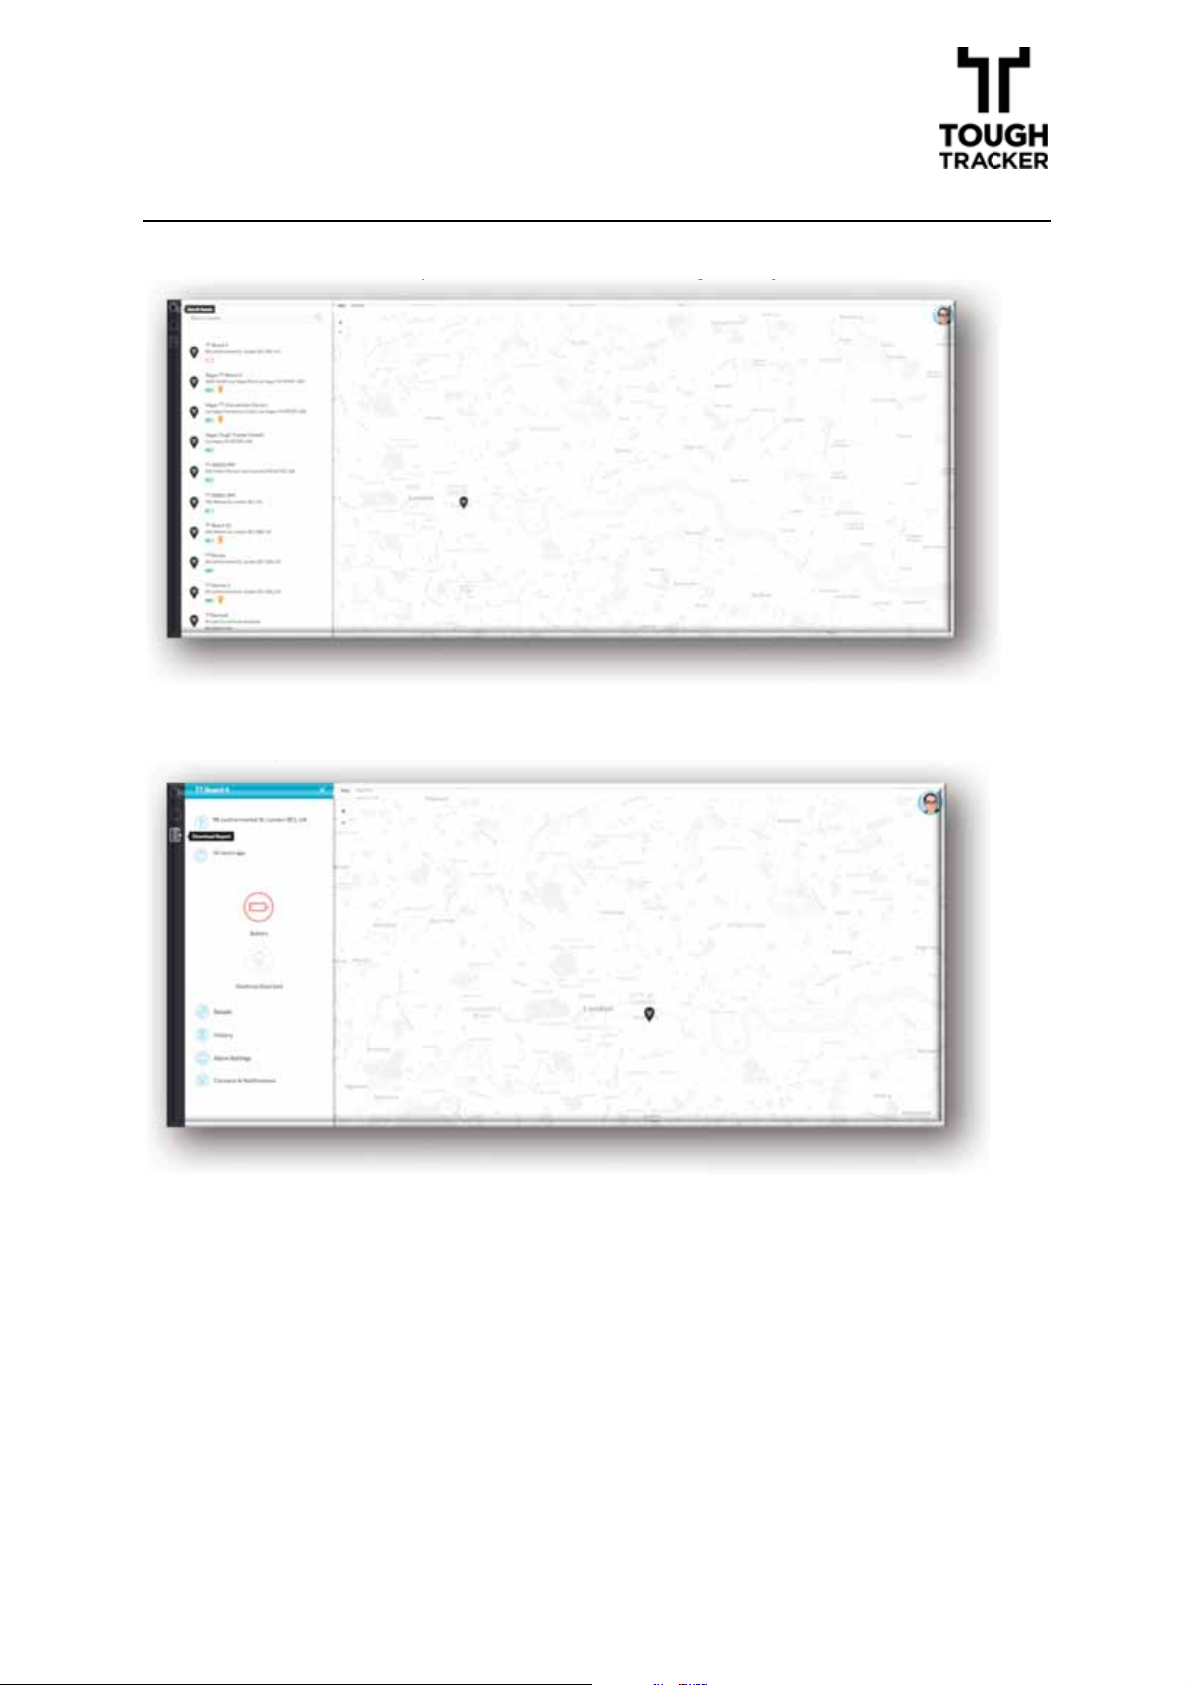
Choose Search Icon to perform a search throughout your assets
Choose Export file list Icon for list of devices in Excel or CSV file
Example of Excel Sheet layout
Version V1.0
30
Page 32
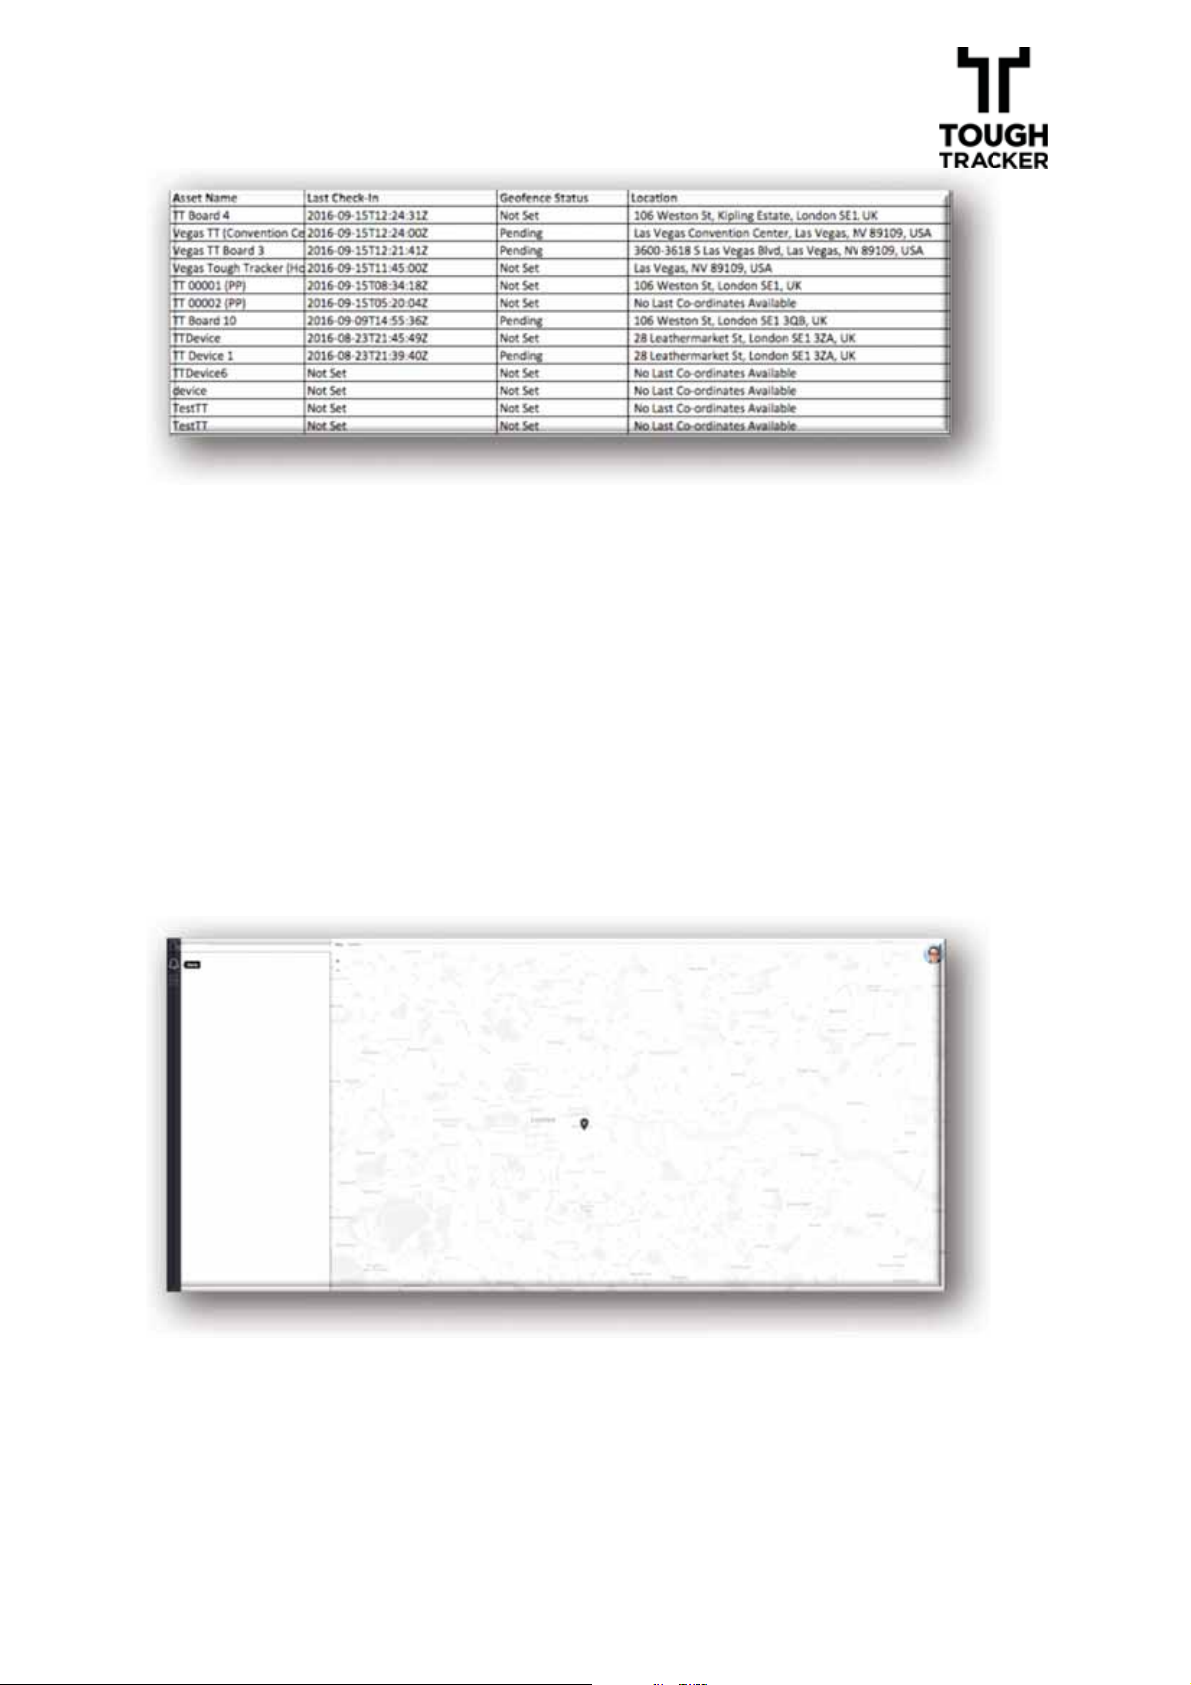
Choose Alarm Notifications icon to view a list of alarms
Version V1.0
31
Page 33

EEnndd ooff DDooccuummeennt
t
Version V1.0
32
Page 34

FCC statement
This device complies with Part 15 of the FCC Rules: Operation is subject to
the following two conditions:
1. This device may not cause harmful interference and
2. This device must accept any interference that is received, including any interfer
ence that may cause undesired operation.
Changes or modifications not expressly approved by the party responsible for compliance
could void the user's authority to operate the equipment.
In order to meet the RF Exposure requirements of FCC,Please make sure the minimum distance
20cm between the antenna and all people when use this device and
the device is restricted for mobile / fixed operations.
Do not use the device with the environment which below minimum -30 degree or maximum over 50 degree .
Note: This equipment has been tested and found to comply with
the limits for a Class A digital device, pursuant to part 15
of the FCC Rules. These limits are designed to provide
reasonable protection against harmful interference when the
equipment is operated in a commercial environment. This
equipment generates, uses, and can radiate radio frequency
energy and, if not installed and used in accordance with the
instruction manual, may cause harmful interference to radio
communications. Operation of this equipment in a residential
area is likely to cause harmful interference in which case the
user will be required to correct the interference at his own
expense.
 Loading...