

Page 1
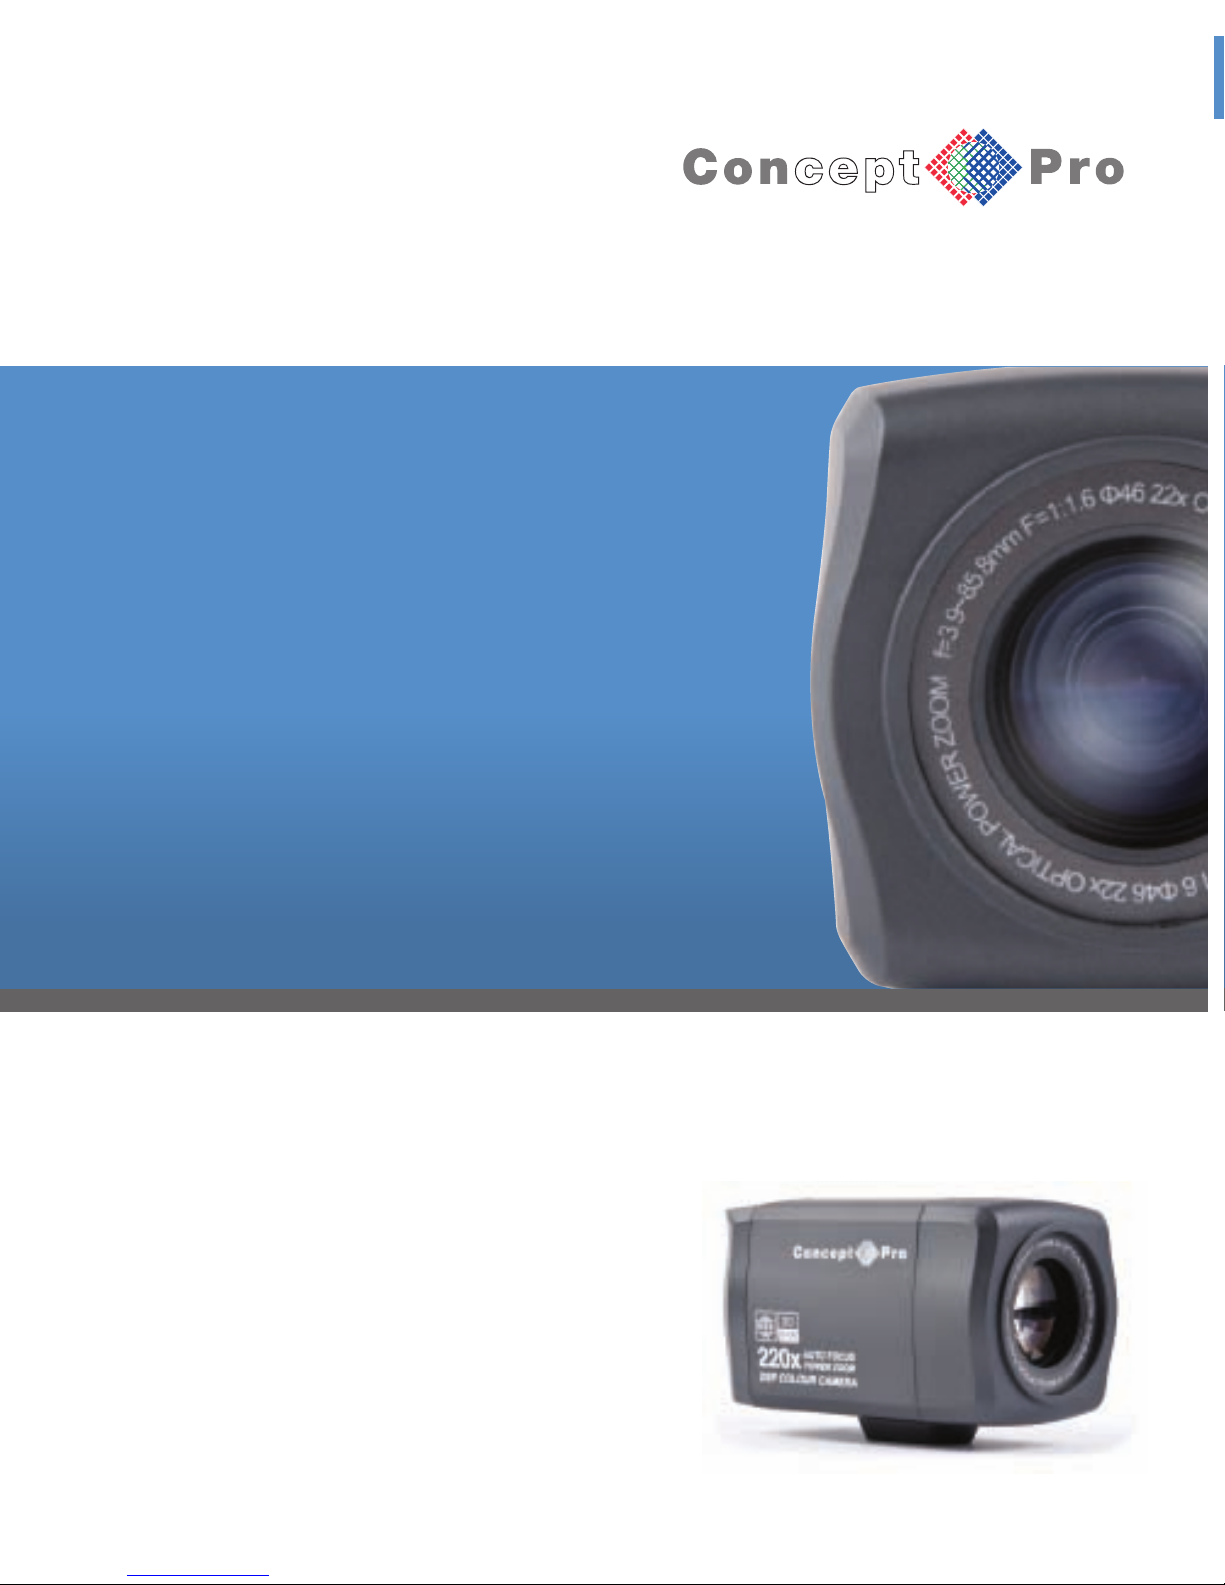
VCP553
Colour Mono Zoom Camera
USER MANUAL
Page 2
1. This installation should be made by a qualified service person and should
abide to all local codes.
2. Do not disassemble the camera - this is to prevent electronic shock
and/or malfunction. Do not loosen any screws on the camera body.
3. Do not touch the front glass directly. If necessary, use a soft cloth to wipe off
dust or debris.
4. Avoid installation on surfaces subjected to frequent vibration or shocks.
5. Do not operate the camera beyond its temperature range or power source
ratings.
6. Should any damage or suspected damage occur, shutdown the power
source, unplug and contact your service provider.
7. Do not install the camera under unstable lighting conditions. Severe
lighting change or flicker can cause the camera to work improperly.
8. Never use the camera close to a gas or oil leak.
9. Do not drop the camera or subject the unit to physical shocks.
10. Never keep the camera facing directly to strong light.
11. Do not install near devices which emit a strong electro-magnetic field.
12. Unplug the camera from the power source before maintenance.
13. Use a soft cloth only for cleaning.
14. If the camera may be exposed to weather conditions, dust particles or
moisture install in an IP rated housing suitable to the conditions.
CAUTION
PLEASE FOLLOW THE ABOVE CAUTIONS – FAILURE TO DO SO MAY
INVALIDATE THE WARRANTY OR CAUSE SERIOUS INJURY.
Remark: Changes or modifications not expressly approved by the manufacturer can
cause the camera to be damaged and become inoperable. This may invalidate the
user warranty.
Page 3
INSTALLATION
IMPORTANT: ENSURE ALL CAUTIONARY PROCEDURES ARE OBSERVED
DURING INSTALLATION.
It is recommended the VCP553 is tested during the most demanding
environmental conditions such as low light or bright sunlight to ensure
continuity of effective CCTV monitoring.
Remove the camera unit carefully from the box, reserving the accessory
contents in a safe place.
Point the Camera towards the intended area to be monitored.
Check the power supply voltage and connect your power supply into the power
port on the Camera.
Attach a test monitor to the video out BNC port and adjust the zoom.
(See connection example)
This can be done by using the T (Zoom in) and W (Zoom out)
buttons at the rear of the Camera. (See button operations)
The default Camera setting is 'AUTO' focus.
If you require manual focus, select:
'MENU 1' > FOCUS MODE > MANUAL.
The N (Focus near) and F (Focus far) buttons on the
Camera can now be used.
Adjust the Camera picture using the OSD menu as necessary.
TROUBLESHOOTING
Ensure all power and cable connections are correct between the Camera,
power source, monitor, telemetry devices and DVR if used
Page 4
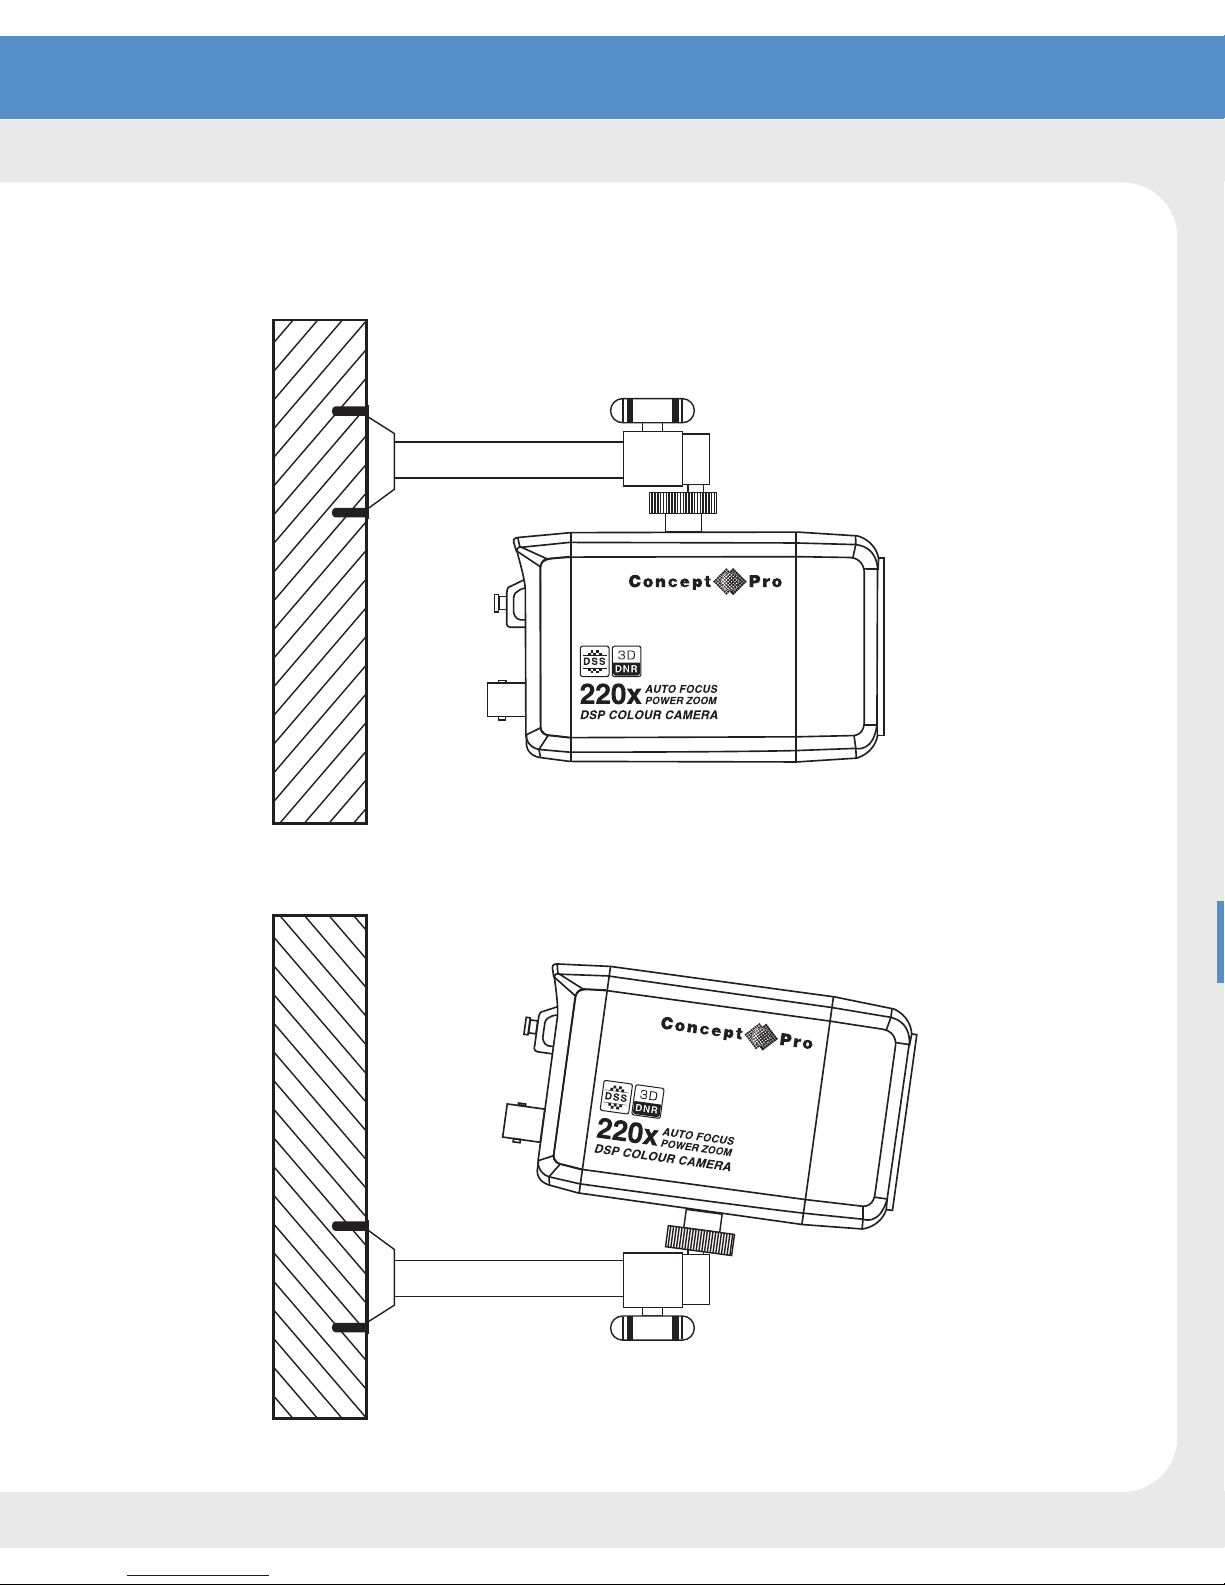
Example
Page 5
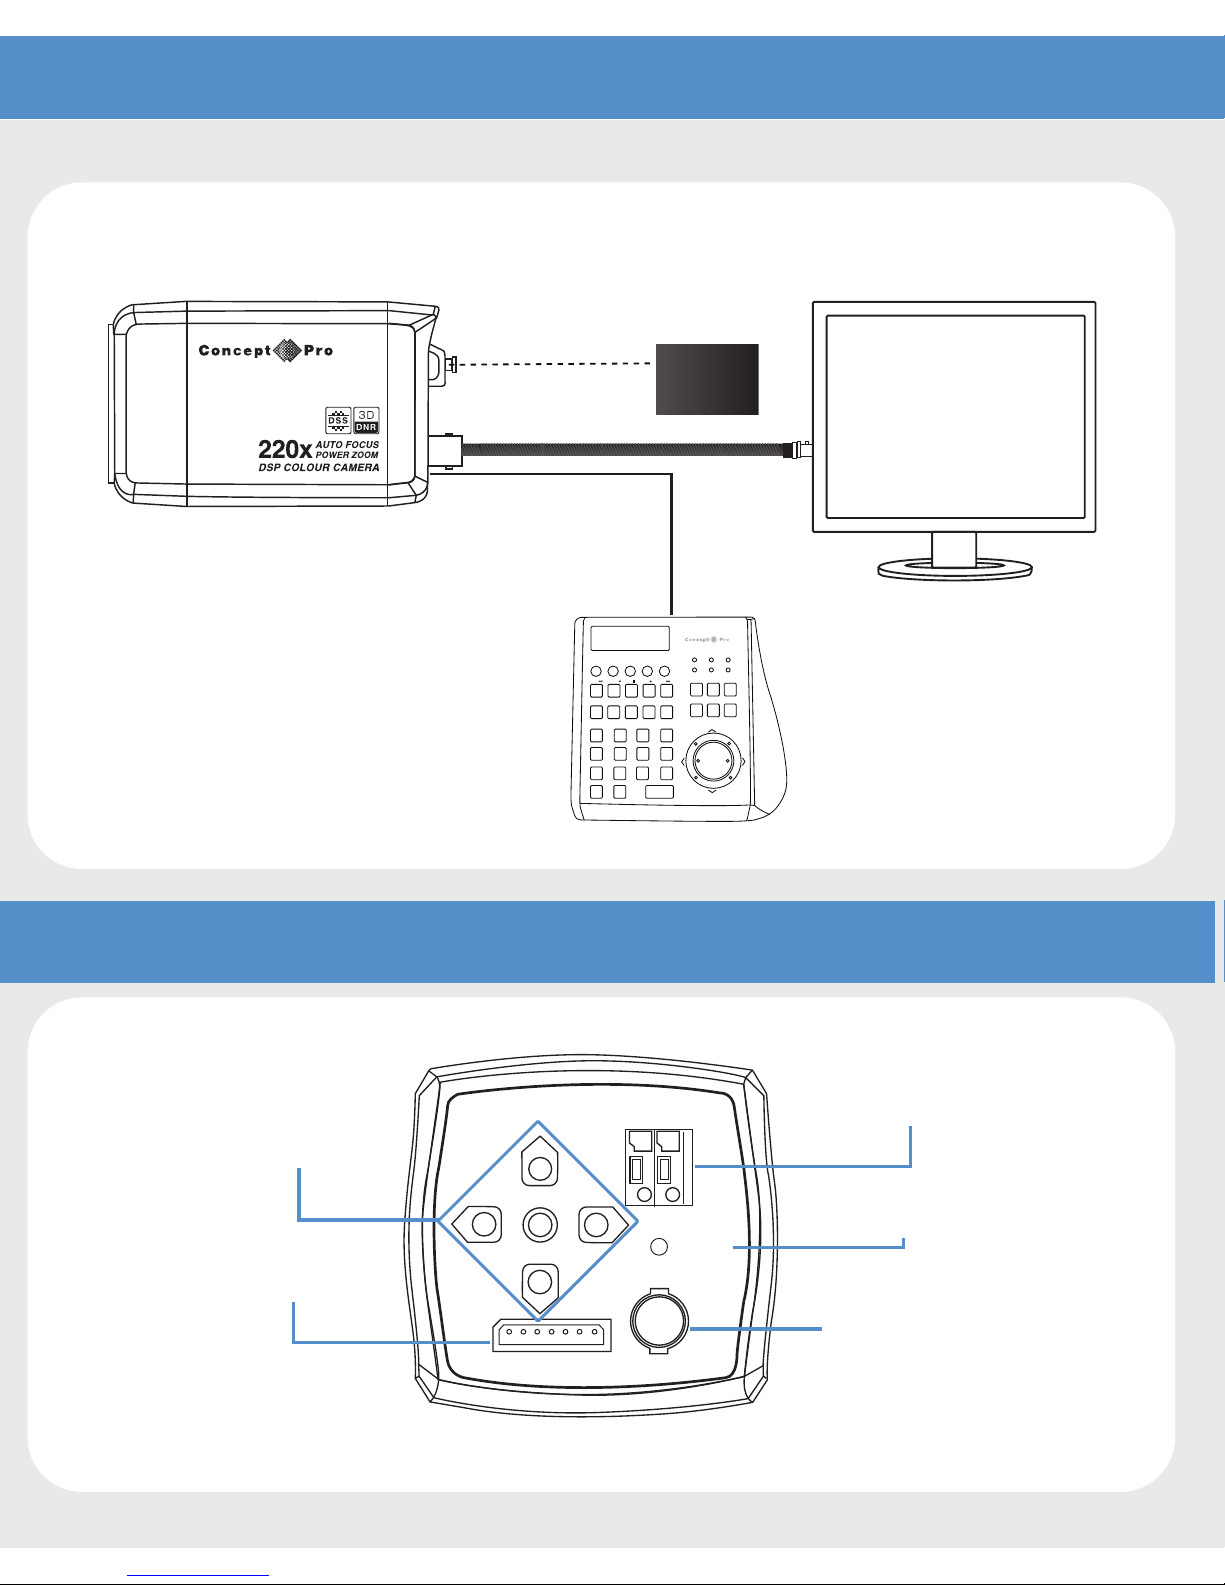
CONNECTION EXAMPLE
BUTTON OPERATIONS
DVR CAM MENU SET PRESET
AUX/
SEARCH
RUN/
PANIC
PATTERN/
SETUP
PREV /
DISPLAY
NEXT /
SEQ
MON
CAM/DVR
ESC
ENTER
1 2 3
4 5 6
7 8 9
0
OPEN FAR WIDE
IRIS FOCUS ZOOM
CLOSE NEAR TELE
POWER Rx Tx
DVR AI CAM
ALM/ GROUP/ OFF/ ON/ VST/
*
PSU
FUNCTION KEYS
POWER INPUT TERMINAL
POWER LED
VIDEO OUT JACK
CONTROL INTERFACE
T
N
F
POWER
485+
485-
ZOOM
COM
FOCUS
D/N
GND
+12V GND
VIDEO
W
Page 6
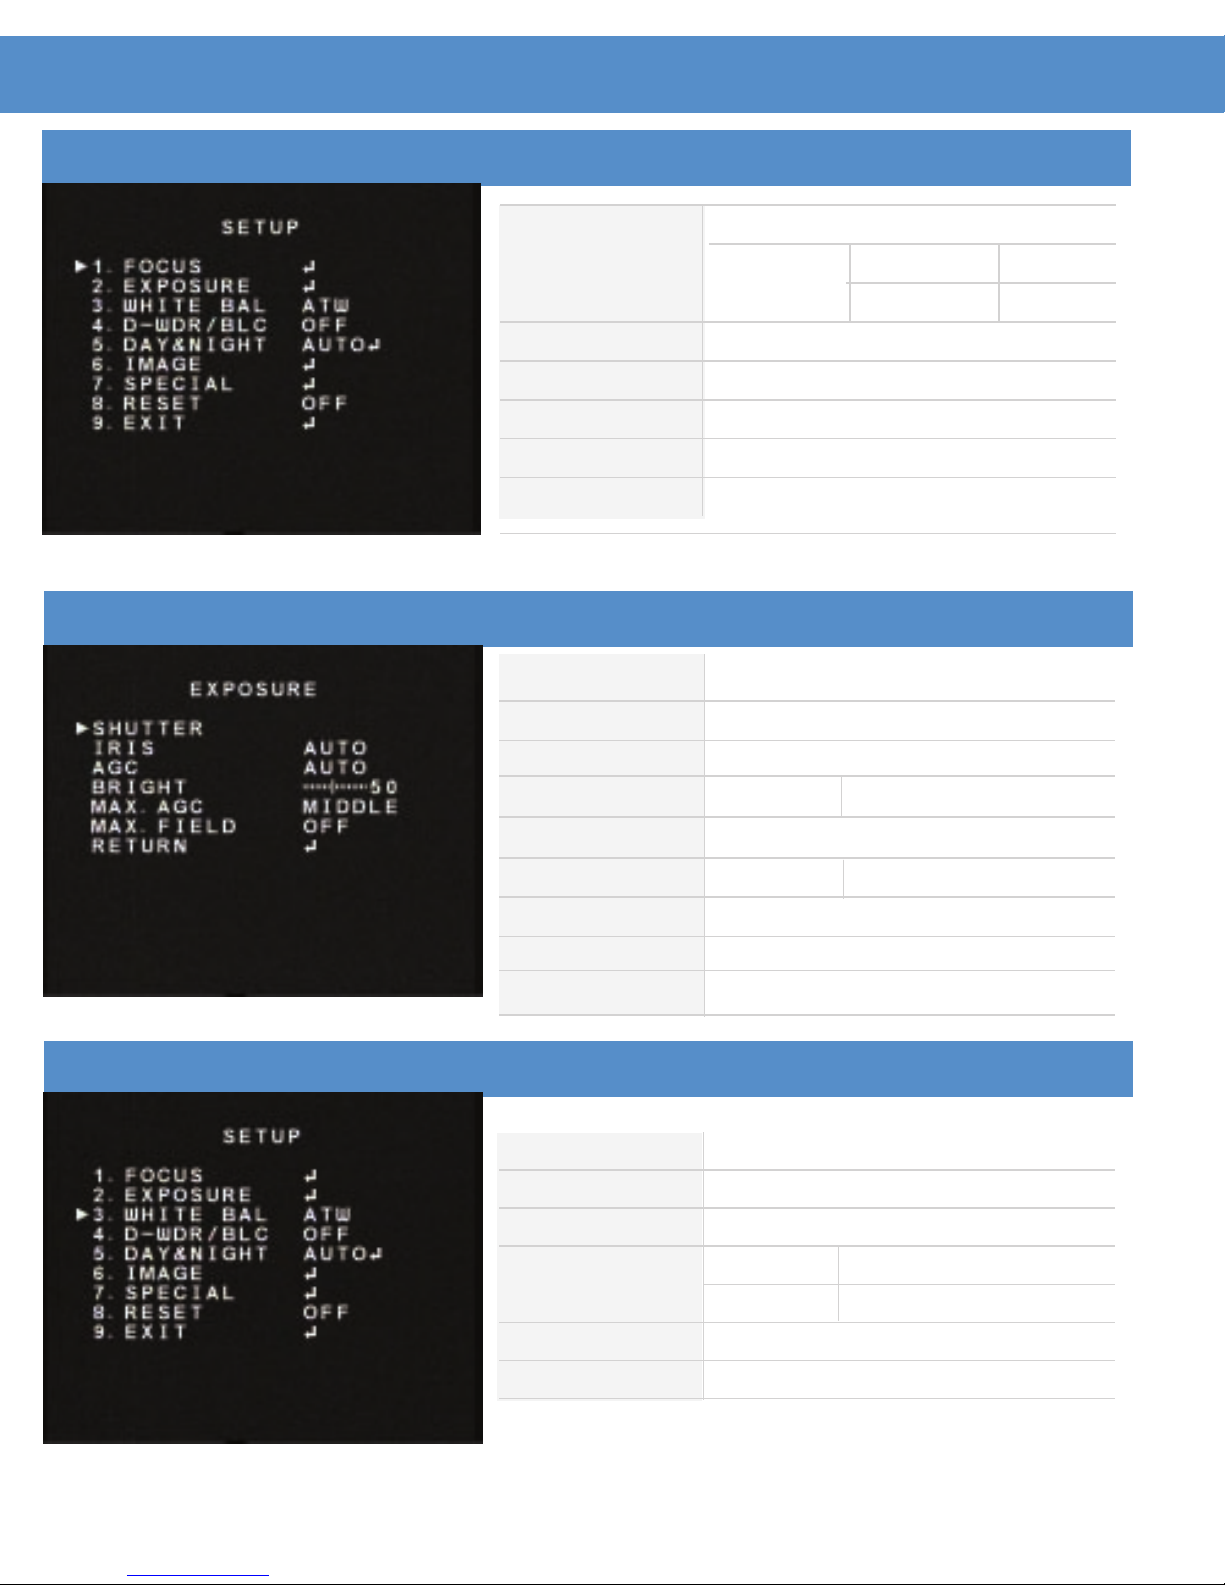
FOCUS
EXPOSURE
WHITE BALANCE
FOCUS MODE ZOOM TRIG / MANUAL / AUTO
INTERVAL RUN TIME 0 ~ 254
INTERVAL 0 ~ 254
ZOOM START 1 ~ 22
ZOOM STOP 1 ~ 264
ZOOM SPEED SLOW / NORMAL / FAST / V. FAST
D-ZOOM ON / OFF
MIN. DIST 10CM / 10M / INF
SHUTTER OFF / FLK / 1/160 ~ 1/100000 /
2FLD ~ 256FLD / AUTO
IRIS AUTO
MANUAL 0 ~ 255
AGC AUTO
MANUAL -3DB ~ 28DB
BRIGHT 0 ~ 100
MAX. AGC
OFF / LOW / MIDDLE / HIGH / SUPER
MAX. FIELD OFF / 2FLD ~ 256FLD
ATW
AWB
PUSH
MANUAL RED 0 ~ 100
BLUE 0 ~ 100
INDOOR
OUTDOOR
OSD
Page 7
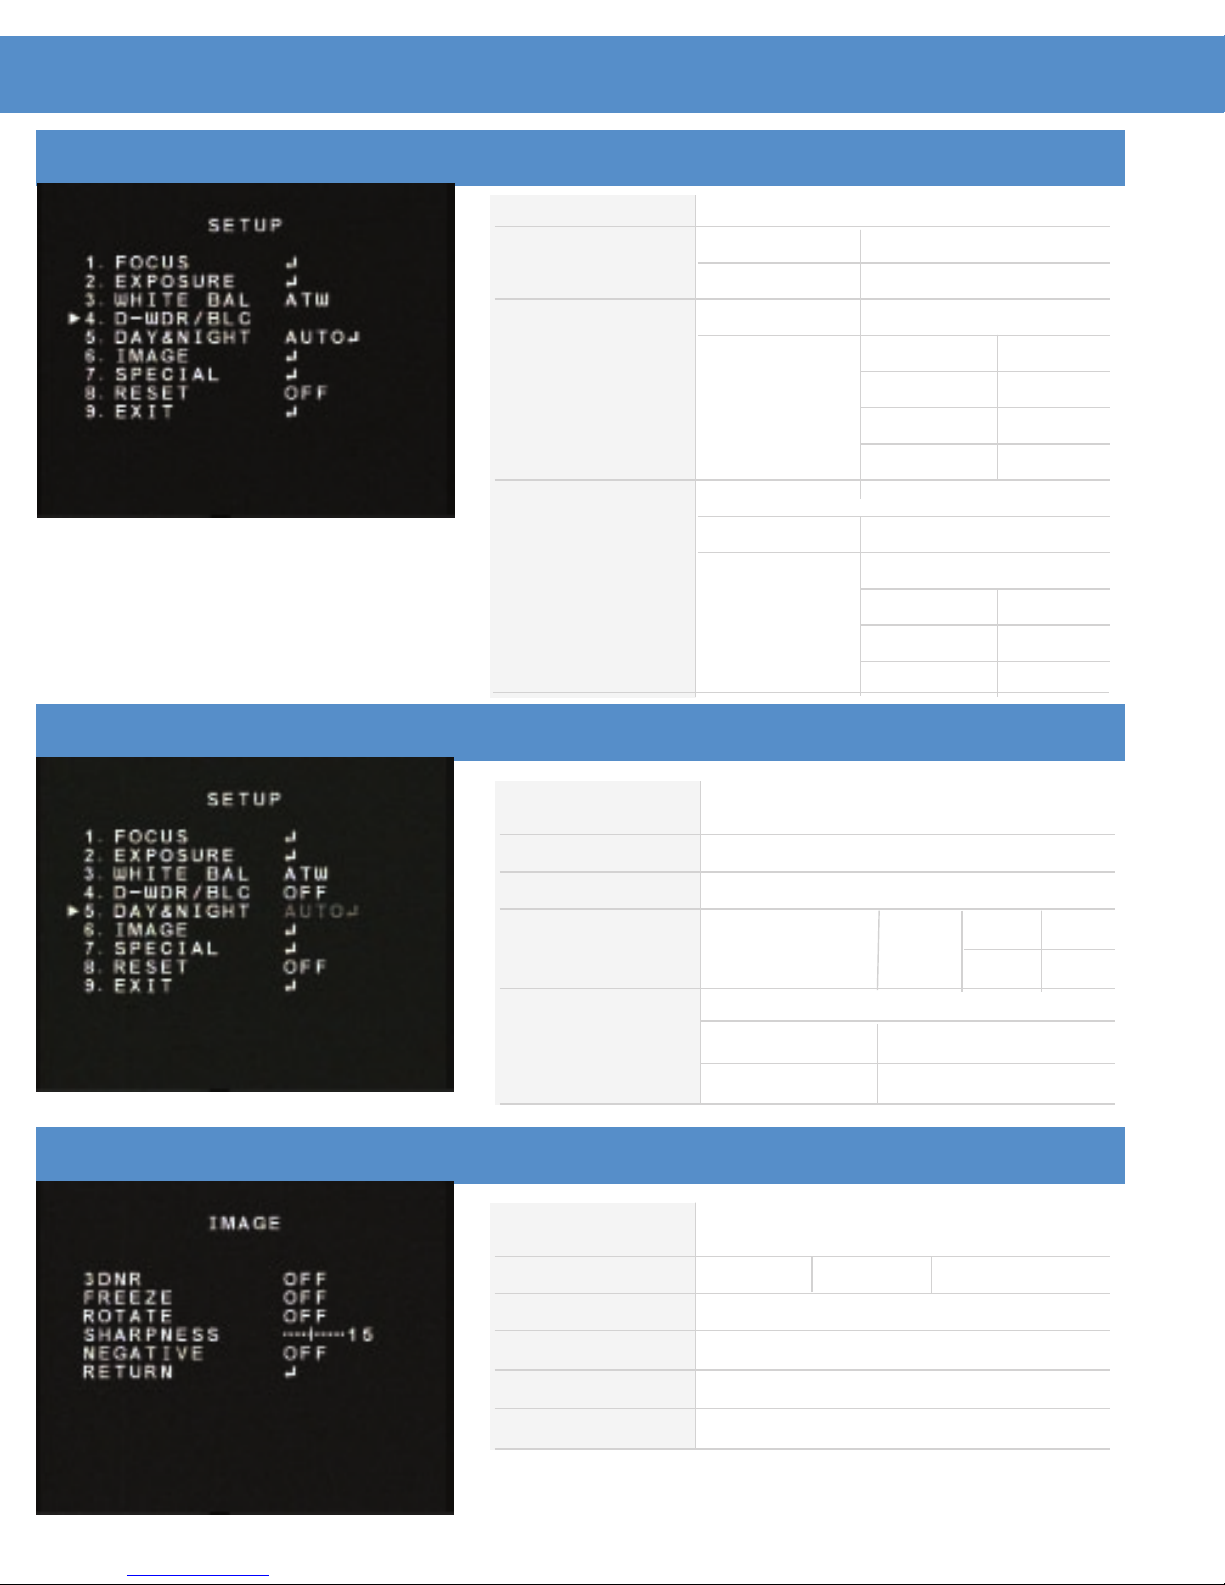
IMAGE
D-WDR / BLC
DAY & NIGHT
OFF
D-WDR LEVEL LOW 0 ~ 15
LEVEL HIGH 0 ~ 15
BLC LEVEL LOW / MIDDLE / HIGH
AREA H. START 0 ~ 7
V. START 0 ~ 7
WIDTH 0 ~ 8
HEIGHT 0 ~ 8
HSBLC ALL DAY / NIGHT
LEVEL 0 ~ 8
AREA H. START 0 ~ 7
V. START 0 ~ 7
WIDTH 0 ~ 8
HEIGHT 0 ~ 8
COLOUR
BW
EXTERNAL
AUTO
DETECT MODE VIDEO D > N 1 ~ 255
N > D 0 ~ 254
SENSOR
DWELL TIME 0 ~ 60
BURST ON / OFF
3 DNR OFF
ON LEVEL 0 ~ 100
FREEZE OFF / ON
ROTATE OFF / H / V / HV
SHARPNESS 0 ~ 31
NEGATIVE OFF / ON
Page 8
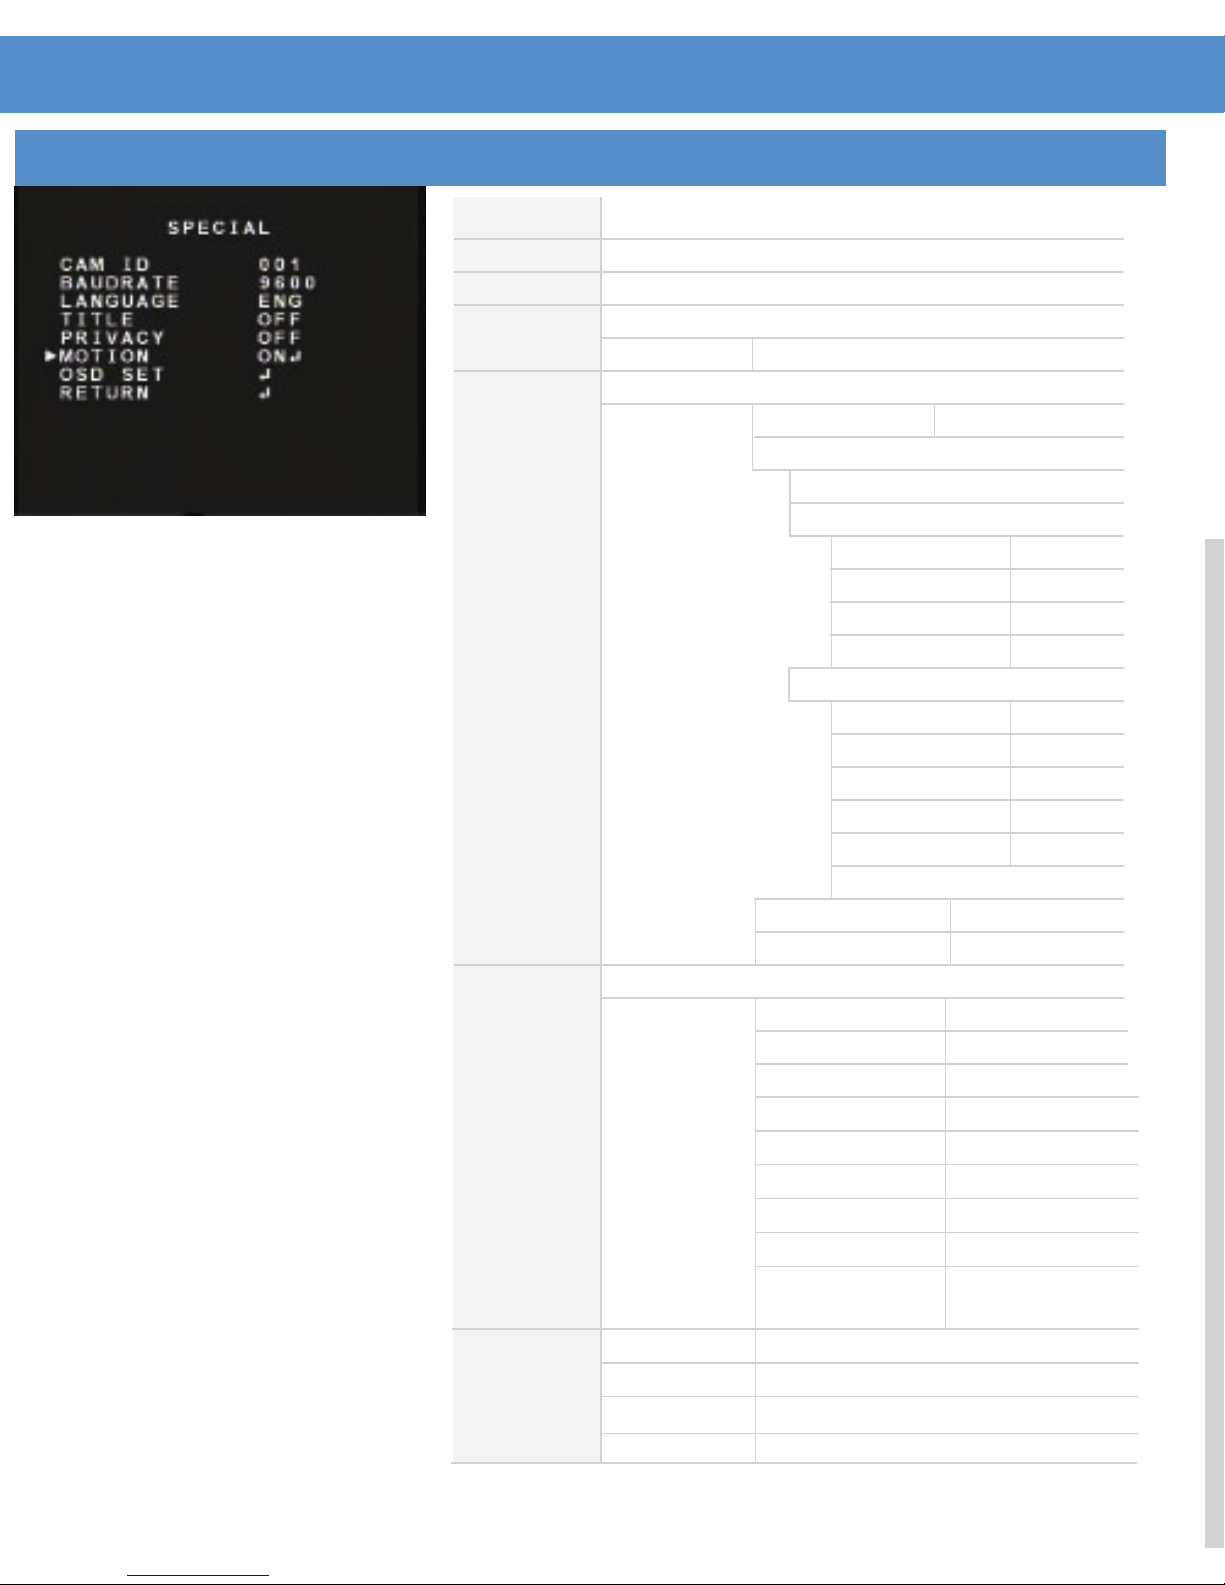
SPECIAL
CAM ID
BAUDRATE
LANGUAGE
TITLE
PRIVACY
MOTION
OSD SET
0 ~ 255
2400 ~ 38400
ENG
OFF
ON
OFF
ON
OFF
ON
CAM ID
ZOOM MAG
FUNC OSD
OSD COLOUR
(OPENS KEYBOARD)
MASK NO
DISP MODE
COLOUR
TRANSPARENT
AREA NO
DETECT MODE
H. START
V.START
WIDTH
HEIGHT
SENSE
ALARM TIME
DISP. MODE
OFF / ON
OFF / ON
OFF / ON
C1 ~ C15
1 ~ 8
OFF
INT. LOCK
NON. LOCK
WIDTH
HEIGHT
ZOOM POSI
MASK RESET
WIDTH
HEIGHT
PAN POSI
TILT POSI
ZOOM POSI
MASK RESET
C1 ~ C15
OFF / ON
0 ~ 80
0 ~ 80
< W T >
ON / OFF
0 ~ 80
0 ~ 80
0 ~ 200
0 ~ 220
ON / OFF
1 ~ 4
ON / OFF
0 ~ 200
0 ~ 140
0 ~ 200
0 ~ 140
0 ~ 40
OFF / 1 ~ 255
OFF / OSD / AREA /
OSD & AREA
Page 9
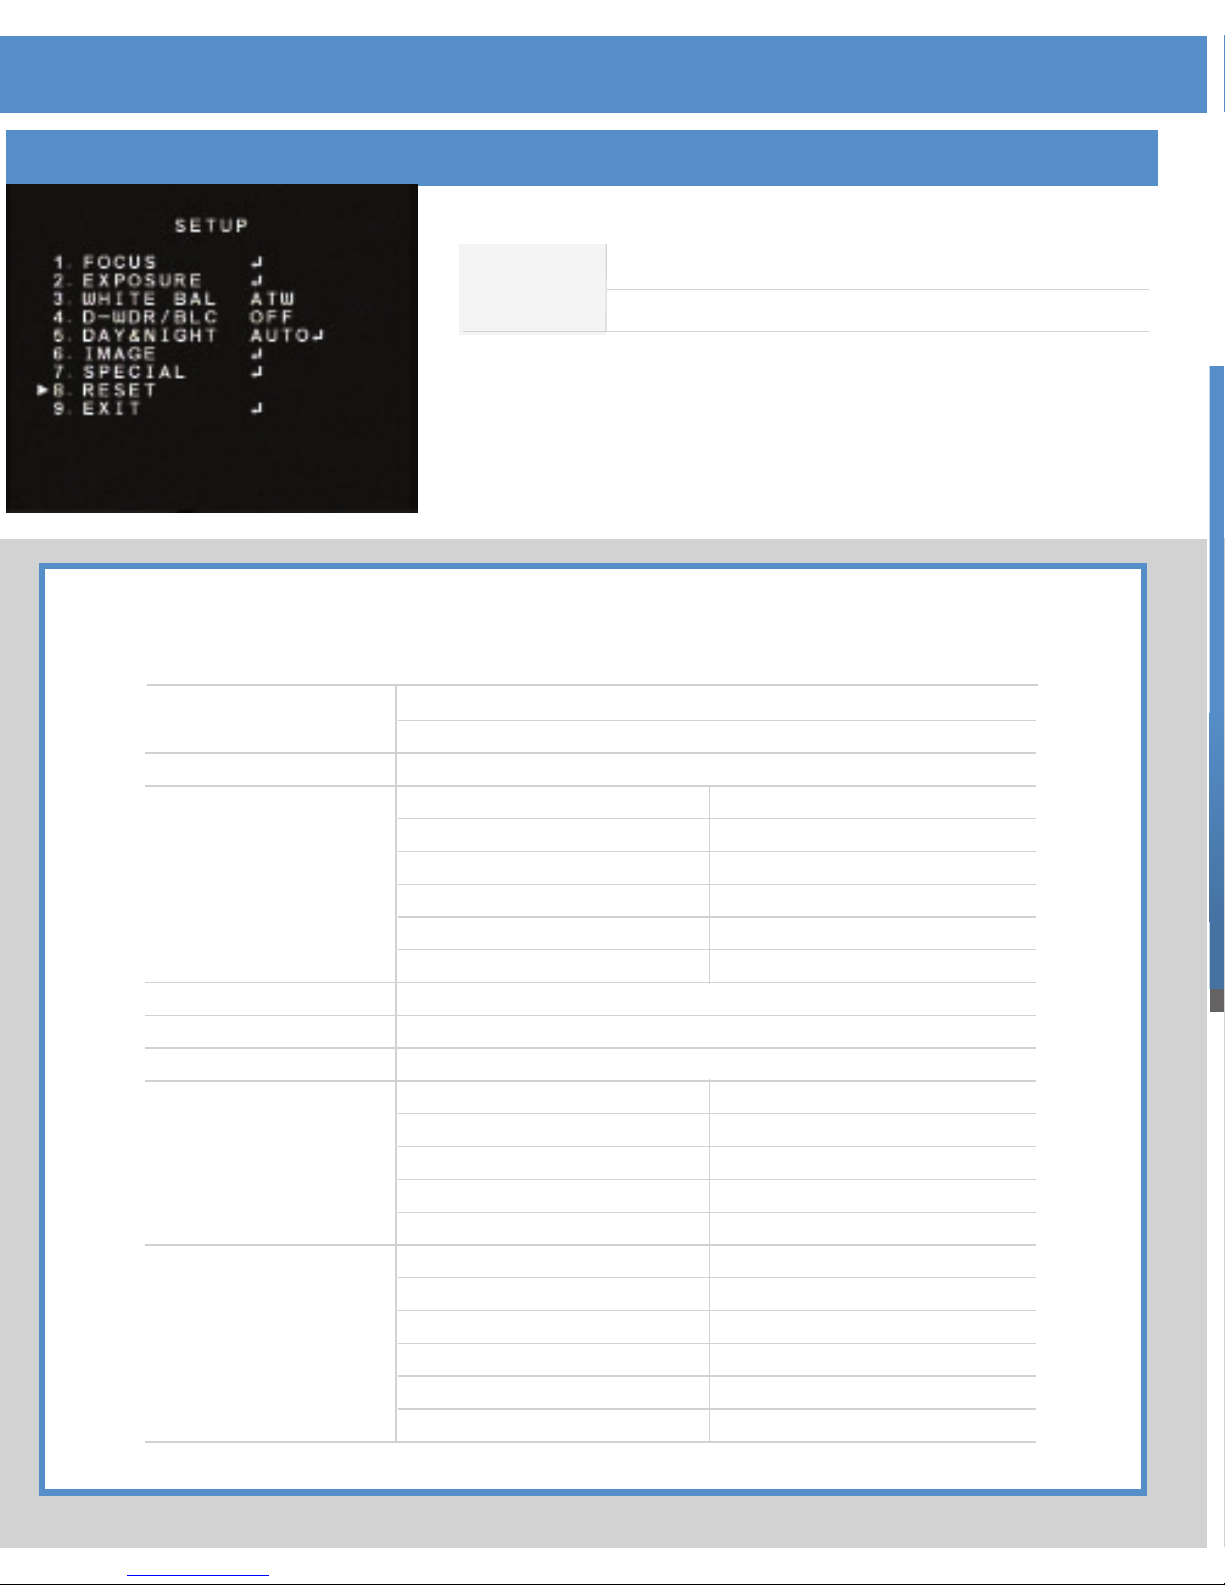
OSD FACTORY DEFAULT SETTINGS
FUNCTION
FOCUS
EXPOSURE
WHITE BALANCE
D-WDR/BLC
DAY &NIGHT
IMAGE
SPECIAL
STATUS
AUTO
SHUTTER
IRIS
AGC
BRIGHT
MAX.AGC
MAX. FIELD
ATW
OFF
AUTO
3DNR
FREEZE
ROTATE
SHARPNESS
NEGATIVE
CAM ID
BAUDRATE
LANGUAGE
TITLE
PRIVACY
MOTION
AUTO
AUTO
AUTO
50
MIDDLE
OFF
OFF
OFF
OFF
15
OFF
OO1
9600
ENG
OFF
OFF
OFF
RESET OFF
ON
RESET
Page 10
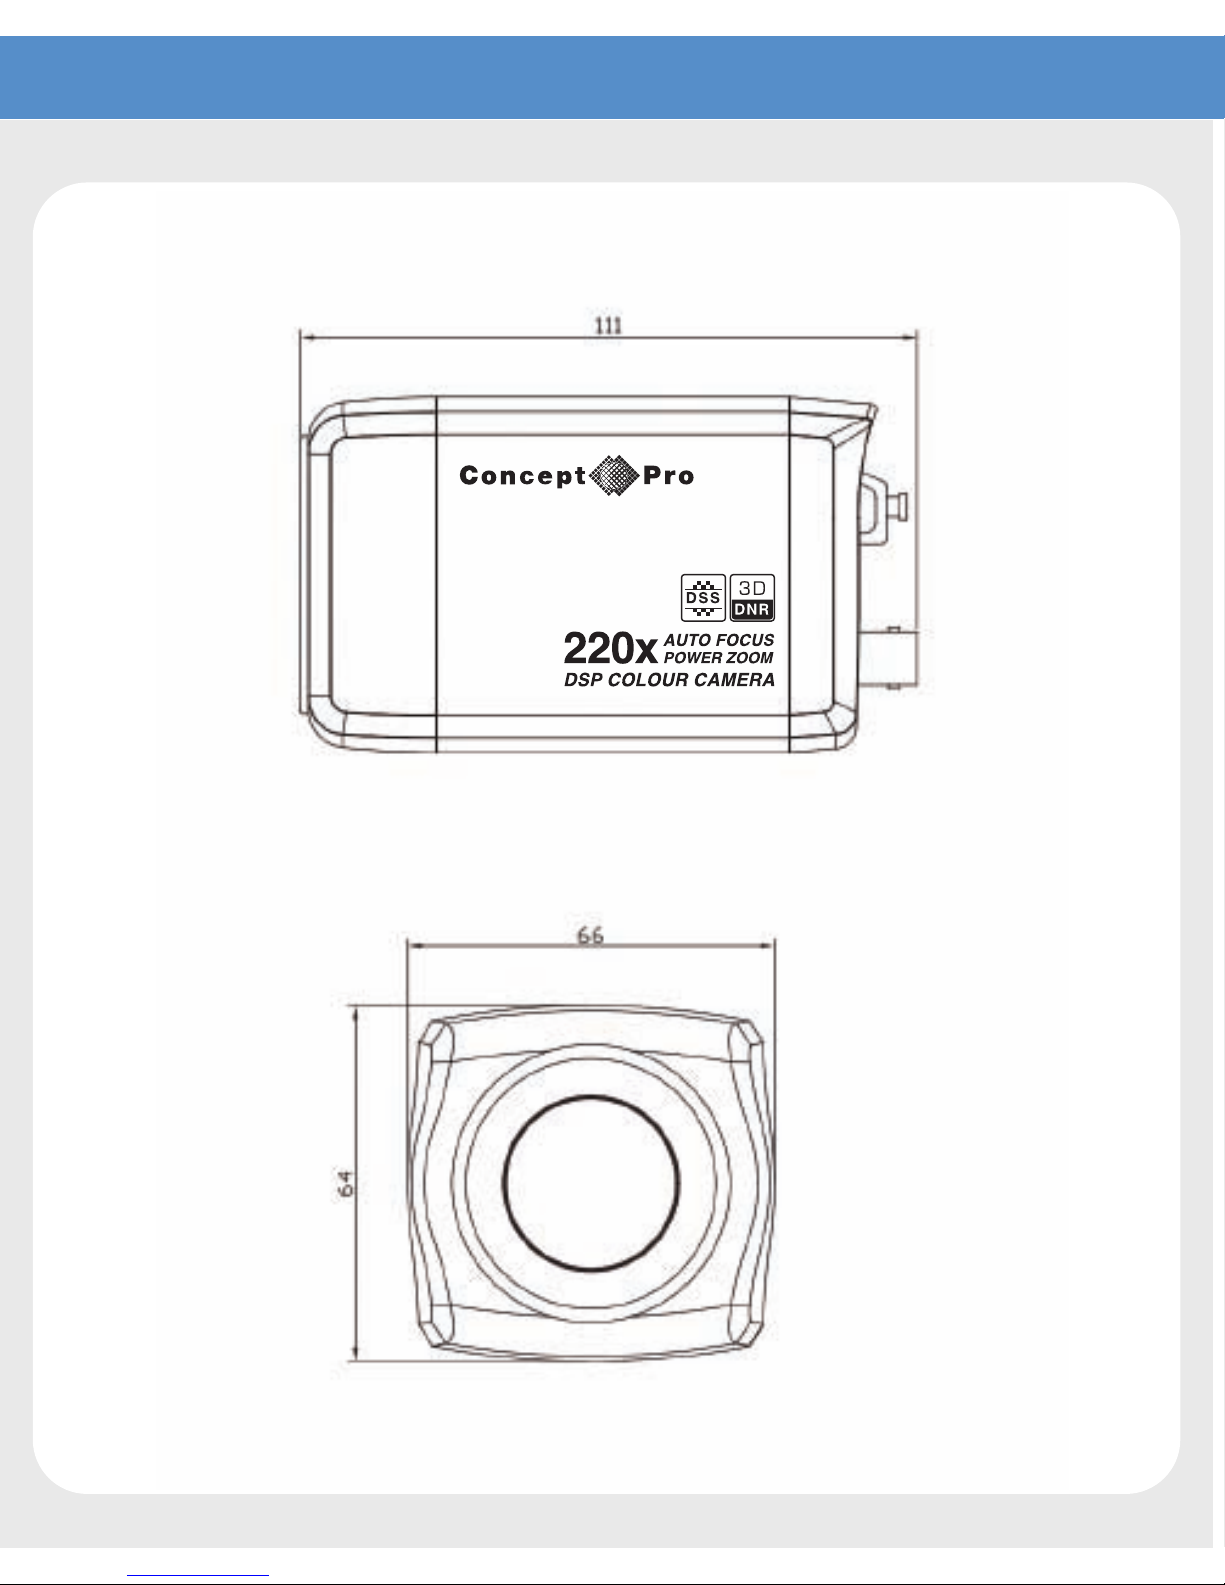
DIMENSIONS
Page 11
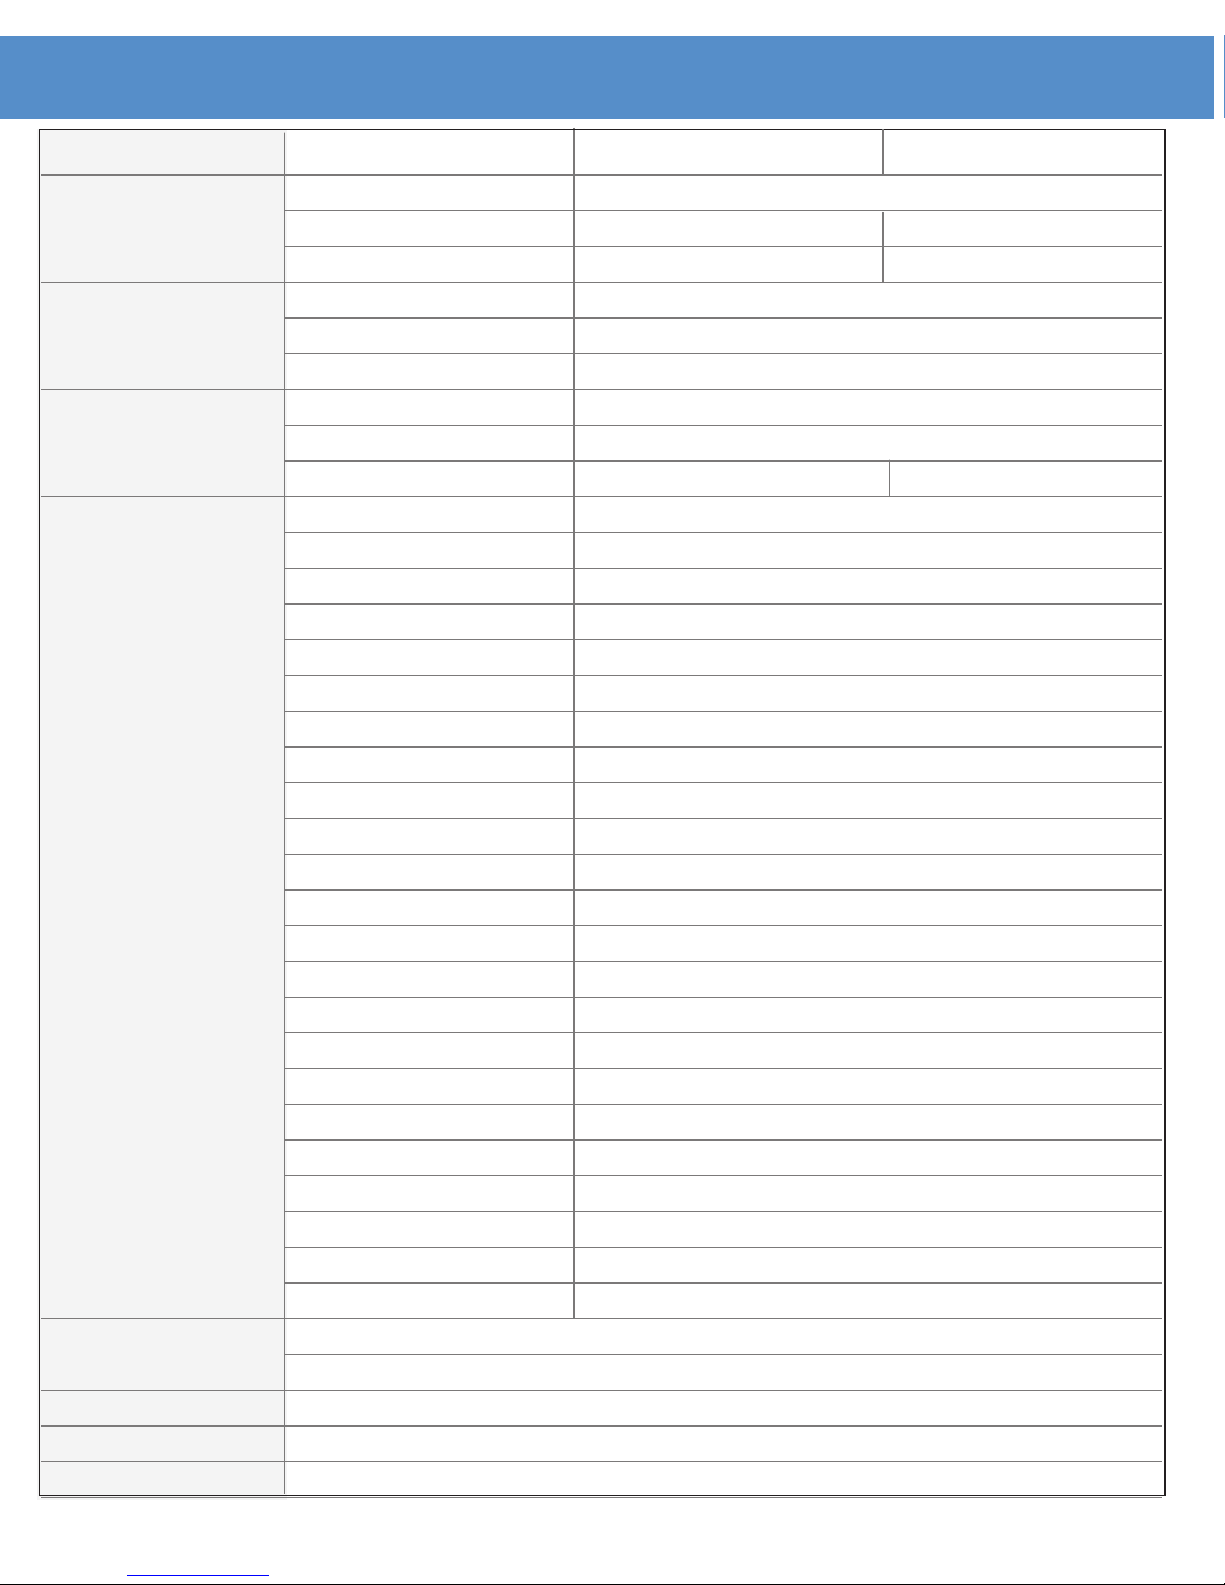
SIGNAL TYPE NTSC PAL
CCD Image Sensor 1/4Inch Sony Super HAD CCD
Total Pixels 410k(811x508) 470k(795x596)
Effective Pixels 380k(768x494) 440k(752x582)
OPTICS Lens 22x, f=3.9* ~ 85.8mm(F1.6 ~F3.7)
Min. Focus Distance 3.9mm* ~ 85.8mm
Digital Zoom 1x ~ 10x
SYNC Scanning System 2:1 Interlace
Sync. System Internal
Frequency 15.734 KHz x 59.94 Hz 15.625KHz x 50 Hz
ELECTRICAL Horizontal Resolution 600 TV Lines
Camera Title Off / On
Camera ID 255 ID Selectable
Video Output 1.0Vp-p (75Ω) compatable
S/N Ratio >50dB (AGC Off)
Min. Illumination 0.3 Lux(F1.6(W), AGC High, DSS Off, 30 IRE)
Backlight Compensation Off/On (Level Adjustable, Area Selectable)
Day & Night Auto / Colour / BW / External
Gain Control Auto(OFF / LOW / MIDDLE / HIGH) / Manual
White Balance ATW / AWB / Push / Manual / Indoor / Outdoor
Electronic Shutter 1/60 ~ 1/100,000 sec 1/50 ~ 1/100,000 sec
D-WDR Off / On
Digital Slow Shutter 256FLD~2FLD/AUTO/OFF/FLK/~1/100000
Digital Noise Reduction Off / On
Motion Detection 4 Area
OSD ENG / CHI
Focus Auto / Manual / Triger / Interval
Zoom Tracking Speed 4.3 Sec ~ 50.0 Sec
Lens Initialize Support
Zoom/Focus Preset 512 internal
3D Privacy Function 8 Area
E-Flip Off, H, V, H/V
Freeze Off / On
COMMUNICATION RS-485(2400, 4800, 9600, 19200, 38400 Selectable)
PELCO-D
POWER DC 7.0~ 16V(12V, 220mA Max)
DIMENSIONS 66 x 64 x 114mm
WEIGHT Approximately 870g
SPECIFICATION
Design and specification are subject to change without notice.
Page 12
Page 13

 Loading...