

Conbrov WF28, WF90 User Manual
-Please make sure to read the complete User Manual carefully
before installing your WiFi Cam permanently.
-Keep the User Manual in a safe location for future reference in
case of operational difficulties or reconnecting the Cam with
your mobile/smart phone over the World Wide Web(WWW).
-Should you need additional information, please contact
Support@conbrov.com
USER MANUAL
HD WIFI CAMERA
Model Number: WF28


Please review the following Safety Directions before
using or installing your new WiFi Cam:
-The Mini IP Cam is NOT waterproof or dustproof.
-Do NOT use it outdoors, in adverse environments or
in the rain.
-To avoid any risk of electric shock to you, staring a
fire or damage to the Cam, you MUST use the DC
power supply provided.
-Users are NOT authorized to disassemble or
dismantle the Cam. Conbrov will NOT take
responsibility or pay any liabilities for loss caused
by such actions.
-To avoid explosion, damages or bodily injuries,
NEVER put the cam in an oven, microwave or fire.
-Products and software versions change. This User
Manual may vary from the product currently being
offered.
-The Cam should be used for legal purposes only.
You are required to check and follow the laws
provided in your country regarding the use of the
camera and other video recording devices.
By following these Safety Directions, we believe you
will find this product most useful.
Safety instructions
3
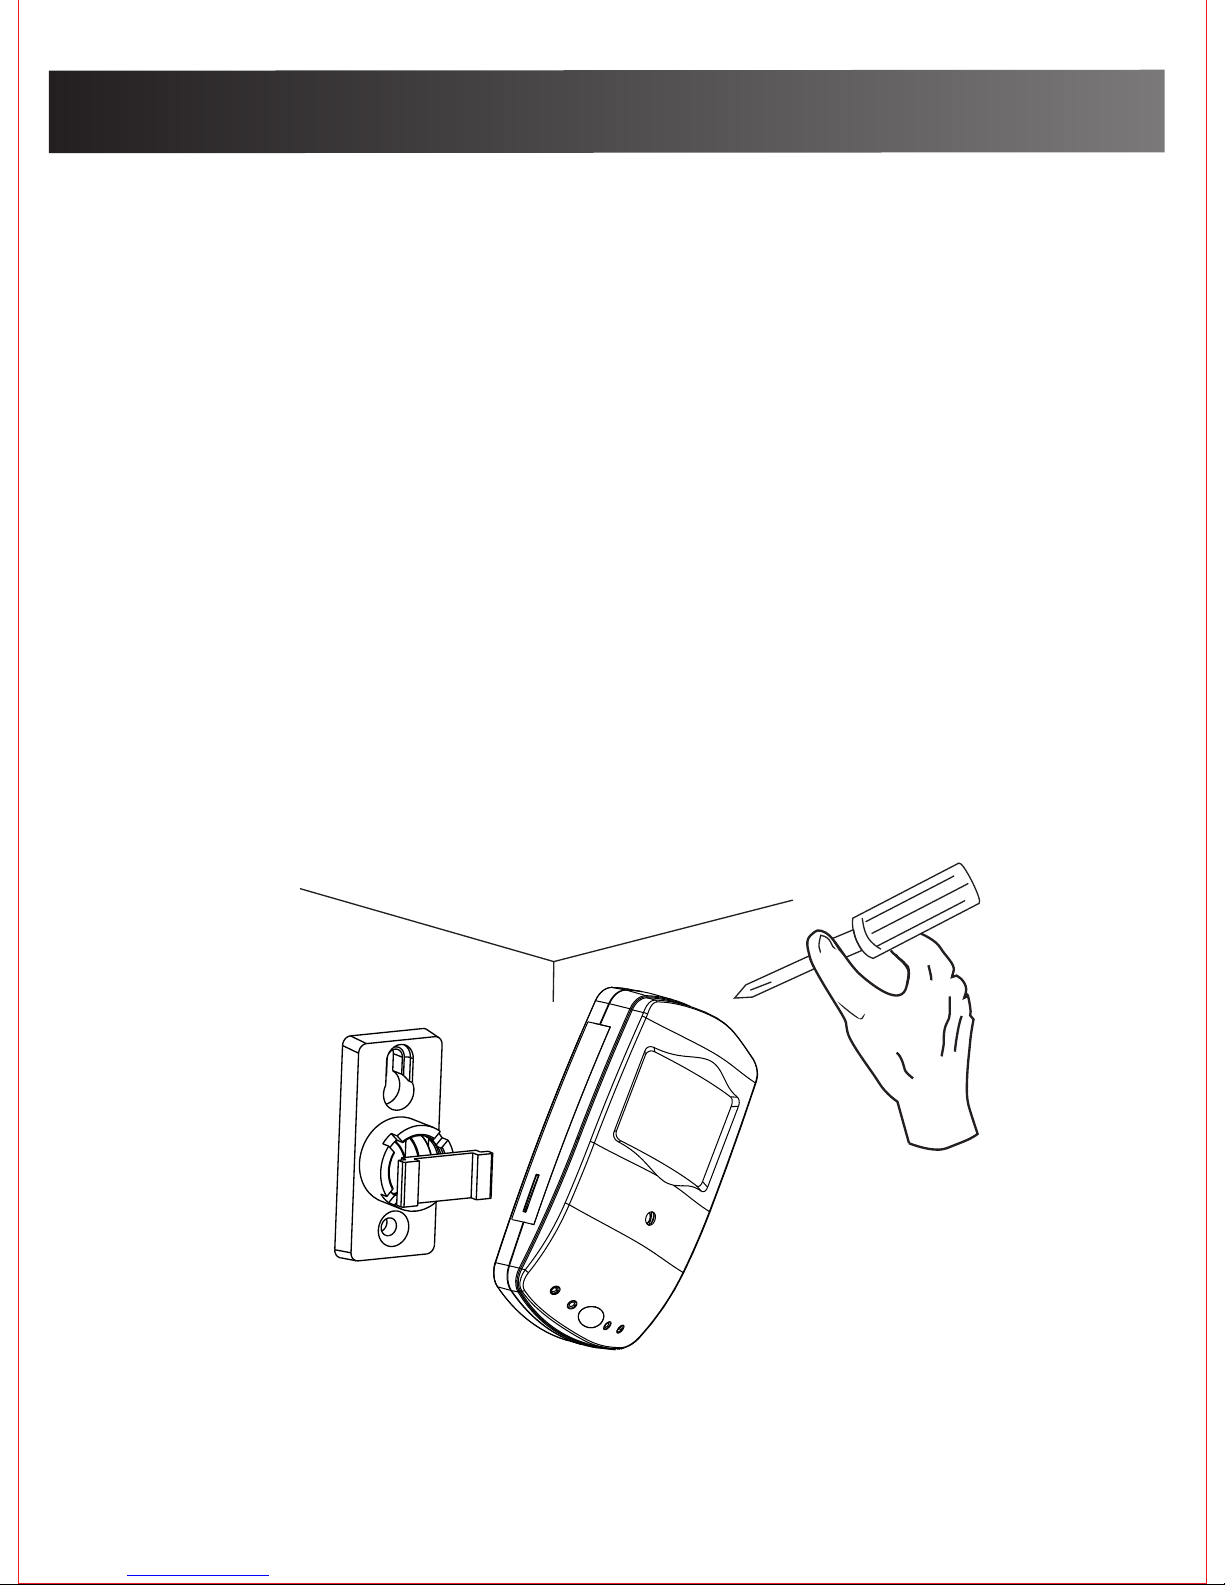
Camera hardware installation
4
3.Fasten the mounting brackets with the provided
screws and expansions if needed.
1. Attach DC power adapter to the power cable at the
bottom of the camera
2. Follow the App Download page to download the
WiFi Cam app and start viewing on your mobile/
smart phone what your WiFi Cam sees.
Once you see on your mobile/smart phone what
your WiFi Cam sees, determine where you would
like to permanently mount your Cam to best
capture activity in your selected viewing area.

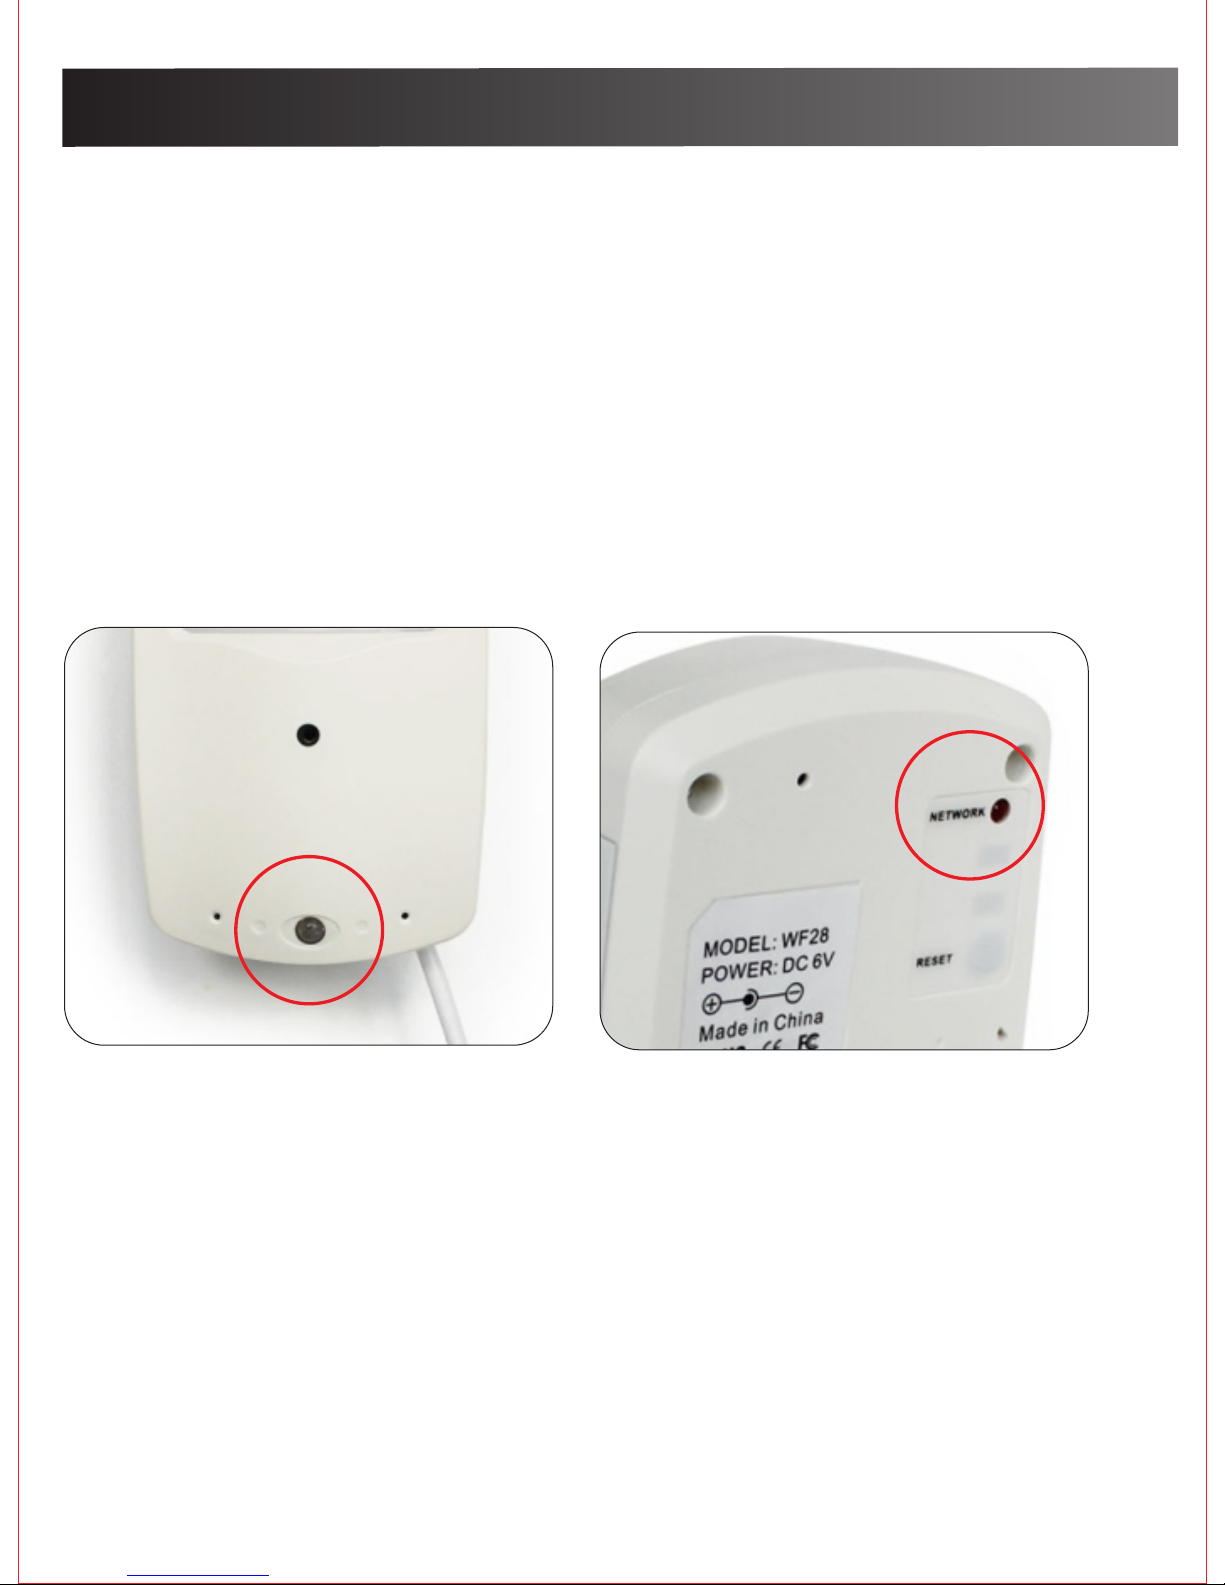
Structure
5
If a reset is necessory, press
the reset button and hold it
for a few seconds. the WiFi
cam will restart, then repeat
the set up instructions.
IR LEDS
CAMERA LENS
MICRO SD
INDICATOR
MICRO SD SLOT
BRACKET
STATUS INDICATOR
RESET
POWER CABLE
6
Indicator
NETWORK STATUS INDICATOR:
a. Flash slowly: In WiFi hotspot mode; or the wifi
network signal is not good.
b. Flash quickly: The camera is going to be re-set.
c. Always on: In network mode.
MICRO-SD CARD INDICATOR:
a. the indicator is off means in recording
b. lightup means No Micro-SD card
Micro-SD card Indicator
Net work Status Indicator

Setting up camera
Setting up camera
Important Notes:
- If you cannot find the WIFI Cam's WIFI hotspot from
your phone's WIFI list, please restart the WIFI Cam
as shown on the previous page.
- This WIFI Cam is designed ONLY for Android or IOS
mobile/smart phone platforms.
- It is NOT recommended to set up this WIFI Cam on
a laptop.
Step1(Downloading the APP)
Go to Android Play Store or Apple App Store, or scan
these icons using your mobile/smart phone.
Once located, download the APP “Mini WIFI Cam”
onto your mobile/smart phone device.
7
Android IOS
Mini WiFi Cam
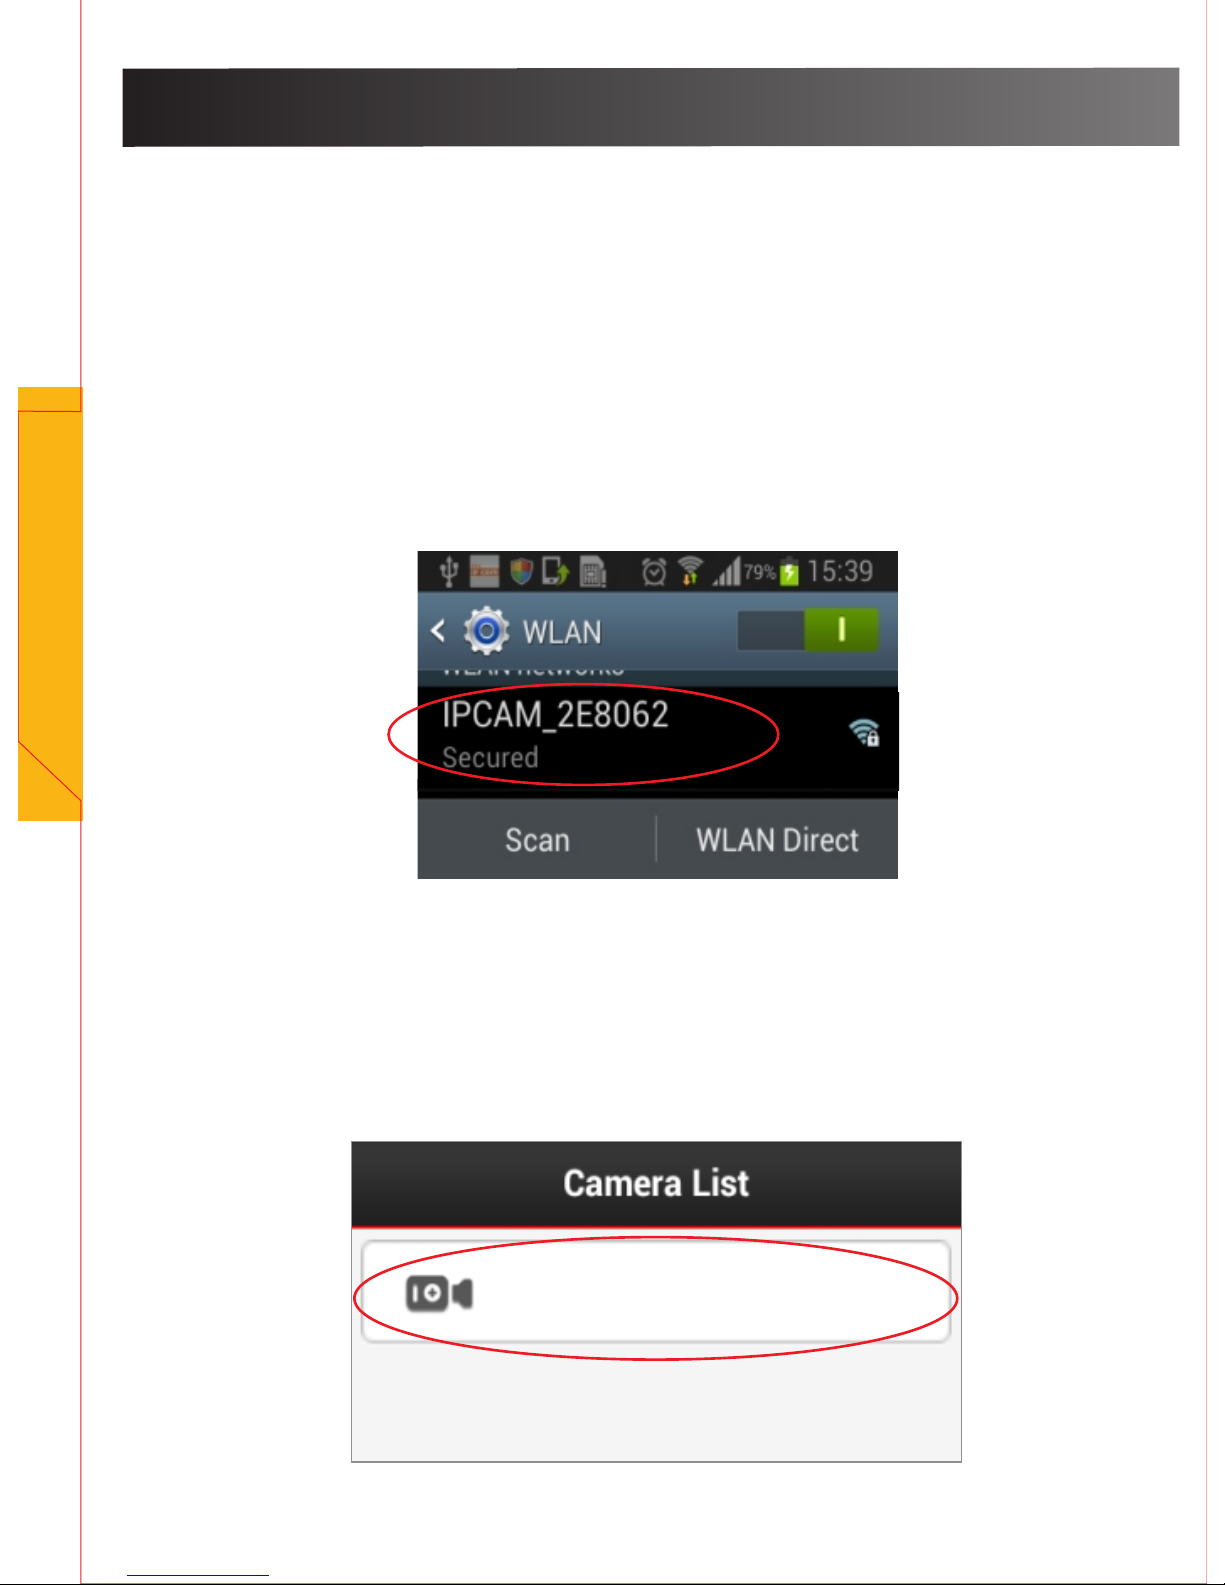
Step 3 (Adding the WiFi Cam to your APP now
on your smart phone)
-Open the “Mini WiFi Cam” App and choose
“Click here to add camera”
Click here to add camera
8
Setting up camera
Setting up camera
Step 2 (Setting up a connection between the WiFi Cam and
your mobile/smart phone)
- Power on the WiFi Cam. Wait until you see the IR LED turns off
- Change your phone’s WiFi connection to “ IPCAM_XXXXXX”,
This will be displayed on yourphone as six (6) digits including
letters and numbers.
- Connect your phone to the WiFi Cam’s WiFi hotspot.
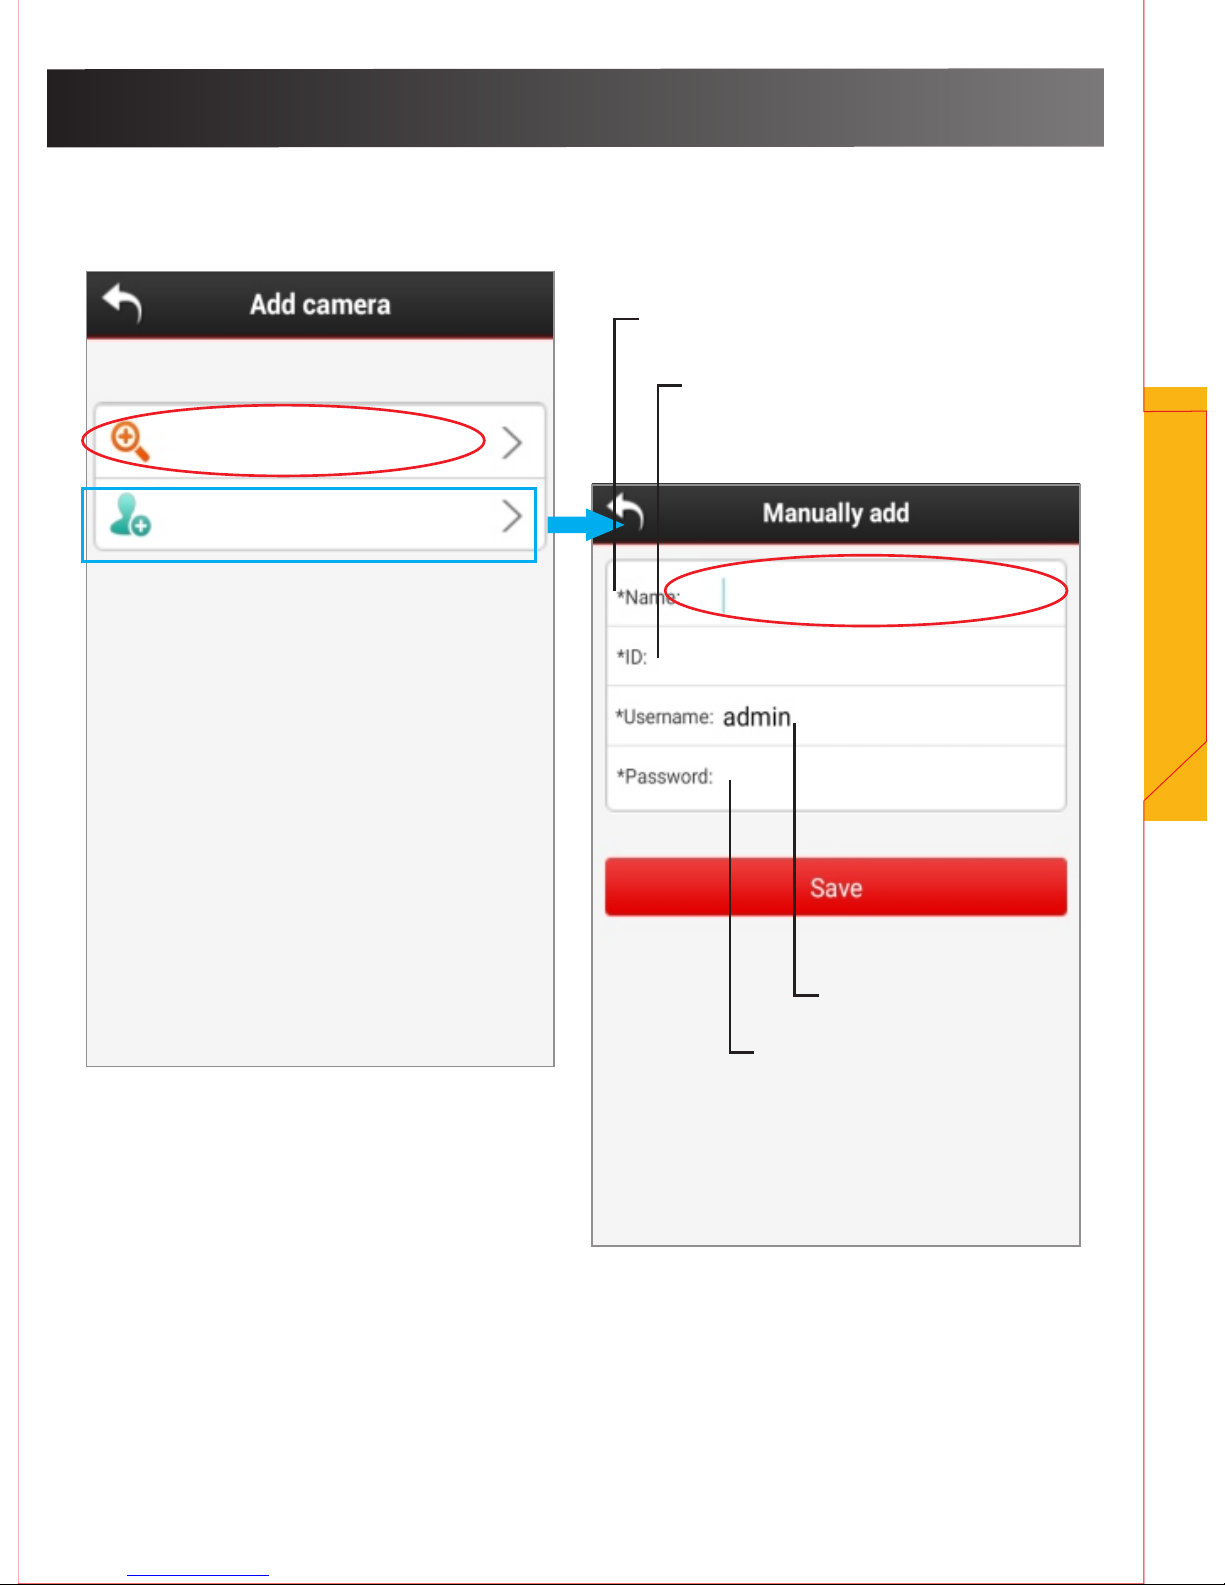
Auto search
Manually add
-Manually searching for the WiFi Cam
9
Setting up camera
Input the ID number from the
bottom of your camera
Name your camera
Keep Blank
Do Not Change
Setting up camera
(See bottom of WiFi Camera)
IPC-E8ABFA2E8062
RCAM-007250-NZCZS
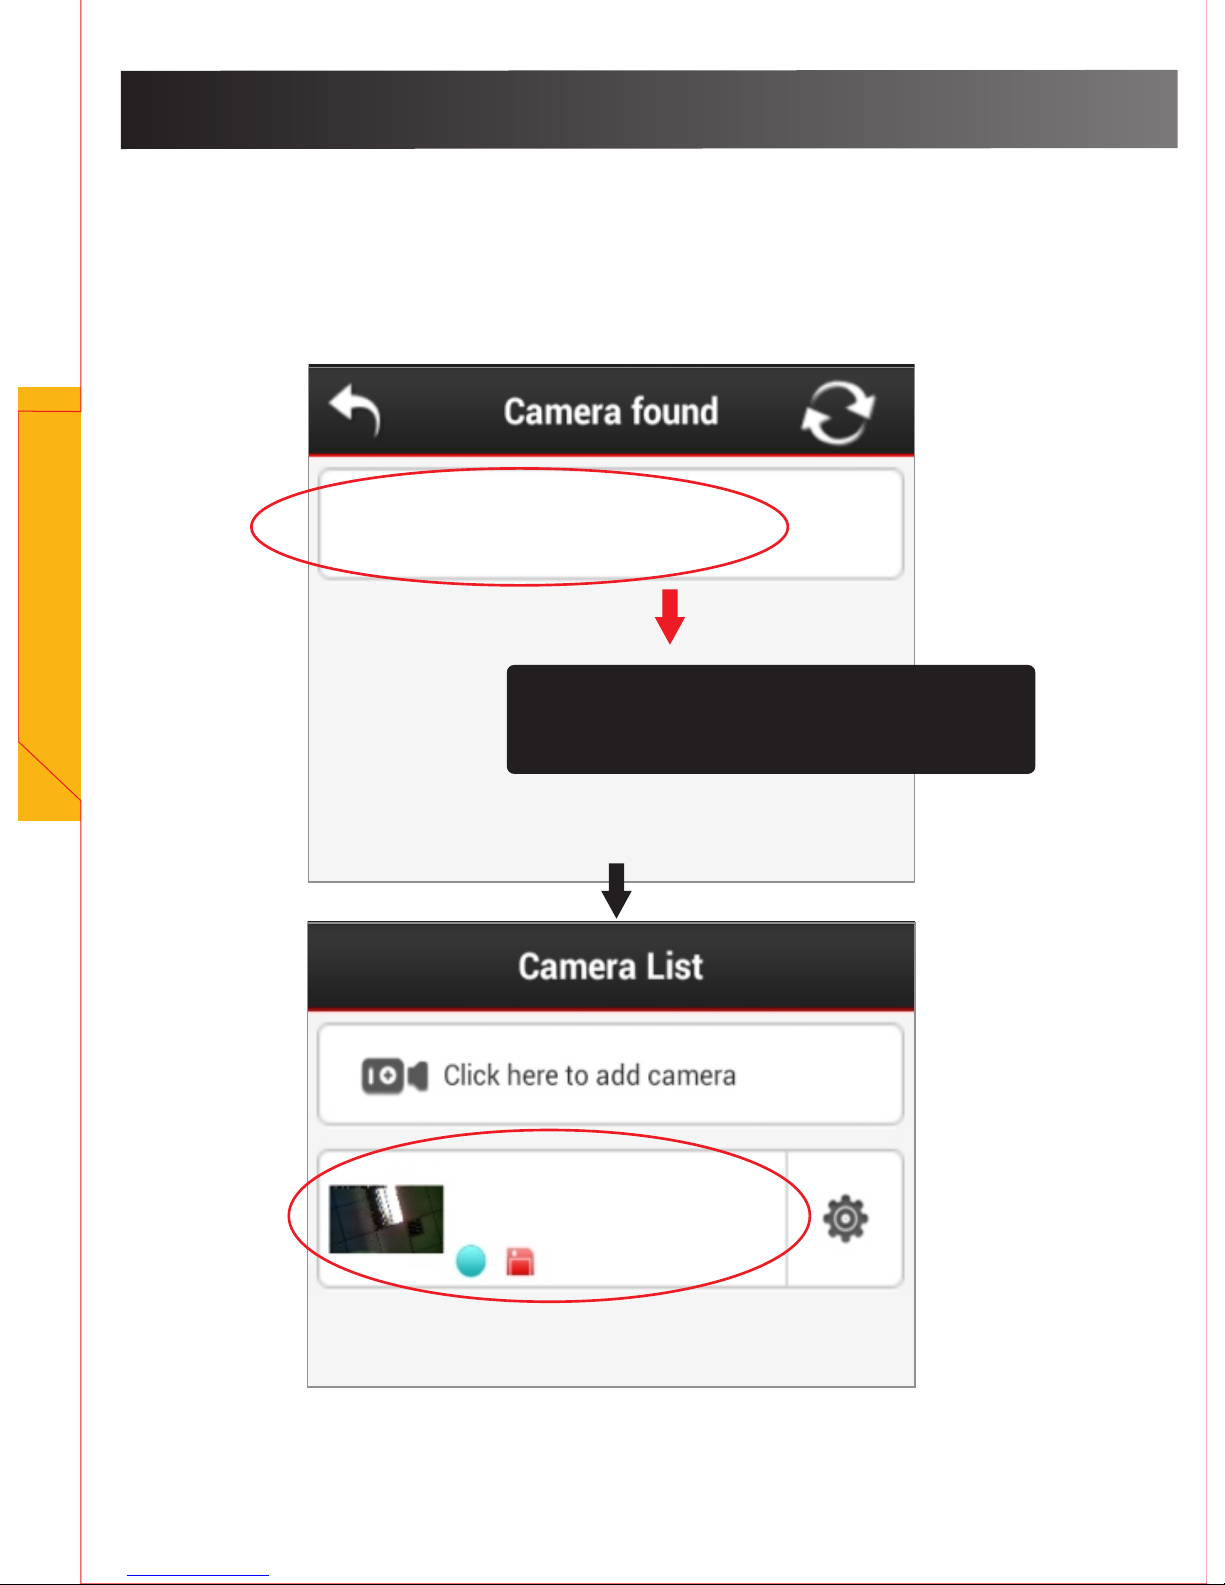
-The WiFi Cam will be found automatically as
: IPC-XXXXXX, click on that and wait until the
camera is activated.
10
Setting up camera
IPC-E8ABFA2E8062
RCAM-007250-NZCZS
Click on this listing to start a live stream video
Setting up camera
This is your camera's ID
found by auto search
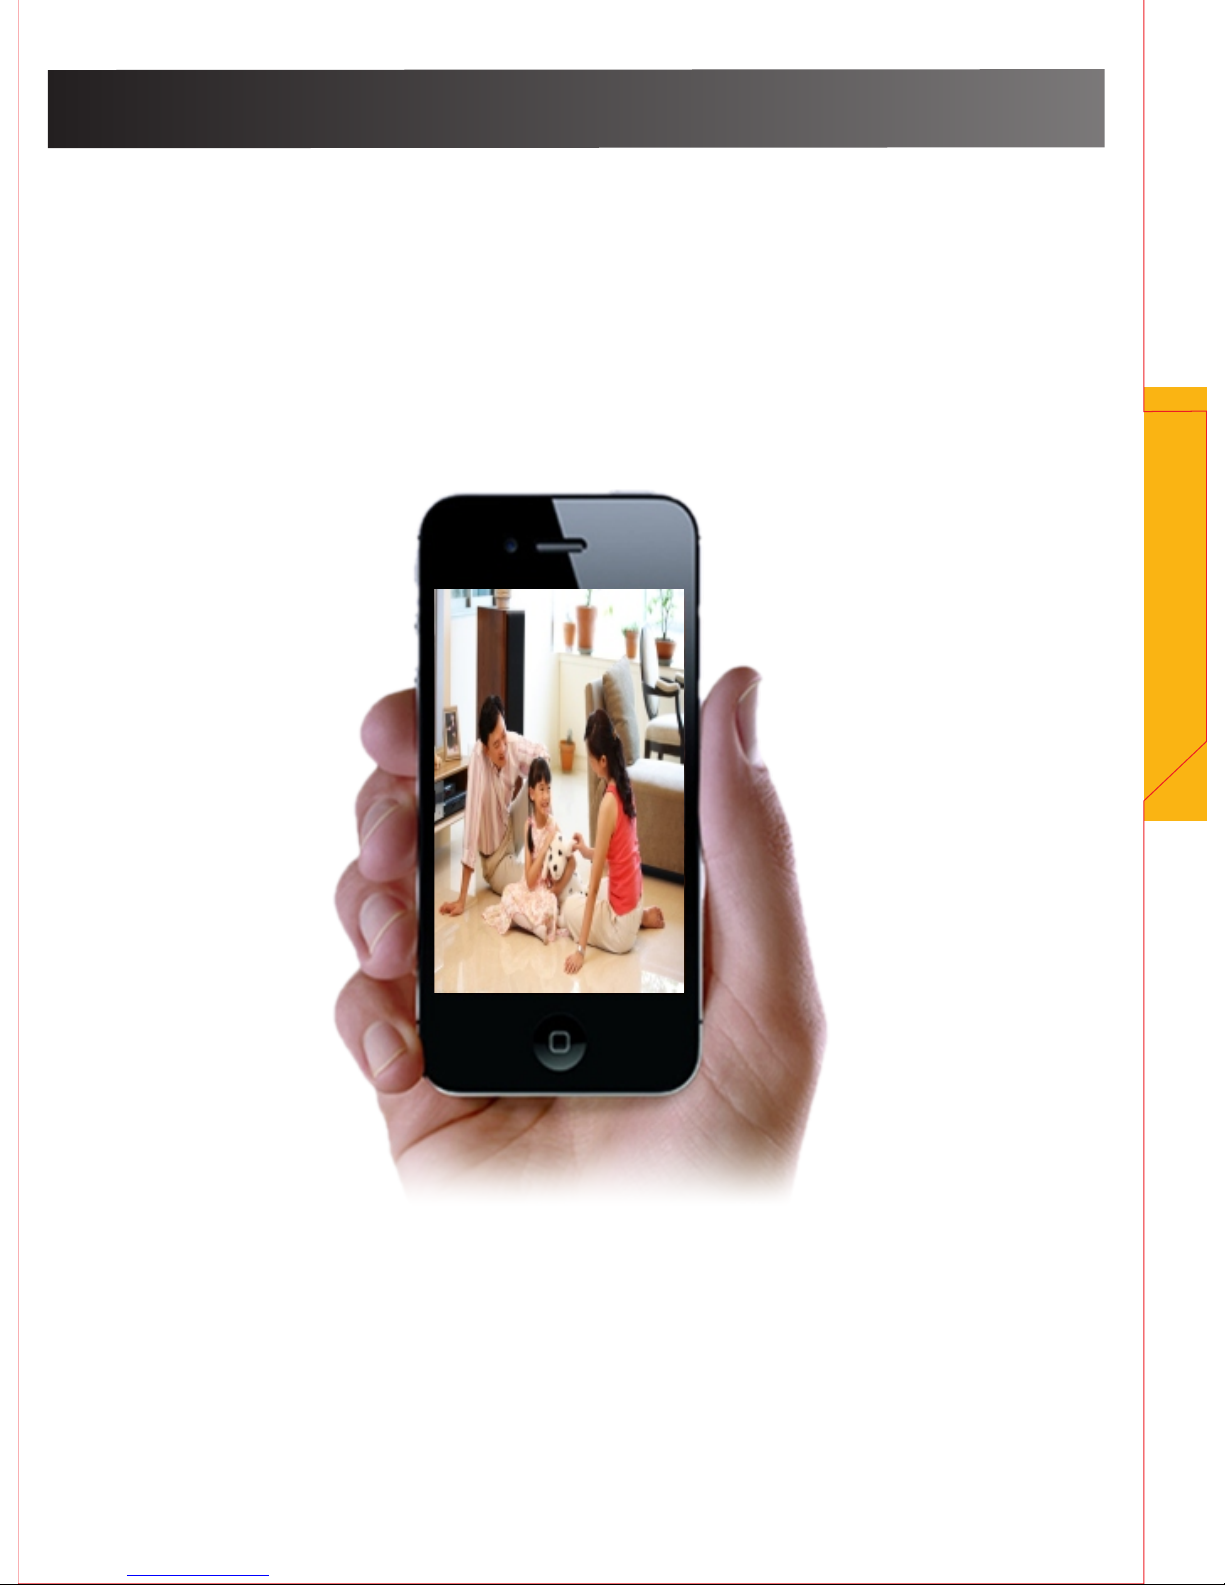
Through WiFi hotspot
- Now that you have finished the connection through
the WiFi Cam’s WiFi hotspot,you can see the
viewing area of the camera on your mobile/smart
phone.
11
Setting up camera
-So next if you want to remotely view the camera,
please go to step 4
Setting up camera
 Loading...