

Page 1
HD book camera
Huge battery camera series
Please ensure that you read the complete user manu al careful ly
before using any part of the product.
- Keep this copy safe for future reference in case of operational
difficu lties.
- Please test the position/angle, playback the video in advance, to
make sure it could catch what you want
- Please do not use this camera for illegal purpose. It is important
to follow the laws in your country/state
-
MODEL NO: DV9
USER MANUAL
Page 2

Safety instructions
2
- Ensure that the camera is tested for the first time use and
confirm that it suits the intended purpose.
- We are not responsible for any missing video information due to
wrong operation,Micro-SD malfunctioning or camera angle limit
etc.
- The camera should be used for legal purpose only. Check and
follow the laws provided in your country regarding the use of
camera and other video recording devices.
By following the above safety instructions, we hope that it will be
enjoyable to own and use this product!
Please read the following instructions before using the camera:
Page 3
It is important to note that:
is not included in the above list of accessories, contact us
as soon as possible at: [email protected]
If there is anything missing in your product package and it
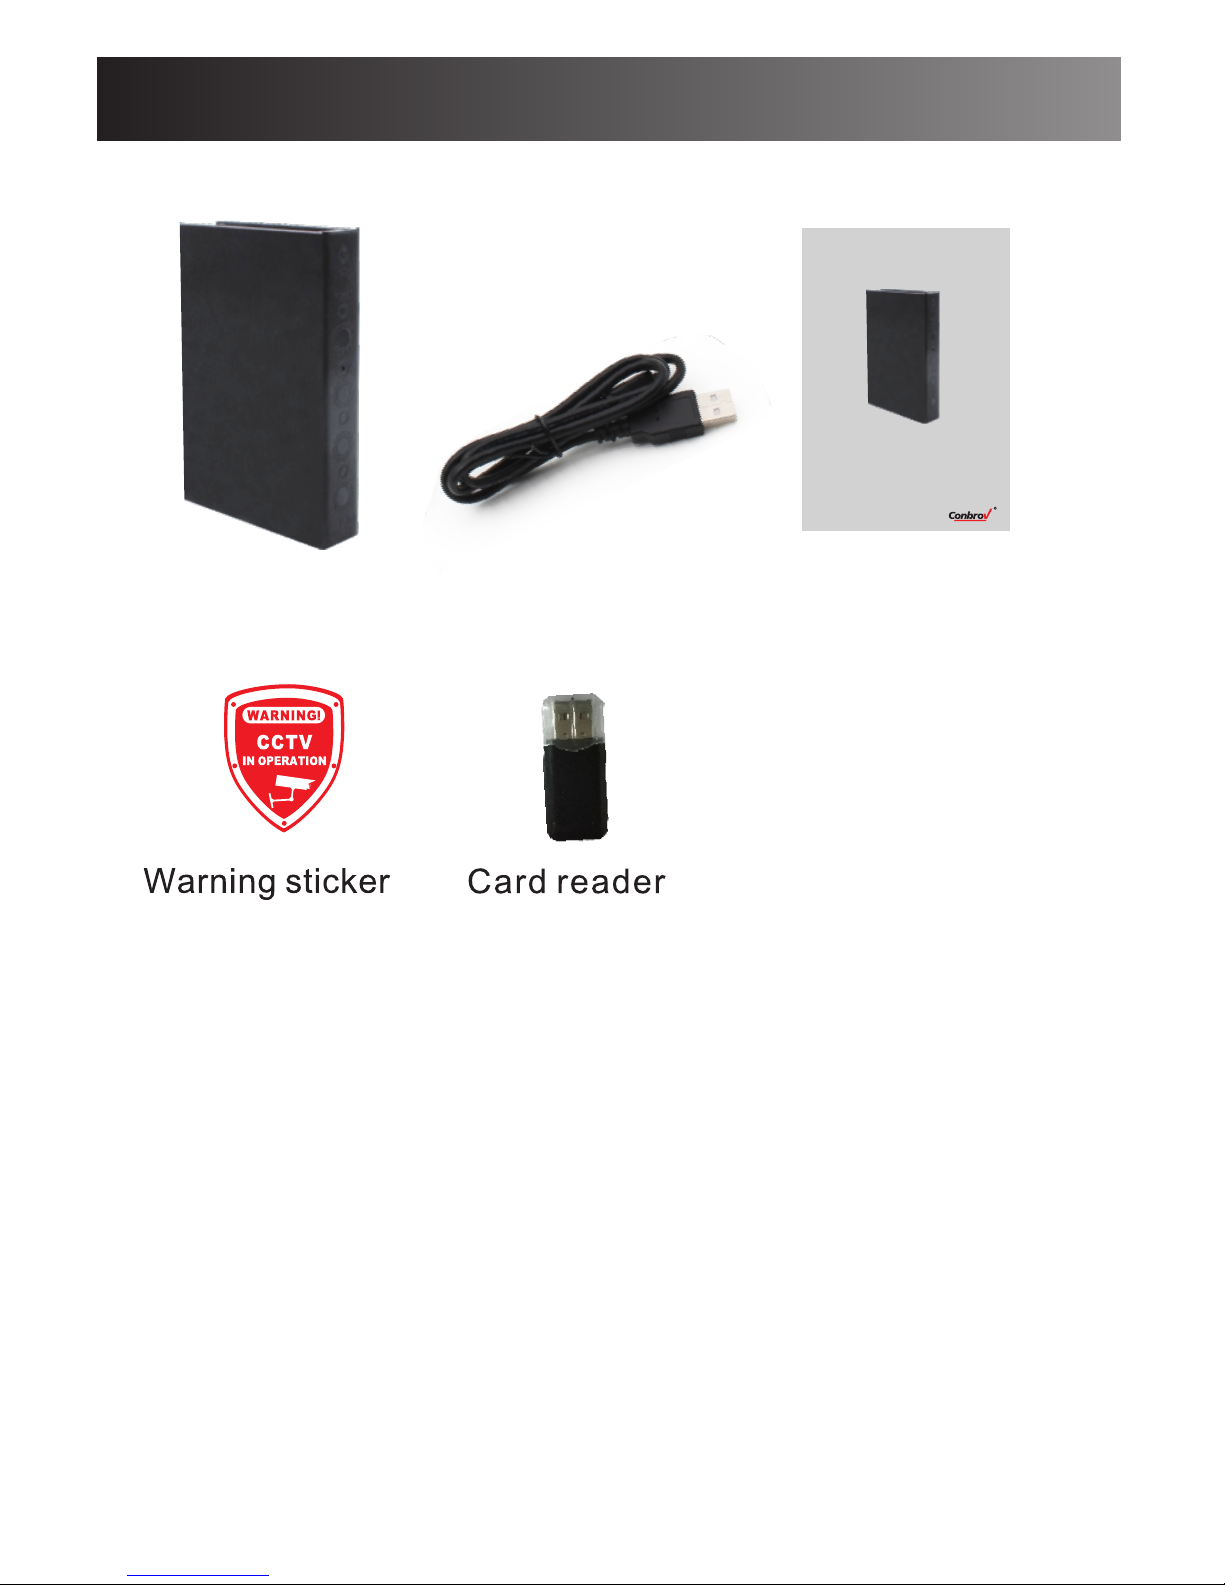
Product accessories
3
Camera
Manual
USB cable
HD b ook c ame ra
Hug e batte ry came ra seri es
Plea se en sure t hat yo u rea d the c ompl ete us er ma nual car efu lly
befo re us ing an y par t of the p rod uct.
- Keep t his c opy sa fe fo r futu re re fere nce in c ase o f op erat ion al
diff icul ties .
- Plea se te st the p osi tion /ang le, pl ayb ack th e vid eo in ad vanc e, to
make s ure i t coul d cat ch wha t you w ant
- Plea se do n ot use t his c amer a for i lleg al pu rpos e. It i s impo rtan t
to fo llow t he law s in yo ur co untr y/st ate
-
MODE L NO: DV9
USE R MANUA L
Page 4
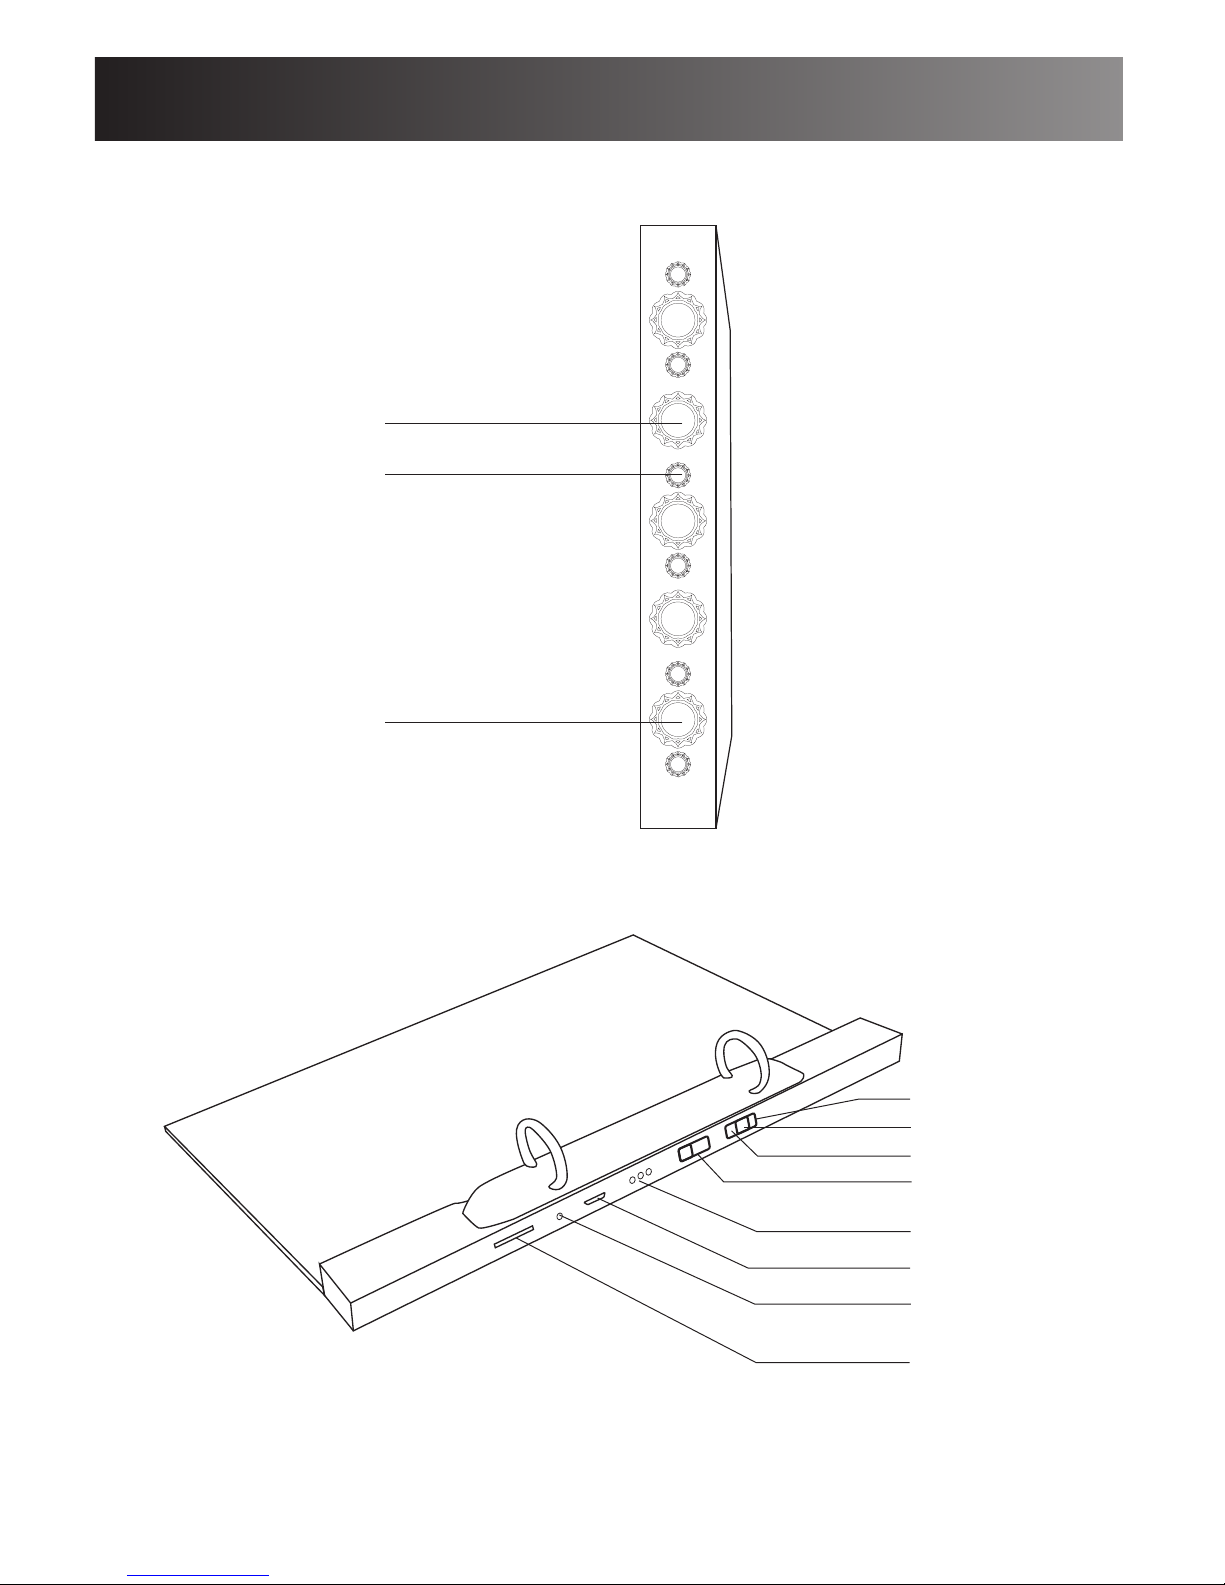
Product structure
4
Camera lens
LED
REC
OFF
Indicator
Micro-SD
USB
MD
PIR
Audio(on/off)
Reset
Page 5
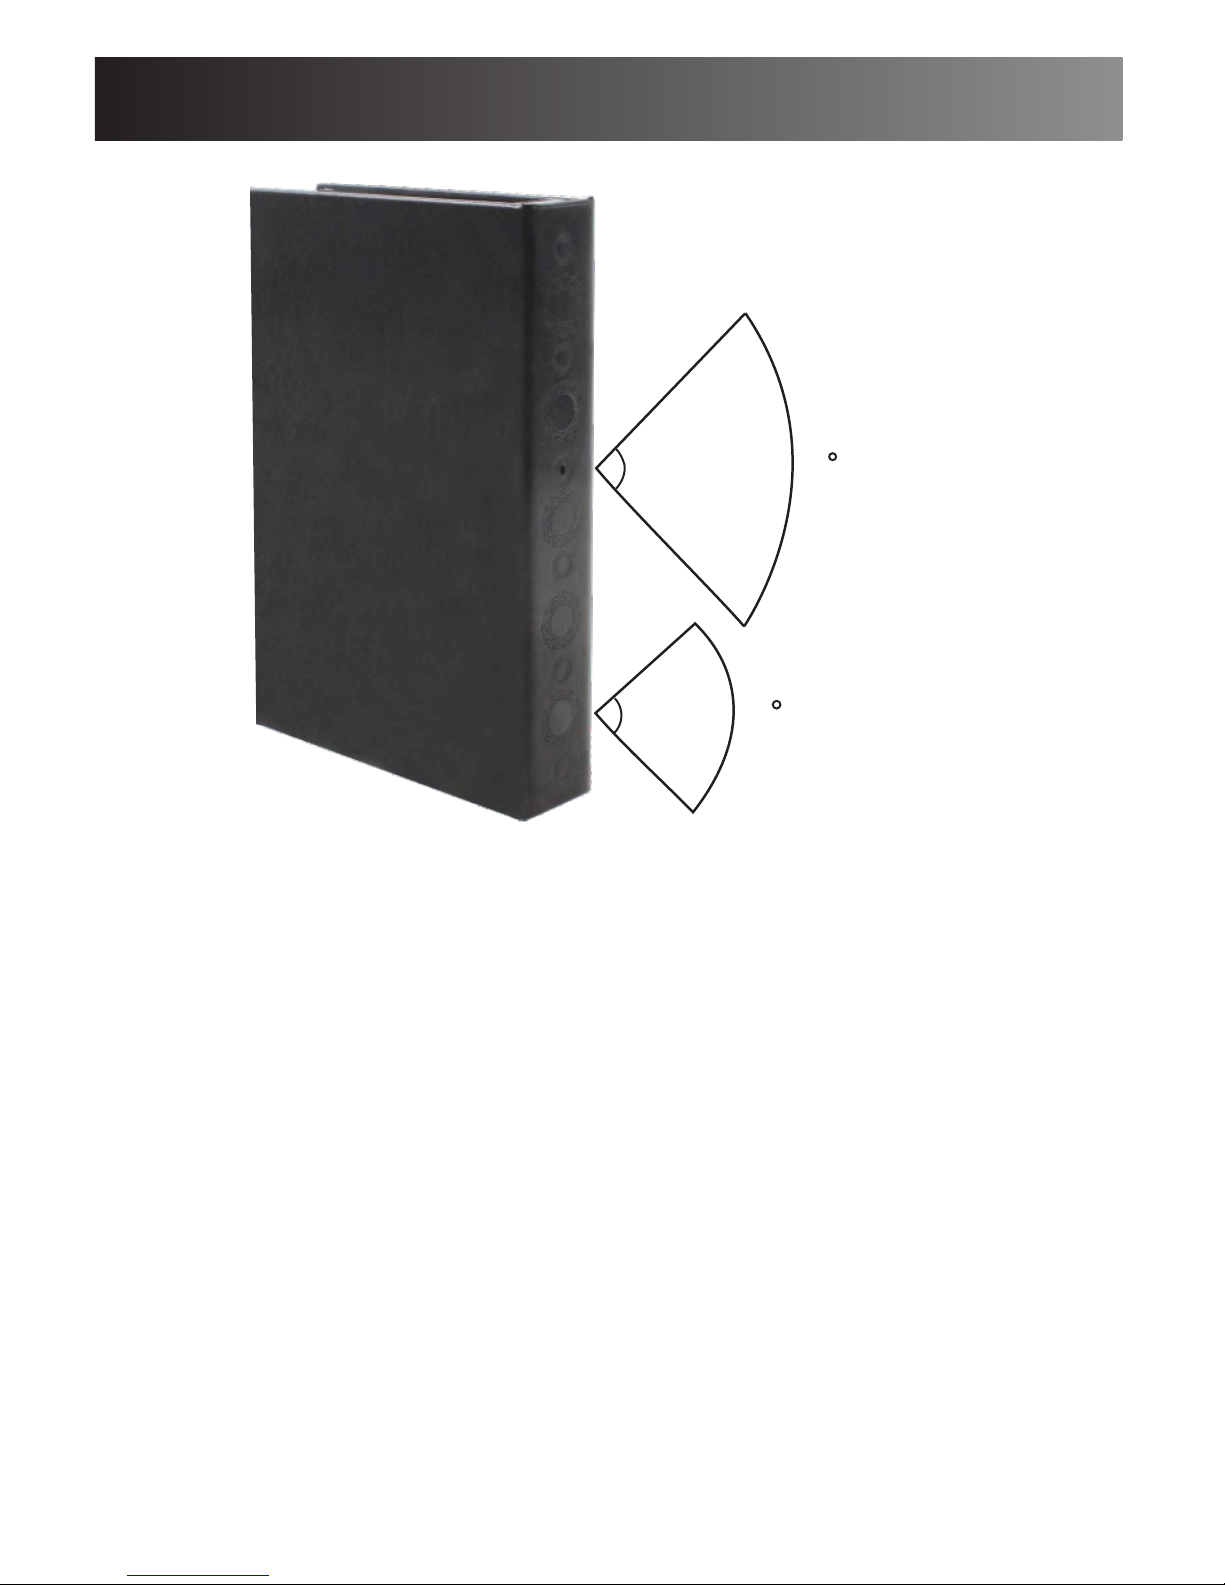
Detection ability
Important Notice:
- Please use the camera in a perpendicular direction and camera
lens on the top as the above photo shown and do not use the
camera upside down or lay down
- Avoid using the camera in hot or extreme temperatures that will
reduce the motion detection accuracy
- When the camera is in motion detection mode,there's a 2
seconds delay upon each trigger to start video recording.So pls
avoid using the camera in somewhere people passing quick
- When the camera is set to the motion detection mode,it will
record a first file about 2 minutes before it went into motion
detection standby status.
5
PIR Detection angle
60
15-25
f
ee
t
(5-8me
t
ers)
Camera angle
75
Page 6
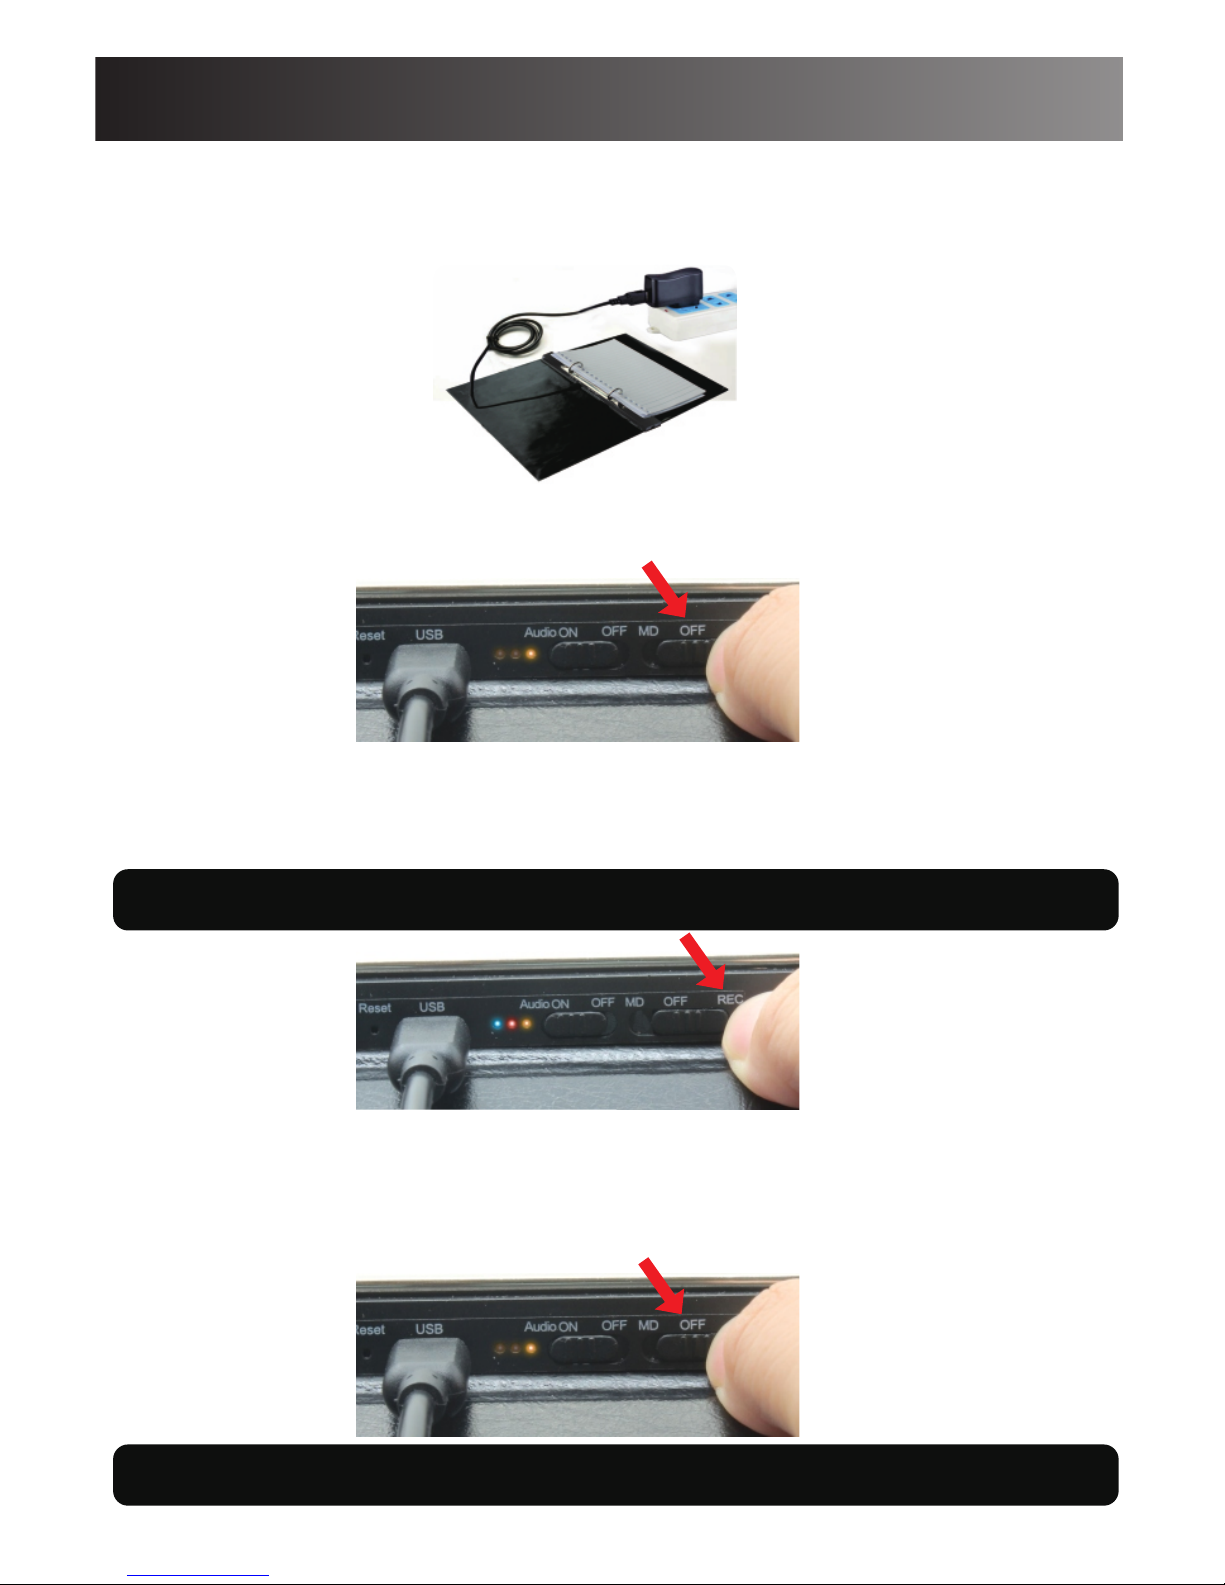
Charging information
Important Notice:
- It is suggested to charge it by a 1A USB powr adaptor using
the provided USB cable from the package.
6
- Connect with PC as a U-disk:please push the button to the
REC first, then connect the camera to the computer via the
USB cable.
- It is suggested to slide the power switch to be OFF at the center
during charging the camera.
-You also can charge the camera by connecting it with a PC USB
port via the USB cable. please make sure that the camera is
power off for charging.(push the button to OFF for charging)
The yellow will stay on. It will be off when it is fully charged
The yellow indicator will stay on, the blue and red indicator will flash.
Page 7
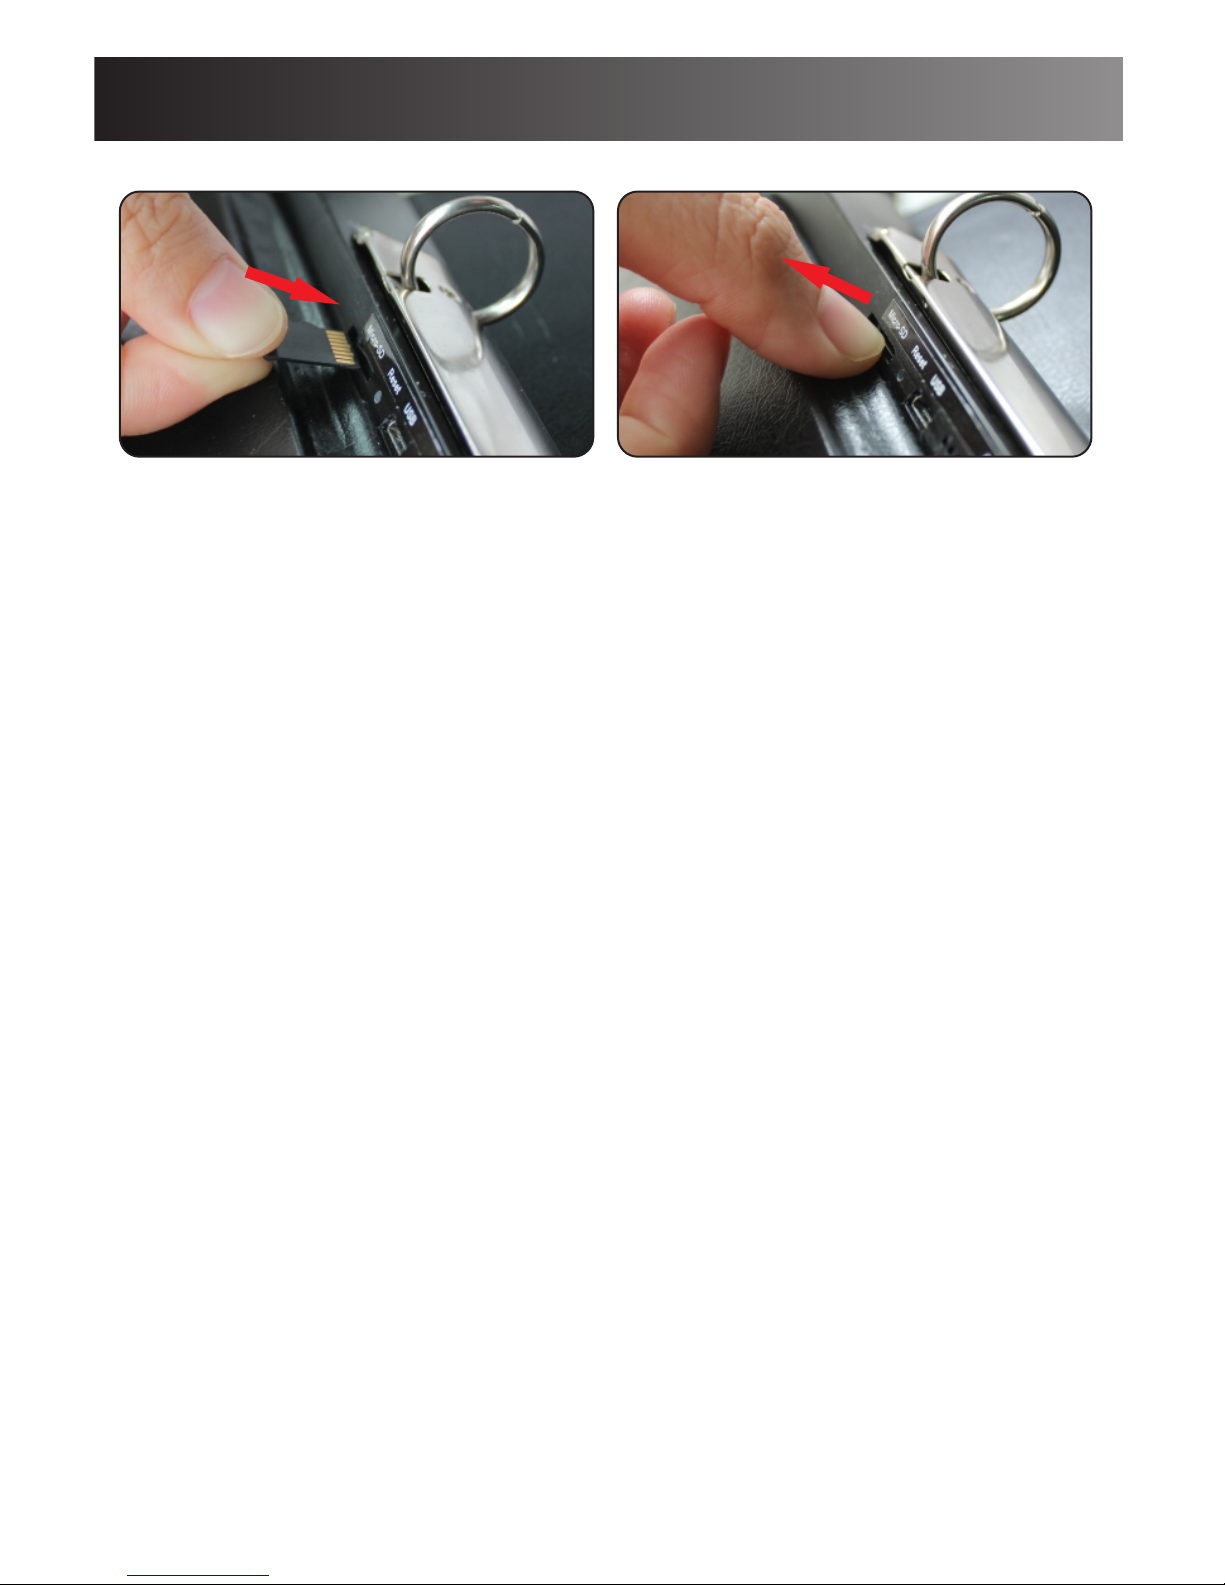
How to install and remove micro-sd card
Important notice:
- The camera has the ability to record video only when
Micro-SD is inserted.
- Please avoid by all means to insert or remove Micro-SD
when the camera is either powered ON or connected to the
computer. This can possibly cause damage to Micro-SD or
the entire camera.
- Please ensure that minimal effort is applied to the Micro-SD
when inserting it in or out of the camera. Use of force can
easily damage the Micro-SD or the product parts.
- Before using the product for the first time, ensure that the
Micro-SD is formatted. Please check for any saved data in
the Micro-SD to avoid unexpected loss.
The camera support micro sd card up to 32GB only,class 10
above quality card suggested for a good video quality.
We are not liable or responsible for malfunctions that result
from failure to follow the above guidelines.
Remove Micro-SDInstall Micro-SD card
7
Page 8
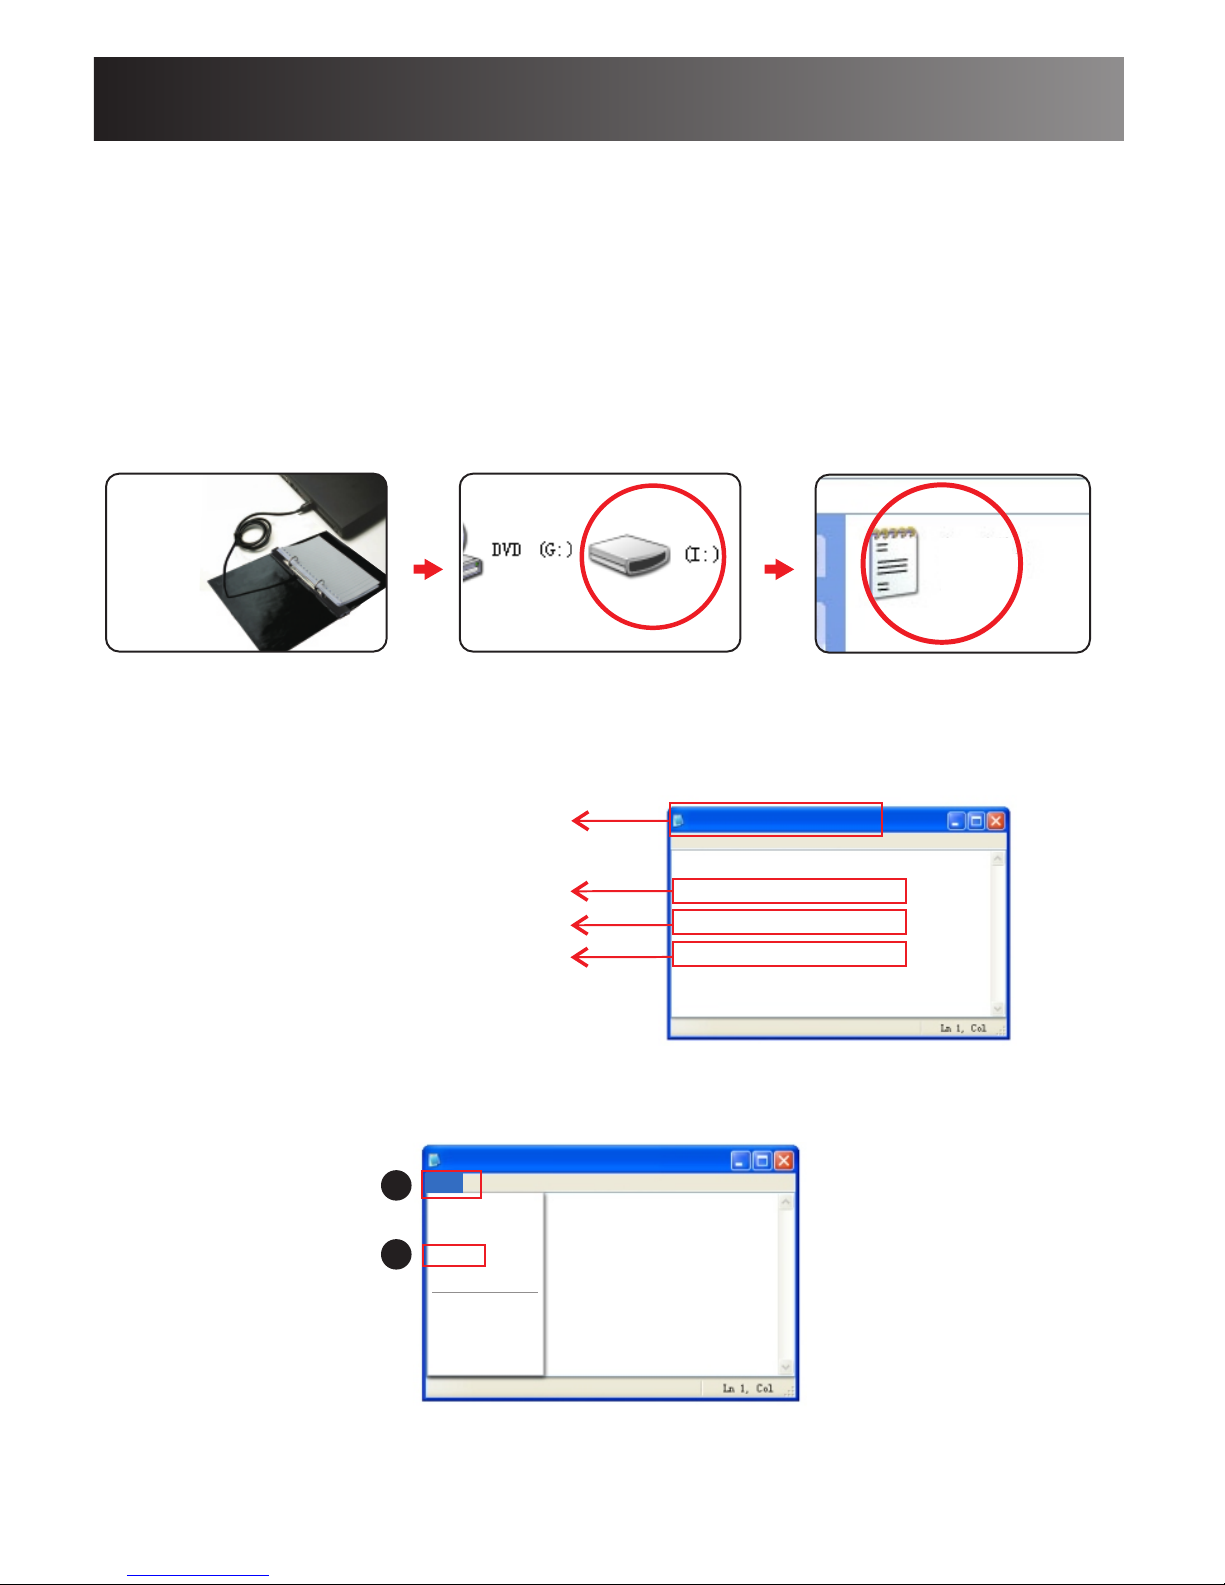
Time and date setting
8
2.Open the file and amend some of the number
according to your required time, but do not amend any other
data or file format.
YW_TIME.txt.
3.After finishing the amendment, please click the upward left
side file in the dialog box, and then click “ save”.
New
Open
Save
Save as
Page settin gs
Print
Exit
file
Edit For mat V iew Help
1
2
The time will be synchronized when camera disconnects with
computer and then power on the camera.
Time modification
It will automatically create a time file named as YW_TIME.txt.
document after the camera is switched on. The time will be
amended to the current time when you open the document and
save it. Exit the portable disk and restart the camera and record,
new recording videos will automatically synchronize with the
current time.
1.Open the portable disk, you will find the YW_TIME.txt.
YW_TIME. txt
YW_TIM E. tx t
fil e Edit Fo rmat Vi ew He lp
File name
yyyy/mm/dd
2015/03/23
23:15:12
yes
hh:mm:ss
yes:auto-recycle the SD
no:no auto-recycling
[date]
YW_TIM E. tx t
Page 9
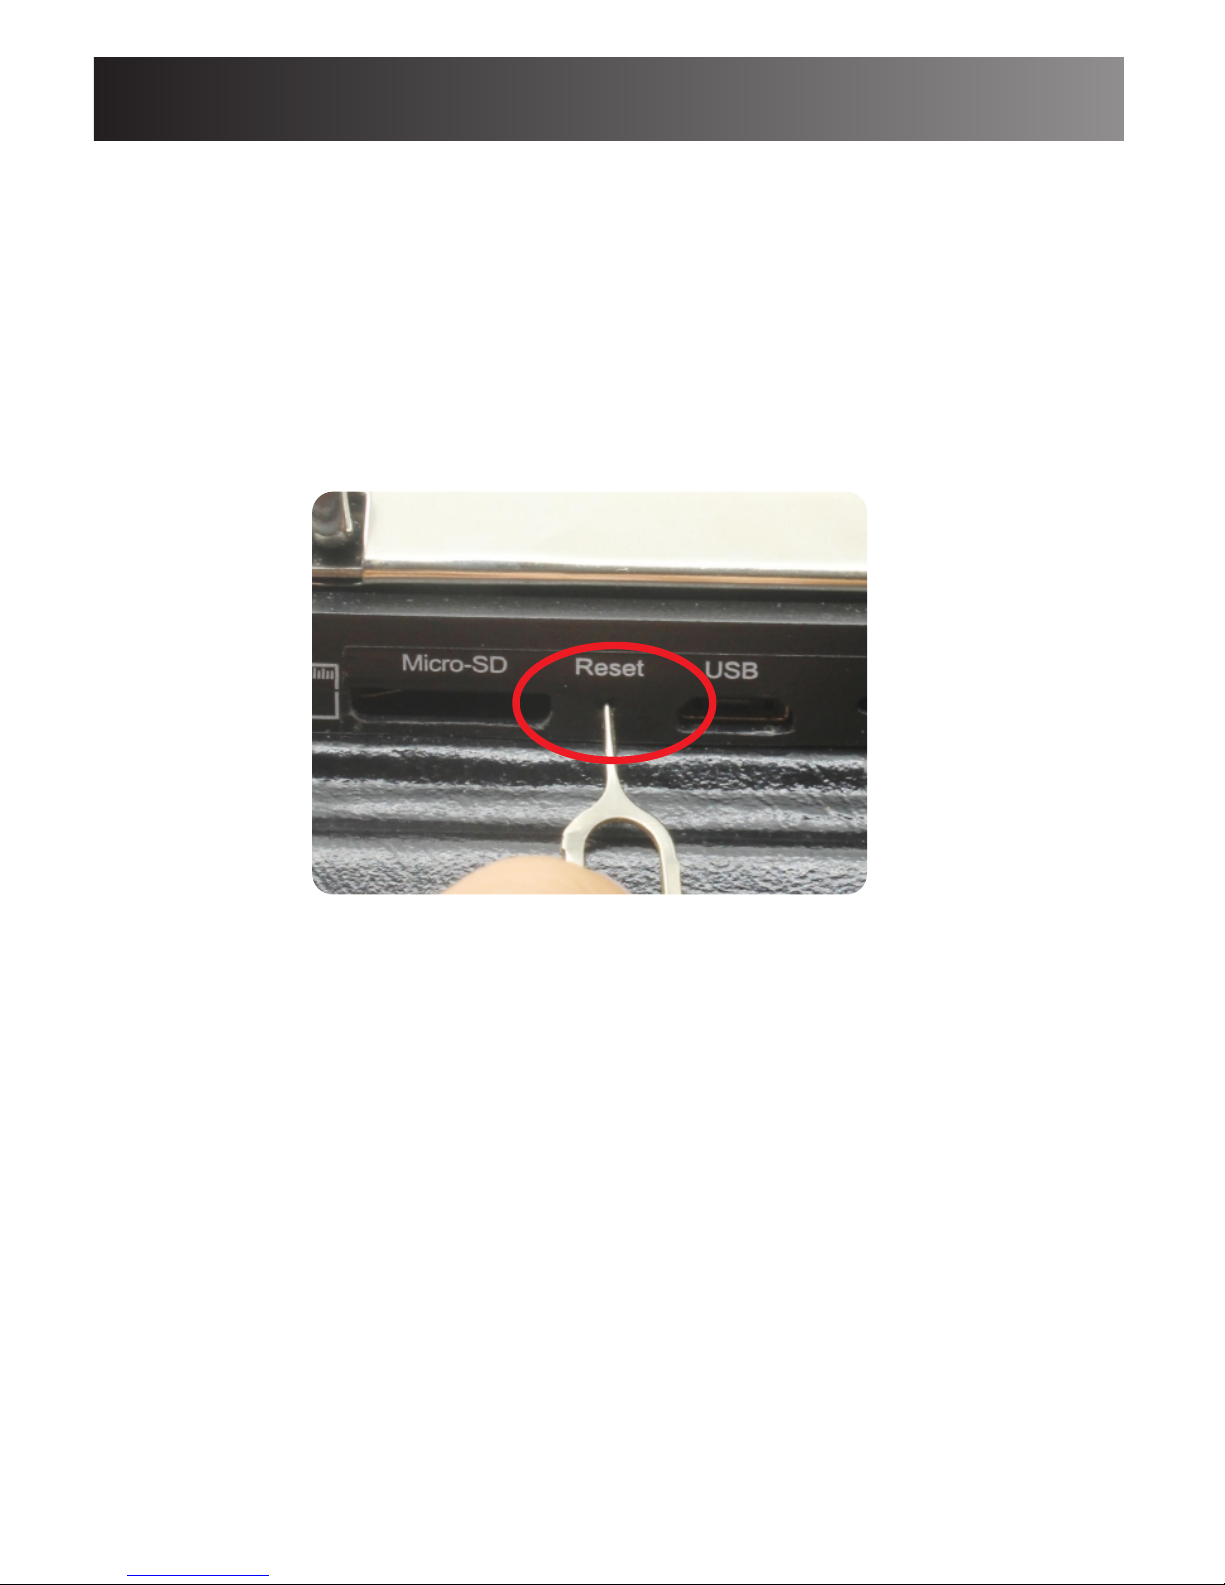
Operation guide
4.When you find your camera power off automatically,there're two
reasons for that:
1) The power is too low,you need to recharge the camera.
2) No memory card installed or memory card is full when camera
set to no loop recording.
Important Note:
1.If you didn't find the file when you open the micro sd
card from your computer,Pls record a video clip using the camera
to activate the card and then try to set the date and time again.
2.The amended date and time will not change unless the battery is
running out for long time.
3.When your camera is malfunction or wrong operation,pls using a
toothpick to hold on the reset hole to reset the camera.
YW_TIME.txt.
9
Page 10
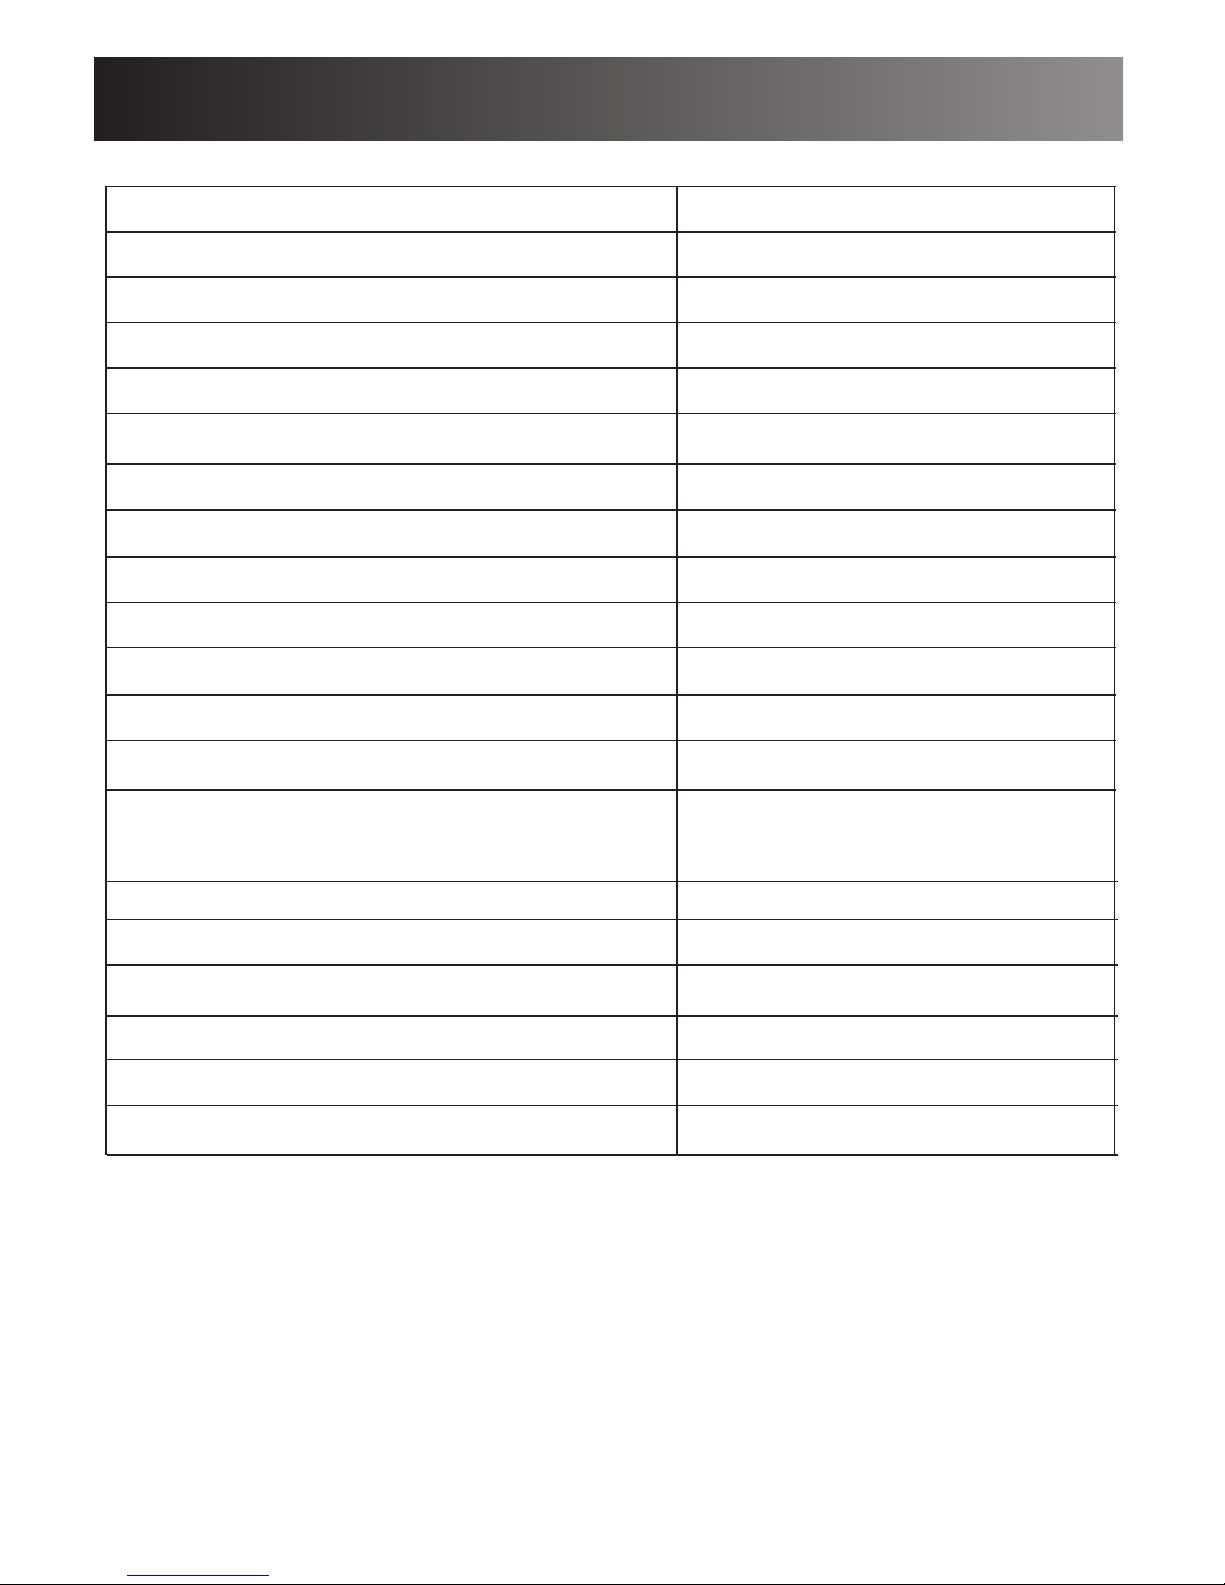
Detailed parameters
10
ParameterItem
size 21*15*4CM
Product net weight 415g
Battery
Stand-by power consumption 10uA
PIR detection angle 60 degrees
PIR detection distance 5-8 meters
Camera angle about 75 degrees
Max PIR stand-by time 2 years
Day time recording power consumption 220mA
Max day time recoridng time a b out 30 hours
Night vision recording power consumption 820mA
Max night vision continuously recording time 9-10 hours
a b out 20 hours by 2A USB power
Full-Charging time
adaptor
Resolution 1 0 8 0 P
FPS 30FPS
PIR MD video record about 1 minute per file
Record continuously about 2 minutes per file
Max SD storage 32GB
Loop recording optional
10000mAh
Page 11

Indicator status and meanings
IMPORTANT REMINDINGS: PLS DON'T PUT SD OUT DURING RECORDING
OR IT COULD POSSIBLY CAUSE DAMAGE TO SD. WHEN THE BATTERY IS
RUNNING OUT, IT WILL SAVE THE LAST FILE AND POWER OFF
Switch to REC
Switch to MD
NO SD
Low battery
SD full(if it is not auto-recycling)
Charging the camera
Full charged
Connect with PC as a U-disk
When connect with PC and
power on the camera to either
REC or MD
The blue flash 3 times and goes off,
it will record continuously by 2
minutes video each
The red and blue flash once, then
the red flash 3 times and goes off
The blue will flash for 10 seconds
and it powers off
The red and blue will flash for 10
seconds and it powers off
Or sometimes battery is totally
running out, it could not power on
at all.
The red and blue will flash for 10
seconds and it powers off
The yellow stays on(Suggested to
put the switcher to OFF when
charging)
The yellow be off
The yellow will stay and the
blue&red will flash
11
Motion detected
The red&blue flash once and red
will flash 3 times and goes off. It
will save to SD for about each 1
minute video
Page 12

Email: [email protected]
Website : www.conbro v.com
 Loading...