

Page 1
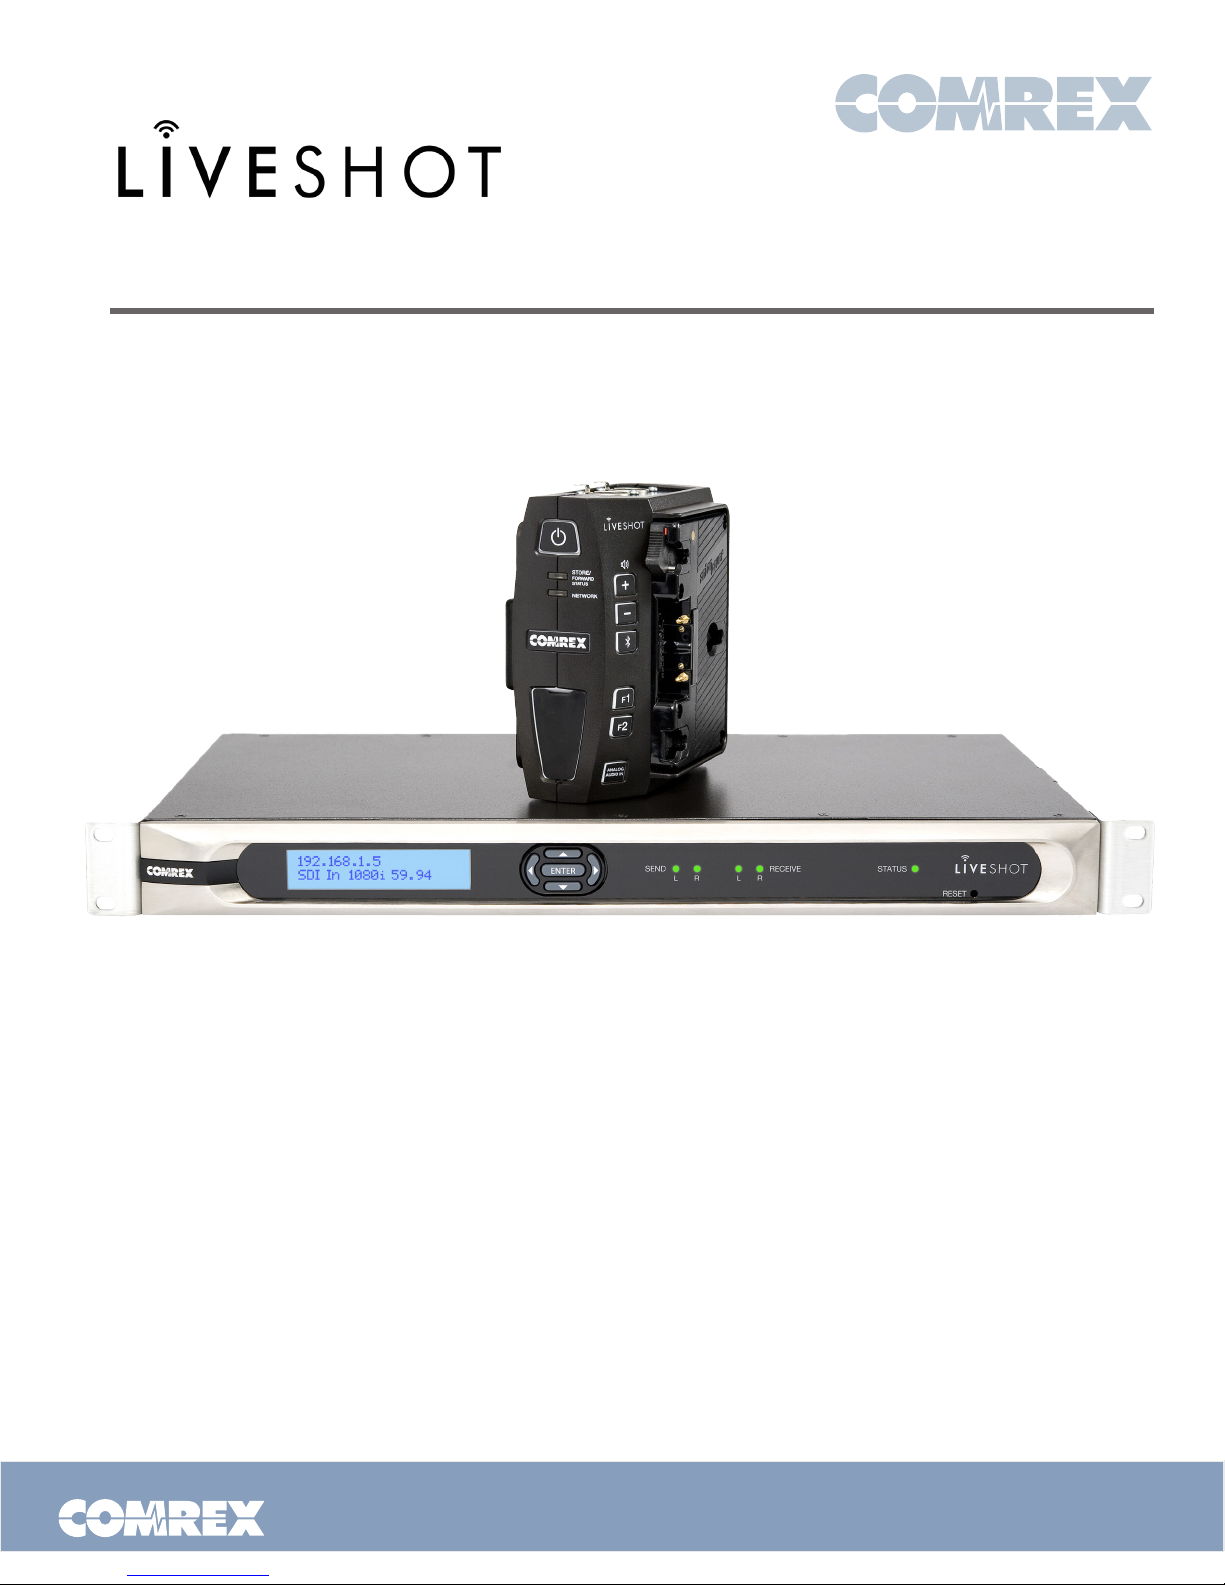
Quick Start Guide
Comrex LiveShot is a full-featured tool with lots of options, but many users can’t wait to get started
using it. Here’s a list of the absolute minimum steps required to getting a Comrex LiveShot link going
from “factory fresh” state:
1) Set up Comrex LiveShot Rackmount on a wired
network that has port UDP 9001 open from the
Internet.
This may require you to bribe your IT department or
configure your router, but LiveShot Rackmount must
see incoming unsolicited traffic to this port. You can
either forward this port to the device, put LiveShot on
a DMZ, or put it on its own public IP address. A static
address is not required, although it might be helpful if
you will be configuring LiveShot often or placing calls
from the studio.
Put Comrex On The Line.
2) Connect LiveShot Rackmount video output to
your plant.
You can connect the HDMI output to a monitor, the
HD/SDI output to your router, or the Composite output
to just about anything (for now, only use composite out
if your cameras are SD).
3) Connect LiveShot Portable to your camera.
The portable will require power (either from the 3-stud
camera battery arrangement or the provided power
supply) and input video (either HD/SDI, HDMI [without
HDCP] or Composite). Press the power button for two
seconds to power it up.
Toll Free in USA: 800-237-1776 • www.comrex.com
e-mail: [email protected]
19 Pine Road, Devens, MA 01434 USA
Tel: +1-978-784-1776 • Fax: +1-978-784-1717
Page 2

4) Attach LiveShot Portable to a network.
Use the included Wi-Fi adapter or your own
3G/4G adapter with one of the USB gooseneck
connectors, or attach Ethernet to the jack.
Steps 5-7 are one-time steps - They can be
skipped on future connections.
5) Gain access to the LiveShot Portable Control
Interface.
Use a laptop, smartphone or tablet with Wi-Fi
capability.
(If using a smartphone, download the LiveShot
Control app from the Android Play or iTunes store.)
Scan for a network called
LiveShot<Ethernet MAC address>
(this is the LiveShot’s internal Wi-Fi access point).
Associate your device to it.
Edit the default location and scan and associate
with your Wi-Fi network, or enable your 3G/4G
modem (some configuration may be required
here, so you may need to consult the manual).
7)
Set the Portable’s CrossLock VPN to find
the Rackmount.
* Note that if you have received your LiveShot pair as
a demo from Comrex, or ordered your pair with the
“pre-configuration option”, this step can be skipped.
Again in the Portable’s Control Interface, go to
Config, press the square menu button in the upper
left-hand corner and choose “Show Advanced
Items”.
Scroll to the bottom and select CrossLock Mode.
Choose Client.
A new entry, CrossLock VPN Client settings, will
appear.
If using a smartphone, launch the app and choose
the Config tab.
If using a laptop or tablet, open a browser to
address 10.10.10.10/cfg/
Login with any user name and the password
comrex
6)
.
If using a wireless network connection on
the Portable, enable the network.
In the interface, navigate to Network and choose
the wireless network from the list.
Click this to enter Client settings.
Under the Server ID entry, input the MAC address
of your LiveShot Rackmount.
8)
Wait for the CrossLock VPN indication and
make a connection.
Once the Network Status light goes green on both
units (indicating CrossLock VPN is established)
press F1 on the Portable. The Network Status
light will blink green once the connection is made
between the devices.
Put Comrex On The Line.
Toll Free in USA: 800-237-1776 • www.comrex.com
e-mail: [email protected]
19 Pine Road, Devens, MA 01434 USA
Tel: +1-978-784-1776 • Fax: +1-978-784-1717
 Loading...