

Page 1
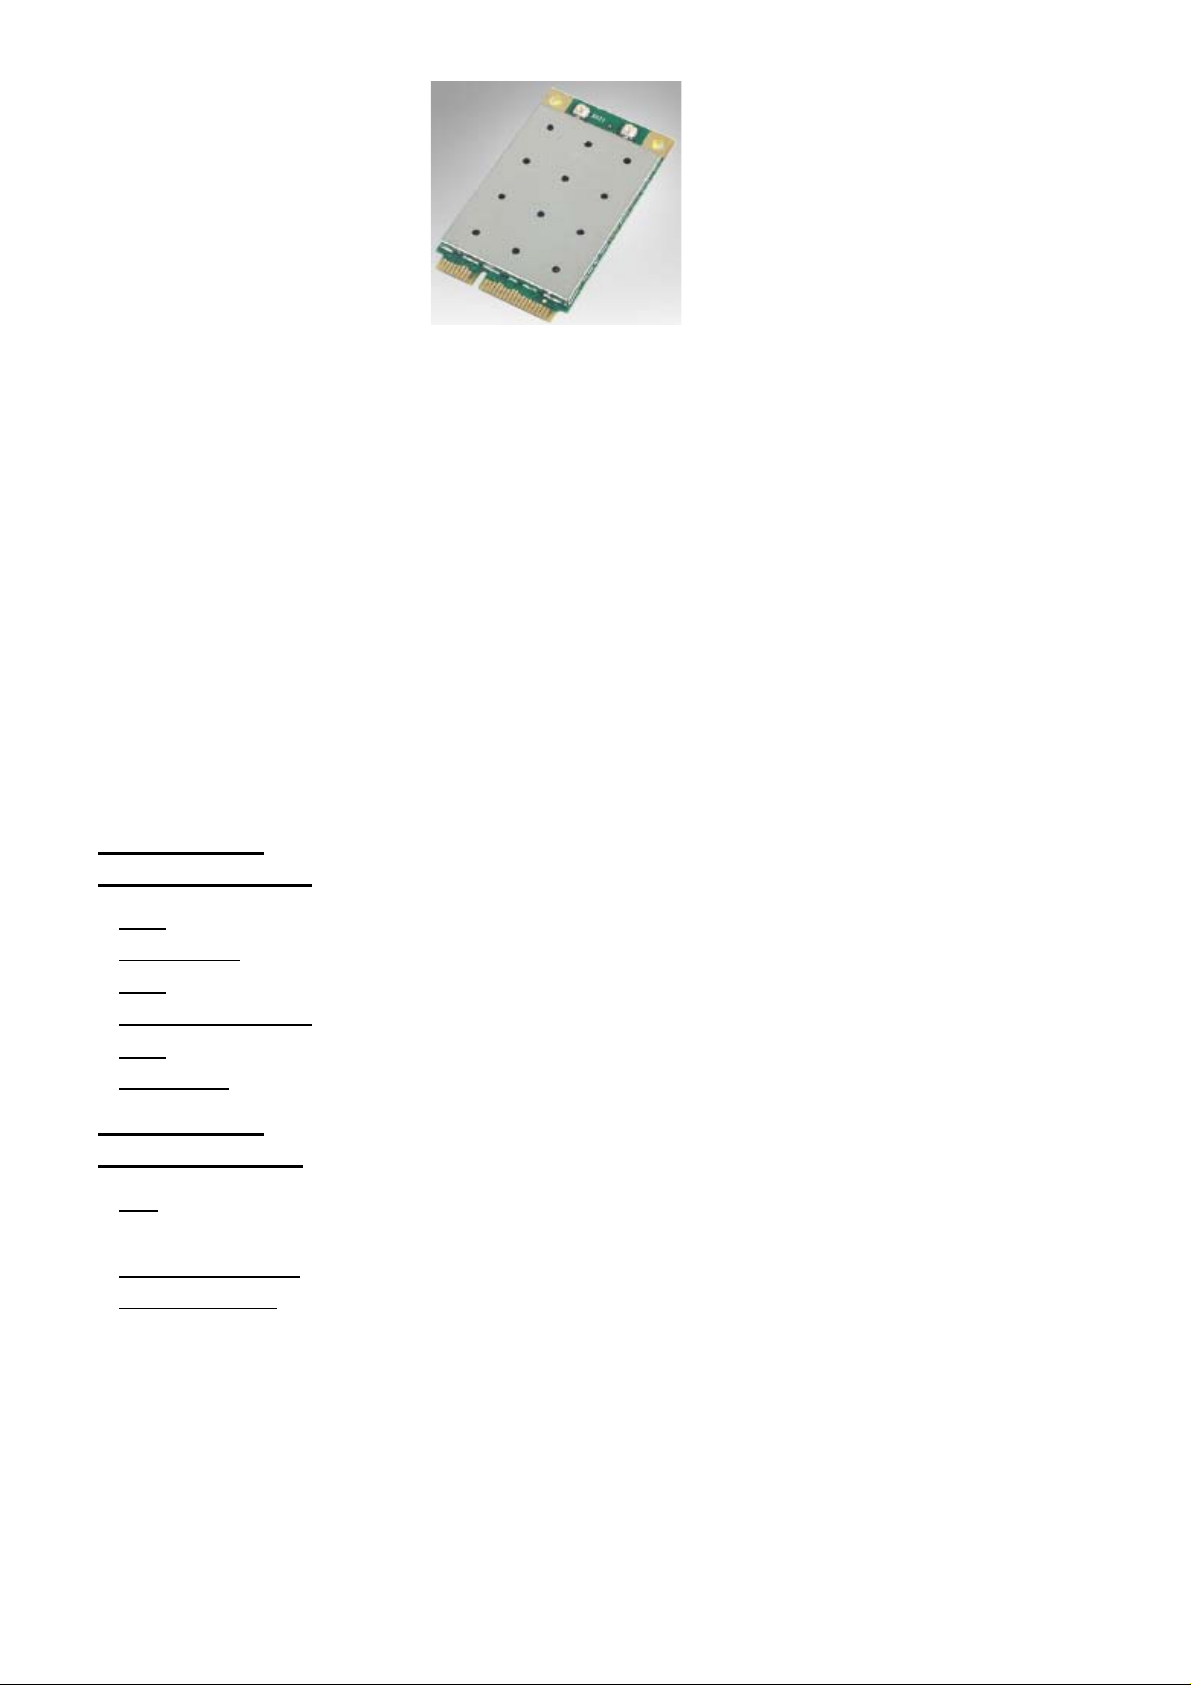
WL84E
Wireless N Mini PCI-E Adapter
User Manual
Ver: 1.0
Table of Contents
CHAPTER 1
INTRODUCTION.......................................................................2
1.1
FEATURES................................................................................................2
1.2
ENVIRONMENTAL.......................................................................................2
1.3
PACKAGE.................................................................................................3
CHAPTER 2
INSTALLATION.........................................................................3
2.1
Hardware Installation......................................................................3
2.2 S
INSTALLATION..........................................................................3-8
OFTWARE
1
Page 2

Chapter 1 Introduction
The WL84E Wireless N Mini PCI-E Adapter complies with IEEE 802.11n (Draft 2.0),
IEEE 802.11a, IEEE 802.11g, and IEEE 802.11b standards. Wireless transmission
rates can reach up to 300Mbps. This product supports 64/128-bit WEP encryptions
and DFS in requires 5-GH bands, as well as WPA/WPA2 and WPA-PSK/WPA2-PSK
encryptions and mechanisms in addition to the adapter’s QSS (Quick Secure Setup)
feature, allowing users to quickly and easily configure wireless security. This product
can also simultaneously operate bandwidth intensive applications such as voice and
video. Applications using a lot of bandwidth that are sensitive to interruptions such as
voice and video applications are given priority in order to assure quality. It also works
well with other 11g and 11n protocol wireless products
1.1 Features
Complies with IEEE 802.11n(draft 2.0), IEEE 802.11a, IEEE 802.11g, IEEE
802.11b standards
Provides Mini PCI-E interface
20/40MHz interoperable channels dramatically increase performance
Up to 300Mbps data transfer rate in 802.11n mode of operation
Supports Wi-Fi Protected Security (WPS), supports 64/128-bit WEP, complies
with 128 bit WPA standard(TKIP/AES), supports MIC, IV Expansion, Shared
Key Authentication, IEEE 802.1X
Simple Configuration and monitoring
Supports Roaming technology, guaranteeing efficient wireless connections.
Simple and easy to use user manageable software for a relaxed easy
configuration of wireless client.
Compatible with 802.11g and 11b equipment, Intel Centrino Compatibility
tested
Supports Windows XP/Vista ,Win7 、Linux OS
1.2 Environmental
• Storage Temperature: -40oC ~70oC
• Operating Temperature : 0oC ~40oC
• Operating Humidity: 10% ~90% RH Non-condensing
1.3 Package
2
Page 3

• One WL84E WLAN Card
• WL84E Manual
• WL84E Drives and Manual on CD-ROM
Chapter 2 Installation
2.1 Hardware Installation
To install the adapter, follow these steps listed below:
1. Turn off your desktop PC and disconnect the power.
2. Remove your PC case and locate an available PCI slot on the mianboard.
Remove the metal slot cover on the back of the PC. Check with your computer
manufacturer for instructions if needed.
3. Slide the PCI Adapter into the PCI slot. Make sure that all of its pins are
touching the slot's contacts. Once the adapter is firmly in place, secure its
fastening tab to your PC's chassis with a mounting screw. Then, close your PC
case.
4. Reconnect your PC’s power and turn on your desktop PC.
2.2 Software Installation
2.2.1 Overview
The Adapter’s Setup Wizard will guide you through the Installation procedure for
Windows 2000, XP and Vista. The Setup Wizard will install the WL84E Wireless N
Client Utility (11NWCU) and drivers.
When you install the hardware prior to before installing the software, the system will
prompt “Found New Hardware Wizard”, click Cancel, and run the Setup Wizard
program on the CD-ROM.
The Setup steps for Windows 7, XP and Vista are very similar. The following setup
steps are for Windows XP.
2.2.2 Software Installation for Windows XP
1. Insert the Resource CD into your CD-ROM drive, and open the folder with the
same name as your product. Then double-click Setup.exe in the proper folder
according to your operating system to start the installation. After that, Figure 2-1
will appear. You can click Cancel to end the installation in the screen above.
3
Page 4

2. Soon, Figure 2-2 will display after a moment. Click Next to continue.
3. After that, you should choose a Setup type. It is recommended that you select
Install Client Utilities and Driver. Select Install Driver Only to install driver only,
and select Make Driver Installation Diskette(s) to make the diskette(s) as the
installation driver (shown in Figure 2-3). Click Next to continue.
4
Page 5

4. Click Browse to change the destination location for the software, then click
Next in the screen below (shown in Figure 2-4).
5. After that, select the program folder, you should create a new folder name or
select one from the Existing Folders list. It is recommended that you keep the
default setting. Click Next to continue the installation.
5
Page 6

6. Choose configuration tool, if you are not sure, please leave it default. Then click
Next to continue.
7. Click OK to continue the Installation on the screen below.
6
Page 7

8. Wait a while for the setup as shown in Figure 2-8.
Note:
For Windows XP, the Setup Wizard will notify you of how to proceed with the
installation during these steps (shown in Figure 2-9). Our drivers have been
tested thoroughly, and are able to work with the operating system. Click
Continue Anyway to continue the Installation.
7
Page 8

9. After all the steps above, you will see the screen below, click Finish to
complete the installation.
Figure 2-10
8
Page 9

FCC WARNING
This device complies with Part 15 of the FCC Rules. Operation is
subject to the following two conditions:
(1) this device may not cause harmful interference, and
(2) this device must accept any interference received, including interference that may cause
undesired operation.
NOTE 1: Any changes or modifications not expressly approved by the manufacturer could
void the user’s authority to operate the equipment.
NOTE 2: The manufacturer is not responsible for any radio or TV interference caused by
unauthorized modifications to this equipment. Such modifications could void the user’s
authority to operate the equipment.
IMPORTANT NOTE:
FCC Radiation Exposure Statement:
This equipment complies with FCC radiation exposure limits set forth for an uncontrolled
environment. End users must follow the specific operating instructions for satisfying RF
exposure compliance.
IEEE 802.11b or 802.11g, 802.11n operation of this product in the U.S.A. is firmware-limited
to channels 1 through 11.
Antennas must be installed to provide 20 cm separation distance from the transmitting antenna
to the body of the user during normal operating condition. This device must not be co-located
or operating in conjunction with any other antenna or transmitter.
Only those antennas filed under FCC ID: TK4-10-WLE200NX can be used with this device.
When the module is installed in the final system where the antenna location is less than 20 cm
separation distance to the body of user, additional equipment authorization must be applied.
FCC ID label on the final system must be labeled with “Contains FCC ID:
TK4-10-WLE200NX” or “Contains transmitter module FCC ID: TK4-10-WLE200NX”.
In the user guide, final system integrator must be ensure that there is no instruction provided in
the user guide to install or remove the transmitter module.
Since the device operates in the 5.15-5.25GHz band, this device will be restricted to
indoor operation only in this frequency band.
9
 Loading...