

Page 1
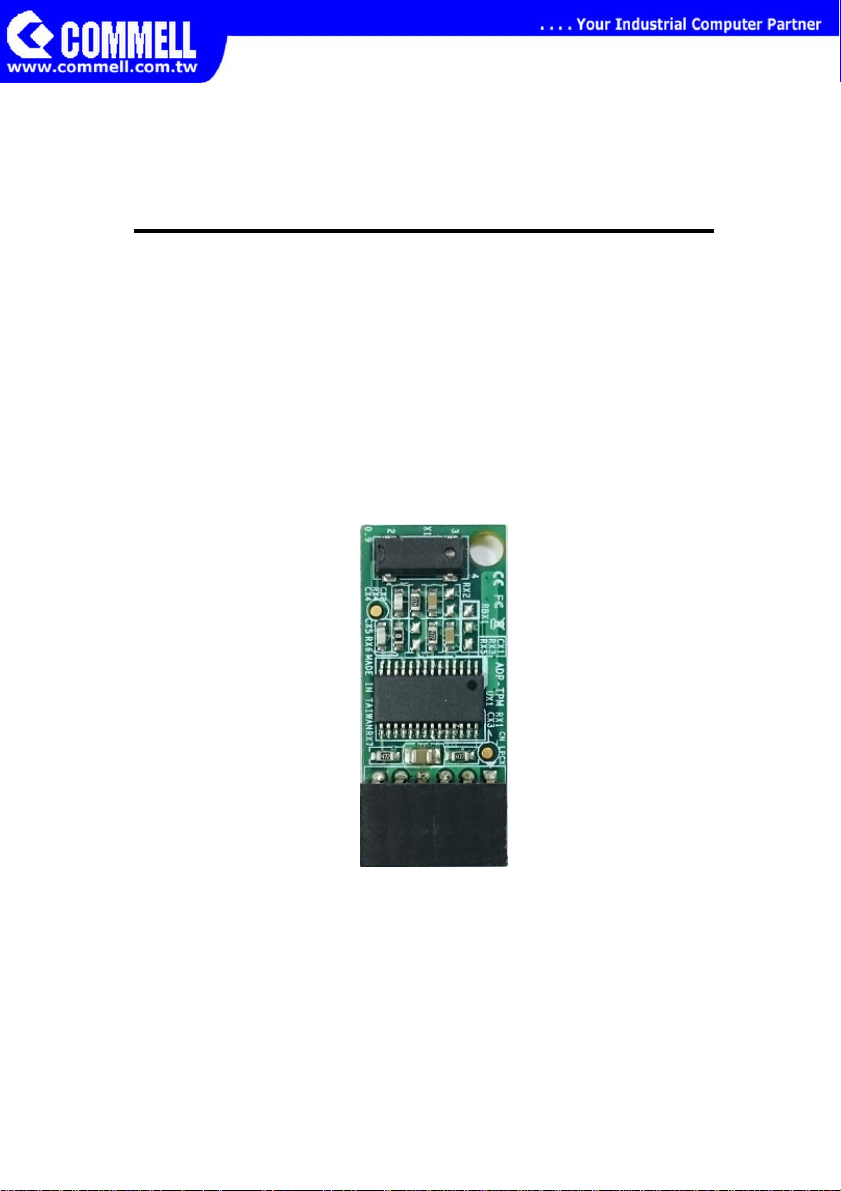
ADP-TPM
For Commell’s Motherboard
User’s Manu al
Edition 1.0
2014/10/20
Page 2

ADP-TPM User’s Manual
Copyright
Copyright 2014, all rights reserved. This document is copyrighted and all rights are
reserved. The information in this document is subject to change without prior notice t o
make improvements to the products.
This document contains proprietary information and pr otected by copyright. No part of
this document may be reproduced, copied, or translated in any form or any means
without prior written permission of the manufacturer.
All trademarks and/or registered trademarks contains in this document are property of
their respective owners.
Disclaimer
The company shall not be liable for any incidental or consequenti al damages resulting
from the performance or use of this product.
The company does not issue a warranty of any kind, express or implied, including
without limitation implied warranties of merchantability or fitness for a particular
purpose.
The company has the right to revise the manual or include changes in the specifications
of the product described within it at any time without notice and without obli gation to
notify any person of such revision or changes.
Trademark
All trademarks are the property of their respective holders.
Any questions please visit our website at TUhttp://www.commell.com.twUT
Page 3
ADP-TPM User’s Manual
<TPM installaion process>
TPM supported operating systems have:
32-bit:WinXP SP3, WinVist a SP2, Win7 SP1, WinServer2008 SP2, Win8
64-bit:WinXP SP2, WinVista SP2, Win7 SP1, WinServer2008 R2 SP1,
Win8, WinServer2012
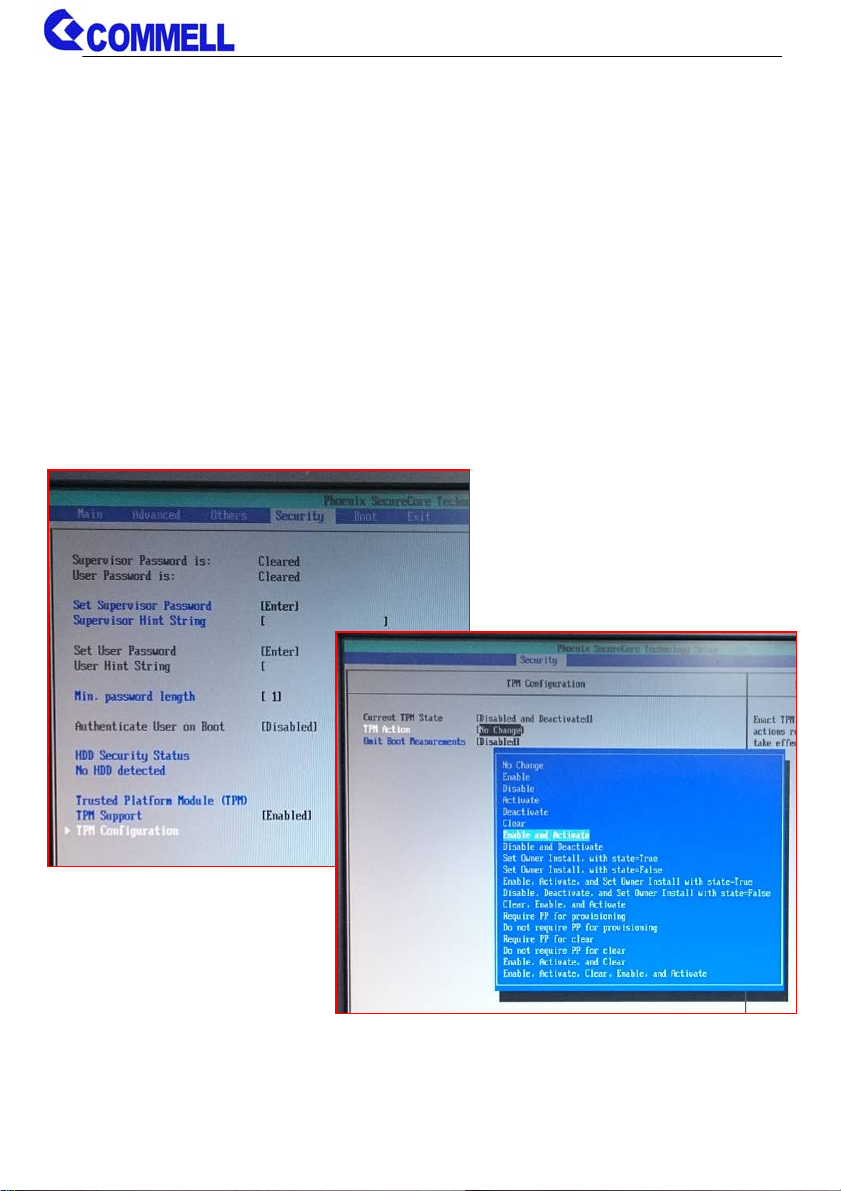
1. You must install the TPM first, that can be setting the configuration in the
BIOS.
The setting as shown below
[Security] → [TPM Configuration] → [TPM Action] → [Enable and Active]
Note:If you have previously used in other devices, you need to clear first.
[Security] → [TPM Configuration] → [TPM Action] → [Clear] → Reboot
Page 4
ADP-TPM User’s Manual
2. Entering the OS, then install the TPM driver.
Drivers are divided into 32-bit and 64-bit.
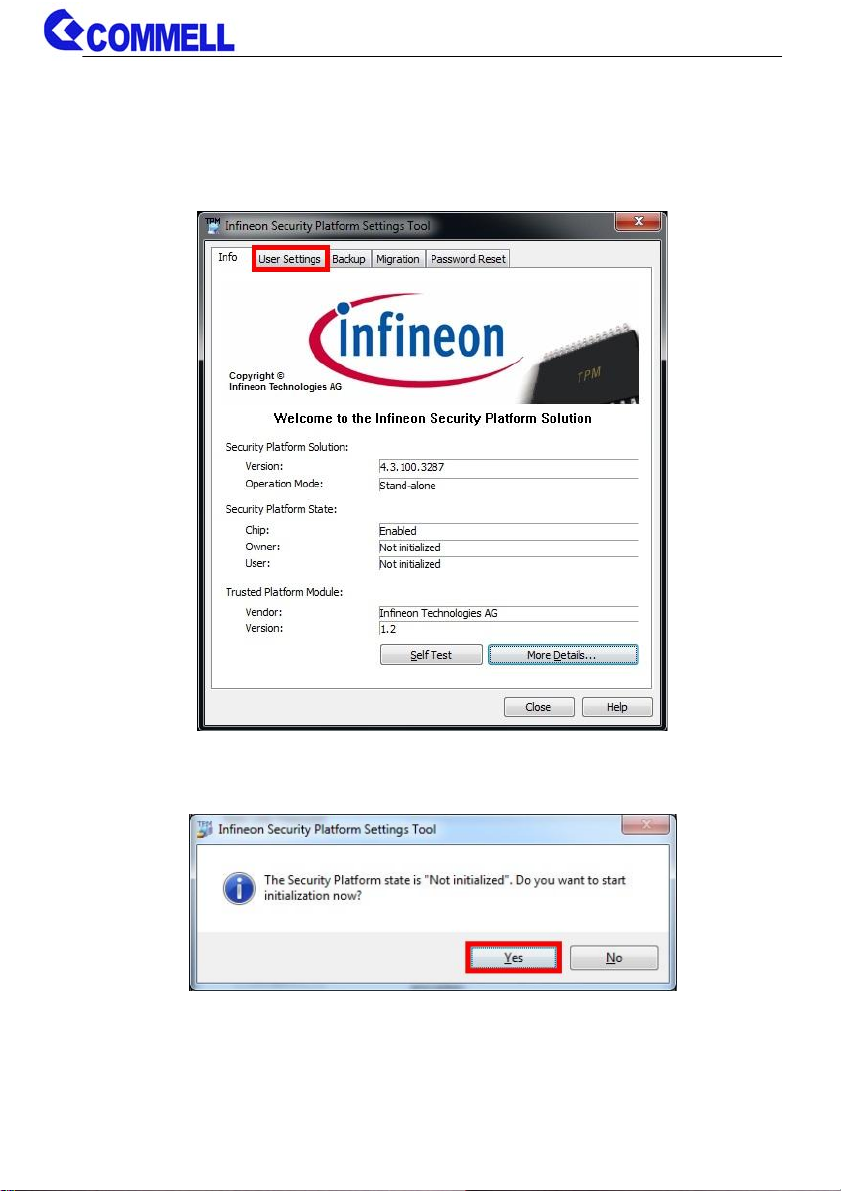
3. Starting the program and choose [User Settings].
4. A window will pop up, select [Yes].
Page 5

ADP-TPM User’s Manual
5. In the drop-down menu, select the drive you want to use.
Then press next.
6. A window will pop up, select [Yes].
Page 6

ADP-TPM User’s Manual
7. (1) Tick [Personal Secure Drive(PSD)].
Then enter the [Size] and [Drive letter].
(2) & (3) Entering the Password and Confirm it.
Then press [Next].
8. Press [Next].
Page 7

ADP-TPM User’s Manual
9. When Installation is complete, click [Details…] let the [Finish] button you
can press.
10. Click [Display]
Page 8

ADP-TPM User’s Manual
11. A window will appear, click [Close] to do next.
12. Click [Close] to do next.
Page 9

ADP-TPM User’s Manual
13. A window will pop up, select [Yes].
14. The [Finish] you can press.
15. Reboot to enable the TPM functionality.
16. The desktop will appear a new icon. As shown below.
Page 10

ADP-TPM User’s Manual
17. Open it and then enter your password.
18. You set the disk will appear in the "Computer".
Page 11

ADP-TPM User’s Manual
Contact Information
Any advice or comment about our products and service, or
anything we can help you please don’t hesitate to contact with us.
We will do our best to support you for your products, projects and
business.
Taiwan Commate Computer Inc.
19F., No.94, Sec. 1, Xintai 5th Rd., Xizhi Dist., New Taipei City
Address
TEL +886-2-26963909
FAX +886-2-26963911
22102, Taiwan
Website
E-Mail
Facebook https://www.facebook.com/pages/Taiwan-Commate-Computer-Inc/547993955271899
Twitter https://twitter.com/Taiwan_Commate
TUhttp://www.commell.com.twUT
TUinfo@commell.com.twUT (General Information)
TUtech@commell.com.twUT (Technical Support)
 Loading...