

Page 1

User Manual
CentaView DVR software
Version 2.03 - English
1/18
Page 2

1. LICENSE AGREEMENT
Please read the following terms of this agreement carefully.
"Software" here means Centaview. It includes the program and any associated materials
(including, but not limited to, software components, documentation, images, audio and data
files). The Software is protected by Copyright Law and International Treaties. You may install
one copy of the Software onto one computer. If you want to install the Software onto more than
one computer, please purchase additional licenses.
You may use one copy of the Software to connect to one camera. If you want to connect the
Software to more than one camera, please purchase additional licenses.
You are NOT allowed to redistribute, resell, lease or lend the Software. You are NOT allowed to
modify, reverse-engineer, decompile, disassemble, or discover the source code of the Software.
THIS SOFTWARE IS PROVIDED "AS IS" AND ANY EXPRESSED OR IMPLIED WARRANTIES
INCLUDING, BUT NOT LIMITED TO, THE IMPLIED WARRANTIES OF MERCHANTABILITY
AND FITNESS FOR A PARTICULAR PURPOSE ARE DISCLAIMED.
IN NO EVENT SHALL A-LINKING CO., LTD. BE LIABLE FOR ANY DIRECT, INDIRECT,
INCIDENTAL, SPECIAL, EXEMPLARY, OR CONSEQUENTIAL DAMAGES (INCLUDING, BUT
NOT LIMITED TO, PROCUREMENT OF SUBSTITUTE GOODS OR SERVICES; LOSS OF
USE, DATA, OR PROFITS; OR BUSINESS INTERRUPTION) HOWEVER CAUSED AND ON
ANY THEORY OF LIABILITY, WHETHER IN CONTRACT, STRICT LIABILITY, OR TORT
INCLUDING NEGLIGENCE OR OTHERWISE) ARISING IN ANY WAY OUT OF THE USE OF
THIS SOFTWARE, EVEN IF ADVISED OF THE POSSIBILITY OF SUCH DAMAGE.
2. SYSTEM REQUIREMENTS
2.1. HARDWARE
One x86 Computer with the following recommended specification:
- CPU: Intel Pentinum 4 or AMD Athlon XP with 2.0GHz or above
- RAM: 384MB at least
- HD: 20MB free sapce at least and as large as possible for video recording
- Display: Full-color monitor with 1024x768 resolution at least
2.2. SOFTWARE
The following softwares are required:
- Windows 2000 or XP operating system
- Windows Media Player 9
2/18
Page 3
3. INSTALLATION
Do the following steps to install the software:
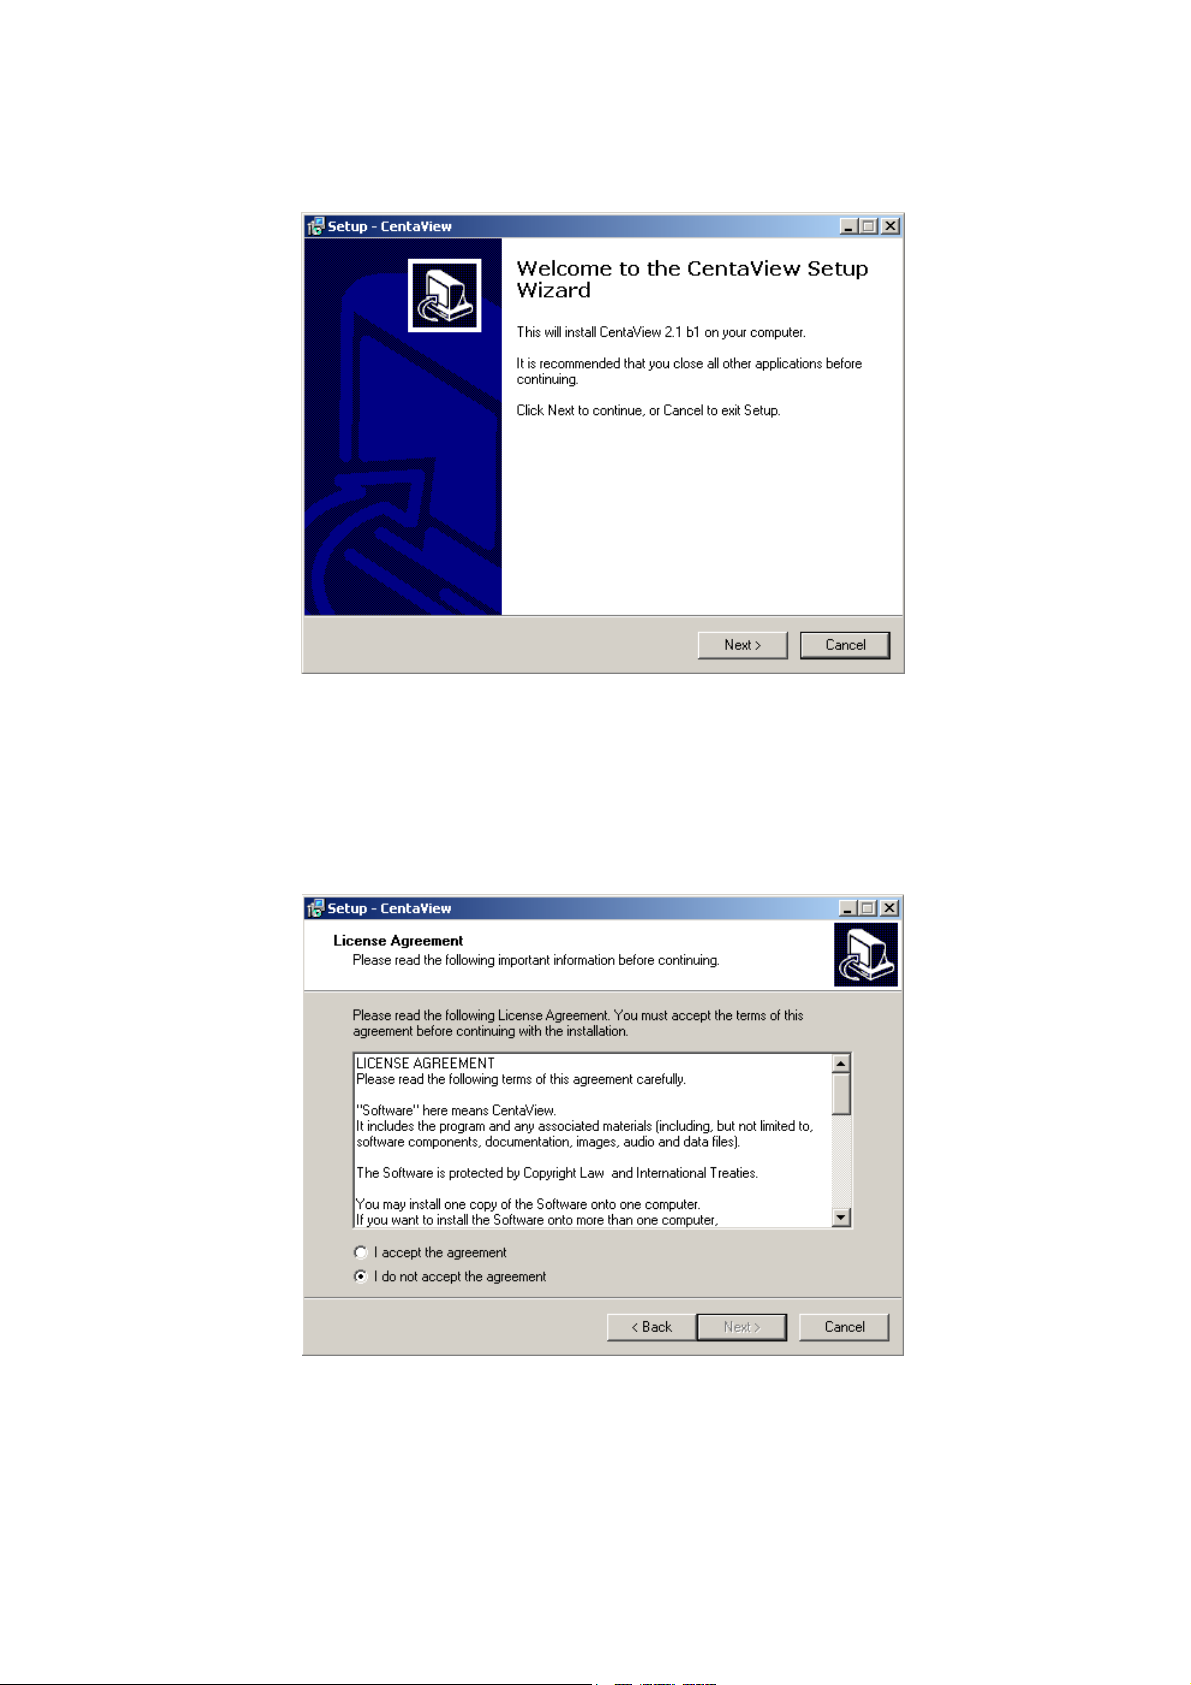
1.Run the 'setup.exe' to start installation. A welcome message is shown as the following
figure, and then hit the Next button to continue.
2.Read the license agreement first, please. If you accept the agreement, select I accept
the agreement, and then hit the Next button to continue.
3.Decide which directory to install the software. By default, just hit the Next button to
continue.
3/18
Page 4
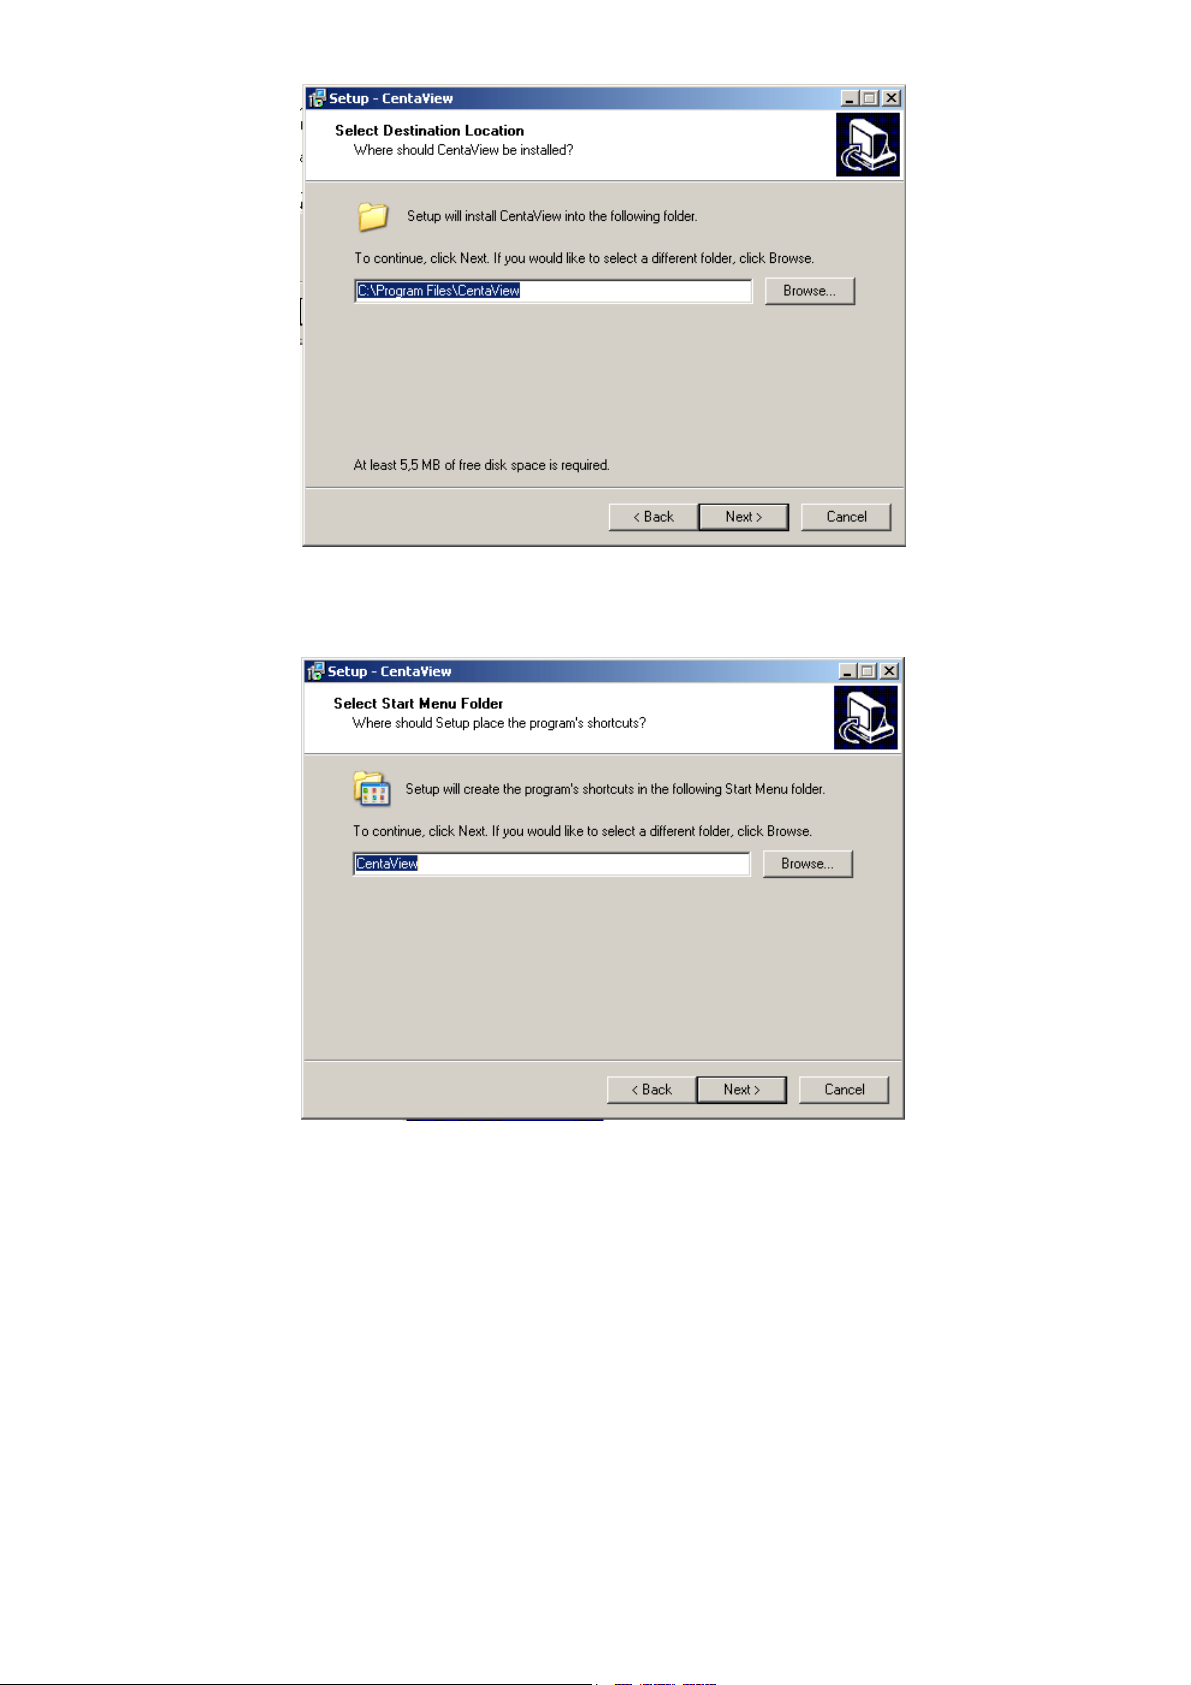
4.Decide the program group name. By default, just hit the Next button to continue.
5.Decide whether to create a desktop icon of the program. By default, just hit the Next
button to continue.
4/18
Page 5
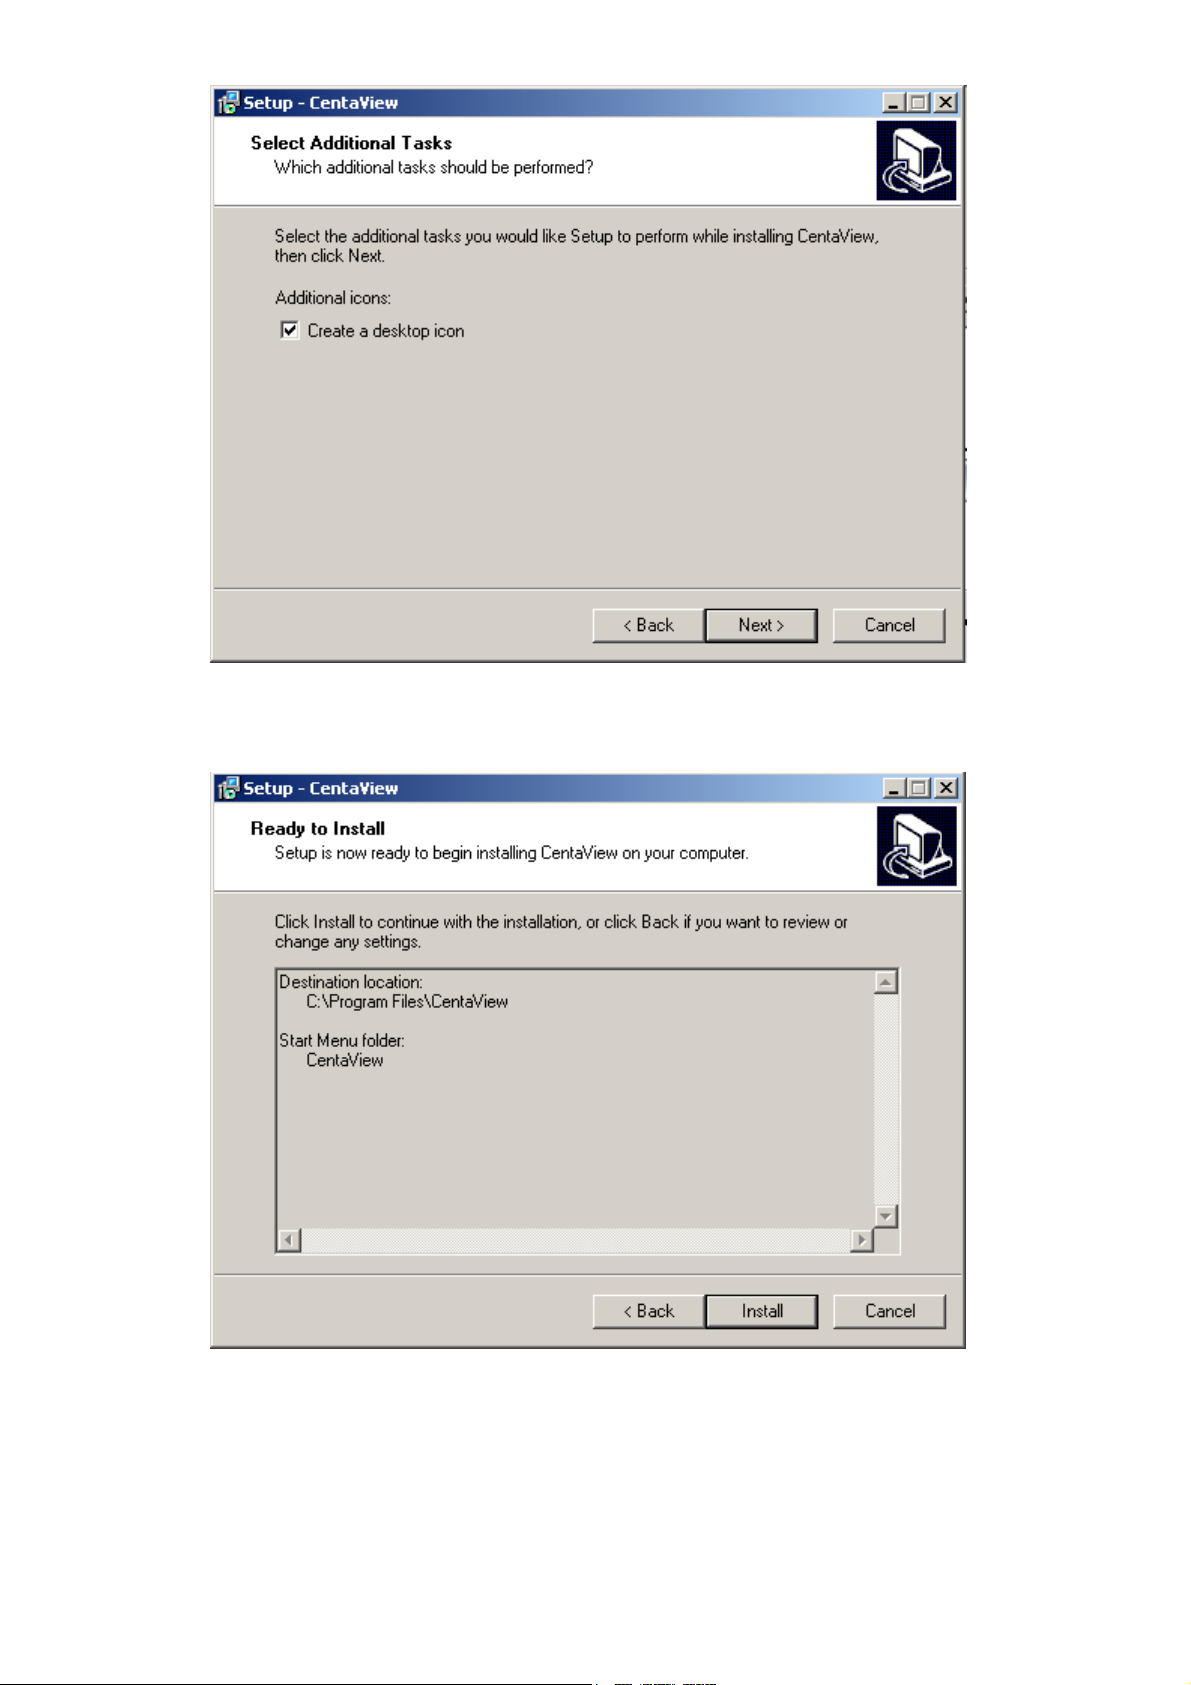
6.Ready to install. By default, just hit the Install button to start installation.
7.Installing, wait for a moment.
5/18
Page 6
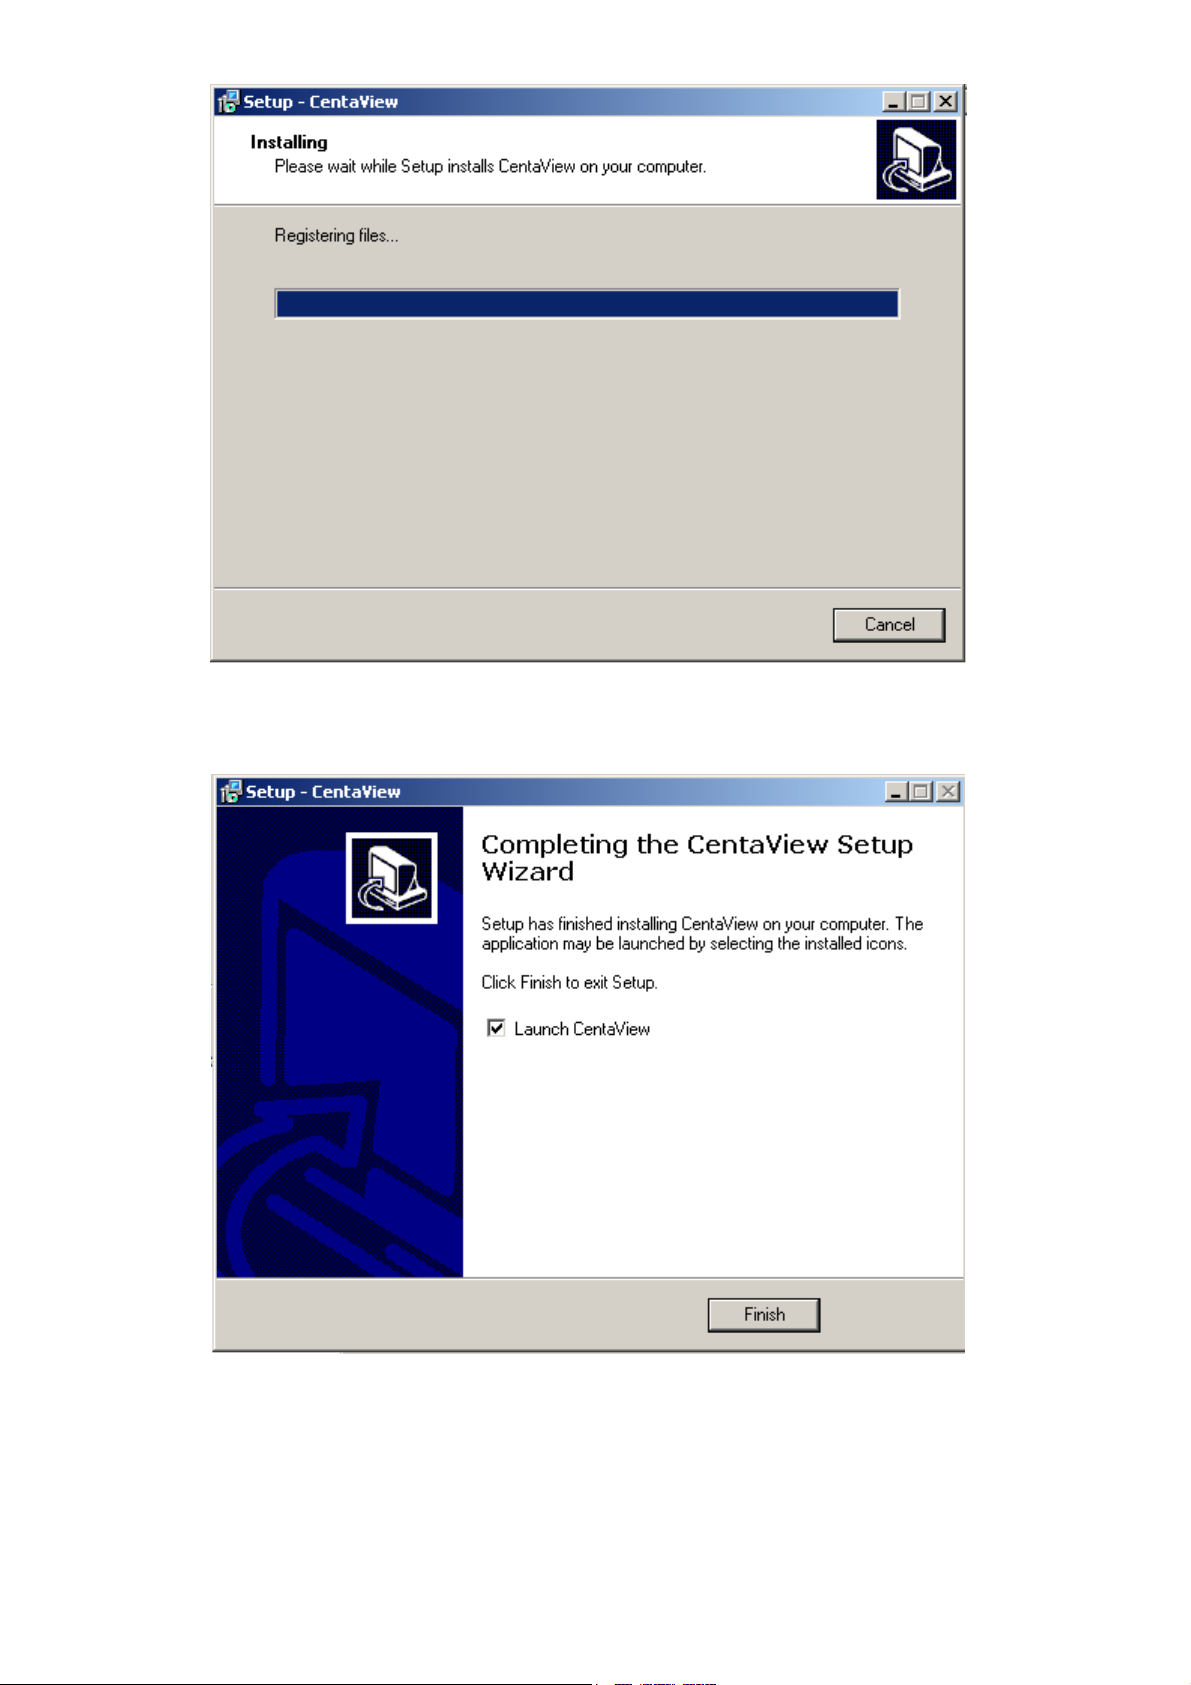
8.Installation complete. Press Finish to launch the program. Otherwise, uncheck the
check box to run the program later.
6/18
Page 7

4. HOW TO USE
First login, the program has two pairs of default login ID and password : admin/admin
and guest/guest.
Admin can change any settings.
Guest views images only.
4.1. LAYOUT
Figure 4.1. The Layout of the CentaView DVR Software.
7/18
Page 8

4.1.1. Date and Time
The current date and time of the computer are displayed here.
4.1.2. Alert Message
Here is a combo box to show alert messages. Ex: free space is almost exhausted.
4.1.3. Recording and Playback
When you select a camera(4.1.8), you can press buttons to record, stop record,
snapshot, playback, full screen and rotate.
4.1.4. Lock program
When you lock the program, you will operate it after input the specific password.
4.1.5. Camera and Application Settings
Here are buttons to set the camera or the application program.
4.1.6. EMap
You can deploy the camera icons in proper positions on your map images.
4.1.7. Camera P/T/Z Control
Here are five buttons to move the camera to the up, down, left, right and home,
respectively. "+" and "-" buttons to zoom in and out on the image.
4.1.8. Camera Selector
Here are buttons to select cameras.
w : Blue color, the normal camera icon.
w : Pink color, the current selected camera.
4.1.9. Layout Selection
There are four buttons for you to specify the layout of the screen.
8/18
Page 9

4.1.10. Viewer Screen
The screen consists of camera viewers. Each viewer displays video from the associated
camera. When your mouse on a camera viewer, you can click the mouse right button,
then the viewer will change to Single mode. And click the mouse right button again on
the camera viewer, will change to previous mode. The layout of the screen has the
following modes:
z Single: Only one viewer displays video.
z 2x2: The screen is divided into 4 sub-screens.
z 6: The screen is divided into 6 sub-screens.
z 3x3: The screen is divided into 9 sub-screens.
z 13: The screen is divided into 13 sub-screens.
z 4x4: The screen is divided into 16 sub-screens.
4.2. Application Configuration
Figure 4.2.
Press the button shown above to configure the application program. After the button is
pressed, a dialog form will show up. Users then configure the program by the form as
the following sections.
4.2.1. Application Settings
Figure 4.2.1 shows settings for the global scope of the application including
initialization and environment. After all settings are complete, press the OK button to save
the configuration, and exit the form.
The Apply button is unused for this tab.
The following lists descriptions of each setting:
z Initial Viewer : Set the initial layout of viewers at the start of the program.
z Alert Free Percentage (%): Set the percentage of free space you want to designate
for alerts.
z Alert Free Space[MB]: When free space is less than the specfied size, it will alert
warning messages automatically.
z Message Numbers: Set the number of lines which you want to show the alert
message in.
z Continuous Recording: IF free space is not enough, it will delete the oldest
recording file.
z Export: Select the item to save the configuration(Application Configuration)
z Import: Select the item to load the configuration(Application Configuration)
9/18
Page 10

Figure 4.2.1. The Application Tab
4.2.2. Camera Settings
As shown in Figure 4.2.2, users can set parameters of each camera.
If the Restore button is pressed, the current setting modifications of the specified
camera will be cleared and restore to the original.
If the Apply button is pressed, the current setting modifications will be applied to the
specified camera. Note that these modifications are not saved to the persistant storage
like HD on the computer.
If the OK button is pressed, all settings on all tabs will be saved, and exit the form.
The following lists descriptions of each setting:
z IP: IP of the camera.
z Port: Connection port of the camera. The default is 80.
z Login ID: Please input the login ID if you enabled authentication function of the
specific camera.
z Password: Please input the password if you enabled authentication function of the
specific camera.
z Record Path: A directory storing recorded video files. Double-click the input field or
click the button to select the directory.
z Record Number of Frame: The maximum number of images in a video file.
z Snapshot Path: A directory storing snapshots. Double-click the input field or click
the button to select the directory.
10/18
Page 11

z Auto Recording : If the box is checked, the program will do recording for the
specified camera automatically at the time it is started running.
z Motion Detection: If the box is checked, the camera will enable motion detecion.
When motion detecion occurs, the program will do recording for the specified
camera automatically
Figure 4.2.2. The Camera Tab
4.2.3. Scheduling
As shown in Figure 4.2.3, users can schedule recording tasks.
When you presses the Add button, the editing task will be added to the schedule item
list.
When the Modify button is pressed, the specified task will be updated.
If the Remove button is pressed, the specified task will be removed from the list.
The Apply button is unused for this tab.
Press OK button will save all settings on all tabs, and exit the form.
The following lists descriptions of each setting:
z Hour: Set the hour of time in 24-hour manner. * stands for all hours.
z Minute: Set the minute of time. * stands for all minutes.
z Month: Set the month of date. * stands for all months.
z Day: Set the day. * stands for all days.
11/18
Page 12

z Weekday: Set the weekday of a week. If no day is specified, all weekdays will fit.
z Duration: The duration of the task. Set the value in seconds. Zero means no limit.
For example, set a recording task which begins at 10:00 every Monday with duration
3600 seconds. It is:
Hour = 10, Minute = 0, Month = *, Day = *, Weekday = Mon, Duration = 3600
Figure 4.2.3. The Scheduling Tab
4.2.4. User Settings
As shown in Figure 4.2.4, users can change password.
The Apply button is unused for this tab.
Note that press OK button will save changes and become effective.
12/18
Page 13

4.3. Camera Configuration
Figure 4.2.4. The User Tab
Figure 4.3.
Users can hit the button shown in Figure 4.3 to configure the specified camera. The
configuration guide is not included in the document. Please read the documentation of
the camera.
4.4. Recording
Figure 4.4-1.
Figure 4.4-3.
There are three methods to start recording.
The first is to use buttons described in section 4.1.4. You select a camera by hitting the
button with camera number as shown in Figure 4.4-2, 4.4-3 and then press the toggle
Figure 4.4-2.
13/18
Page 14

button as shown in Figure 4.4-1. To stop recording is similar to the previous method,
just press the toggle button as shown in Figure 4.4-1.
The second way to record automatically, the method has described in section 4.2.2.
The last method to record is done by scheduling. You schedule recording tasks as
described in section 4.2.3. When it is the start time, the program will start to record.
4.5. Playback
Figure 4.5.
When you press the Playback button on the panel as shown in Figure 4.5, a form will
appear to show the list of video records and snapshots.
4.5.1. Video List
The video list tab lists video records, and displays the information about the specified
record. When you hit the Play button, the Windows Media Player will open to play the
video. It is shown in the following figure.
Figure 4.5.1. The Video List Tab
14/18
Page 15

4.5.2. Snapshot List
The snapshot list tab lists snapshots, and displays the information about the specified
snapshot. When you hit the Show button, Internet Explorer will be invoked to display the
snapshot.
Figure 4.5.2. The Snapshot List Tab
4.5.3. Video Search
The video search tab lists video file information about the specified search.
When you enter the search qualification, then hit the Search button, you will get the
matched video files. Hit an item on the Camera field , then press the Play button,
Windows Media Player will be opened to play the video. All are shown in the following
figures.
15/18
Page 16

Figure 4.5.3.-1 The Video Search Tab
Figure 4.5.3.-2 The Calendar Form
16/18
Page 17

4.6. Image Rotation
Figure 4.5.3.-3 The Result of Video Search
Figure 4.6.
After the button is pressed, the display image rotates 180 degree. It is used for the
camera being installed upside-down, for instance, hung on the ceiling. Note that
images in recorded video will not be rotated.
4.7. Full Screen
Figure 4.7
After the button is pressed, it will show full screen mode and press the keyboard "Esc"
key or the center of screen to return normal mode.
17/18
Page 18

4.8. Lock Application Program
Figure 4.8.1
After the button is pressed, the application program will be locked.
Figure 4.8.2
4.9. EMap
Figure 4.9.
When you press the Map button on the panel as shown in Figure 4.9, a form will appear
to show the EMap function.
4.9.1. EMap Setting
Selet the File from the menu bar and follow these steps to set up EMap :
1.New Emap : First, create a new EMap to set.
2.Insert Picture : Choose a map picture file to insert.
3.Save : Save all settings.
The following describes other menu options:
z Reset : Remove all camera icons in this EMap.
z Delete : Delete the editing EMap.
z Exit : Exit Emap function. Before you select it, we recommend you to save the
current settings.
With the map picture, you can drag the camera icons into proper positions to deploy
your cameras.
The following describes layout entries:
z Name: Define a name for this layout.
z Position: Describe the layout position.
In the menu bar, select Window to change editing EMaps.
5. CONTACT
For technical supports, please e-mail to the mail address: support@cometlabs.com
18/18
 Loading...