

Columbia COCA2135, COEA2135, COWA2135, COCAT1816, COEAT1816 User Manual
...
Product Codes
Codes de produit
Códigos de los productos
COCA2135, COEA2135, COWA2135,
COCAT1816, COEAT1816, COWAT1816,
COCAT2418, COEAT2418, COWAT2418,
COCAT3018, COEAT3018, COWAT3018,
Effective Date: 02-27-08
Date d’entrée en vigueur : 27-02-08
Vigentes a partir del 27-02-08
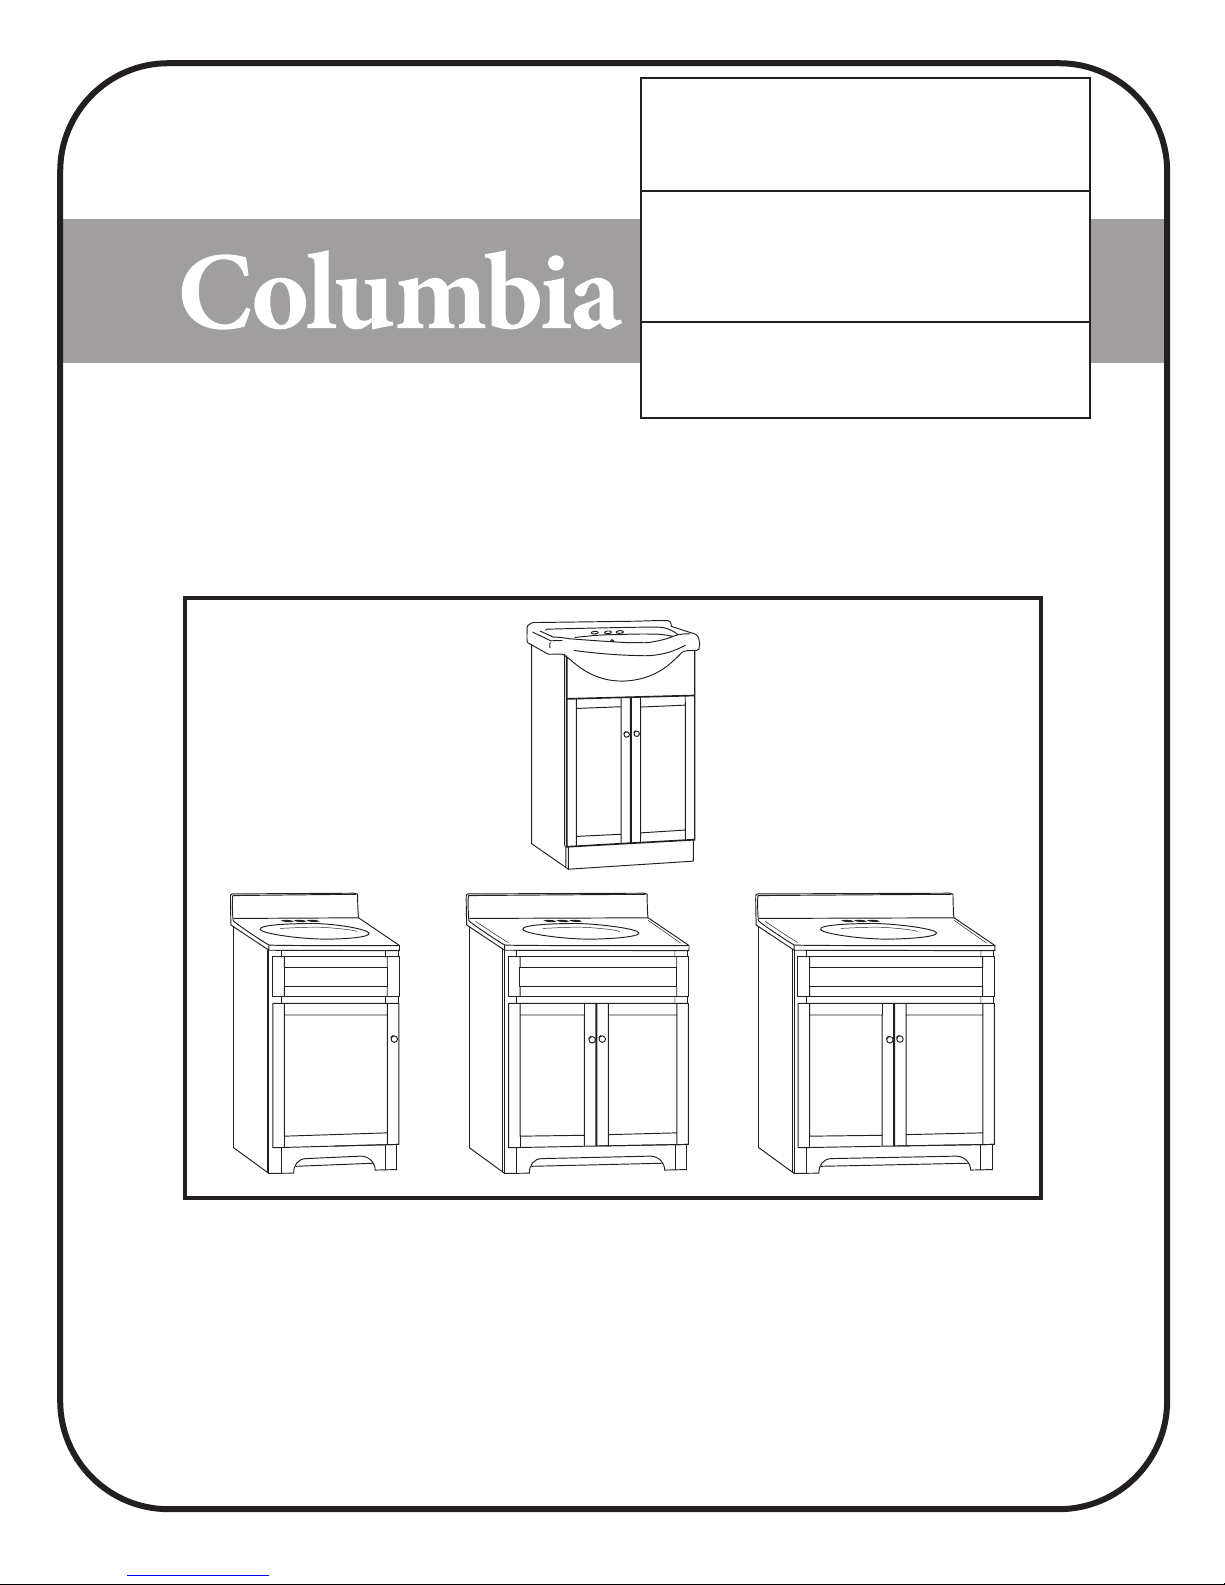
VANITY COMBO
MEUBLE-LAVABO COMBINÉ
JUEGO DE TOCADOR
U.S. Customers
Toll Free Customer Assistance
1-800-443-1410
Monday-Friday, 9:00a.m. To 5:30p.m., EST
Clientes de ESTADOS UNIDOS
Línea gratuita de ayuda al cliente:
1-800-443-1410
De lunes a viernes, de las 9.00 a las 17.30 horas, hora estándar del Este
Canadian Customers
Toll Free Customer Assistance
1-888-256-7551
Monday-Friday, 9:00a.m. To 5:30p.m., EST
Clients Canadiens
Ligne sans frais de service à la clientéle
1-888-256-7551
De lundi au vendredi, de 9 h à 17 h 30, HNE
1
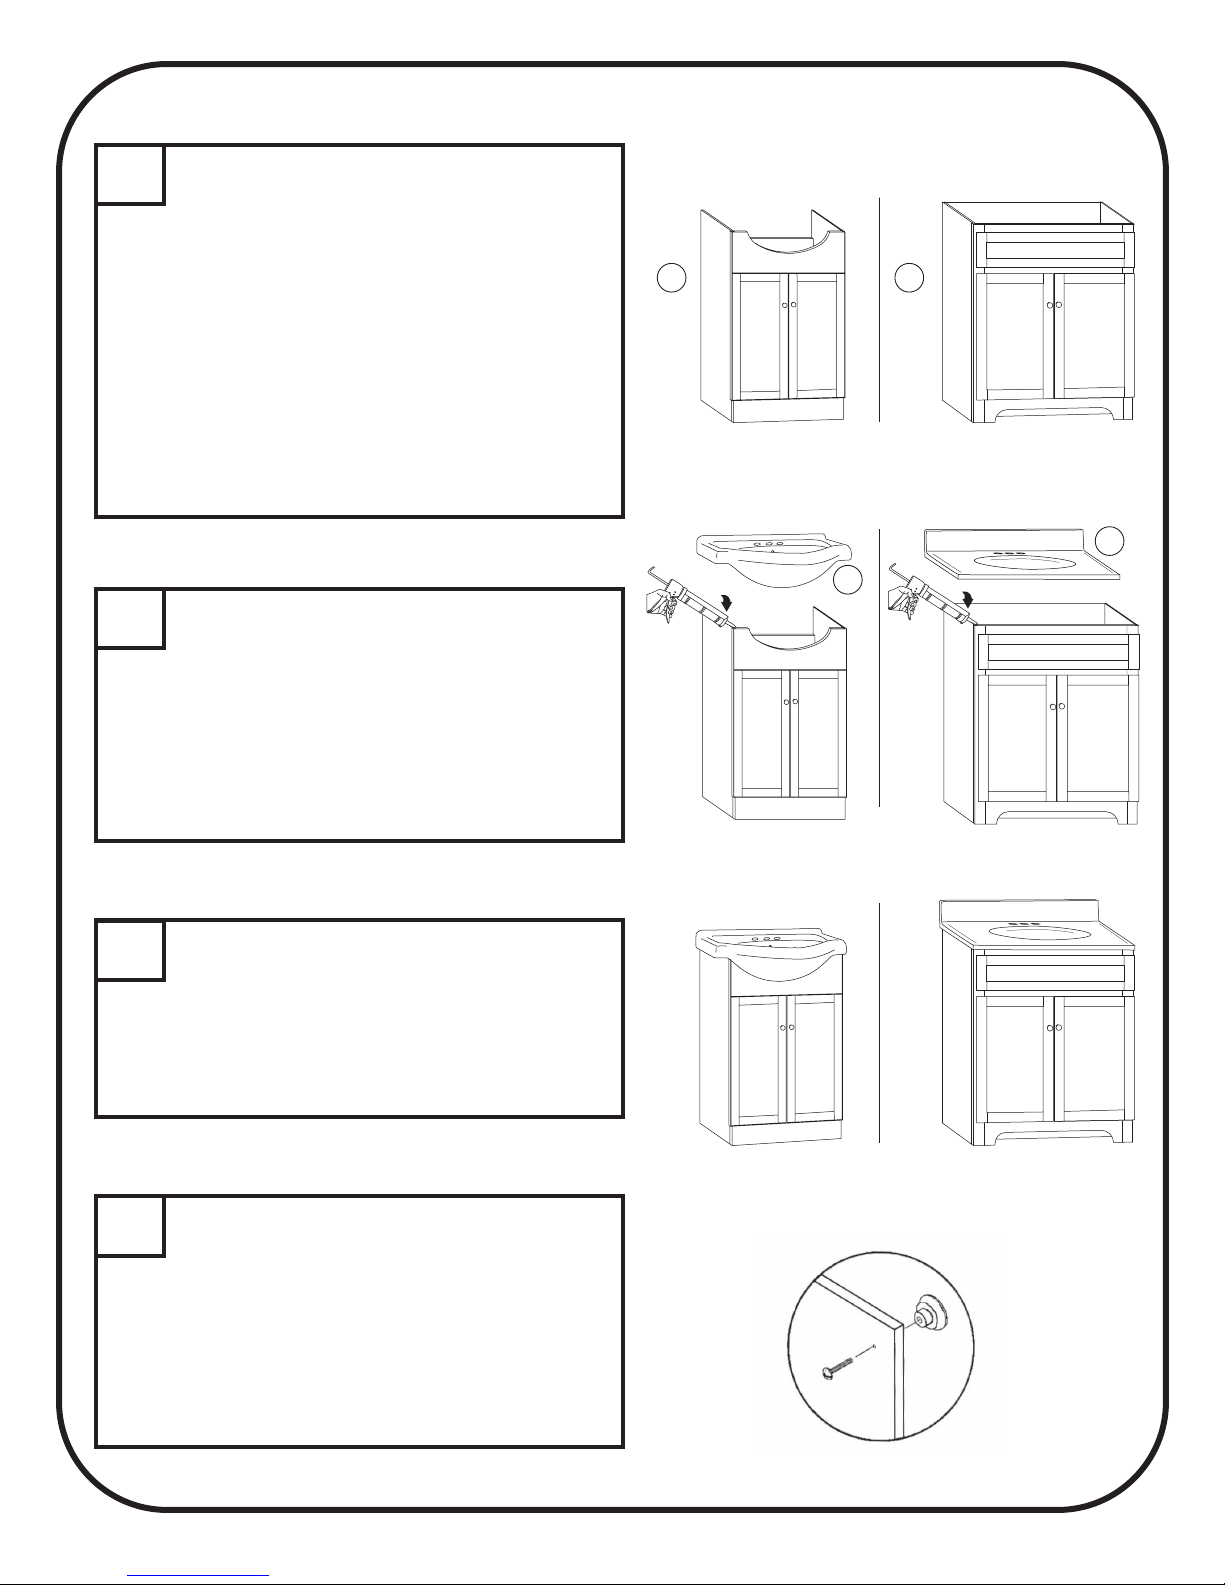
Please read instructions before assembly process
1
1. Place vanity cabinet (A) into desired location.
Check if the vanity is level from front to back
and side to side.
2. If the vanity needs leveling, place wood shims
(not included) under the vanity to level it.
3. Check for level again.
4. Using screws (not included) secure cabinet to
wall.
5. Trim off any exposed shims.
CHINA TOP INSTALLATION
2
1. Place a bead of latex caulk around the top edges
of the vanity.
2. Carefully place the vitreous china top (B) onto
vanity. Wipe off excess caulk with a damp
sponge. Allow the caulk to completely dry.
Figure 1VANITY INSTALLATION
Figure 2
A A
Figure 1
B
B
DRYING TIME
3
1. Avoid moving the vitreous china top and allow
the top to dry for at least 24 hours to allow for
proper top adhesion to the vanity.
KNOB INSTALLATION
4
1. Place machine screws through predrilled hole in
door or drawer. Line up knob with machine screw
and tighten with screw driver.
2. Repeat process for all additional doors and/or
drawers.
Figure 3
Figure 4
Figure 2
Figure 3
Figure 4
2
 Loading...