

Page 1
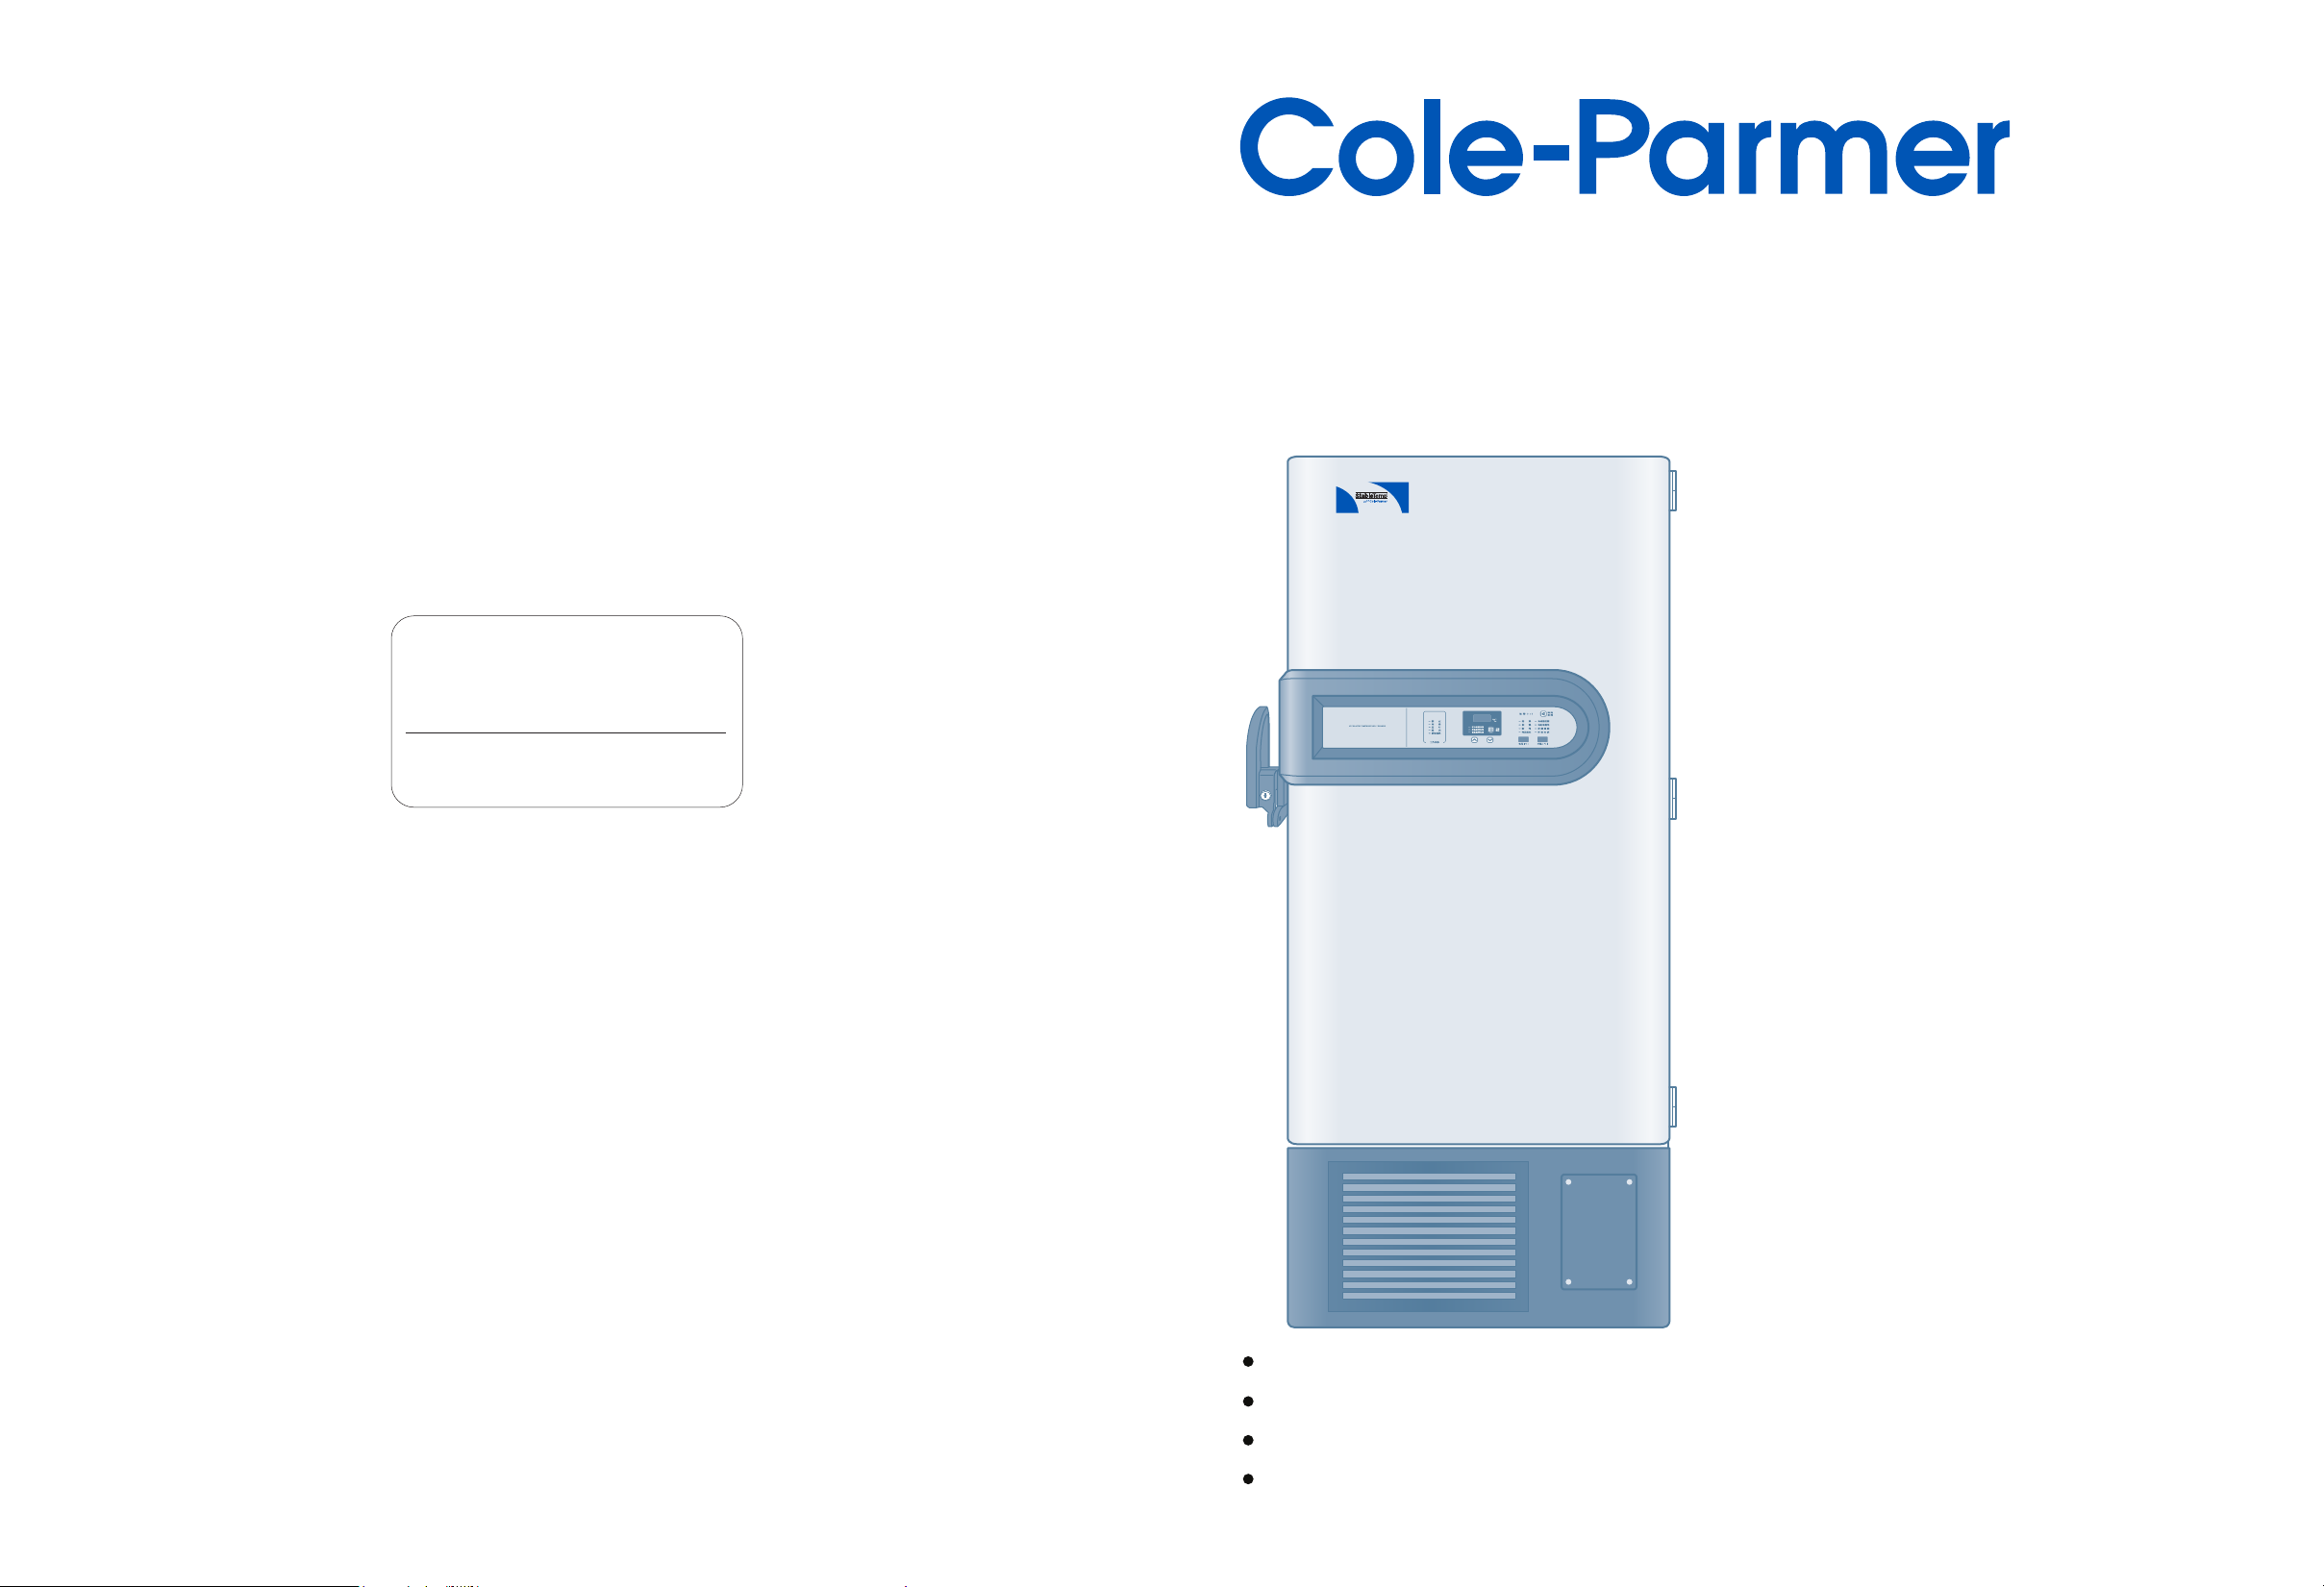
Ultra Low Temperature
(ULT)Freezer
Operation Manual
Model:
44260-01/02/03
44260/04/06/09
44260-11/12/13
44260-14/15/16
Certificate of Quality
checker:
Cole-Parmer
625 E.Bunker CT.
Vernon Hills, IL 60061
44260-17/18/19
44260-21/22/23
44260-24/25
44260-26/27
Web:www.coleparmer.com
Read the Operation Manual carefully before using your appliance.
Keep the Operation Manual in a safe place.
Appearance , color and layout of the door may vary.
Translation of the original instruction.
Page 2

Page 3
Cole-Parmer quality,
it merits your trust from beginning to end.
/low
Page 4
25
27
30
Page 5
Model
Net
Volume
cuft (L)
Rated
Voltage
(VAC)
Frequency
(Hz)
Amps
(A)
Weight
Dimensions
(W x D x H)
lb (kg)
in(cm)
44260-01 220 50 7.5
44260-02 208-230 60 8
11.9
(338)
44260-03 120 60 18
44260-04 220 50 9
44260-06 208-230 60 5.5
17.1
(486)
44260-09 120 60 18
44260-11 220 50 9
44260-12 208-230 60 9
20.4
(578)
44260-13 120 60 18
44260-14 220 50 7
44260-15 208-230 60 9
22.2
(628)
44260-16 120 60 18
44260-17 220 50 9
44260-18 208-230 60 9
25.7
(728)
44260-19 120 60 18
44260-21 220 50 9
44260-22 208-230 60 9
29.2
(828)
44260-23 120 60 18
524.7
(238)
639.3
(290)
661.4
(300)
664
(301)
760.6
(345)
837.8
(380)
32 x 35.2 x 72.7
(81.2 x 89.3 x 184.6 )
37.2 x 35.4 x 78
(94.5 x 90 x 198 )
35.4 x 38.6 x 77.2
(89.5 x 98 x 196 )
35.2 x 38.6 x 78
(89.5 x 98 x 198 )
40.7 x 35.4 x 78
(103.5 x 90 x 198)
41 x 38.6 x 78
(104.1 x 98 x 198)
45.1 x 38.6 x 78
(114.5 x 98 x 198)
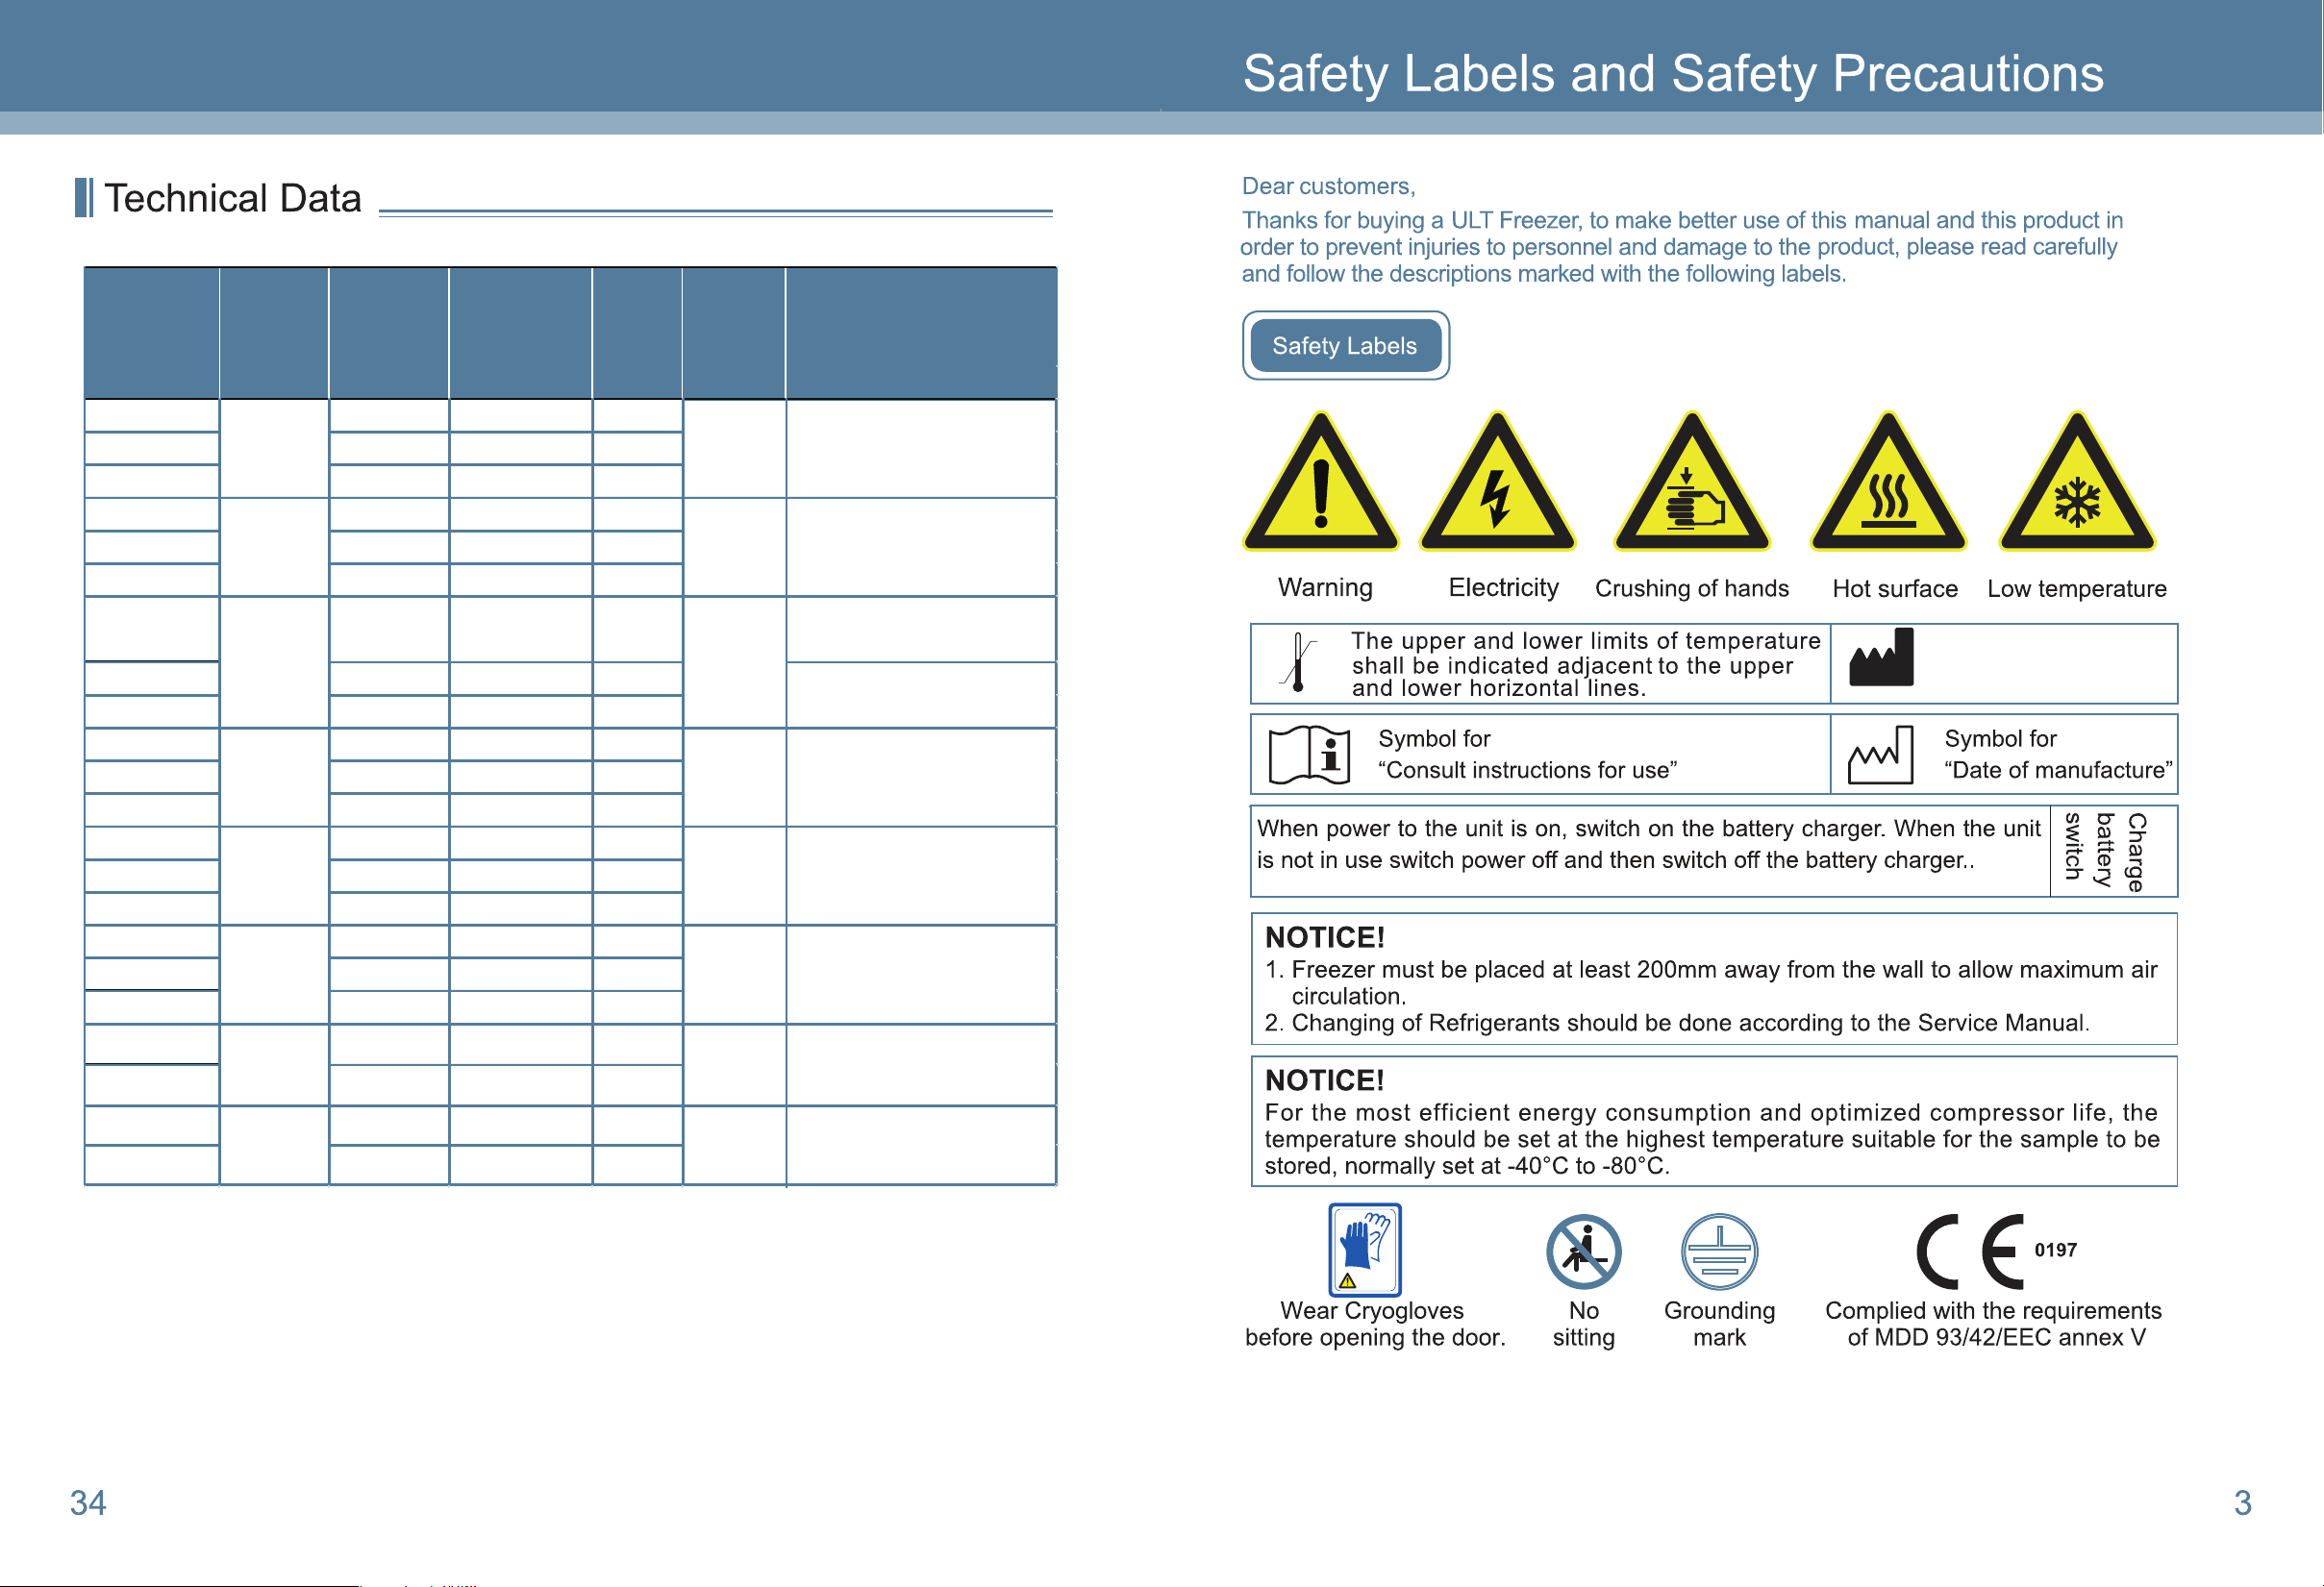
Symbol for
“Manufacture”
44260-24 220 50 7.5
44260-25 120 60 12
44260-26 220 50 7.5
44260-27 208-230 60 7.5
3.5
(100)
14.8
(420)
304.2
(138)
683.4
(310)
30.2 x 32.5 x 44.1
(76.9 x 82.5 x 112 )
83.9 x 34.3 x 40.2
(213 x 87 x 102 )
Wear Cryogloves
Page 6
44260-01/02/03/04/06/09/11/12/13/14/15/16
44260-17/18/19/21/22/23
44260-24/25/26/27
44260-24/25 and
44260-26/27
R170
The replacement of any spare parts(battery etc.) shall be conduct by
technicians approved by manufacturer.
Foaming CP/IP
Agent
Page 7

Wiring diagram (44260-11/26/27)
Thermograph
M5
Line Blank for Remote Alarm
Chargeble
Battery
Temperature Sensor
Inside
Cabin
et
Pressure Switch
2nd stage compressor
Dispaly
board
Control
Panel
M1
L
N
1st stage compressor
Condensor Sensor
Line Bank for Backup System
Proximity Switch for Door Opening
Power Supply
Hamess for
Wireless Network
Sys
tem
Balanced heating strip
Absorption Fan
USB
connector
board
USB Driver
Board
PE
Filter
Power
Switch
Absorption Fan
Temperature Sensor for
Heat Exchanger
( margaid gniriW
44260-01/02/03/04/06/09/12/13/14/15/16/17/18/19/21/22/23
Power
Supply
Harness
for
Wireless
Network
System
Balanced Heating Strip
Power Switch
Pressure Reset Switch
(Water cooled model)
Filter
)
USB Connect or
(
Boar d
USB Dr iver
(
Boar d
)
lanoitpO(
)
lanoitpO(
The wastes of the freezer need to be disposed
by specialized personnel,
no arbitrary movement of it is allowed; or otherwise, events of kids being
shut in it may occur.
Some Model has no Balanced Heating Strip.
Page 8

Filter Dryer
Condenser
Capillary Tube
Cascade Condenser
Capillary Tube
Evaporator
Precondenser
The appliance must be positioned so that the plug is accessible.
The appliance must be placed on a solid and flat surface, or excessive
vibration and noise may be produced when the appliance in operation.
This appliance can be used by children aged from 8 years and above and
persons with reduced physical, sensory or mental capabilities or lack of
experience and knowledge if they have given supervision or instruction
concerning use of the appliance in a safe way and understandthe hazards
involved.
Children shall not play with the appliance. Cleaning and user maintenance
shall not be made by children without supervision.
Do not use electrical appliances inside the food storage compartments of the
appliance, unless they are of the type recommended by the manufacturer.
If your cabinet is to be discard, you must remove the door and leave the
shelves in place.This will reduce the possibility of danger to children.And
anti condensation
High Stage
Compressor
44260-24/25
Suction
Accumlator
Pressure
Switch
Filter
Dryer
Oil Separator
Low Stage
Compressor
The flammable foaming needs to be disposed by professional persons.
If the supply cord is damaged, it must be replaced by the manufacturer, its
service agent or similarly qualified persons in order to avoid a hazard.
C
P/IP foaming materials are flammable,
need professional processing.
No modification of this equipment is allowed
To avoid the risk of electric shock, this equipment must only be connected
to a supply mains with protective earth.
Equipment can not run in the condition of rich O and flammable gas or liquid.
2
Page 9

Page 10

Page 11

Caution
For installation and operation of the backup cooling system, please refer to the user's manual
provided with the backup cooling system.
If the free-standing backup system is to be connected to 44260-24/25, it’s necessary to buy
the relative switch box and plate.
Caution
Meaning of crossed out wheeled dustbin:
Do not dispose of electrical appliances as unsorted municipal waste,
use separate collection facilities.Contact you local government for information
regarding the collectionsystems available.If electrical appliances are disposed
of in landfills or dumps, hazardoussubstances can leak into the groundwater
and get into the food chain, damaging yourhealth and well-being.When
replacing old appliances with new ones, the retailer is legallyobligated to take back
your old appliance for disposals at least free of charge.
Page 12

box of the right side of the unit.(For the 44260-11/24/25, the battery is inside the control
applicable for 44260-11/24/25/26/27)
Casters are recommended for moving the freezer
after unpacking.
main control board so that it cannot charge the battery.
Page 13

1. Remove packing materials and straps.
Remove all packing materials and straps for transportation.
Rotate the leveling legs clockwise to
Page 14

Page 15

44260-26/27
Page 16

44260-01/02/03/04/06/09/11/12/13/14/15/16/17/18/19/21/22/23
Page 17

Page 18

44260-24/25
to save the changes. Then, the temperature display will show “1P” again, and you can set 1P to 5P
again.
For example: Set the time as 08:30, Aug. 16. 2013.
3. After the settings are completed, press and hold “Set” for 5 seconds, the changes will be saved
and exit the settings automatically. Then, the temperature display will normally show the inner
temperature.
Push for
3 seconds
Push for
5 seconds
During the above procedure setting 1P to 5P, you can use ' ' or ' ' key to adjust the settings
individually.
44260-26/27
For example: The temperature display shows IP (Years), if you do not need to change Years (1P)
and Months (2P), you can adjust Days (3P) directly.
1. Press ' ' key to select Days (3P).
2. Press “Set” key, the temperature display shows the date and flashes
3. Press ' ' or ' ' key to adjust the current date.
4. Press “Set” key to save the change. Then, the temperature display will show Hours (4P).
5. If you need to adjust the Hours, press 'Set' key to change the setting. If no adjustments need to
be made, press ' ' key, the display shows Minutes (5P), and you can make changes
6. After having finished the settings, press and hold “Set” for 5 seconds, the changes will be saved
and the settings will be automatically exited from. Then, the temperature display will normally show
the inner temperature.
Push for
3 seconds
Push for
5 seconds
During the above procedure setting 1P to 5P, after finishing the adjustment of any of the settings, if
no other settings do not need to be changed, you can just press and hold “Set” key for 5 seconds to
save the changes and exit the settings.
Page 19

44260-24/25
44260-26/27
Exporting USB data
1. In unlocked mode, insert the USB flash drive. The temperature display shows USB which
means data is being exported.
2. When the temperature display shows ALL, exporting of the data is finished, please
remove the USB flash drive.
The system memory can save data for 10 years.
Setting the USB storage time
1. In unlocked mode, press and hold ' ' key for 3 seconds, the temperature display steadily shows
"1P" (“1P/2P/3P/4P/5P” stands for “Years/Months/Days/Hours/Minutes” respectively).
2. Press “Set” key, the temperature display shows years and flashes (default value: 10).
Press ' ' or ' ' key, select years. The choices are from 10 t0 99. If you want to set the year
2013, select 13. Press “Set” key to save the changes. Then the temperature display steadily shows
44260-01/02/03/04/06/09/11/12/13/14/15/16/17/18/19/21/22/23
“2P”. Follow the procedure above to set “2P”, “3P”, “4P” and “5P” respectively, and press “Set” key
Page 20

 Loading...