

Page 1
4010008911 (20100505)
COLEMAN
®
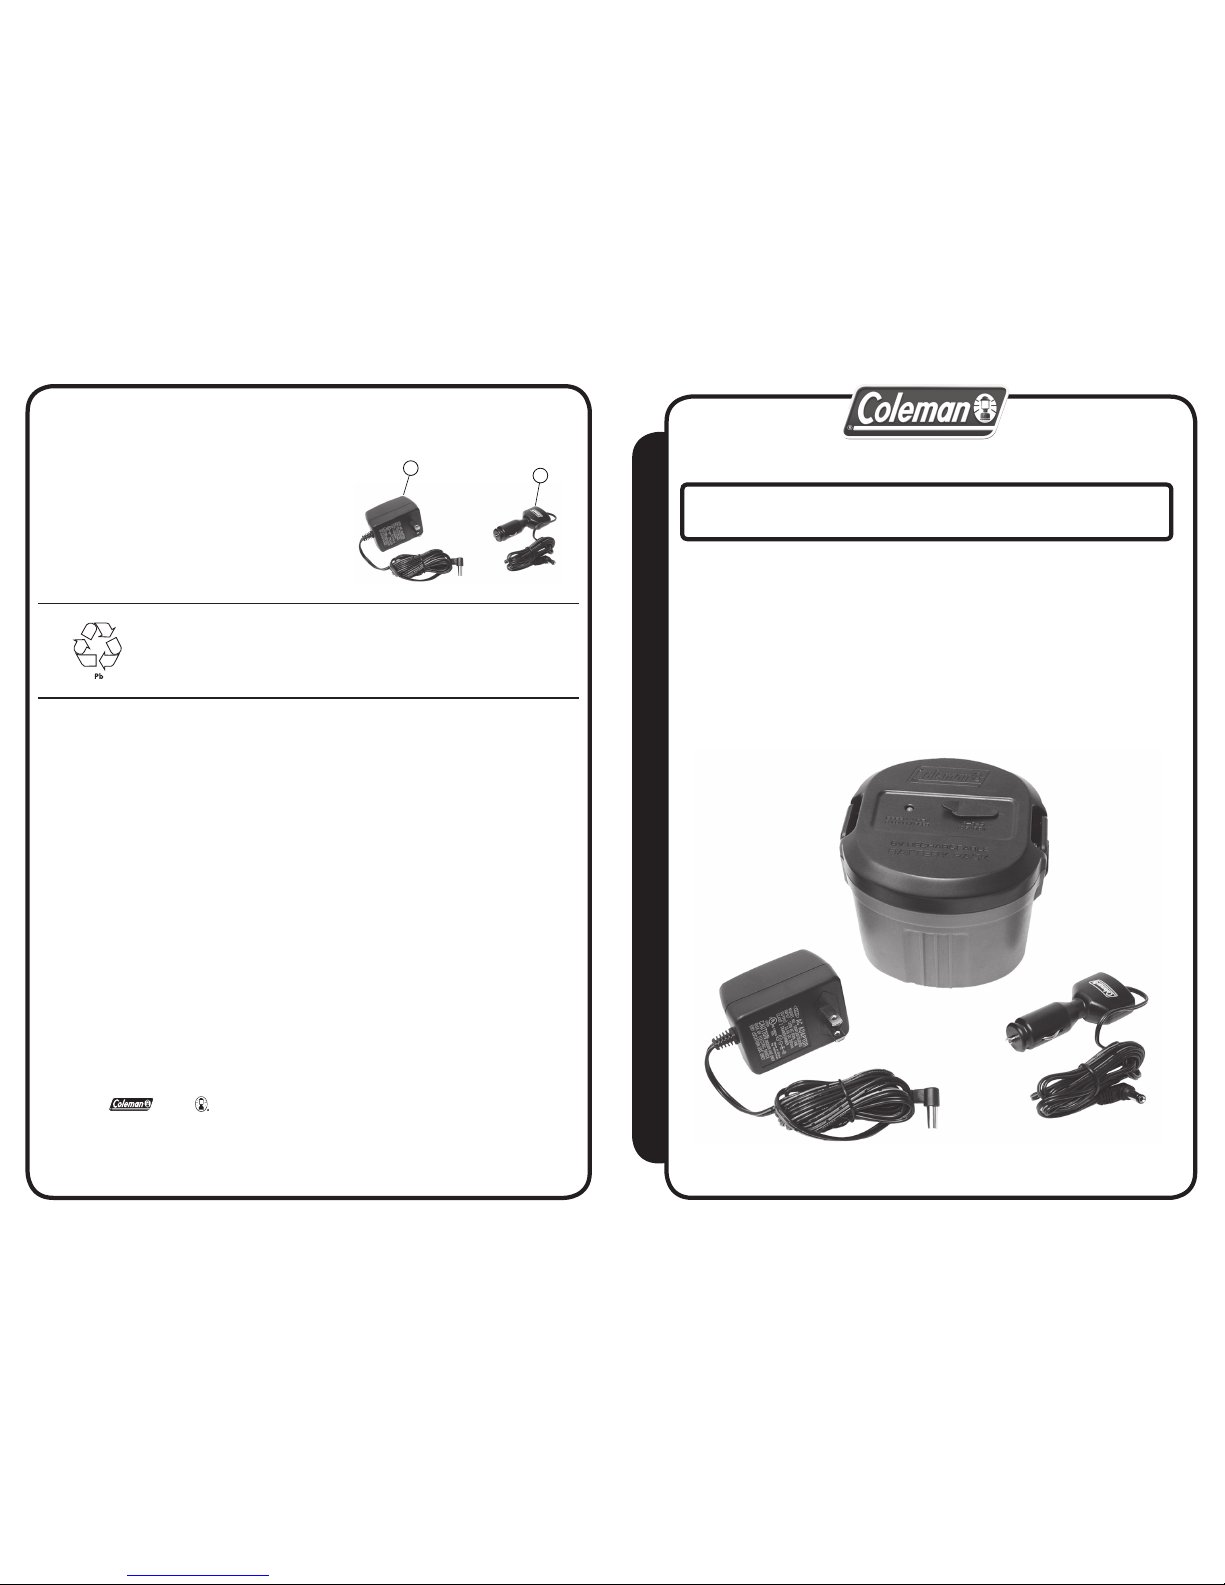
RECHARGEABLE BATTERY PACK
RECHARGEABLE
BATTERY PACK
How to Use and Enjoy Your Coleman
®
© 2010 The Coleman Company, Inc. All rights reserved.
Coleman
®
, , and are registered trademarks of The Coleman Company, Inc.
The Coleman Company, Inc., a Jarden Corporation company.
PARTS LIST
1
2
1. 5010000320 12-volt DC Adaptor
2. 5010000790 240-volt AC/DC Adaptor
RECHARGEABLE BATTERY MUST BE RECYCLED OR DISPOSED OF PROPERLY.
See recycling information that came with your Coleman® battery product.
Coleman Brands Pty. Ltd.
ABN 74 091 681 195
Suite W2C1, 75-85 O’Riordan Street,
Sydney Corporate Park, Alexandria, NSW 2015
Australia
Telephone: 1800 224 350 or + 61 2 8762 5000
www.coleman.com
Page 2

TO REMOVE OR INSTALL BATTERY PACK
To Remove:
• With product off, locate the power source and press the two release tabs to
remove the battery pack. (Fig. 1)
To Install:
• With product off, properly align battery pack with female cavity of product. Then
press into product until the battery pack properly “locks“ into position. (Fig. 2)
THINGS YOU SHOULD KNOW
1. Operating time for this product depends on whether it is run continuously or
intermittently. Intermittent operation extends the run time of the battery pack.
2. Do not leave discharged battery pack in the product for an extended period of
time as this could permanently damage the product.
3. This battery pack uses a 6V, 2.6Ah sealed lead acid battery.
Carefully read all instructions before use and save for future reference.
TO CHARGE BATTERY PACK
When the battery is fully discharged, it will take 16 to 18 hours to fully recharge it. To
obtain maximum performance, charge for 18 hours for the first three cycles.
Always charge the battery immediately after use whenever possible. Charge indoors
using household source.
Do not leave the product turned on after the battery has stopped, as over
discharging the battery can cause problems in recharging the battery to a full charge.
If this does occur, recharge for 40 hours. After an extended period of storage (more
than 6 months), recharge for the full 16 hours or more.
The product can be recharged after first charging from either a 240-volt AC wall
outlet in your home or garage using the 240-volt AC adapter, or from a 12-volt DC
receptacle in a car, boat, or RV, using the 12-volt DC Adaptor.
This device complies with Part 15 of the FCC Rules. Operation is subject to the
following two conditions: (1) This device may not cause harmful interference, and (2)
This device must accept any interference received, including interference that may
cause undesired operation.
This Class B digital apparatus complies with Canadian ICES-003.
Warning: Changes or modifications to this unit not expressly approved by the party
responsible for compliance could void the user’s authority to operate this equipment.
Note: This equipment has been tested and found to comply with the limits for
a Class B digital device, pursuant to Part 15 of the FCC Rules. These limits
are designed to provide reasonable protection against harmful interference in
a residential installation. This equipment generates, uses and can radiate radio
frequency energy and, if not installed and used in accordance with the instructions,
may cause harmful interference to radio communications.
However, there is no guarantee that interference will not occur in a particular
installation. If this equipment does cause harmful interference to radio or
television reception, which can be determined by turning the equipment off and
on, the user is encouraged to try to correct the interference by one or more of
the following measures:
•Reorientorrelocatethereceivingantenna.
•Increasetheseparationbetweenequipmentandreceiver.
•Connecttheequipmentintoanoutletonacircuitdifferentfromthatwhichthe
receiver is connected.
•Consultthedealeroranexperiencedradio/TVtechnicianforhelp.
240-volt AC/
DC
Adaptor
Fig. 3
Fig. 2
Fig. 1
Fig. 4
12-volt DC
Adaptor
CAUTION: The 12-volt DC Adaptor was designed to avoid internal short circuits,
however, it may be possible to blow the fuse in some vehicles when only the small
plug from the product is disconnected and the large DC receptacle plug remains
connected to the 12-volt DC receptacle socket.
In this situation, if the small plug contacts the metal
of the vehicle, the fuse may blow! Therefore, always
remove the large 12-volt DC receptacle plug from
the DC receptacle socket first! This caution applies
to any vehicle, RV, boat, etc., in which the 12-volt DC
Adaptor is used.
NOTE: On some automobiles, the 12-volt DC receptacle
is turned on and off by the ignition switch.
To Charge: Lift the protective rubber cover to expose the charging jack, and then
connect the small end of the proper adapter cord to the hole in the
top of the battery pack. Connect the other end of the adapter to the
appropriate electrical outlet (Fig. 3 & 4). A dual color changing LED on
the battery pack displays when the battery is charging (red) and when
it is fully charged (green). (Fig. 5)
Fig. 5
Dual
Color
LED
 Loading...