

Page 1
Manual text copy out of a scanned original Version.
Visit my site www.behringer24.de
A
LWAYS USE THE RIGHT KIND OF FUEL
Substances in gasoline which do not vaporize
will form gums in the generator of your lantern.
The length of service you get from your lantern
and generator depends greatly upon the kind of
fuel you use.
Use only Coleman Stove and Lantern Fuel, or
clean white white gasoline. Never use fuel containing lead compounds or lubricating oils. Store
your fuel in a clean, closed metal container.
(Glass containers are dangerous - may break.)
If Coleman Stove an Lantern Fuel or "white"
gasoline is not readily available, most oil companies will gladly tell you where to obtail it.
T
O FILL TANK
Close fuel valve tightly to the right. Remove
Filler Cap and fill lantern with 1 3/5 pints of
fresh, clean fuel. Never use fuel containing lead
compounds or lubricating oils. Lantern should sit
level all during filling. Fuel for the lantern may
be strained through several thicknesses of finely
woven cloth or, more convenient, a No. 0
Coleman Filtering Funnel. After filling, replace
Filler cap and tighten firmly with fingers.
Never remove filler cap while lantern is lighted,
nor near open flame or excessive heat.
T
O PUMP
Fuel valve and Filler Cap must be closed firmly.
Turn Pump plunger two turns to the left. Place
thumb over small hole in end of Pump Plunger
and pump 35 to 40 full strokes of air into
lantern. Good pressure is important. Now turn
Pump Plunger clear to right until tight and push
it clear down. Oil Pump Leather occasionally to
keep it soft and pliable.
T
O TIE ON COLEMAN MANTLES
Remove Ball Nut at very top of lantern. Lift off
the ventilator and take out the Pyrex Glass
Globe.
Tie mantle around groove in burner cap (see
drawing). Flat side of mantle should face generator. Distibute folds of mantle evenly at top and
cut off suplus string. Burn mantle according to
instructions on mantle envelope.
A
LWAYS USE GENUINE COLEMAN MANTLES
These are the perfect functional counterpart of
the Generator, Air intake, and Mixing Chamber
of Coleman Lanterns. Saturated with top-quality,
light-producing chemicals, they are significantly
designed in shape, size, and weave to glow with
maximum brilliance in type of illumination
approximating natural day-light. Reinforced bottoms and absence of side seams give them
longer life. Moisture-proofed and denitrated
against deterioration. To make shure you get
coleman uniform quality, look for the Coleman
name stamped on genuine Coleman mantles.
Let cool after burning it off before lighting
lantern. Good air pressure in the lantern will
help to shape it and 30 minutes burning on first
lighting will help its strength.
Written 2005 by A. Behringer - www.behringer24.de
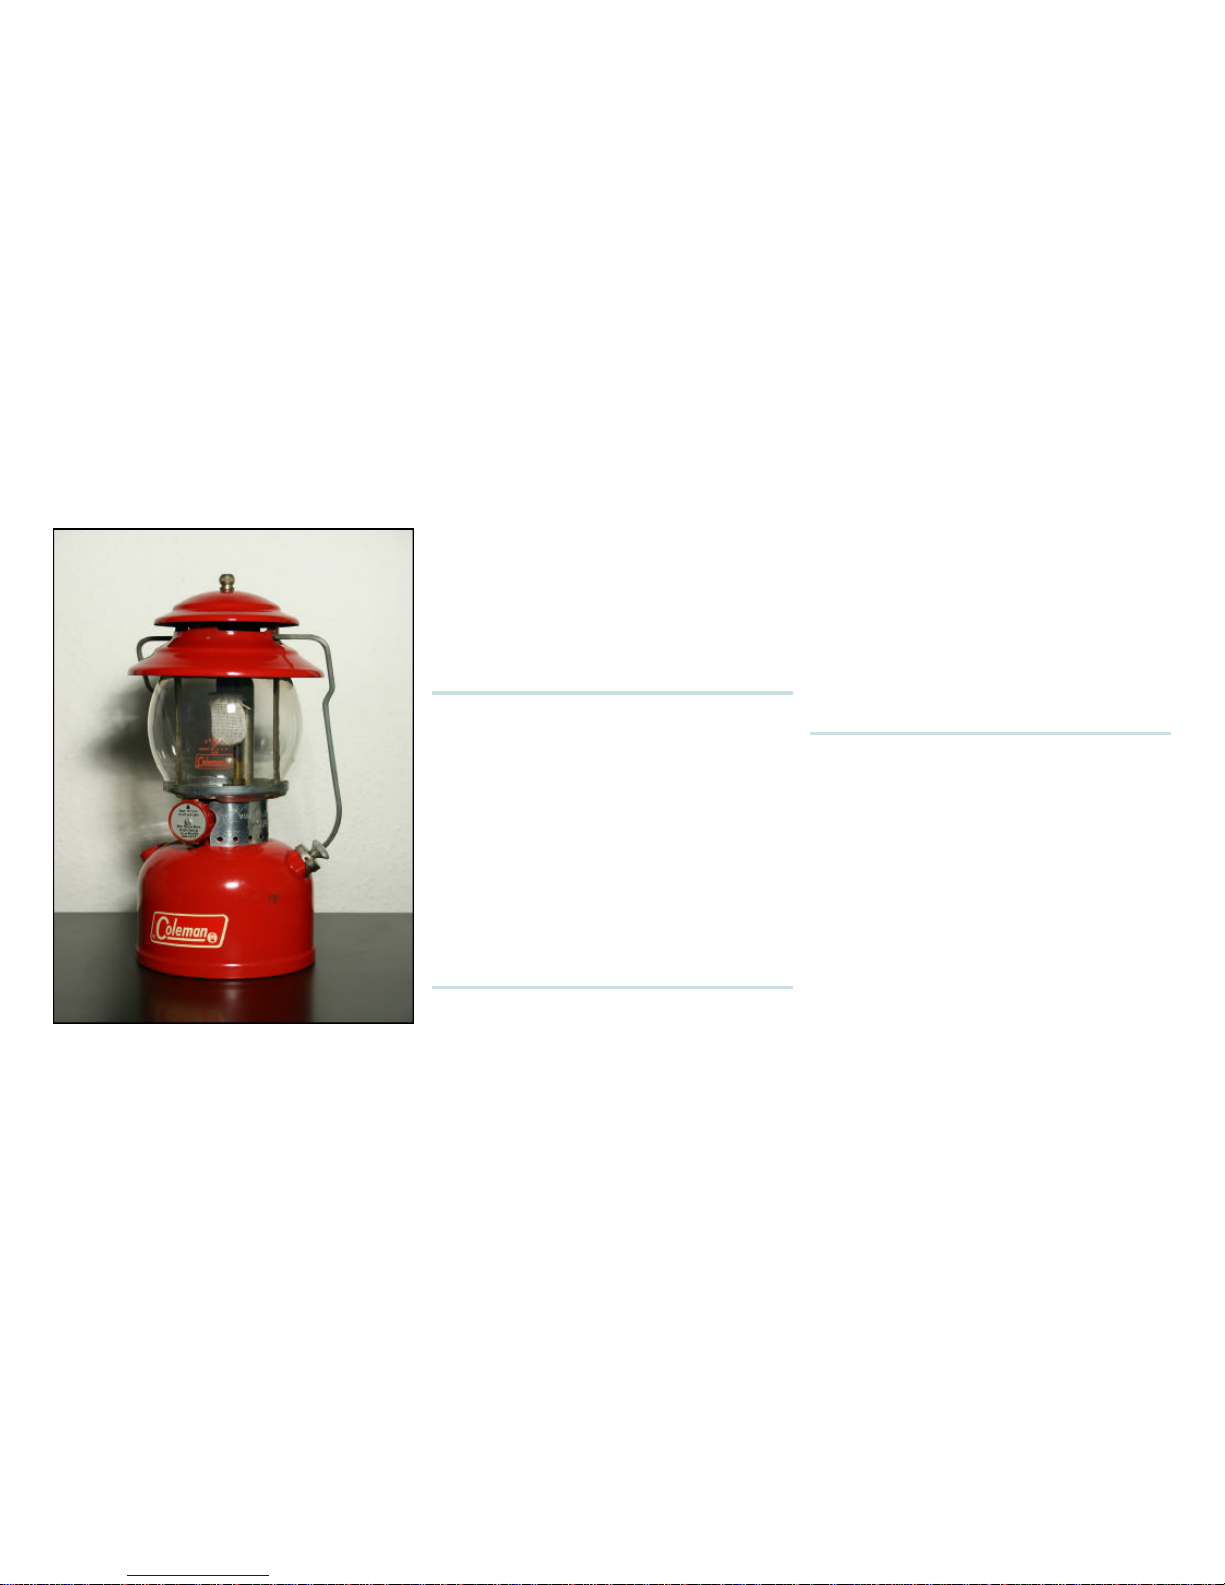
Owner's Manual - Coleman 200A
Page 2
T
O LIGHT
Rotate the cleaning needle lever at base of
frame. Several turns will clean the Generator
Tip. Leave lever pointing down.
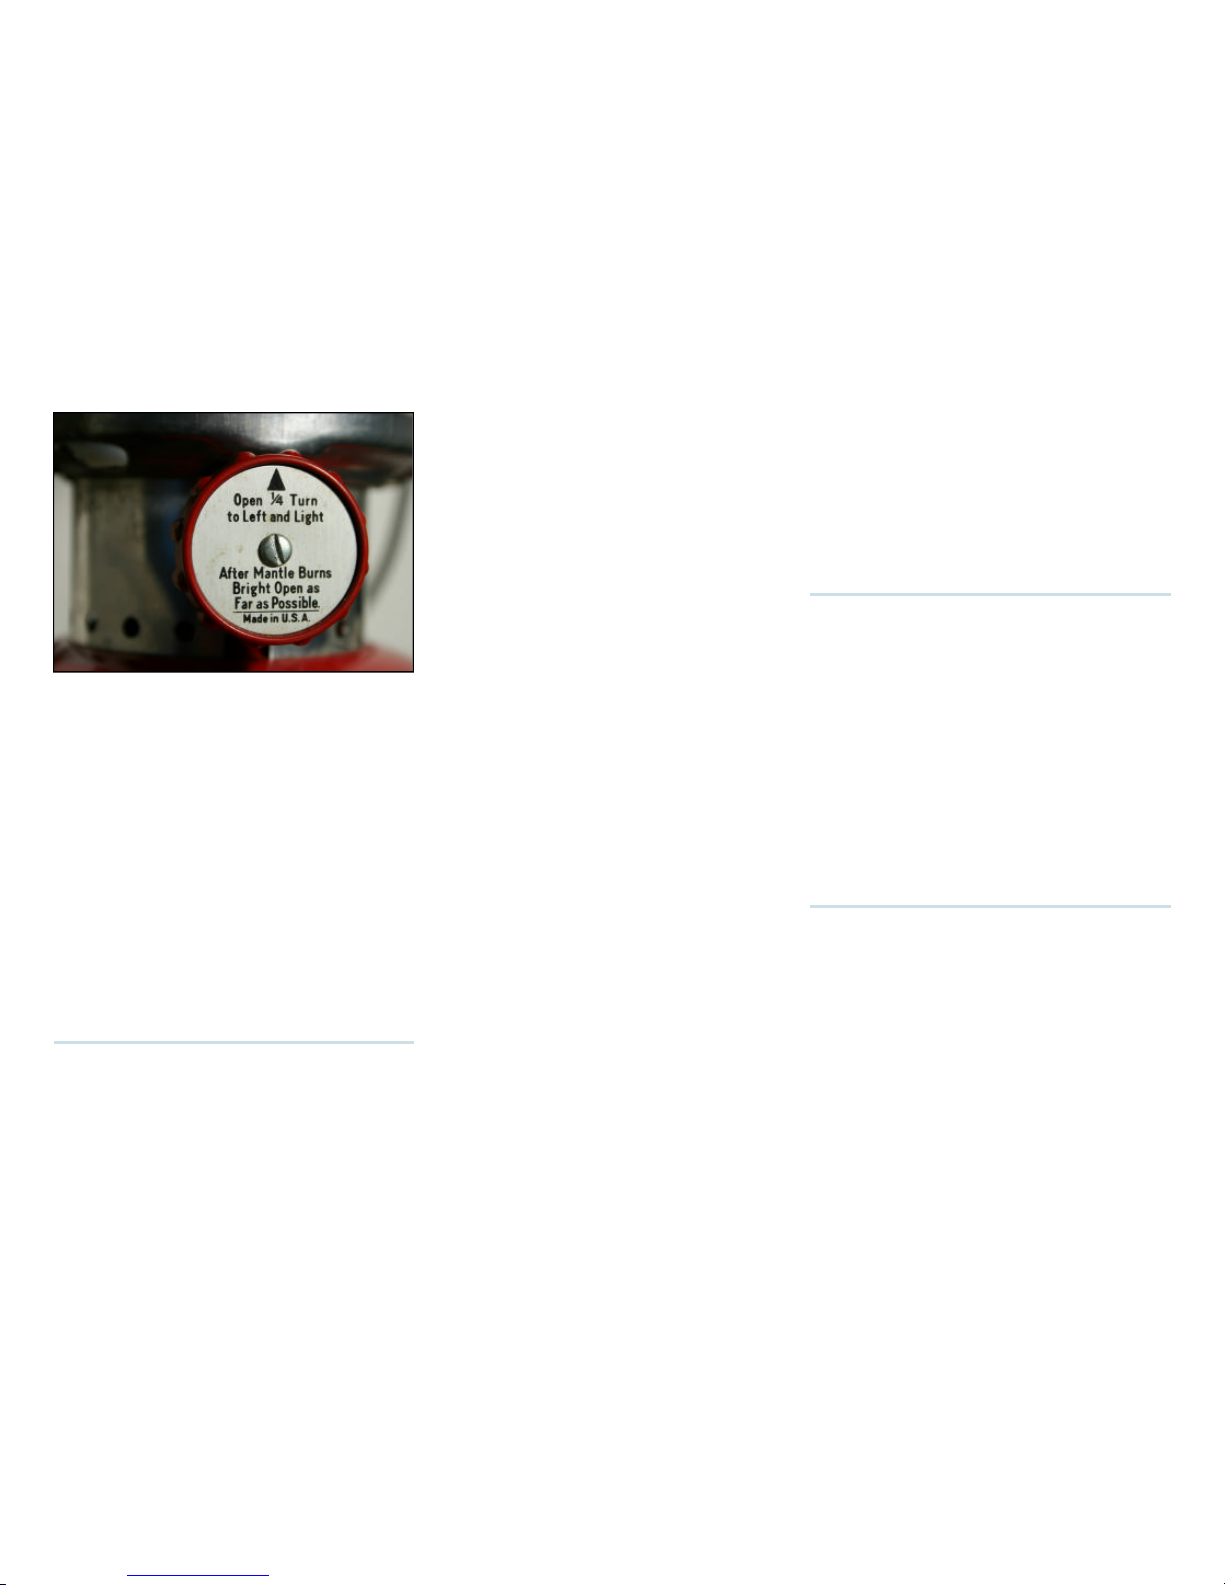
Open Fuel valve one fourth turn. Push lighted
match through lighter hole and hold it und mantle. Matle will light instantly when air and gas
mixture reaches them. When Mantle burns
brightly, open Fuel valve all the way to the left.
If lantern dows not burn brightly with Fueal
Valve wide open, rotate Cleaning Needle Lever
several times. Lantern may flicker a bit but
should quickly steady down. Air pressure may
be added to the tank at any time to give
brighter light.
T
O TURN OFF
Close Fuel Valve firmly. Light will dim and go
out in a few seconds.
G
ENERAL SUGGESTIONS
If lantern blazes and smokes more than a few
seconds when first lit, then close valve and
repopen one fourth turn as soon as light dims.
If lantern does not light, check air pressure
and fuel content. Remove Generator and
unscrew Gas Tip to make sure point of needle
has not been bent or curled. Open valve slightly
to make sure gasoline will come through valve.
If mantle burns black, make sure screens in
Burner Caps are clean and open. Check Air
Intake Tube for possible obstruction, such as
spider's nest.
If light dims, check Fuel valve to be certain it
is wide open. Rotate cleaning lever to remove
carbon, if any.
If light pulsates after installation of a new
Generator, pump in additional air pressure until
light is steady.
If lantern is on emergency standby in case
of storm or power failure, empty all gasoline
from Fount occasionally, refill with clean, fresh
fuel. Store in a cool a place as possible.
The gasket in filler cap may deteriorate with
age. It might be well to install a new No. 2206361 Gasket and Disc Assembly occasionally.
If you have occasion to write the dealer or
the factory, mention that your Lantern is a
Model 200A Lantern. If you mail the Lantern,
send it less Globe and ventilator to avoid breakage.
G
ENERATOR
The generator is the heart of your Coleman
lantern. Here liquid fuel is changed into the gas
that burns in the mantles. Factory-tested
Coleman generators - precision-built from bestgrade materials - are made to fit and function
perfectly with other parts.
T
O INSTALL
Be sure Fuel Valve is closed. Turn Cleaning
Needle lever up. Unscrew Jamb Nut at lower
end of Generator. Lift Generator and unhook
Gas Tip Cleaning Needle.
To install new Generator: Pull Cleaning Needle
down about one inch. Slide jamb Nut down over
Generator. Place Cleaning Needle between forfinger and thumb with Generator in upright
position. Push gas tip end of generator into Air
Intake Tube and hook Needle through hole in
Eccentric Block. Tighten Jamb Nut only enough
to prevent leakage.
G
LOBE
The Genuine Pyrex Globe on your Coleman
Lantern is made of the best quality heat-resisting glass obtainable. It is glass of superior
transparency and light-refracting qualities.
However, even pyrex Globes can be broken.
When this happens, you can purchase a new
one from your coleman dealer.
Written 2005 by A. Behringer - www.behringer24.de
 Loading...