

Page 1
INSTALLATION GUIDE
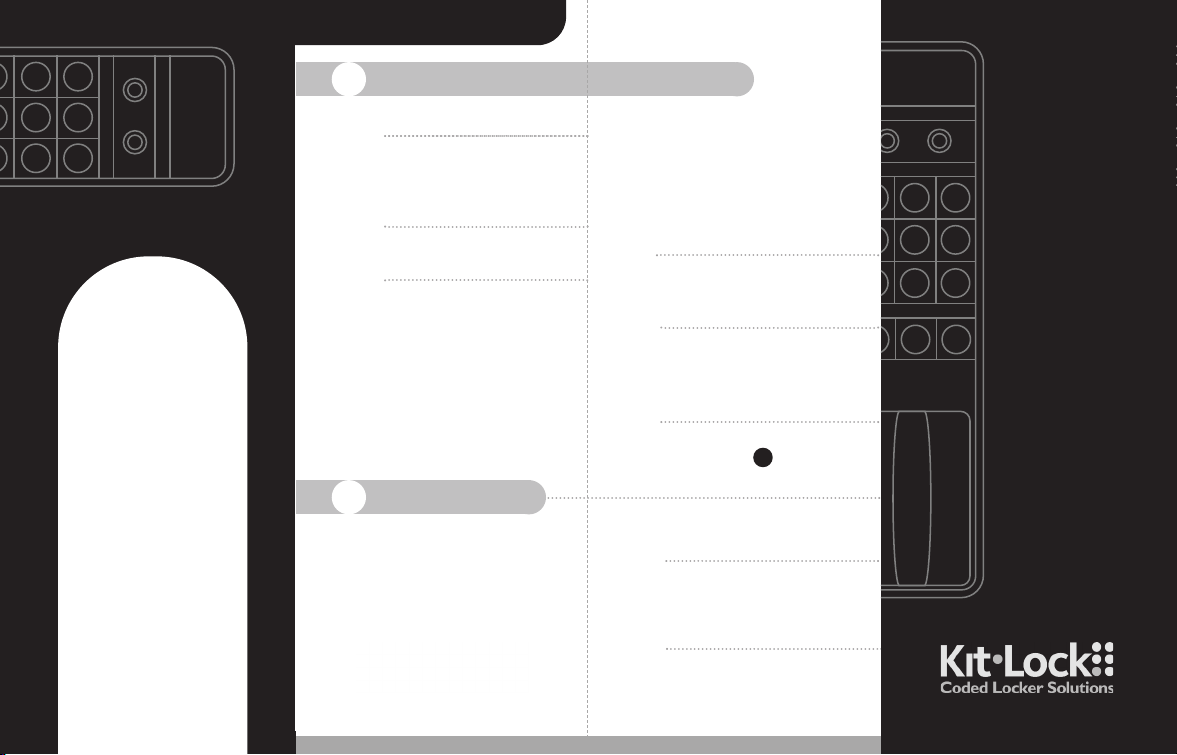
Replace existing cam lock with the KitLock
A
www.kitlock.com
sales@kitlock.co.uk
sales@kitlock.us
Installation
KitLock is a Codelocks Limited brand
instructions
CODELOCKS LTD UK
Tel: +44 (0) 1635 239645
Fax: +44 (0) 1635 239644
sales@codelocks.co.uk
Helpline, service & spares
FREEPHONE 0800 393 405
CODELOCKS INC US
Tel: +1 714 979 2900
Fax: +1 714 979 2902
sales@codelocks.us
Help: 1.877.CODELOCK
www.codelocks.com
Step 1 Remove existing cam lock.
Step 2 Place the template over the
II-KL1500-v2:0613
Step 3 Drill the two 6mm (
Step 4 Fit lock to door with gasket in
Step 1 Place template on door and
hole left by the cam lock and
mark the upper and lower
fixing holes.
holes.
place using fixing bolts. Cut
bolts to correct length.
Measured from beneath the
bolt head, the length should
be the cabinet thickness, plus
approx 12mm (
New Installation
B
mark upper and lower 6mm
1
/4”) fixing holes and 16mm
(
5
(
/8”) spindle hole.
IMPORTANT NOTE: Before
drilling fixing holes, please
ensure the position of the
KitLock when fitted will allow
enough clearance for selected
cam to work.
1
/2”).
1
/4”) fixing
Step 5 From the inside of the door select
Step 6 Before closing the door check
Step 7 If not changed already
Step 8 If not already fitted, select and fit
Step 2 Drill all three fixing holes.
Step 3 Continue installation from
and fit appropriate cam spindle
and cam using cam fixing bolt
supplied.
The length of cam and spindle
selected to suit your door and
frame.
the operation of the lock with
Master and User Code.
CHANGE FACTORY SET
MASTER AND USER CODE
NOW!
coloured insert .
Step 4 to 8 from the Installation
Guide (Section A).
12
KL15OO
Installation
Instructions
Page 2
SPECIAL NOTES
FITTING INSTRUCTIONS
Please read carefully:
• Before installing the lock, install the
batteries and familiarise yourself with
the operation and programming.
• The handle will not turn until you enter
the factory default code:
Master Code 11 22 33 44
or the User Code 12 34.
• Please see Programming Guide to set
your new Master and User Codes and to
set different functions on lock if required.
• If required change keypad orientation.
• Select and fit coloured insert with
double sided tape supplied.
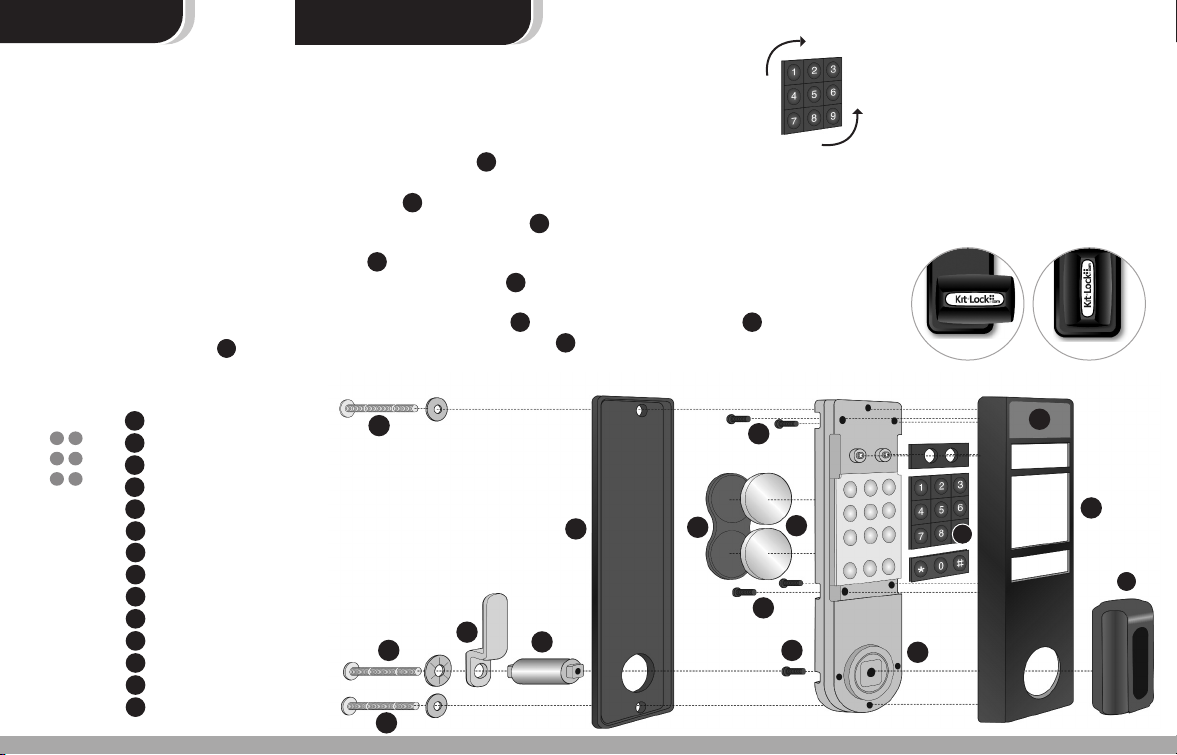
1
Fixing bolts x 2
Cam fixing bolt x 1
2
Cams x 2
3
Spindles x 4
4
Door gasket
5
Battery cover
6
7
Batteries x 2
8
Small fixing bolts x 4
9
Handle fixing bolt x 1
10
Lock body
Keypad module
11
Coloured inserts x 5
12
Outer lock shell
13
Handle
14
15OO
12
The KL1500 is supplied for vertical installation. However, the lock
may be installed in any orientation by simply rotating the keypad module.
Before installation change to desired orientation as follows:
1 Remove both batteries .
2 Remove lever handle via handle
fixing bolt from rear of lock.
3 Remove four small fixing bolts .
4 Carefully remove the outer lock
shell .
5 Rotate the numeric module (1-9) to
the required position.
6 Replace the outer lock shell and
secure with the 4 small fixing bolts .
9
13
1
2
1
7
8
11
13
3
4
7 Press and hold the 1 button and
replace one battery. The blue LED will
flash twice and the lock will beep twice.
8 Release the 1 button and within three
seconds press the
9 The blue LED will flash twice and will
beep twice to confirm numeric module
position reset OK.
10 Replace the handle and fit second
battery.
8
5
6
button 3 times.
*
14
8
The KitLock can be tted to:
A Cabinets, cupboards and lockers etc.
as a direct replacement for existing
cam locks.
B It can also be fitted easily to
cupboards and cabinets that do not
have an existing locking device.
OPEN
7
8
9
11
10
LOCKED
12
13
14
 Loading...