

cocoweb FRISCO, CROATAN, CHESAPEAKE User Manual
FR FRISCO
CR CROATAN
CH CHESAPEAKE
USER MANUAL
cocoweb
TM
Living
AC Motor Ceiling Fans
Rev. 1 (06/14) AC HS-33
CAREFULLY READ THESE INSTRUCTIONS IN THEIR ENTIRETY
BEFORE BEGINNING INSTALLATION. SAVE THESE INSTRUCTIONS
FOR FUTURE REFERENCE.
IMPORTANT SAFEGUARDS
Installation of fans and electrical work may present a possible shock or fire
hazard if improperly installed or used. All electrical work should be performed
in accordance with all federal, state and local safety regulations and require
proper grounding. All work should be performed by a certified electrician.
Before starting installation, turn OFF electricity at the main fuse or circuit
breaker that controls the power to the fixture/room you are working on.
Means for disconnection must be incorporated in the fixed wiring in accordance
with wiring rules. Fans and light MUST be grounded. Bracket MUST be firmly
attached to a solid structure and MUST be nailed between beams if timber
option is required.
All set screws must be checked and retightened where necessary
before installation.
SAFETY
Only approved COCOWEB speed controllers should be used for the
operation of COCOWEB fans. The use of unauthorized controllers will
void the warranty.
DO NOT mix blades from one fan to another. All blades MUST be
replaced if damaged.
To reduce the risk of personal injury, do not bend the blade brackets when
installing the brackets, do not balance the blades, and do not clean the fan while
it is in motion. Do not insert foreign objects in between rotating fan blades.
WARNING
1
•
•
•
•
•
•
10
feet (3.05M)
CAUTION: To Reduce The Risk Of Electric Shock, Disconnect The Electrical
Supply Circuit To The Fan Before Installing Light Kit.
3
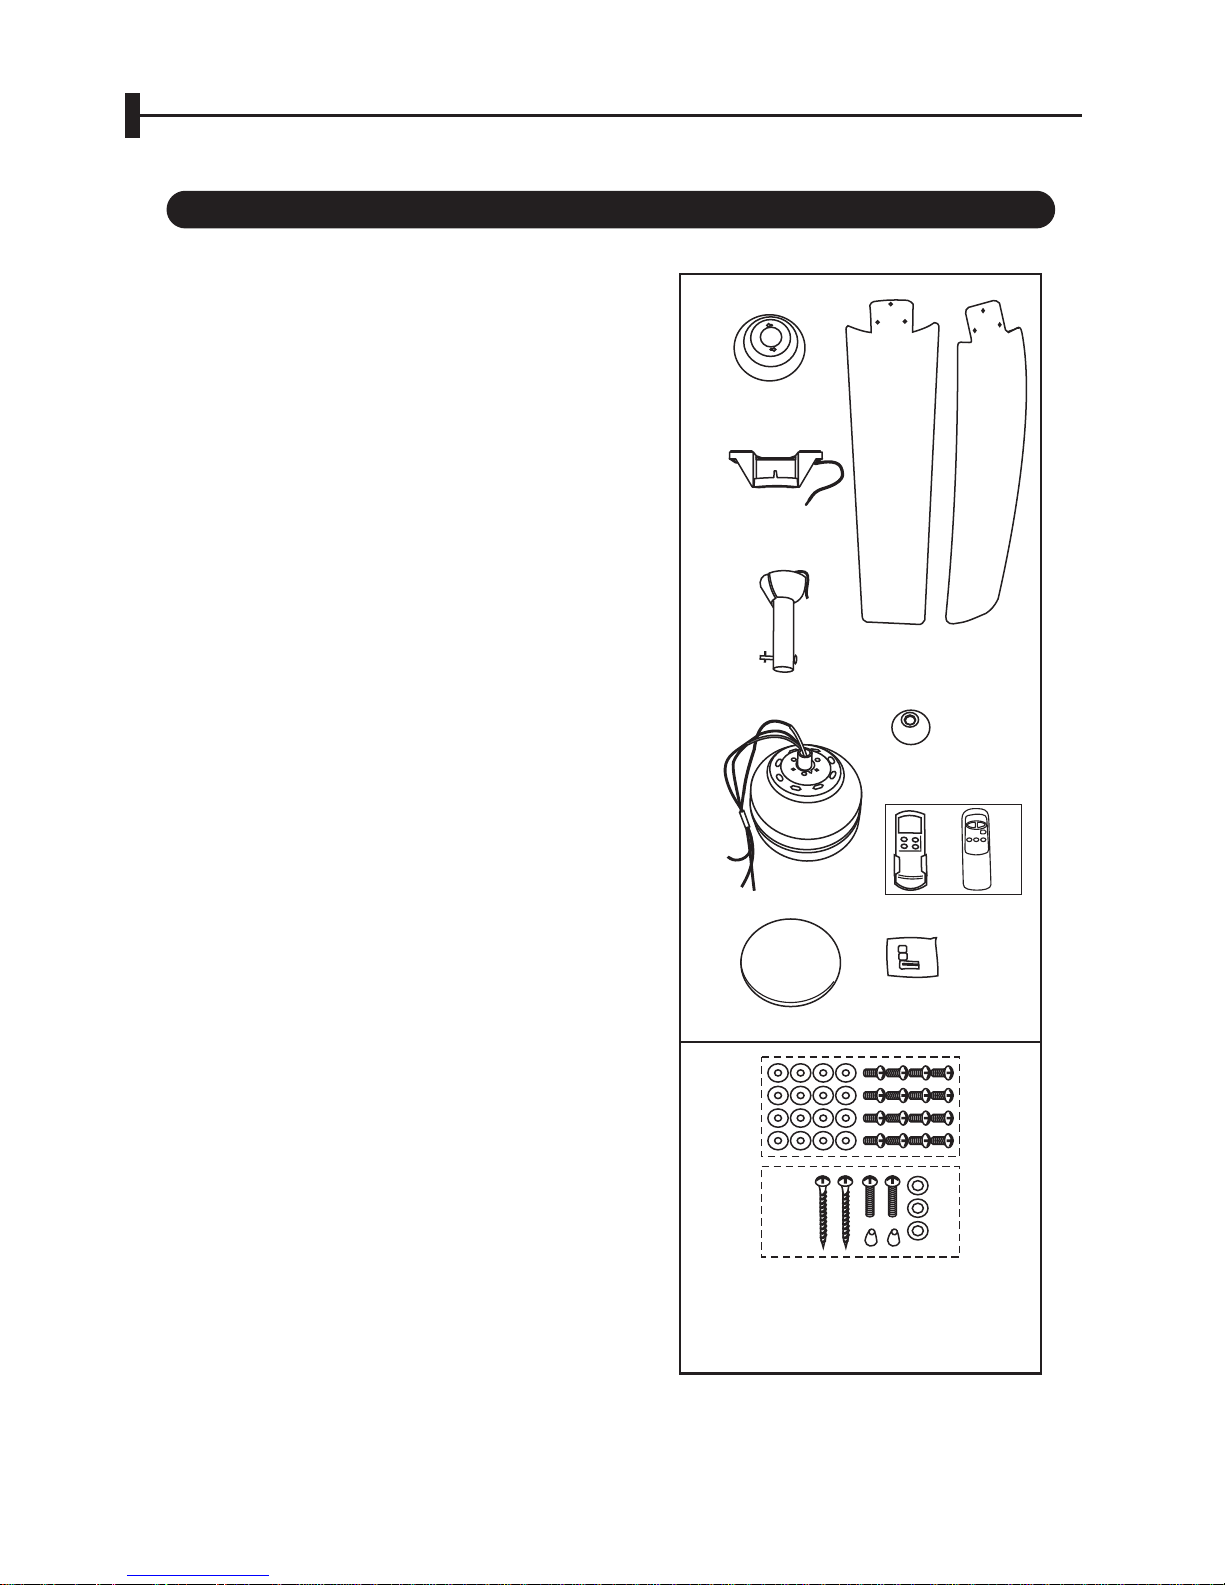
ASSEMBLY DRAWING
A
B
C-1
D
E
F
G
H
C
I
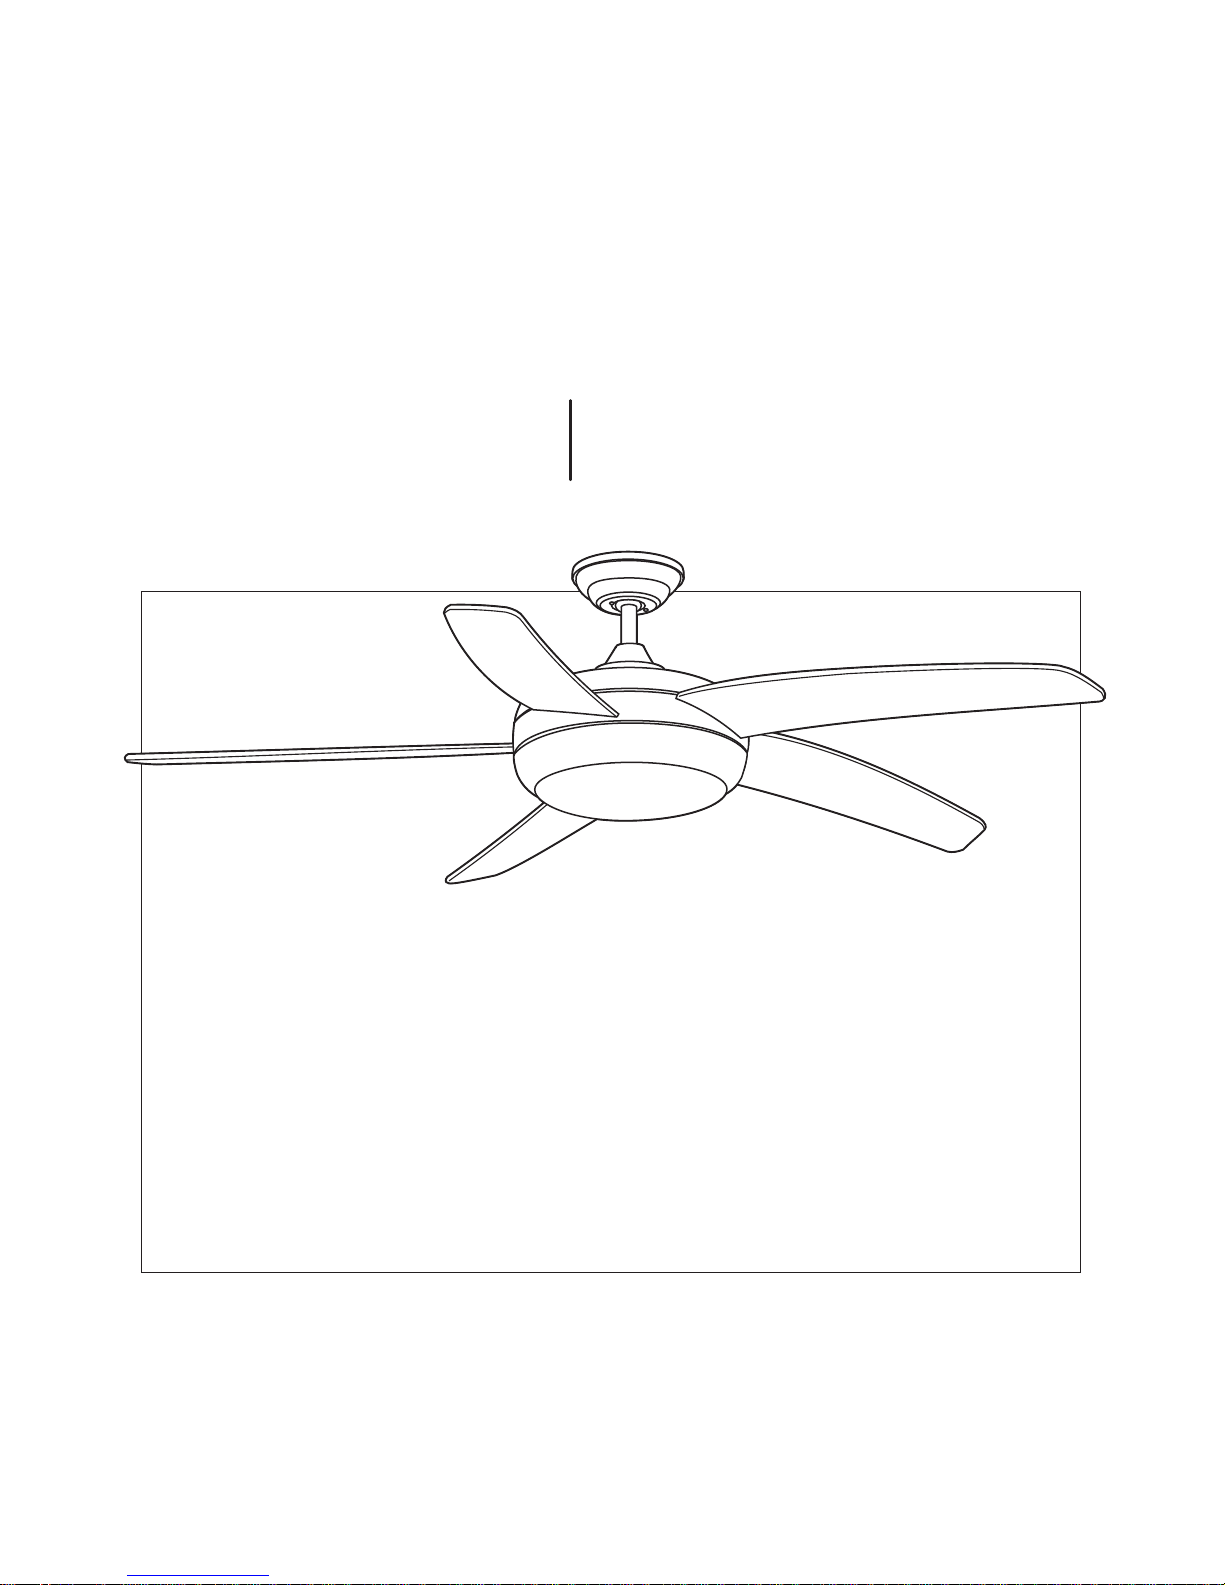
A. Fan Motor Assembly
Ceiling-suspended fan assembly
B. Canopy
C-1. Fan Blade
C. Fan Blade
D. Mounting Bracket
E. Downrod Assembly
F. Glass Bowl
G. Downrod Cover
H. Remote Control
I. Balancing Kit
a. Blade' Screw
b. Mounting Bracket' Screw
WARNING:
DO NOT INSTALL OR USE FAN IF ANY
PART IS DAMAGED OR MISSING.
a
b
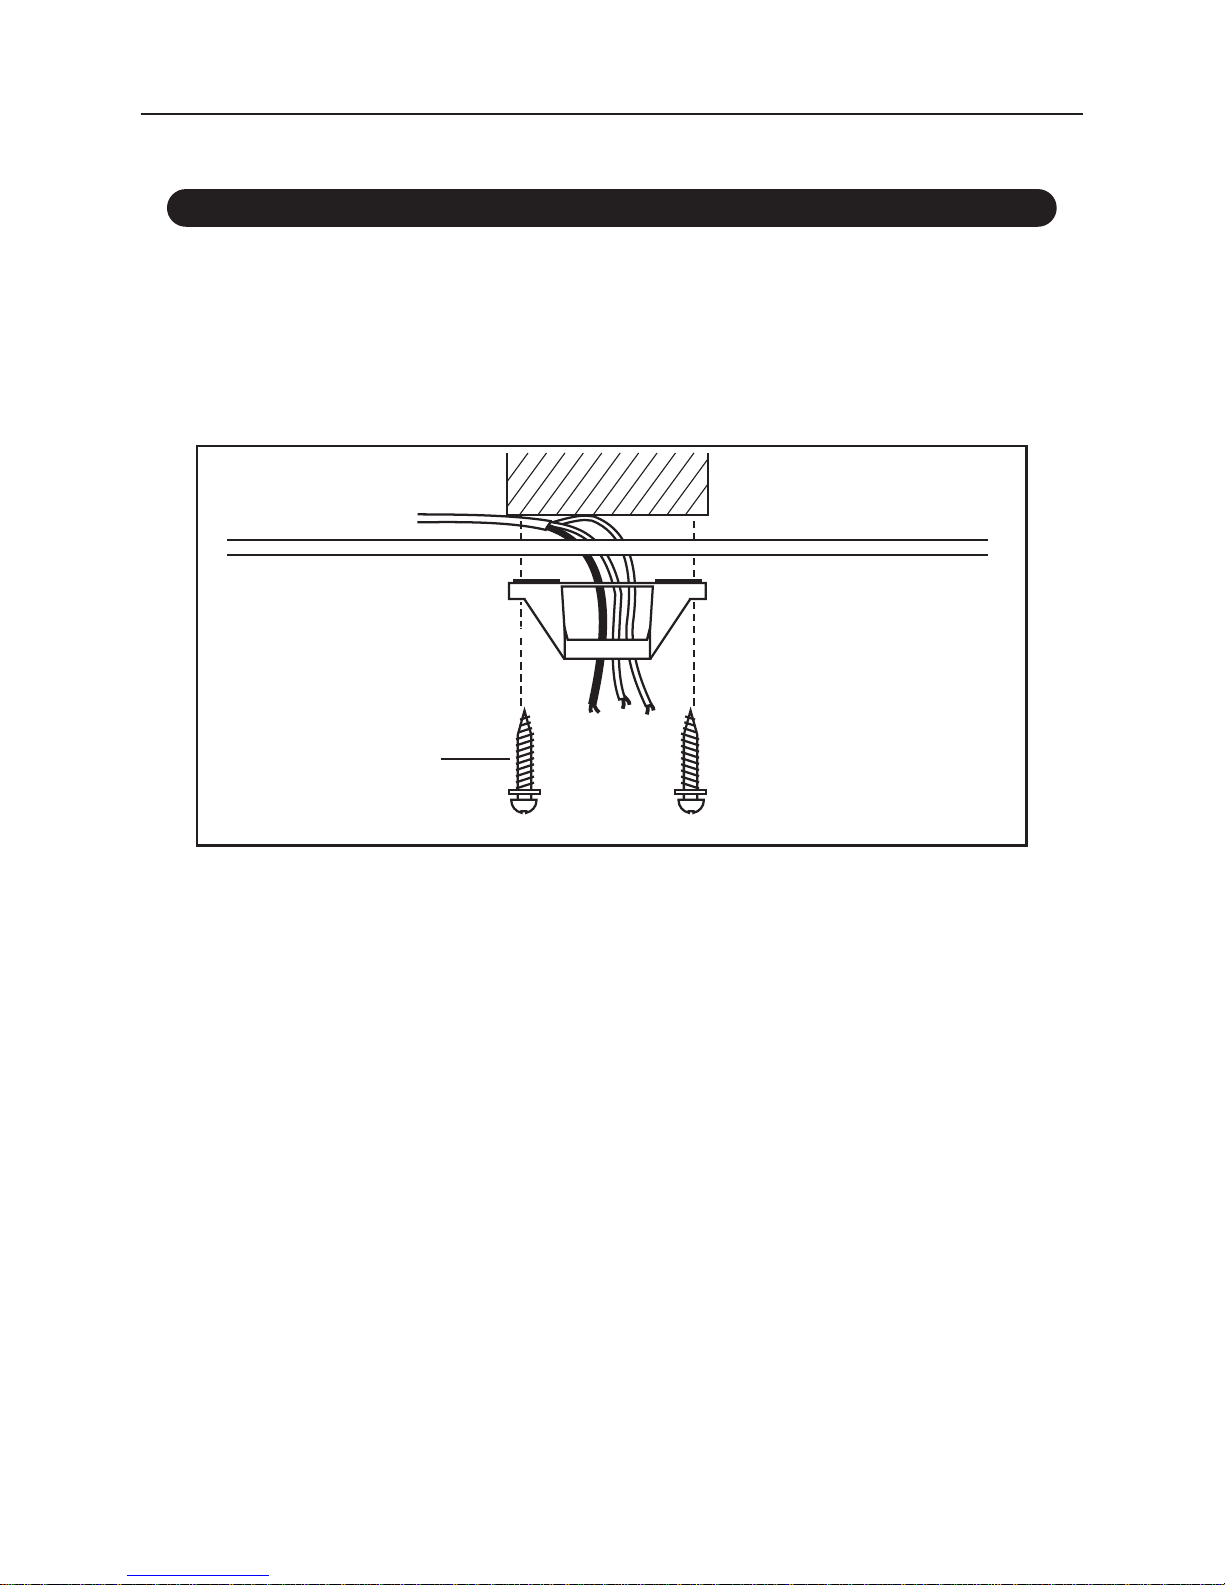
1.Secure the hanger bracket to ceiling beam or a suitable piece of timber
inserted between the ceiling beams. Cocoweb recommends the
bracket be attached with two (2) long screws as supplied within the
package. (See fig 1)
NOTE: Cocoweb assumes that installation of this ceiling fan is carried
out as per the instruction manual (i.e. mounted to a solid timber structure).
It is the purchasers responsibility to ensure that the installing electrician has
carried out the installation of this ceiling fan as per the instruction manual.
Should any noise emanate from this ceiling fan, it is the purchasers
responsibility to have their electrician check the installation of the fan. Steel
beams, grid ceiling and flexible surfaces will not absorb vibration and may
cause some audible noise due to vibration. THIS IS NOT A FAULT AND IS
NOT COVERED UNDER WARRANTY.
HOW TO ASSEMBLE
4
Fig 1
Ceiling
Wood Screws and
Flat Washers
Ceiling-suspended fan installation method
 Loading...