

Page 1
Setup Guide
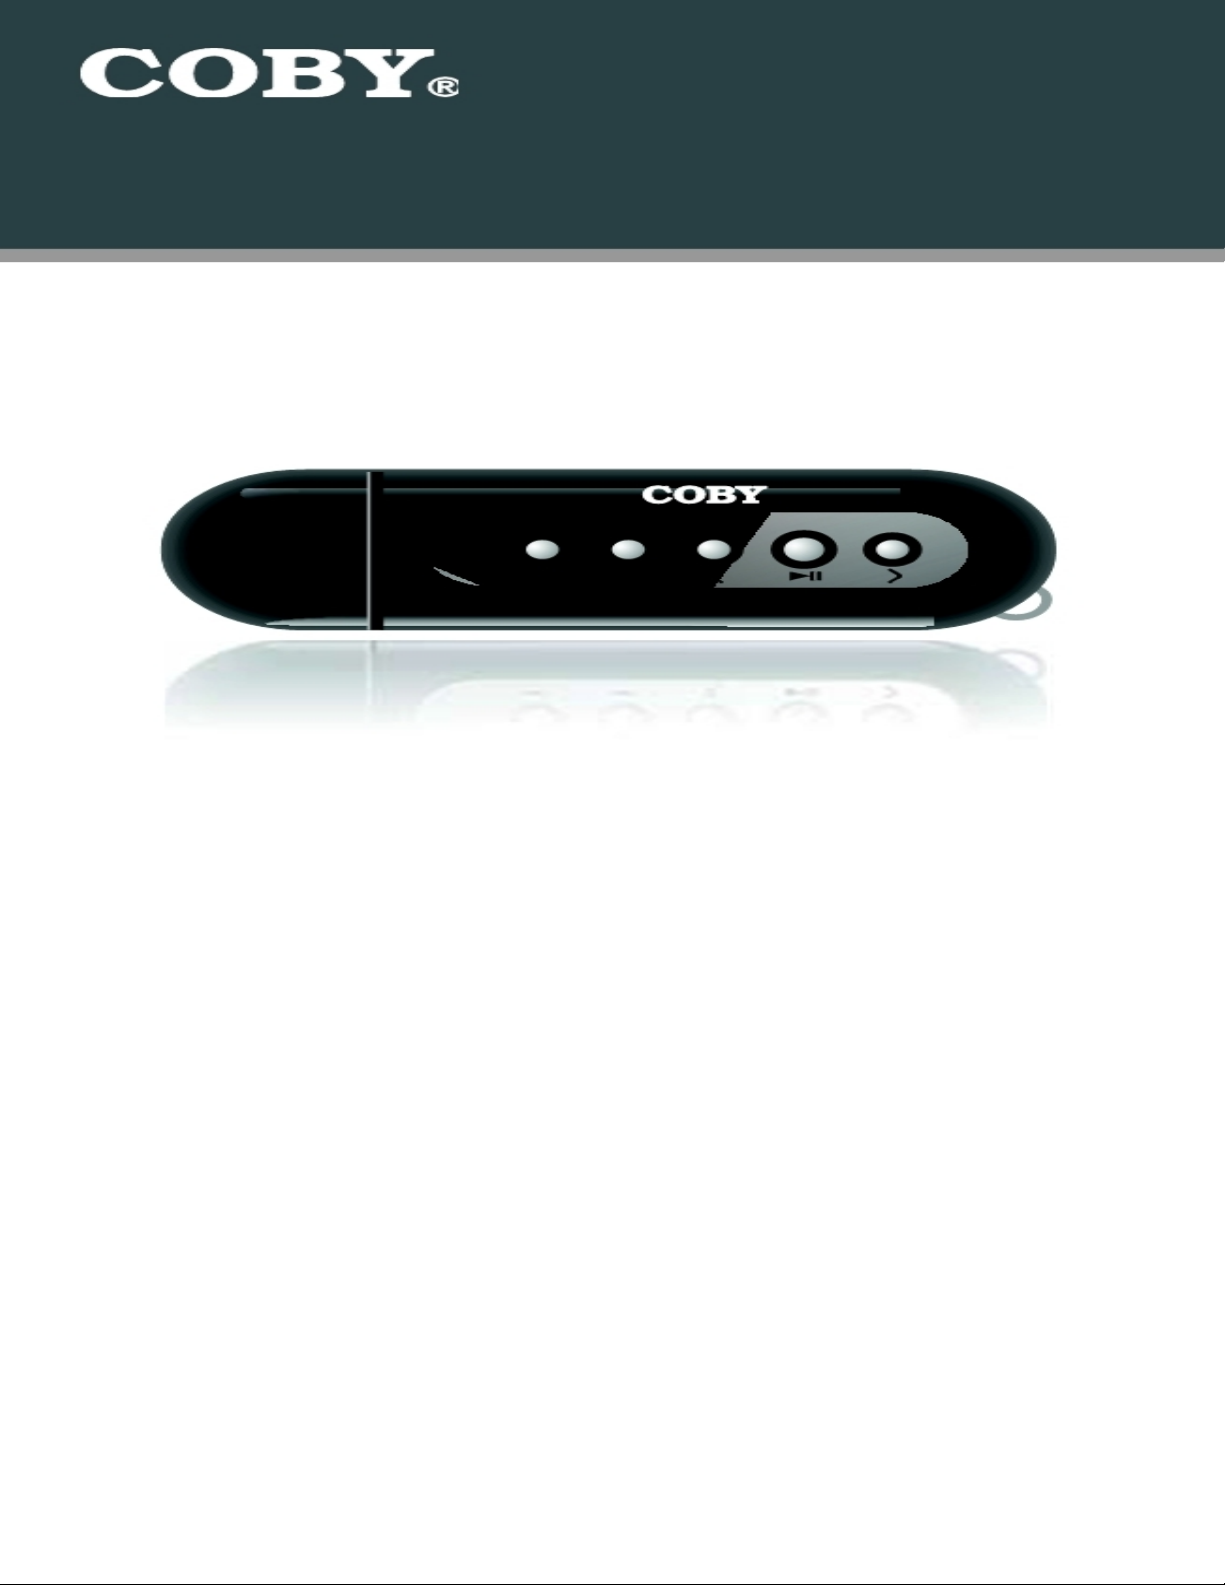
Thank you for choosing a COBY MP3 player
!
~
This guide will cover how to
transfer your music CD’s into
your COBY
MP3
player
using Windows Media Player 11.
~
This guide will also provide common troubleshooting solutions for your
C
OBY MP3 player.
COBY MPC8
53
Requirements
Windows Media Player 11 (WMP11)
If your computer does not have Windows Media Player installed, please download the
latest version of Windows Media Player (WMP) from Microsoft’s website
www.microsoft.com/windows/windowsmedia/player/download/download.aspx
The directions in this guide are given for Windows Media Player 11 (WMP11)
Page 2
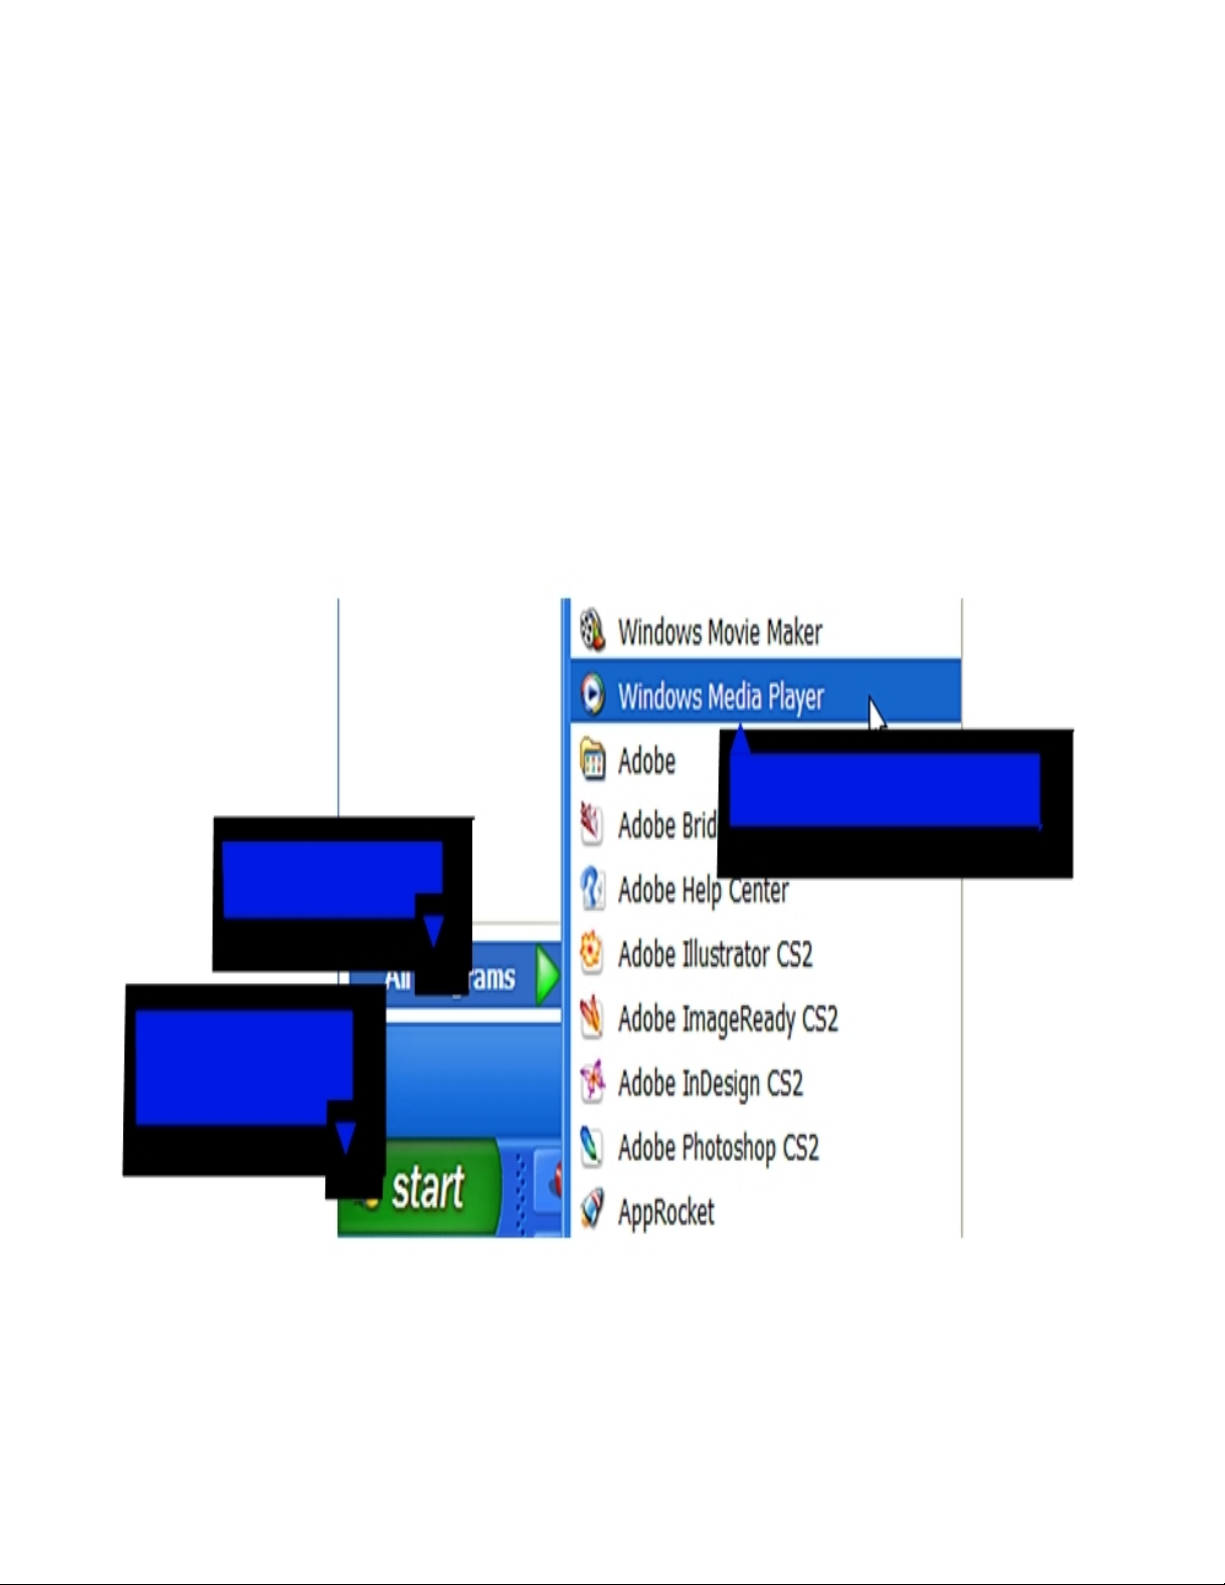
1b. Click
“
All Programs
”
1a. Click
“Start Me
nu”
button
1c. Click on
“
Windows Media Player”
Getting Started
Transfer your Music CD’s into your COBY MP3 player
1) Launch the WMP11 program.
Page 3
ª
2) Put an audio CD into the CD-ROM drive of your computer.
If your computer has an internet connection,
WMP will automatically retrieve and display
the album information.
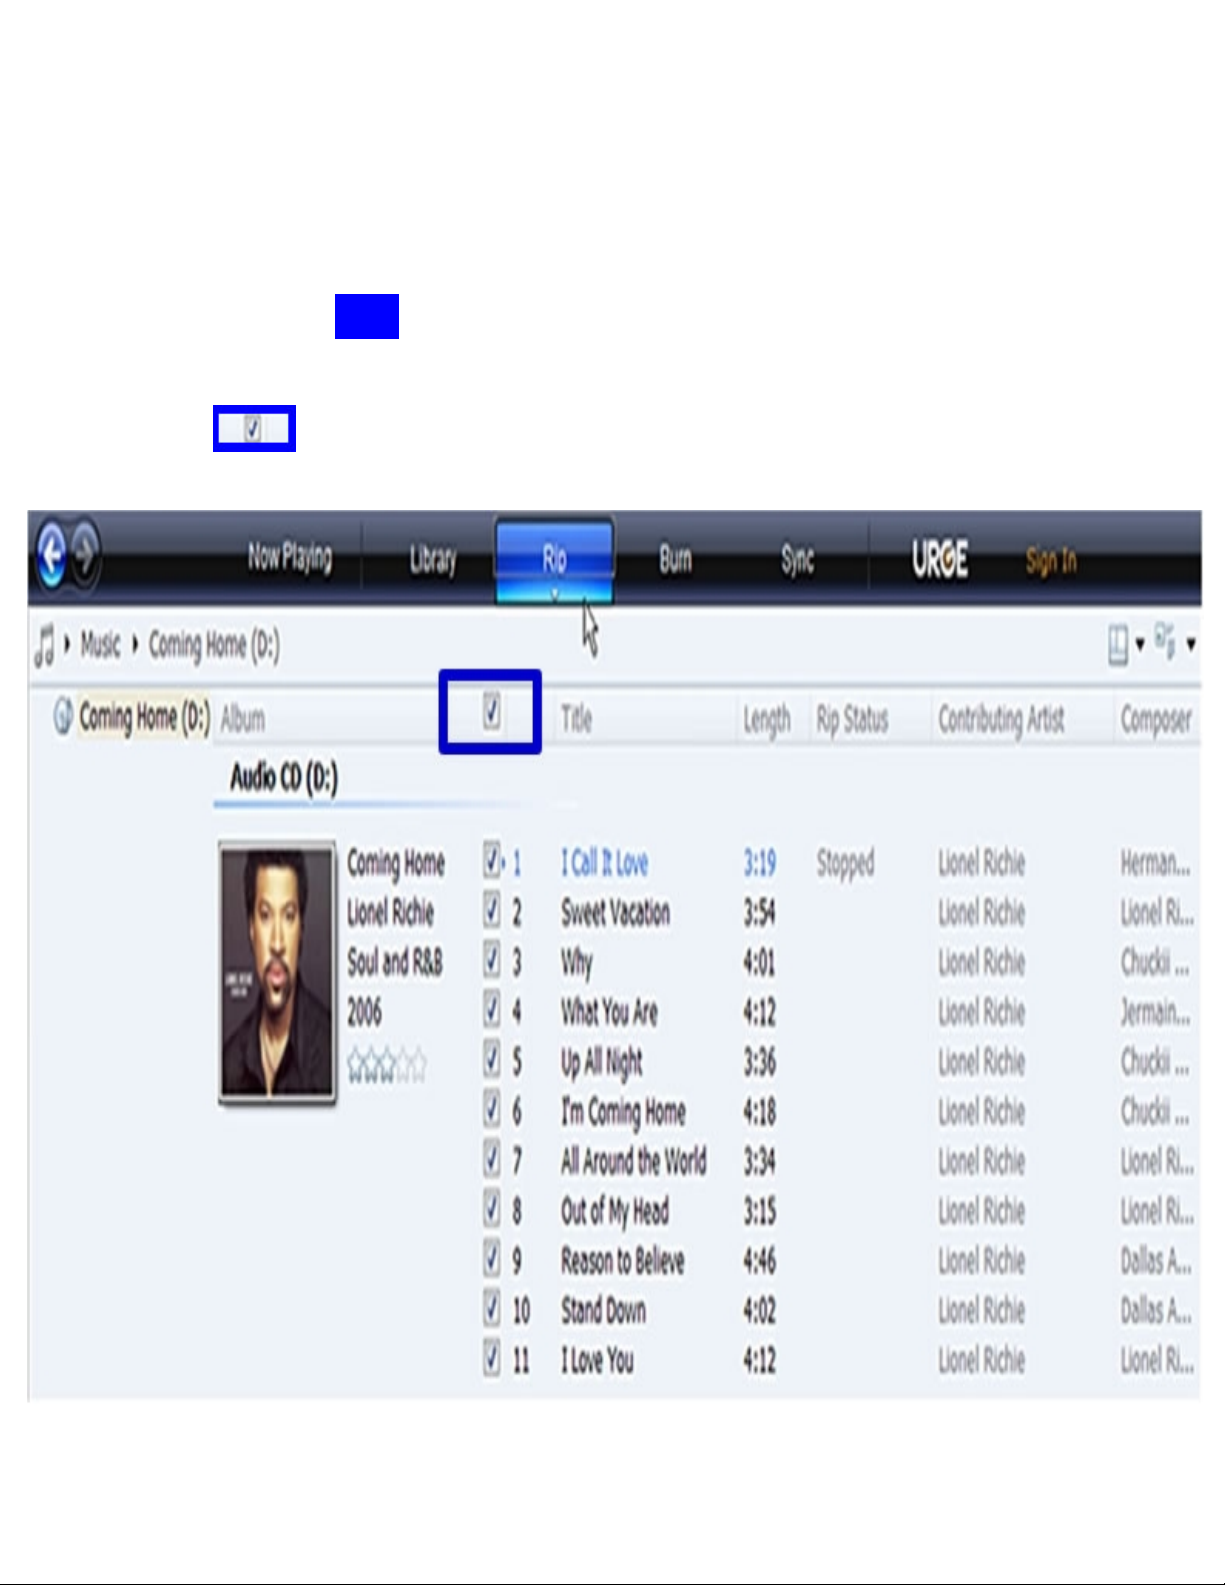
ª
Click the
“
Rip
”
tab and
select which “Title” to rip.
T
o rip the entire
album, check the top
check
box.
_
Page 4

Select “More Options” to change the directory to which WMP saves
your ripped
music files
ª
WMP will save your music to your “My
Documents > My Music” default
folder.
3) Set the Rip Options (optional).
²
Click the
“
Rip
”
button to set the Rip options. The recommended Rip settings are:
²
Select “Format > mp3”
²
Select “Bit Rate > 128 Kbps”
_
Page 5

4) Start ripping the CD.
ª
Click the
“
Rip
”
button and select “Rip” to start converting the audio
CD to MP3/WMA
The ripping
process will take a few minutes to complete. WMP will
save the converted
music files in
your “My Documents > My Music”
default
folder.
_
Page 6

Transfer MP3/WMA Files to Your COBY Player
Once you have MP3 or WMA digital music
files
on
your computer, transfer
them to your COBY player
in order to listen to music anywhere.
Use WMP11 to transfer (sync) music from your computer to your COBY MP3 player.
1) Launch the WMP11 program.
2) Connect your COBY player to a USB port on the computer.
ª
WMP11 will detect your COBY player automatically.
Page 7

3) Browse your music library to choose songs to sync.
3a. Click
“Sync”
3b. Double-click an
icon to choose
a
view of your
Music Library
Page 8

4
) Select songs to sync to your COBY player.
4a. Type in the Search
bar to
quickly find a
song.
4c. Drag the selected
tracks h
ere to
add
them to the Sync List.
4
b. Click on
a
track to
select
it
for
synchronization.
To select multiple
tracks, hold
the
CTRL or SHIFT and
click on the tracks
.
4d. Click “Start
Sync” to
transfer
the Sync List
to your COBY player.
11
Page 9

5) Disconnect your COBY player from the computer.
Once the sync process is complete, unplug your
player from the USB port of the computer. Now
you’re ready to listen to music on your COBY
player.
Page 10

Common Troubleshooting
Problems
Possible Solutions
No Power
*Replace the Battery.
*Hold the Play/Pause/Stop button for 5 seconds.
*Reset the MP3 player by removing the battery
Song Freezes
*Make sure your WMA file(s) are not DRM protected.
*The file is corrupted or damaged.
*Unsupported file format (ACC, WAV…... Etc)
No sound after file transfer
*Ensure that the headphones are attached securely to
the player.
*Make sure your WMA file(s) are not DRM protected.
*Unsupported file format (ACC, WAV. ….Etc)
MP3 Player not recognized by the
Computer
*Check the connection.
*Switch USB ports.
* Reset the MP3 player by removing the battery.
If
you are still having difficult
ies
with your MP3 player, please cont
act Customer Care,
Hours of operation, Monday-Friday 8:00 AM – 8:30:00 PM EST, Saturday and Sunday
9:00 AM – 5:30 PM EST. You can also reach us online at
customerservice@cobyusa.com
or
techsupport@cobyusa.com
1-800-727- 3592
 Loading...