

Page 1
MP805
MP-805
MP-805
2.4” LCD High-Resolution
MP3
an
d Vi
deo Player
QUICK SETUP GUIDE
Page 2

T
hank
This
y
ou for cho
guide will cov
osing a COBY MP3 pl
er how to get
started playing
mus
ic
with your COBY
ayer!
player.
For
more informatio
M
anua
l o
r visit us on th
n abou
t your player and its fe
e web at www.cobyusa.com.
atures,
ple
ase co
nsult the Instruc
Requirements
Mak
e sure you have the following item
MP3 pl
ayer.
Coby MP3 Player, Headphones, and USB C
ª I
f your COBY use
ª
Connect the headphones to the headphone jack o
C
omputer with USB su
ª Most modern computers come equipped with a USB port. Please check
co
mputer manufacturer if you are not sure that your co
Windows Medi
s a rechargeable battery, mak
ppo
a Player 11
rt
(WMP11)
s ready to
start playi
ab
e sure that it has been fully cha
n your COBY.
ng
music on your COBY
le
mputer has U
SB suppo
tion
rged.
with the
rt.
ª The directions in this guide are given for
management
soft
ware on your co
mputer.
WMP1
1, but you may use any
media
Page 3
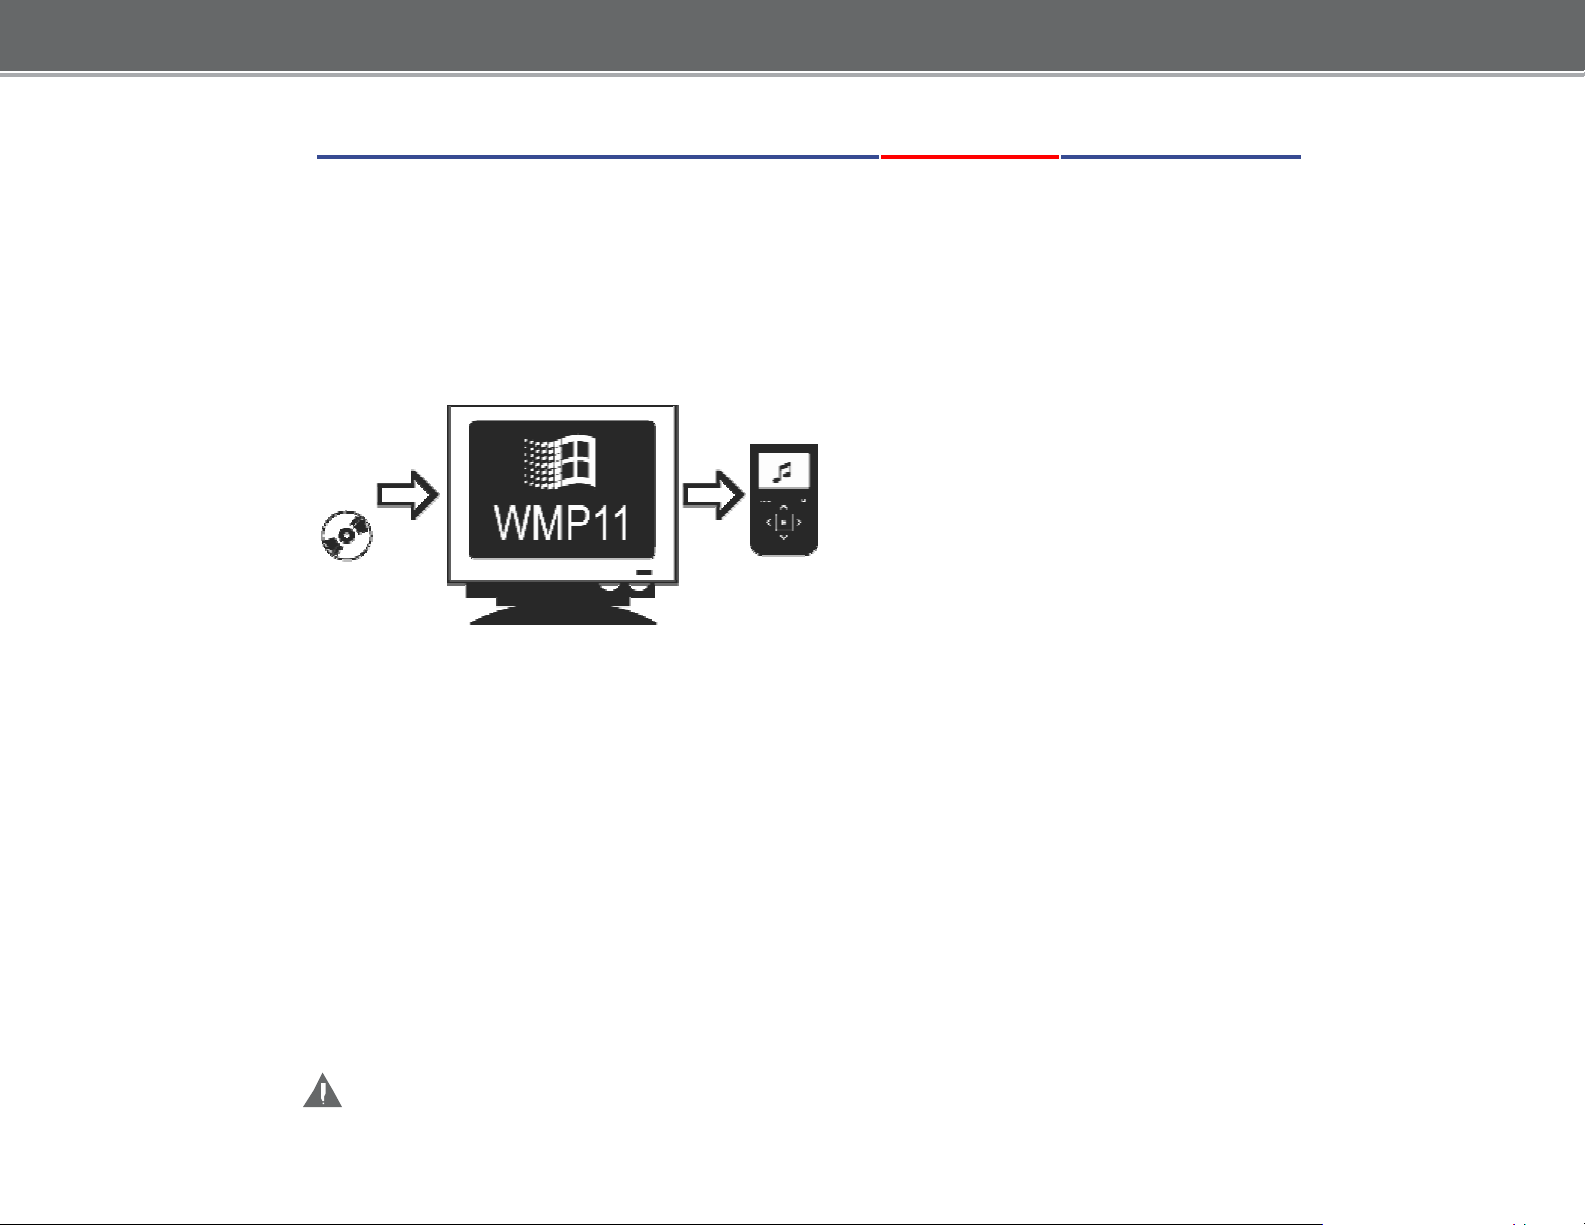
Getting
Started with MUSIC Transfer
To start playing music, you will need to:
ª Musi
ª Trans
c f
iles o
n your co
fer the music f
mpute
iles t
r
o your COBY player
ª Start music playback on your COBY pl
Windows Media Pl
I
f your co
mputer does n
ayer 11 (WM
ot ha
ve
Windows Media Player installed,
ayer
P11)
please
d
ownloa
Micros
d th
oft’
s website.
e
latest
version of
Windows
Medi
a
Pl
ayer (
WMP) fro
ht
tp://www.microsoft.com/windows/windowsmedia/player/download/download.aspx
The cu
rre
nt
version available is Windows Media Pl
ayer 1
1.
Afte
r you have
co
mputer, you
followed Micros
will be ready to put
oft’s instructions to
music f
install WMP o
iles on your computer.
n you
r
For mo
key o
re infor
n your ke
mation about h
yboard
while the program is running
ow t
o use the features of WMP
, press the F1
.
m
Page 4
P
ut MP3
Music
I
f you already have MP3 o
File
s on Your
r WMA music f
iles o
Computer
n your computer, transfer them by:
a) Locate your files, b)
Copy and Paste or Drag and Drop your existing files,
c) In the Removable Disk, d)
If you do not have music files:
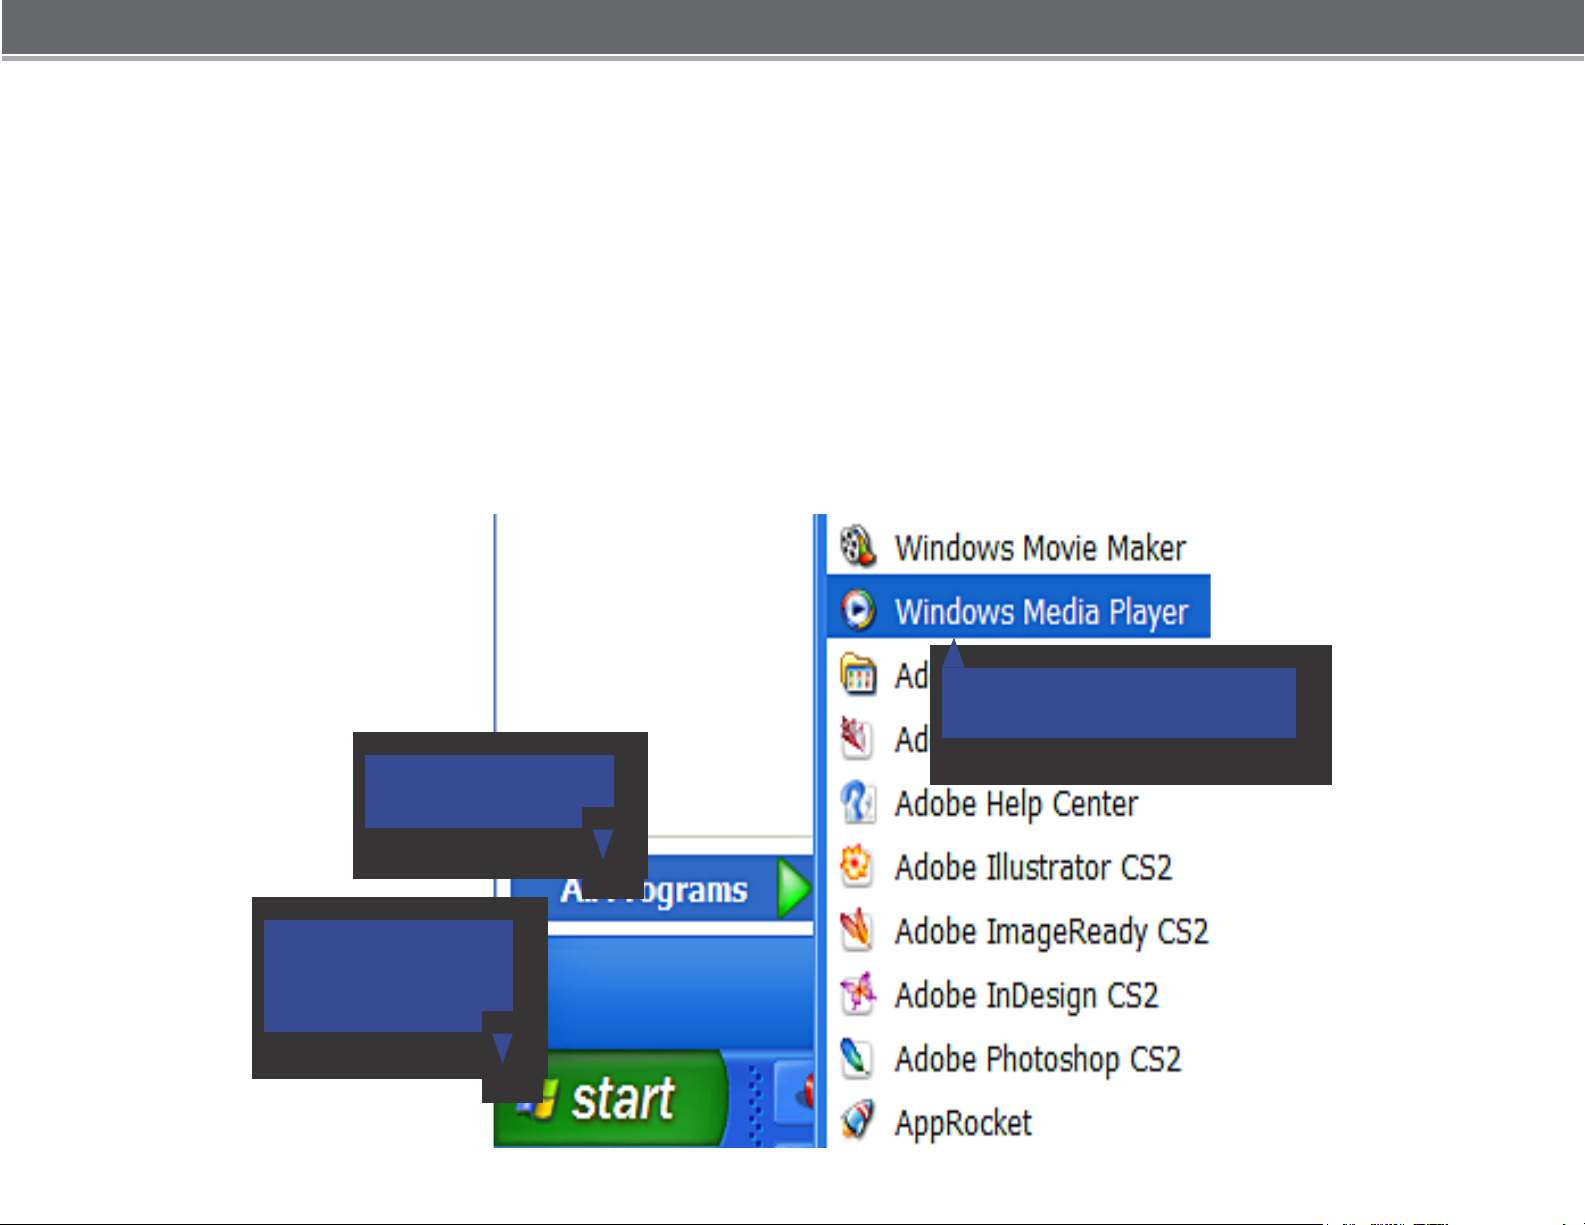
1) L
aunch the WMP11 pr
1b. Click “All Programs”
In the
Music Folder, e)
ogram
.
Located under “MY Computer”
1c. Click
“Windows Media Player”
.
1a. Click the Windows
“Start Menu” button
Page 5
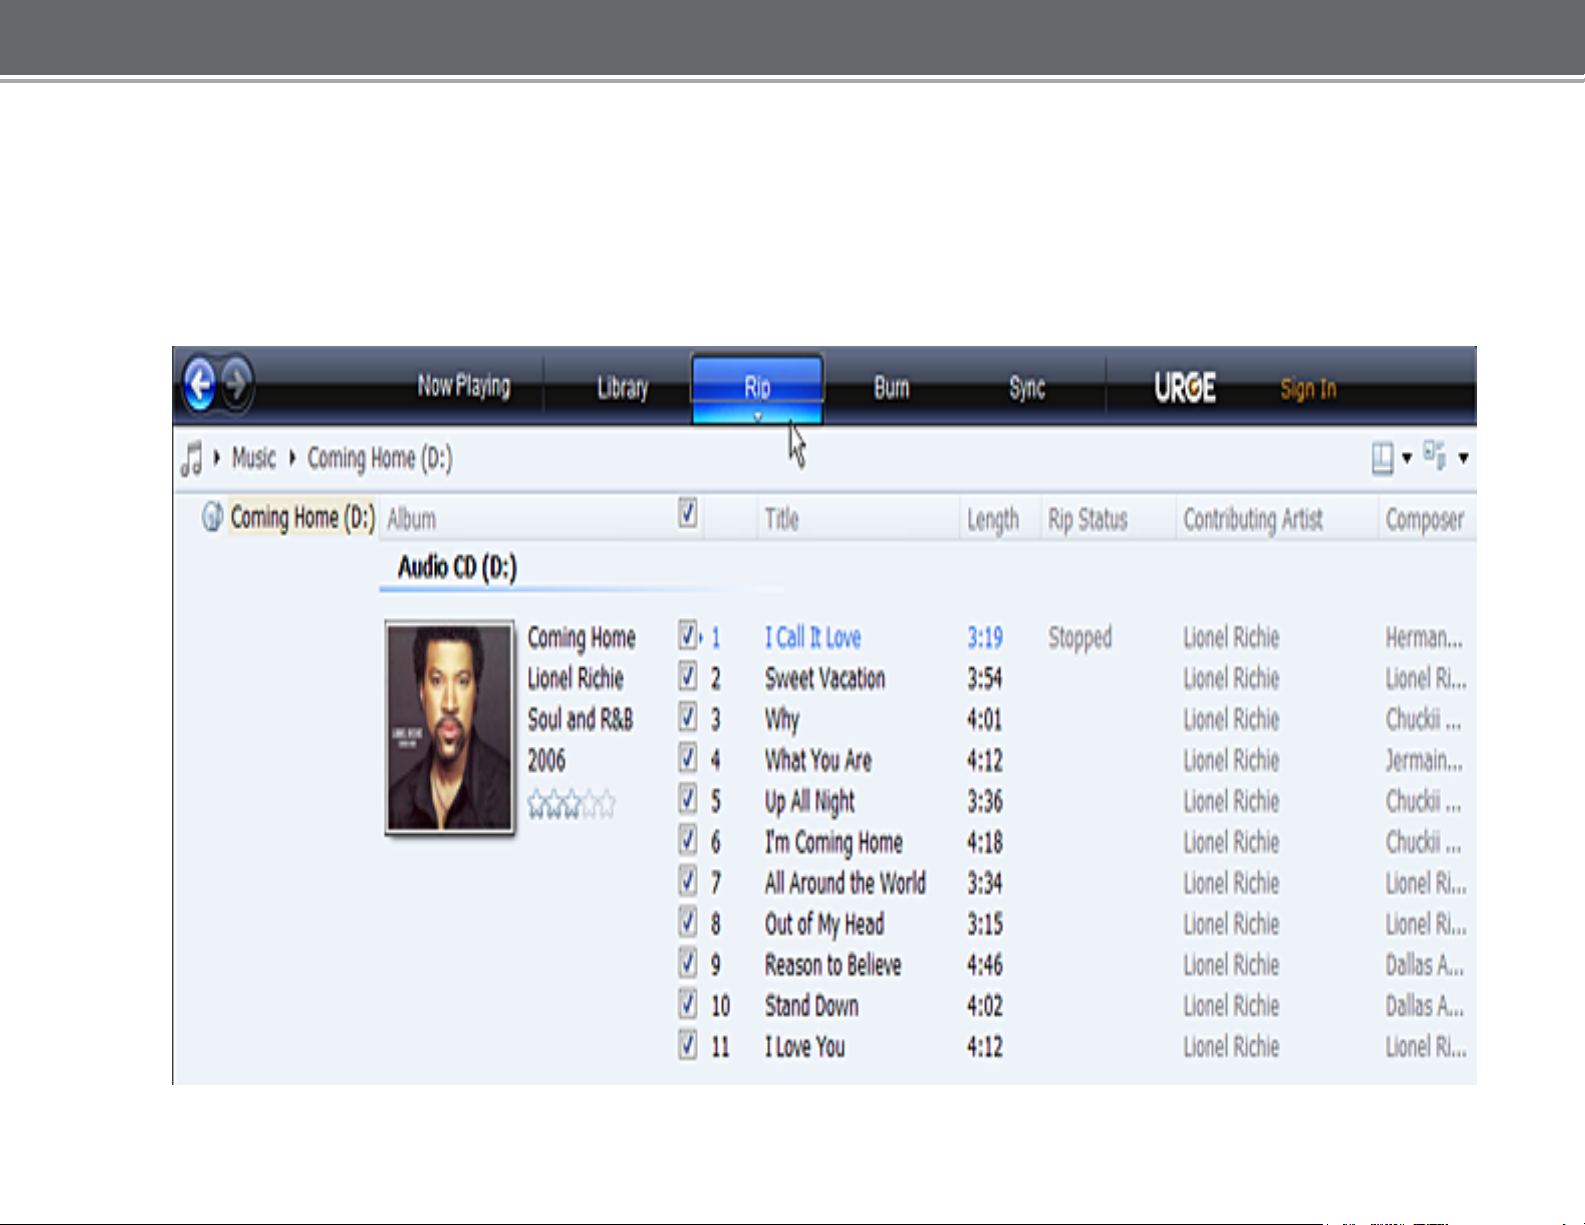
2
) Put an audio CD into th
I
f your co
an
d d
mputer has an intern
isplay the
album information.
e CD-ROM drive of your computer
et connectio
n,
WMP will
aut
omatically
retrie
.
ve
ª Click the checkboxes to
check all of the boxes.
sele
ct which tracks
to rip. To rip the entire
album
,
Page 6
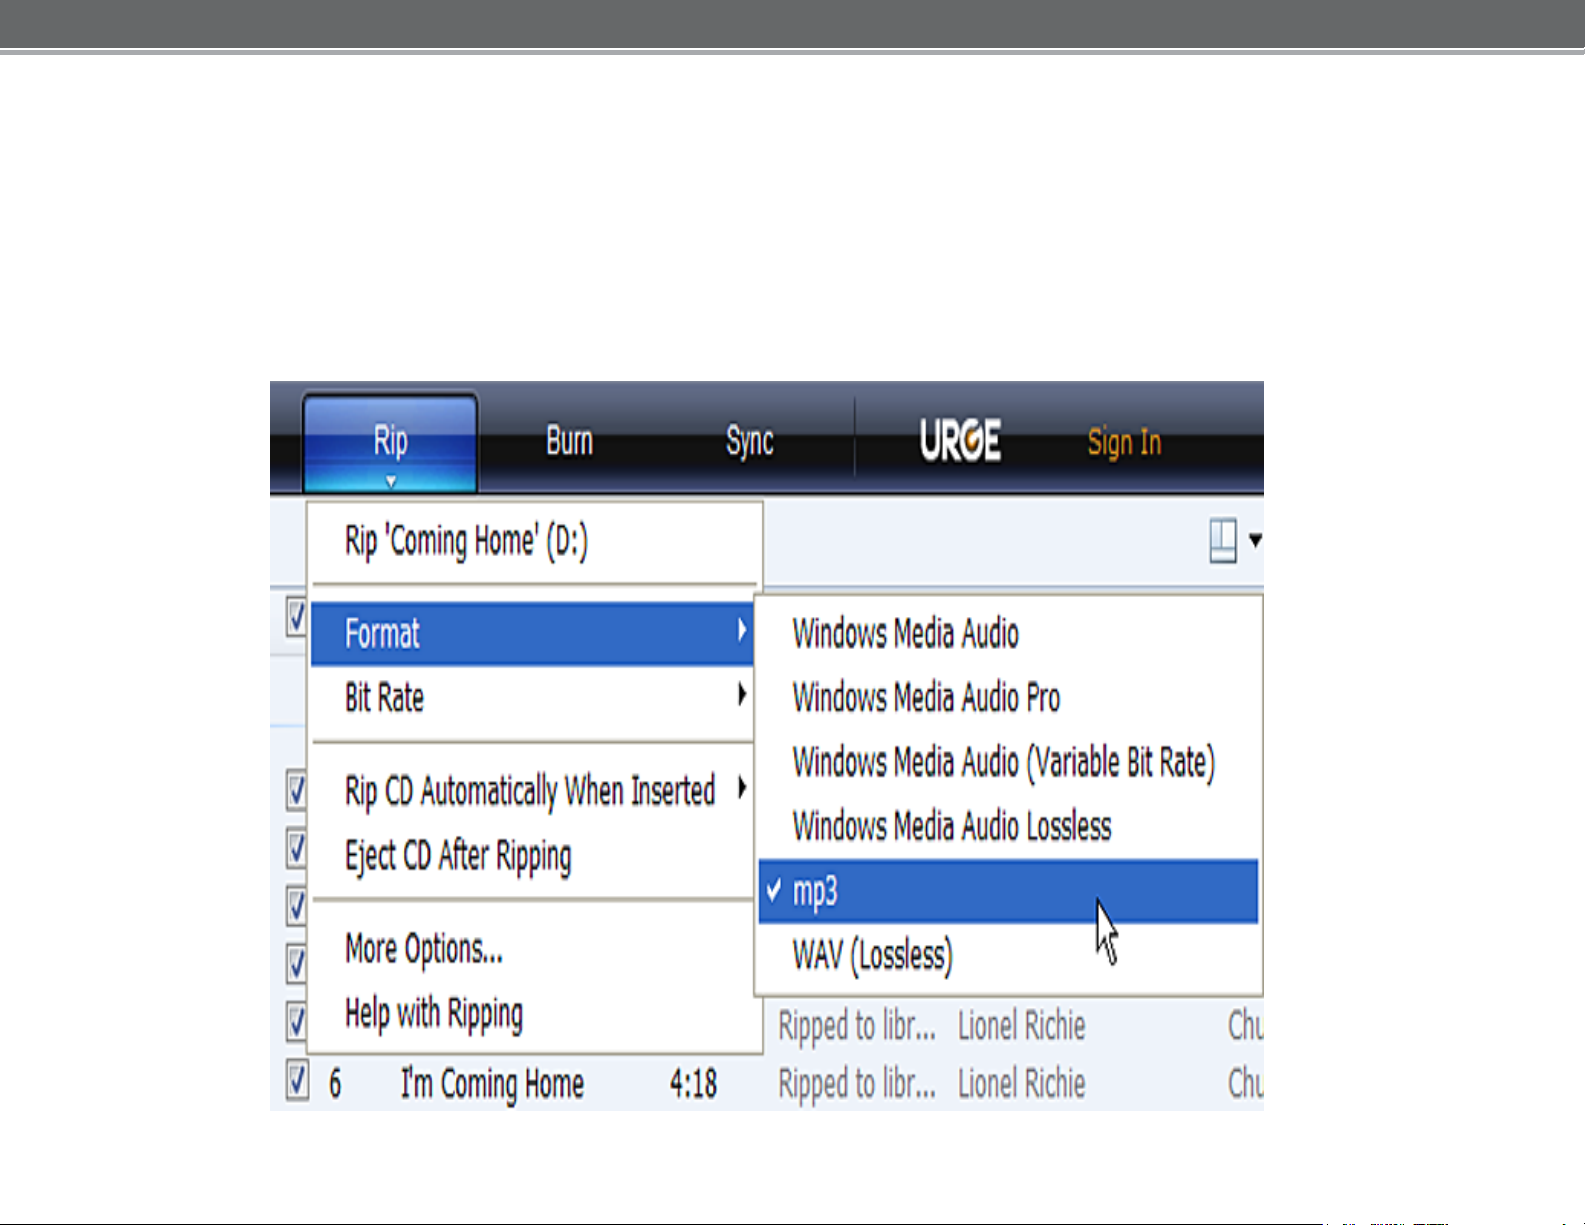
3) Set the Rip Opt
ions (
ª Click the “Rip” button to s
²
Select
² Select “Bit Rat
² Select “M
musi
by defaul
“Forma
ore Op
t > mp3”
e > 128
Kbps”
tions” to chang
c files. WMP will save your
t.
optional)
.
et the Rip op
e the
musi
c to your “My Documen
tions. Th
dir
ectory to which WMP saves your ripped
e recommended Rip settings
ts > My Musi
c” folde
are:
r
Page 7

4) Start ri
pping the CD.
ª Click the “Rip” button and select “Rip” to
dig
ital music f
ª The ripping
ile
s.
pro
cess will take a f
ew minut
start converting the audio CD to MP3/WMA
es to complete. WMP will save the
converted
music f
iles t
o your “My D
ocument
s > My Mus
ic” folder by
default
.
Page 8

Onc
your CO
Use WMP11 t
1) Launch the
2) C
on
nect your COBY player to a USB port on the
ª
Transfer
e you have MP3 o
BY pl
WMP11 program
WMP11 will detec
ayer in order to li
o trans
MP3/WM
r WMA dig
ital music f
sten to music anywhere.
fer
(sync) music fro
.
t your COBY pl
A Files to Your COBY Pl
m your computer t
ayer aut
iles o
omatically.
n your co
computer.
mputer, trans
o your COBY MP3 pl
ayer
fer them to
ayer.
Page 9

3) Br
owse your music library to ch
oose songs t
o s
ync.
3a. Click “Sync”
3b. Double-click an icon
to choose a view of
your Music Library
Page 10

4) Select songs t
quickly find a Song
o s
ync to y
our COBY player
4a.T
ype in the Search bar to
to add
.
4c. Drag the selected tracks here
them to the Sync List
4b.
Clic
k on a
track to select
it for synchronization. To
select
hold CTR
click on the
multiple tracks,
L or
SHIFT an
track
.
d
to
4d.
Click “Start
transfer the
your
COBY player
Sync” t
Sync List
o
Page 11

5) Disconnect your COBY player from the
computer.
Once the sync pro
cess is complete, unplug your player from the U
SB por
t
of the com
puter. No
w you’re
ready to li
sten to music on your COBY player.
Page 12

Start Listening to Musi
Now tha
ready to tak
ª Connect a
t you have
e your music
pai
r of headphones or ear
transferred music to your COBY pl
c on Your COBY Player
wit
h you an
ywhere.
phones to the headphone jack
ayer, you’re
of your COBY MP3 player.
ª Turn o
n your COBY player
(Slide the Power Button to the “ON” position
and Press and hold the “PLAY” button for five (5) seconds.
ª Start the playback on your COBY pl
and press Pl
ay.
ayer by entering the “Music” menu
For mo
please con
re infor
sult the Inst
mation about h
ruction Manu
ow t
o control your COBY MP
al.
3 player,
Page 13

Getting St
Install the convers
1.
Insert the Insta
2. Double-click on the AVI Converter Folder
“AVIConverter C
installa
3.
Follow the on
pro
Converting Vi
To
start the progr
desktop. The applica
tion pro
cess.
arted with
VIDEO
Transfer
ion software (AVIConverter)
llation CD in your CD/DVD drive
then Double-click on the
HN-EN P
ackage S
etup.exe” file to start the
cess.
-screen instructions to complete the
de
o
am, doubl
tion window sh
e-click the
own below will appear
AVI Con
ver
ter sho
installa
tio
rtcut on you
.
n
r
Click the
“
Ad
d
” butto
n
.
Page 14

The C
Use this screen to ad
onversion
setting
d video
jobs to the queue.
1. Set the Resolutio
diagram.
2. Lo
cate
shaded bo
file
RM, R
mus
the
files needed to be converted, click the
x indicated
t be one of the following video types: AVI,
MVB, M
MKV, DAT, or V
3. Select the Target File P
n to “320x240” as sho
in the diagram. Th
PG
, M
PEG
OB.
screen will appear
conversion
, MP4, ASF,
ath (destina
wn in th
e sourc
WM
tion f
e
V,
olde
.
e
r)
where the converted video will be saved to, clic
the shaded box indicated
4. Type the desire
vi
deo
file.
5.
After all options have been selected, click th
“Save” butto
d file name fo
n to save
this conversion
in the diagram.
r the converted
job to the
queue.
6. Once there are no
add to the
to the applica
queu
tio
more video conversion
e, click the C
n window shown
lose butto
below.
n to return
k
e
jobs to
Page 15

7. The appl
to the
queu
8. To exit th
ica
tion window should now lis
t all conversion
e. Click the “Convert Now” bu
e program, click the “Close” butto
jobs that you have added
tton to start the con
n.
version
pro
cess.
Page 16

Transfe
r the converted
VIDEO
files to Your CO
BY Pl
ayer
1. Connect the player to your
2. Double-click on the “MY COMPUTER” icon on your desktop.
3. The p
will be listed in alphabetic order.
4. Go to the “Targ
vide
in the
layer will be listed as two (2) “Removable Disk”
et Fil
o files was
appr
opriate
e Path (d
save
d” and Copy and Paste or Drag and Drop the files
“Removable Disk”. Done!!!
Start
Now tha
watching
t you have
Video files on your COBY Player
transferred Video files to your COBY pl
co
mputer with the
est
ination folder) where the converte
supplied USB 2.0 cable.
. The
ayer, you’re
drive l
etter
d
ready to tak
ª Connect a
of your COBY MP3 player.
ª Turn o
and Press and hold the “PLAY” button for
ª Start the playback on your COBY pl
select the file and press Play.
For mo
please con
re infor
e your music
pai
r of headphones or ear
n your COBY player
mation about h
sult the Inst
wit
h you an
ruction Manu
ywhere.
phones to the headphone jack
(Slide the Power Button to the “ON” position
ow t
five (
ayer by entering
o control your COBY MP
al.
5)
seconds.
the “Video” menu
3 player,
,
Page 17

Tr
ansfer
PHOTO files to Your
COBY
Player
1. Connect the player to your
2. Double-click on the “MY COMPUTER” icon on your desktop.
3. The player will be listed as two (2) “Removable Disk”. The drive letter
will be listed in alphabetic order.
4. Locate your JPEG image file
the files in the appropriate “Removable Disk”. Done!!!
co
mp
uter with the
s and Copy and Paste or Drag and Drop
supplied USB 2.0 cable.
Start viewing photo files on Your COBY P
Now tha
ready to
ª Turn o
t you have
view the files
n your COBY player
transferred photo files to your COBY pl
.
(Slide the Powe
layer
ayer, you’re
r Button to the “ON” position
and Press and hold the “PLAY” button for 5-8 seconds.
ª Start viewing your photo files on your COBY pl
“Photo
For mo
please con
” menu
re infor
sult the Inst
, select the file and press Pl
mation about h
ruction Manu
ow t
o control your COBY MP
al.
ay.
ayer by
entering the
3 player,
Page 18

I
f y
ou have a
problem
with this device,
please rea
d
the troubleshooting guide
us on the web at www.
A
sk
ed
resol
Su
pport
Ques
ve the
.
tions
probl
(FAQs
em, please co
cobyusa.co
). If th
P
hone:
W
eekday
W
eekend
W
eekday
80
0-7
s 8:0
27
-3
592
0AM–11:00PM EST
s 9:00AM–5:30P
s 8:0
0AM–5:30P
on the user manual or visit
m for Fre
ese resources
ntact Technica
quentl
do not
l
y
M EST
M
ES
T
 Loading...