

Page 1
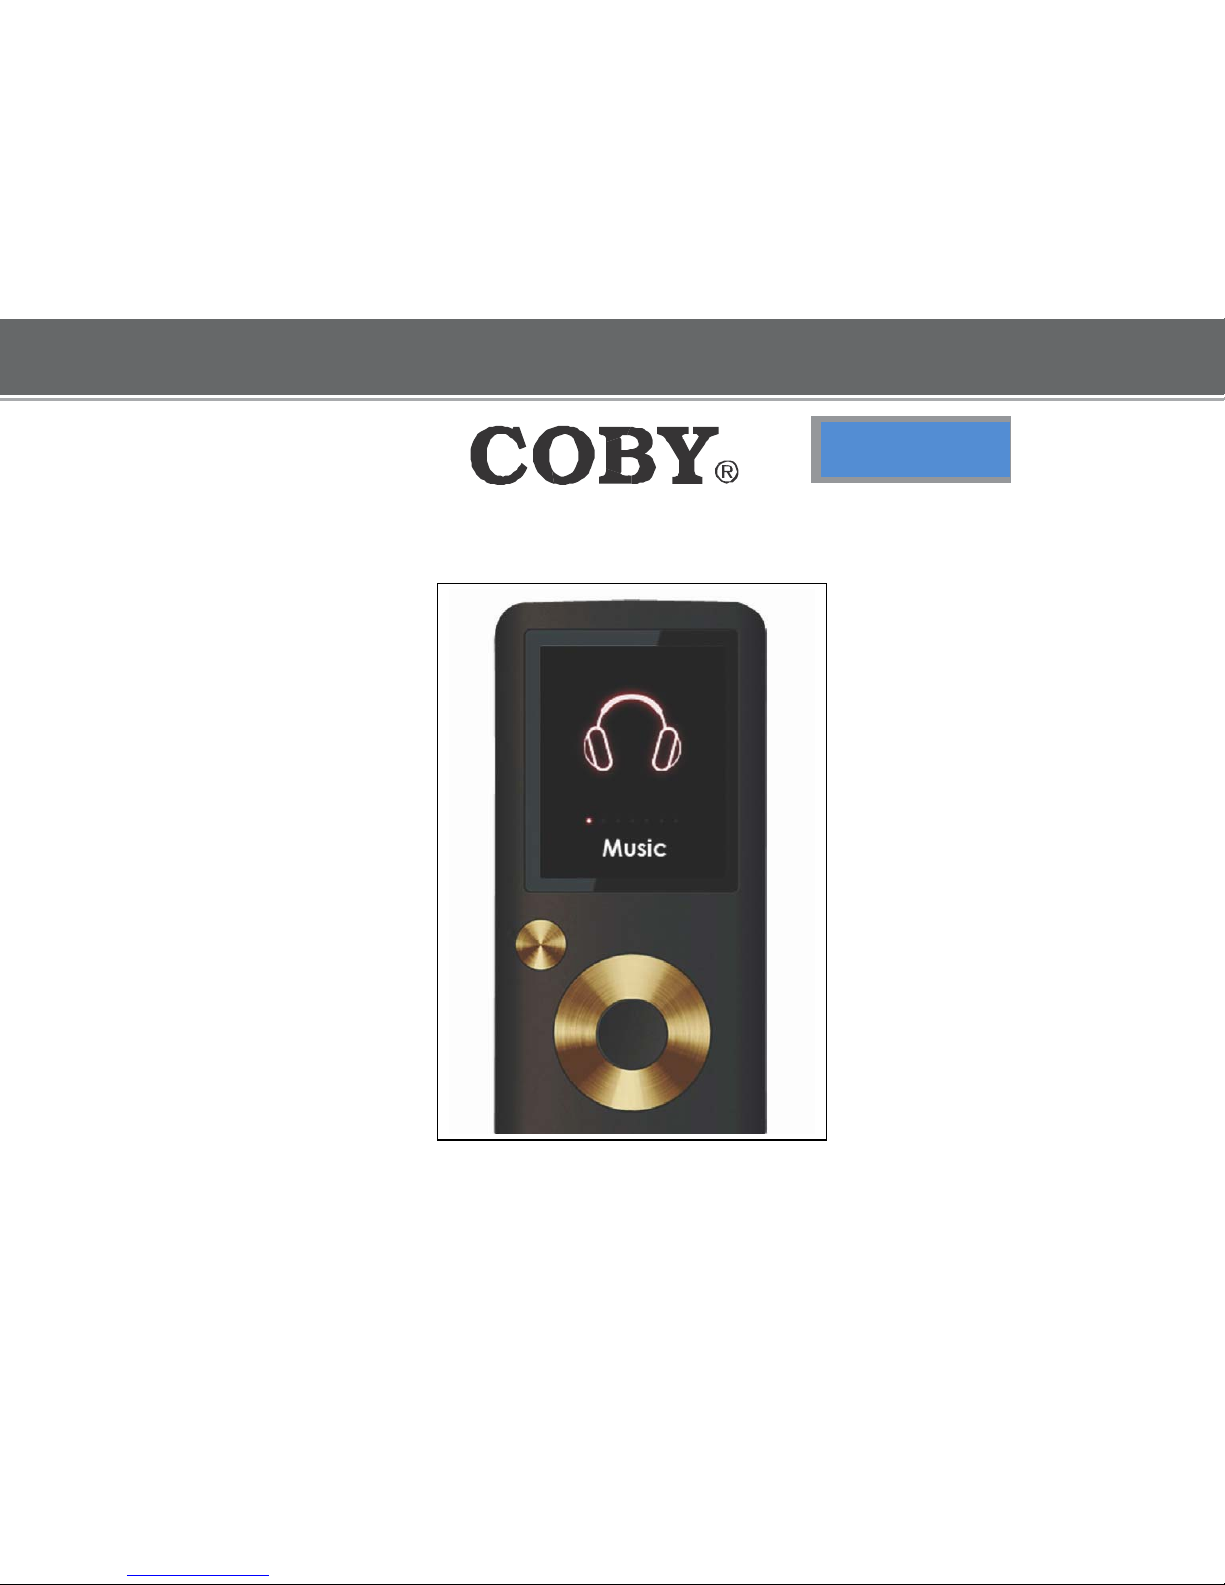
MP
-610
MP
3 & Vi
deo Playe
r with FM Radio
QUICK SETUP GUIDE
Page 2

T
hank y
ou for cho
osing a COB
Y MP3 player!
This
guide will cover how to get started playing
music
with your COBY pl
ayer. For
more
information about your pl
ayer and its features,
ple
ase consult the Instru
ctio
n
M
anual or visit us on the web at www.coby usa.com
.
Requirements
Make
sure you have the following items ready to start playing
music on your COBY
MP3 pl
ayer.
C
oby M P3 Player, He
adphones, and USB Cable
If your COBY uses a rechargeable
battery, make
sure that it has been fully cha
rged.
Connect the h
eadphones to the headphone jack on your COBY.
C
omputer with USB support
Most modern
computers come equipped with a USB
port. Please chec k with th
e
computer
manufacturer if you are not sure that your
computer
has USB
support.
Windows Media Player 11
(WM P11
)
The directions in this guide
are g
iven for WMP11, but you may use any media
management software on your computer.
Page 3
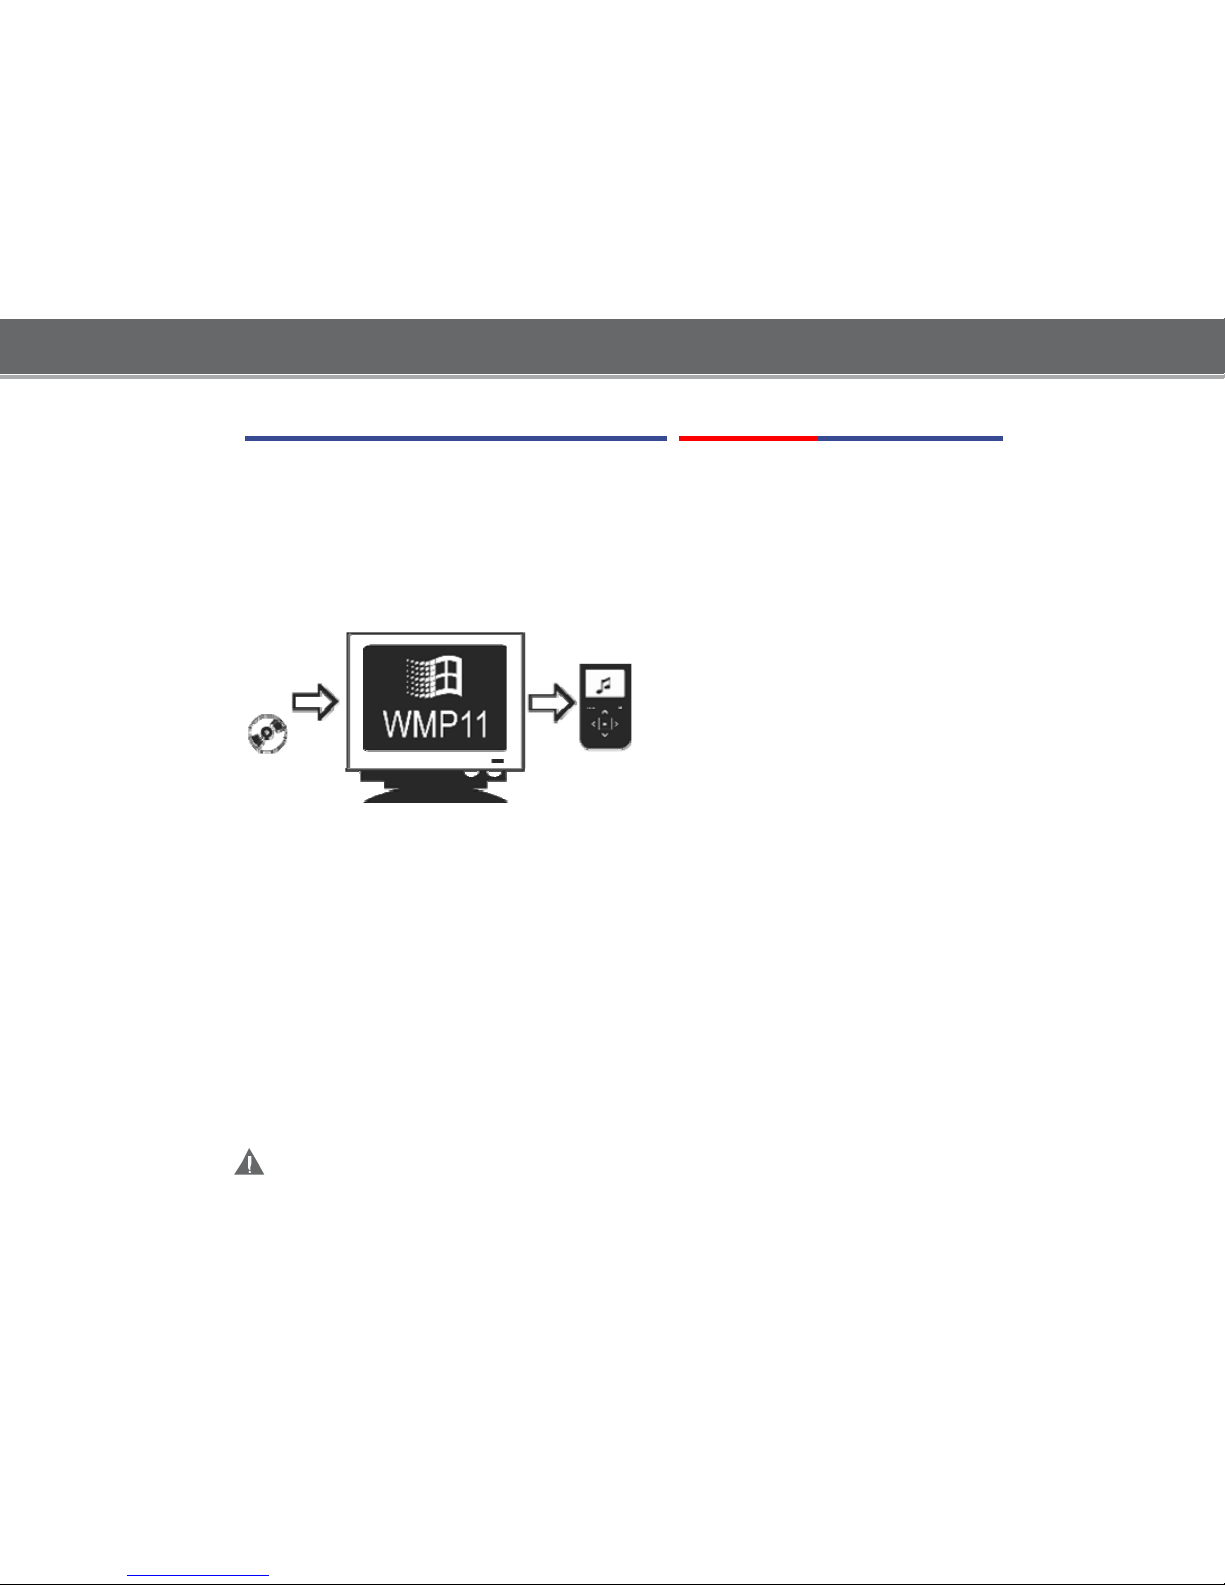
Getting Started with MUSIC Transfer
To start playi ng
music, you will need to:
Music files on your computer
Transfer the music f
iles to your COBY player
Start music playbac k on your COBY pl
ayer
Windows Media Player 11 (
WM
P11)
If y our computer does not have Windows Media Player installed, please
d
ownload the latest version of Windows Media Player (WMP) from
M
icrosoft’s website.
ht
tp://www.microsoft.com/windows/windowsmedia/player/download/download.aspx
The c u
rrent
version
available is Windows Media Player 11.
After you have followed M
icrosoft’s instructions to
install
WMP on your
compute
r, you
w
ill be ready to put
music files on your
computer.
For more information about
how to
use the features of WMP, press the F1
key on your keyboard wh
ile the
program is
running.
Page 4
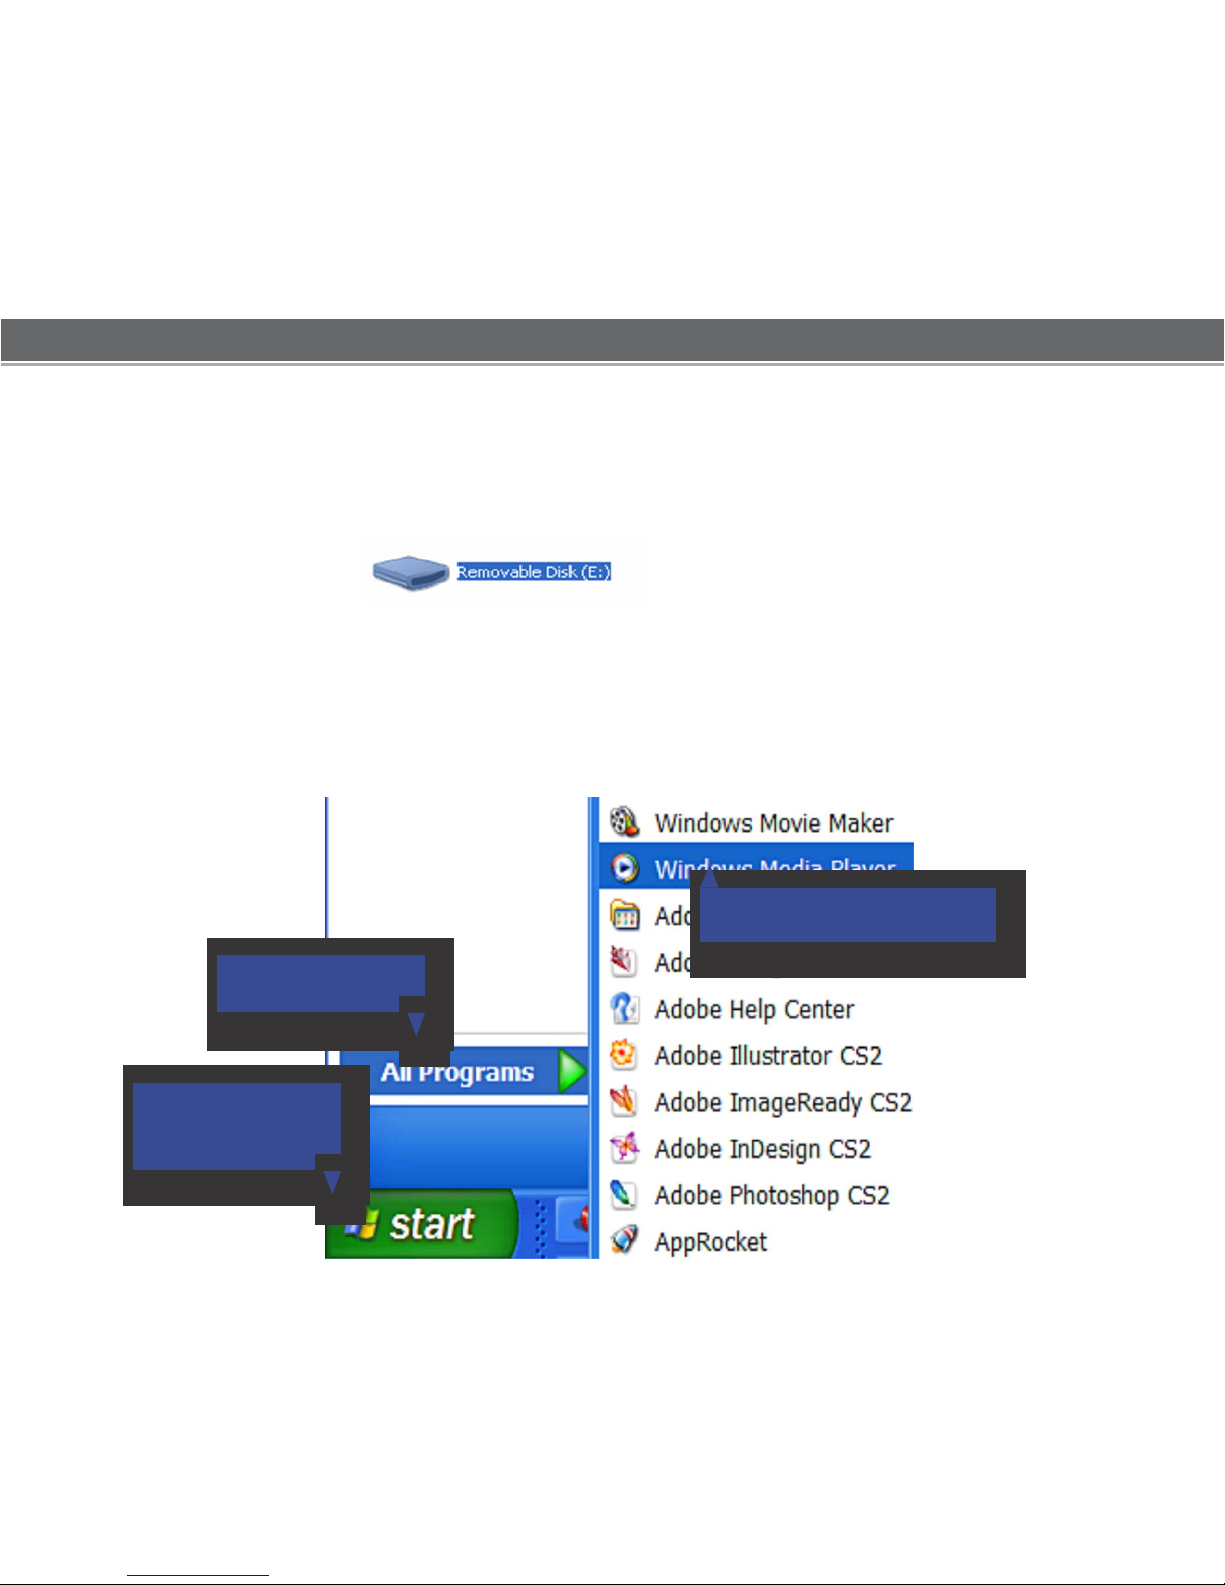
Put MP3 Music Files
on Your Computer
If you
already have MP3 or
WMA
music files on your computer, transfer them by:
a) Locate your music files.
b) Locate
the MP3 Player
under “MY
Computer”. The MP3 player will be listed as a
“Removable
Disk”
d) Transfer your existing music files (
Copy and Paste or Drag and Drop) in the
“Removable Disk”.
If you do not have music files:
1) Launch the WMP11 program
.
1c. Click
“Windows Media Player”
b.
Click “All Programs”
1a.
Click the Windows
“Start Menu”
button
Page 5
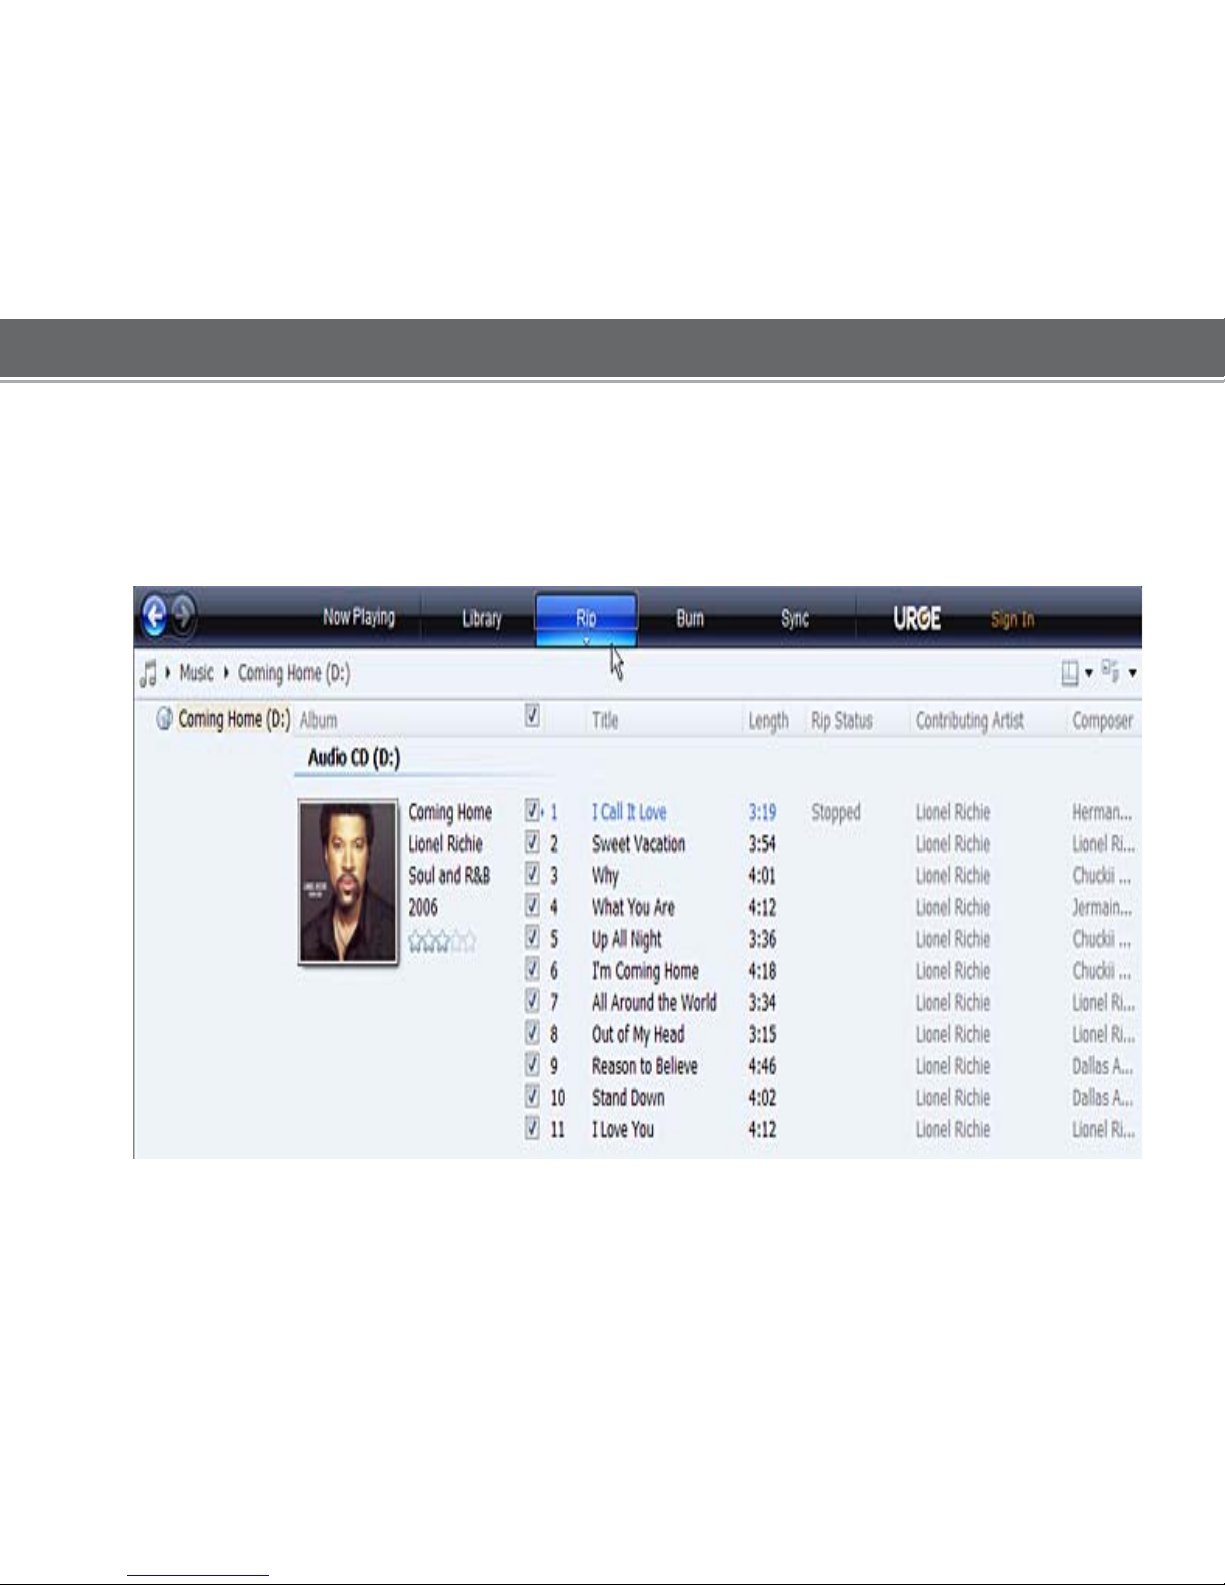
2
) Put an audio
CD
into the
CD-ROM drive of your computer.
If your computer
has an internet connection,
WMP will
automatically retrieve
an
d d
isplay the album inform
ation.
Clic k the checkboxes to
select which
tracks to rip. To rip the entire album
,
check all of the boxes.
Page 6
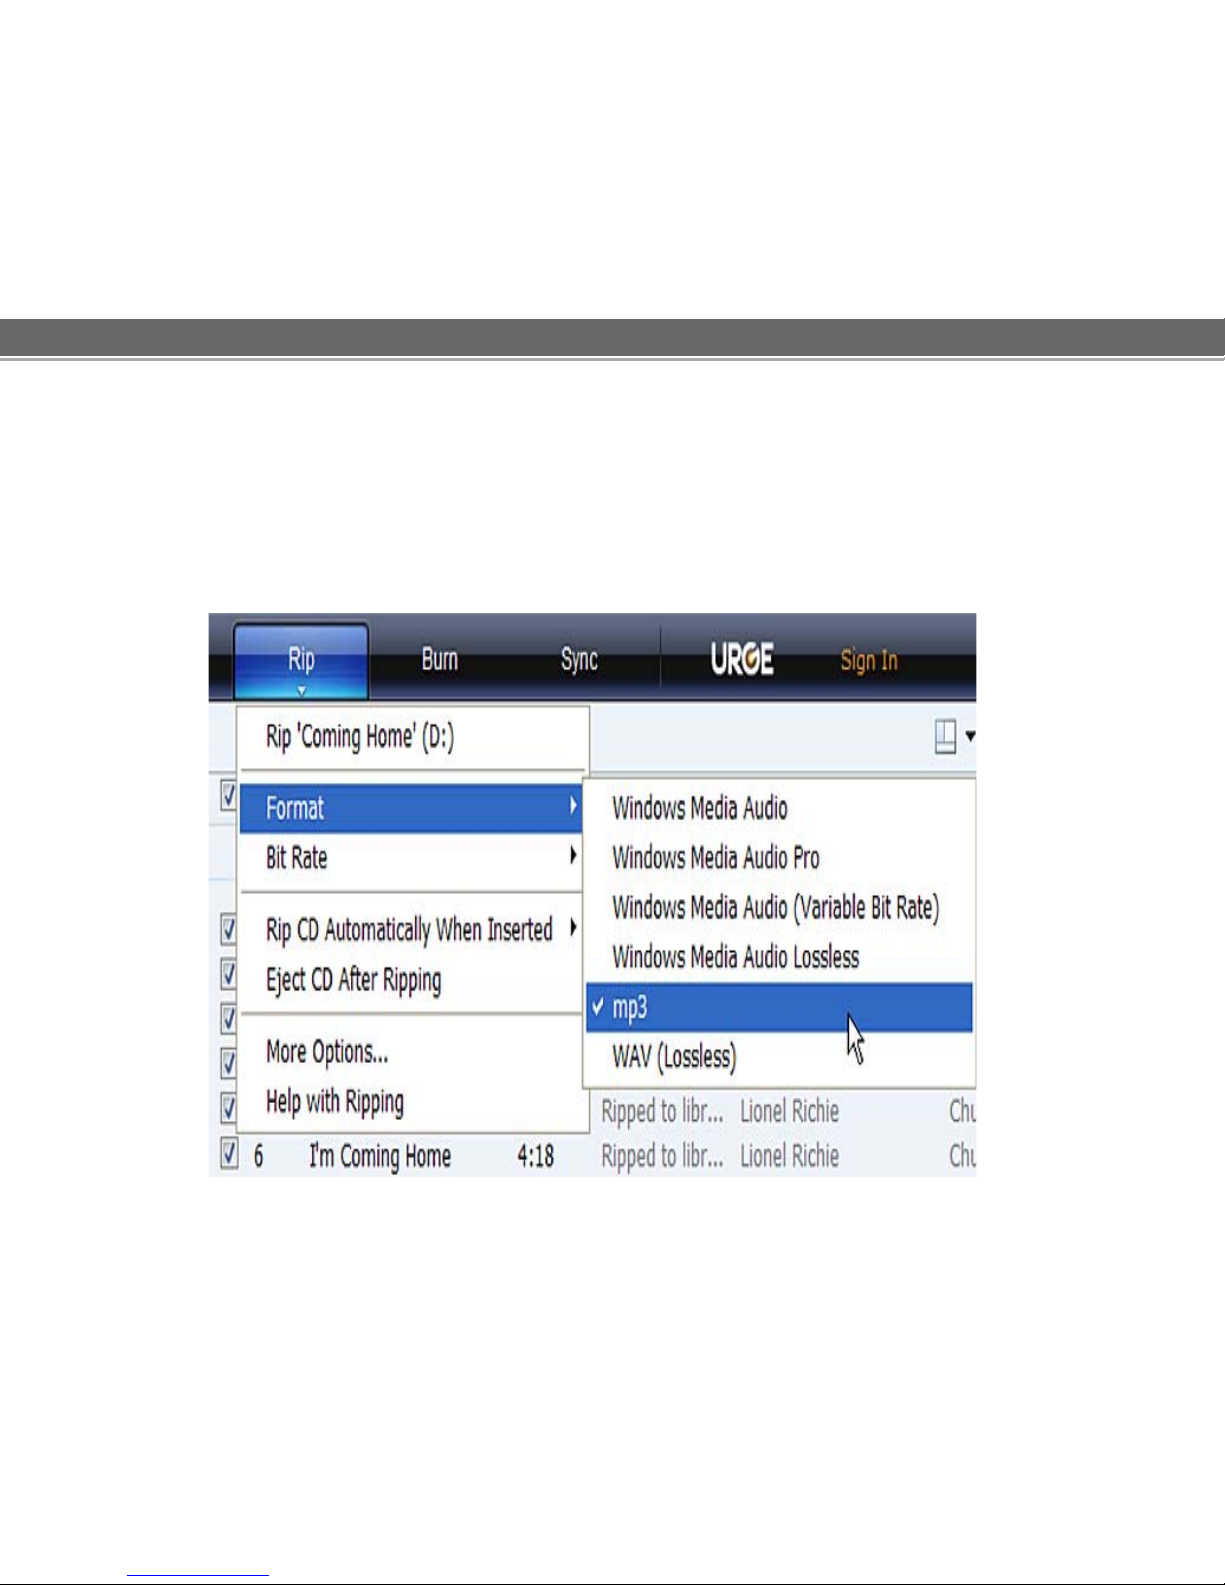
3
) Set the Rip Options (optional).
Clic k the “Rip” button to
set the Rip op
tions. The recommended Rip s ettings are:
Select
“Format > mp3”
Select “Bit R
ate > 128 Kbps”
Sel
ect “More Options” to change the
direct
ory to which WMP saves your ripped
music files. WMP will save your
music to your “My Documents > My M
usic” folder
by default.
Page 7

4) Start ri
pping the CD.
Clic k the “Rip” button and
select “Rip” to start converting the audio CD to MP3/WMA
digital music f
iles.
The ripping
pro
cess will take a few
minutes to complete. WMP will
save the
co
n
verted
music files to
your “My Doc uments > My Music” folder by default.
Page 8

Transfer
MP3
/
WMA Files to Your
COBY Playe
r
Once you have MP3 or WMA digital
music files on your computer, trans fer them t
o
yo
ur COBY pl
ayer in order to l
isten to music anywhere.
Use
WMP11 to tran
sfer (sync) music from your computer to your COBY MP3 player.
1)
Launch the WMP11 pr
ogram.
2) C
onnect your COBY player
to a USB port on the computer
.
WMP11 will detect your COBY pl
ayer
aut
omatically.
Page 9

3) Br
owse your music
li
brary
to choose songs to sync.
3a. Click “Sync”
3b. Double-click an icon
to choose a view of
your
Music Library
Page 10

4
) Select songs to sync to your COBY
player
.
4a.T
ype in the Search bar to
quickly find a Song
4c.
Drag the selected tracks here
to add them to the
Sync
List
4b.
Click on a
track to select
it for
synchronization. To
select
multiple
tracks
,
hold
CTRL or SHIFT and
click on the
track
.
4d
. Click
“Start Sync” to
transfer the Sync
Lis
t
to
your
COBY
player
Page 11

5
) Disconnect your COBY player from
the computer
.
Once the sy nc
process is complete, unp
lug your player from the USB port
of the com
puter. Now you
’re ready to listen to music on your COBY play er.
Page 12

Start Lis
tening to Musi
c on Your COBY Player
Now that you h
ave transferred
music to your COBY player, you’re
re
ady to take your
music
with you any whe
re.
Disconnect the MP3 player from the computer. Connect
the supplied
earphones to the headphone jack.
Turn on your COBY player
(Slide the Power Button to the “ON” position.
Start the playbac k on your COBY player by entering the “Music” menu.
Music browser Controls
When you choose MUSIC mode from
the Main menu, you wil l see the
Music Browser screen.
You can choose to browse your music
by song name, album, artist, or genre.
For more information about
how to cont
rol your COBY MP3 player
,
please consult the Ins truc t
ion M
anual.
Page 13

Getting Started with VIDEO Transfer
Install
the conversion software (MTV Converter)
1.
The MP3 player contain a folder called “ Video Converter”. Copy the Video Converter
folder to your desktop.
2.
Once the Video Converter folder is on your desktop, go into the folder
and D
ouble-clic k on the “Setup.exe” file to start the installation
pro
cess.
3. Follow the on-screen
instructions to complete the installation pro
cess.
Converting Vi
deo
To start the conversion software, Go to:
Start->
All Programs->
VideoConverter2.9->
The application window shown
belo
w will appear.
Page 14

The Conv ersion
software
screen will appear. Use this
screen to add video
conversion
jobs to
the queue.
1.
Click on the camera Icon to
lo
cate
the
files needed to be
co
nverted. The source file
must be one of the follo
wing
vi
deo t
ypes: AVI, WMV,
ASF
, MPG,
MOV, VOB, RM,
and .3GP.
2.
Click on the Folder icon to
sele
ct
an Output location where
the converted video will be
s
aved.
3. Click the “Start Conversion” to
start the conversion process
.
Page 15

T
ransfer the converted VIDEO files to Your COBY Player
1.
Connect the player to
your computer with the
supplied USB 2.0 cable.
2. Double-click on the “MY COMPUTER” icon on your desktop.
3. The player will be listed as “Removable Disk”.
4.
Go to the “Output location”
where the converted Video files were
saved
.
Copy and Paste or Drag and Drop the
converted
files in the
“Removable
Disk, MOVIE.DIR folder”.
……….
Done!!!
Start watching Video files on your COBY P
layer
Now that you h
ave transferred
Video files to your COBY pl
ayer, you’re
re
ady to take your
music
with you any whe
re.
Disconnect the MP3 player from the computer. Connect
the supplied
earphones to the headphone jack.
Turn on your COBY player
(Slide the Power Button to the “ON” position.
Start the playback k on your COBY player by entering the “MOVIES”
menu
, select the file and pr
ess Play.
For more information about
how to cont
rol your COBY MP3 player
,
please consult the Ins truc t
ion M
anual.
Page 16

Tr
ansfer PHOTO files to Your
COBY Player
1.
Connect the player to
your comp
uter
with the
supplied USB 2.0 cable.
2. Double-click on the “MY COMPUTER” icon on your desktop.
3. The player will be listed as “Removable Disk”.
4. Locate your JPEG image file
s.
Copy and Paste or Drag and Drop your JPEG files in the
“Removable
D
isk”, PHOTO.DIR folder . ……. Done!!!
Start viewing photo files on Your COBY P
layer
Now that you h
ave transferred photo
files to your COBY pl
ayer, you’re
re
ady to view the files.
Disconnect the MP3 player from the computer. Turn on your COBY player
(Slide the Power
Button to the “ON” position.
Start viewing your photo files on your COBY player
by
entering the
“Pictures” menu,
select the file and press Play.
For more information about
how to cont
rol your COBY MP3 player
,
please consult the Ins truc t
ion M
anual.
Page 17

If you h
ave a problem with this devic
e,
please rea
d
the
troubleshooting
guide on
the user manual or visit
us on the w
eb at
www.cobyusa.com for
Frequentl
y
Asked
Questions (FAQs). If these resources
do not
resolve the
problem, please co
ntact Technica
l
Su
pport.
P
hone:
80
0-727-359
2
W
eekdays
8:00AM–9:
00P
M EST
W
eekends 9:00AM–5:30PM EST
W
eekdays 8:0
0AM–5:30PM
EST
 Loading...