

Page 1
130059
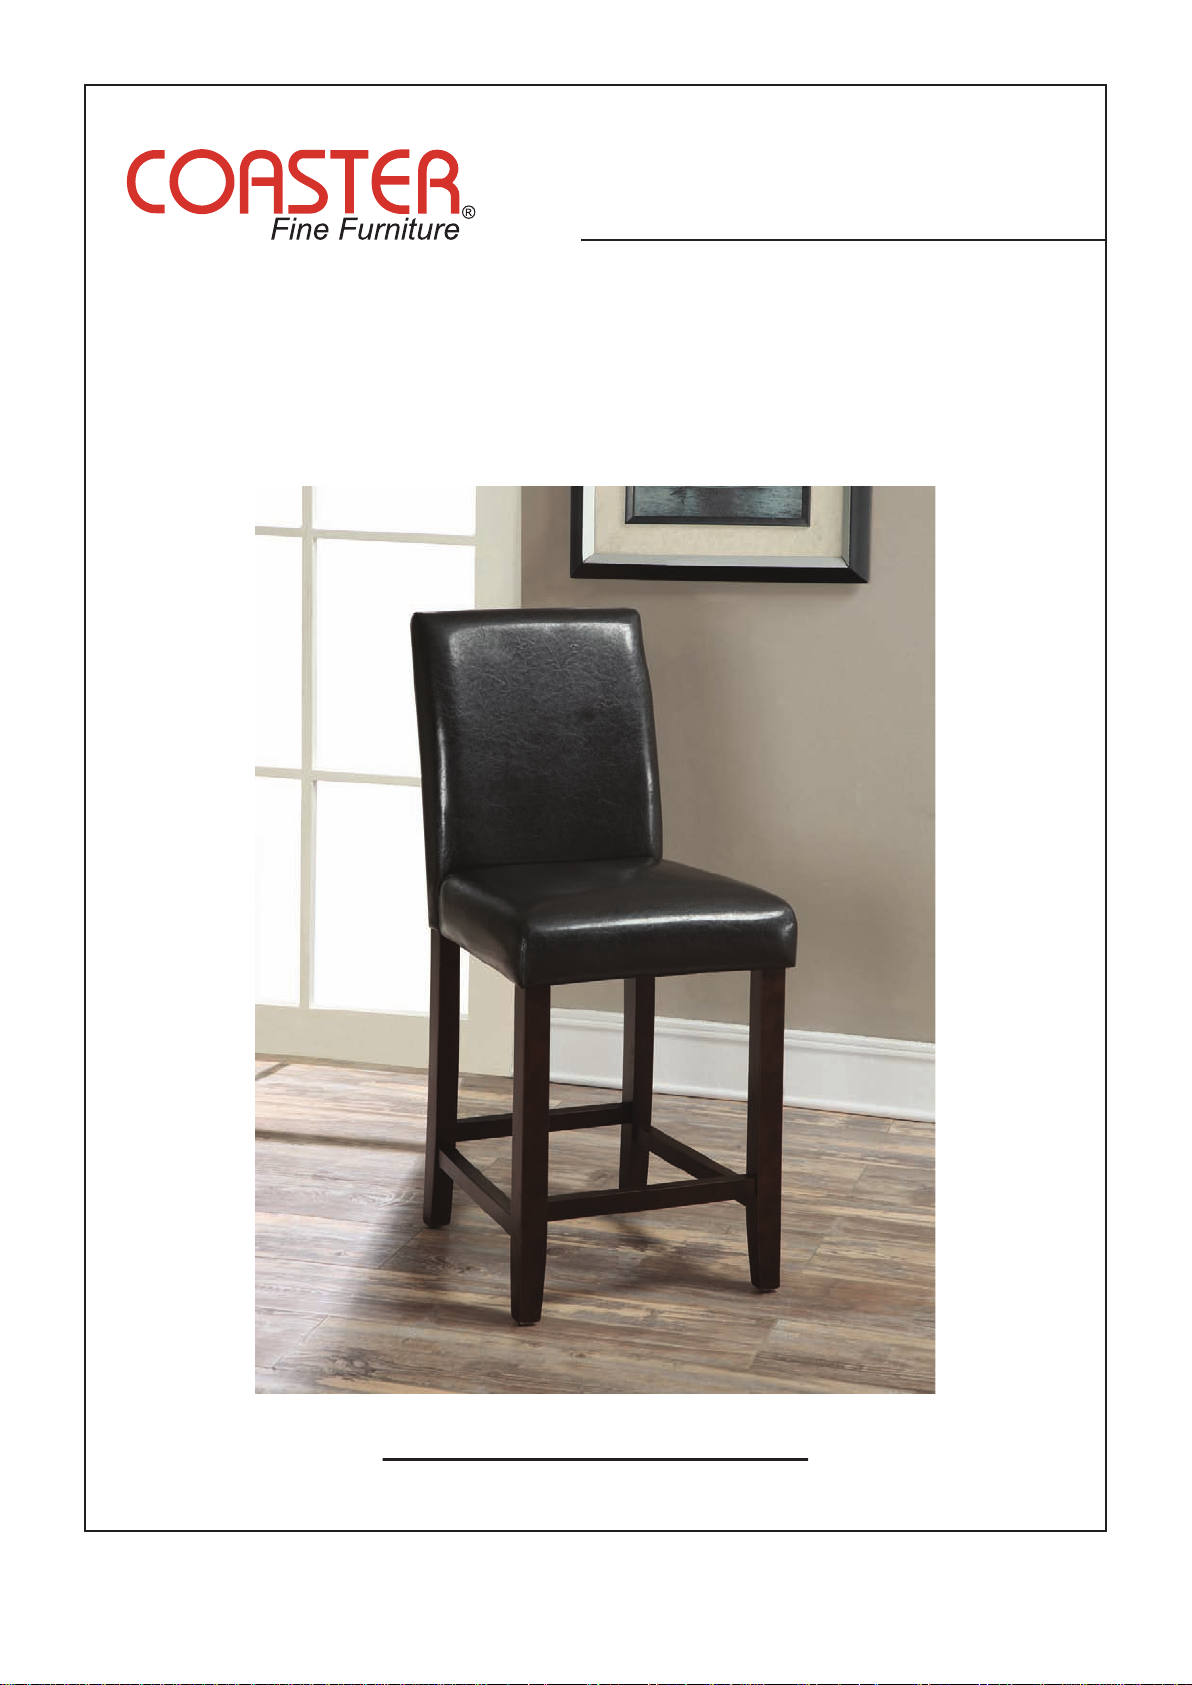
24” BAR STOOL
ASSEMBLY INSTRUCTION
COASTER FINE FURNITURE
www.coastercompany.com
1 of 4 2014/05/28
Page 2

ASSEMBLY INSTRUCTIONITEM: 130059
Assembly Instruction
ASSEMBLY TIPS:
1. Remove hardware from box and sort by size.
2. Please check to see that all hardware and parts are present prior to start of assembly.
3. Please follow attached instructions in the same sequence as numbered to assure fast and easy
assembly.
Warning!
1. Don’t attempt to repair or modify parts that are broken or defective. Please contact the store
immediately.
2. This product is for home use only and not intended for commercial establishment.
PARTS IDENTIFICATION
CODE
A
BACK REST
B
FRONT LEFT LEG
C
FRONT RIGHT LEG
A
D
D
SEAT
E
FRONT STRETCHER
F
LEFT STRETCHER
G
RIGHT STRETCHER
QTY.DESCRIPTION
1
1
1
1
1
1
1
HARDWARE PACKAGE
NO.
1
BOLT
2
LOCK WASHER
C
G
F
B
E
3
FLAT WASHER
4
SCREW
QTY.DESCRIPTION FIGURE
9
9
9
6
5
ALLEN KEY
1
Additional tools required:
Crosshead Screwdriver
2 of 4 www.coastercompany.com
Page 3

ITEM: 130059
ASSEMBLY INSTRUCTIONThis unit can be assembled by 1 person. Approximate time of assembly: 20 minutes.
STEP 1
Get stretchers here
STEP 2
Align and attach the seat (D) to the back rest (A) using the bolts (1) lock washer (2) flat
washer (3) tighten with allen key.
2x
1
2
1
D
D
D
A
2
3
1
1
3
2
3
5
Align and attach the right and left stretcher (F & G) to the back rest (A).
arrow
up
2
3
A
x5
x5
x5
STEP 3
“R”
G
“L”
F
A
2x
2x
Align the front right and left legs (C & B) to the assembled pieces from step 2.
“R”
“L”
D
B
C
D
2x
G
“R”
G
G
A
“R”
C
C
F
2x
arrow
G
up
3 of 4 www.coastercompany.com
Page 4

ASSEMBLY INSTRUCTIONITEM: 130059
STEP 4
STEP 5
Attach the front stretcher (E) to the front right and left stretcher (C & B).
C
E
C
E
2x
B
C
arrow
2x
Secure the front right and left legs (C & B) to the seat (D) using bolts (1) lock washer (2) flat
washer (3) tighten with allen key.
C
B
D
2x
1
G
up
D
3
2
1
1
C
3
2
x4
STEP 6
2
3
5
Secure all the stretchers (A, G, E & F) to all the legs, using the screws (4) tighten with a
screw driver (not included).
4
G
E
A
F
re-attach
cloth cover
x6
6x
4
F
x4
x4
A
4 of 4 www.coastercompany.com
 Loading...