

Page 1

busbi7 Tablet
Android 4.0
7” Capacitive Touch screen
User Manual
Page 2

Thank you for choosing the busbi7 tablet.
The busbi7 is fully equipped to offer you the complete browsing and
multimedia experience.
Android 4.0 Operating System
7” capacitive touch screen with 800 x 480 resolution
3D Motion Sensor for automatic orientation
MicroSD and USB for added connectivity
IMPORTANT
1) Please charge the busbi7 continuously for 4 hours before
use.
2) For information on inserting/removing the Micro SD card,
please refer to section 3.4 – Storage. Failure to do so may
result in damage to the memory card.
3) Some applications run in a full screen mode. The icons on
the toolbar will not be displayed.
4) Please do not save/transfer personal/media files to the
onboard storage as this may slow down the operation of
the device
Page 3

Contents
1. Accessories
2. Getting Started
2.1 Appearance
2.2 Charging the tablet
2.3 Using the tablet
2.4 Toolbar
2.5 Accessing the applications
2.6 Using basic applications
3. Settings
3.1 Wireless & networks
3.2 Sound
3.3 Display
3.4 Storage
3.5 Battery
3.6 Apps
3.7 Accounts & sync
3.8 Location services
3.9 Security
3.10 Language & input
3.11 Backup & reset
3.12 Date & time
3.13 Accessibility
Page 4

3.14 Developer options
3.15 About tablet
4. Using MicroSD Card
5. Transferring Media Files
6. Using External Devices
7. Technical features
8. Recycling
9. Troubleshooting
10. Battery Statement
1. Accessories
Inside the busbi7 packaging, you will find:
1 x 7” Tablet
1 x power adapter
1 x Quick Start Guide
Page 5
1 x USB OTG cable
1 x Smart App Suite user guide
2. Getting started
2.1 Appearance
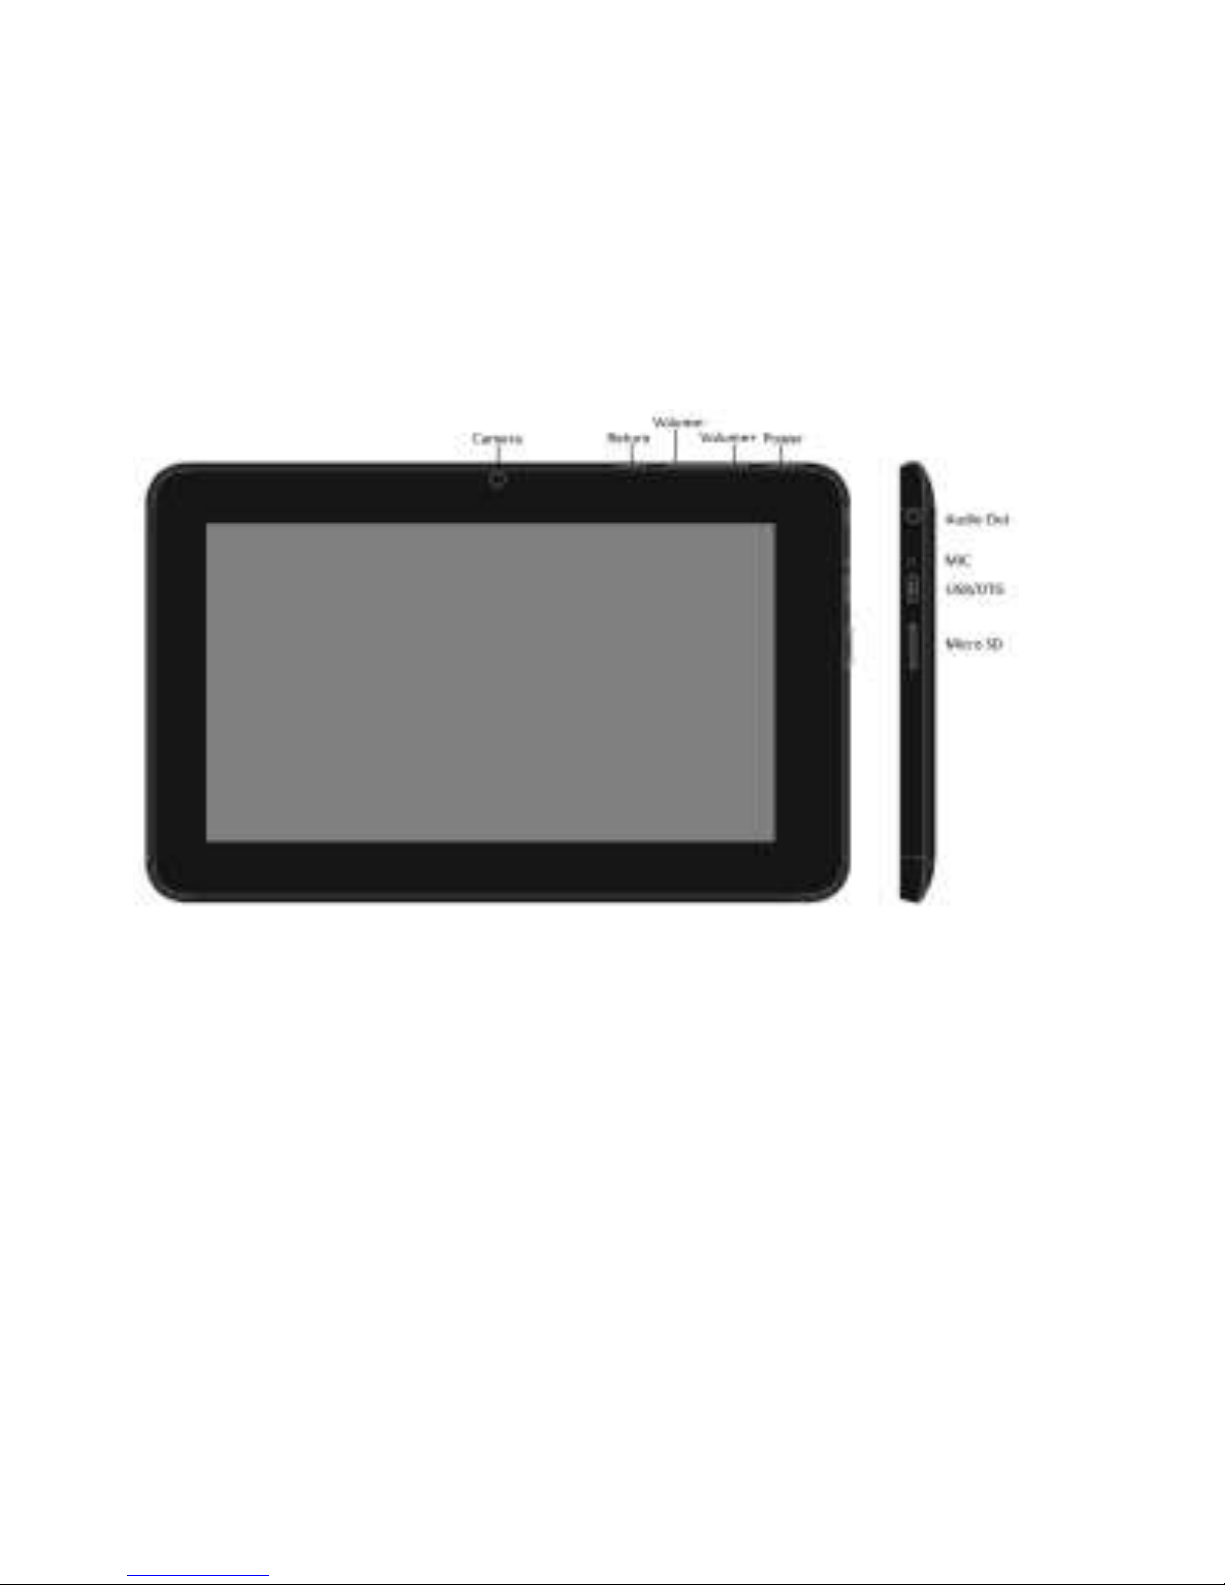
Fig 2.1.1
Page 6
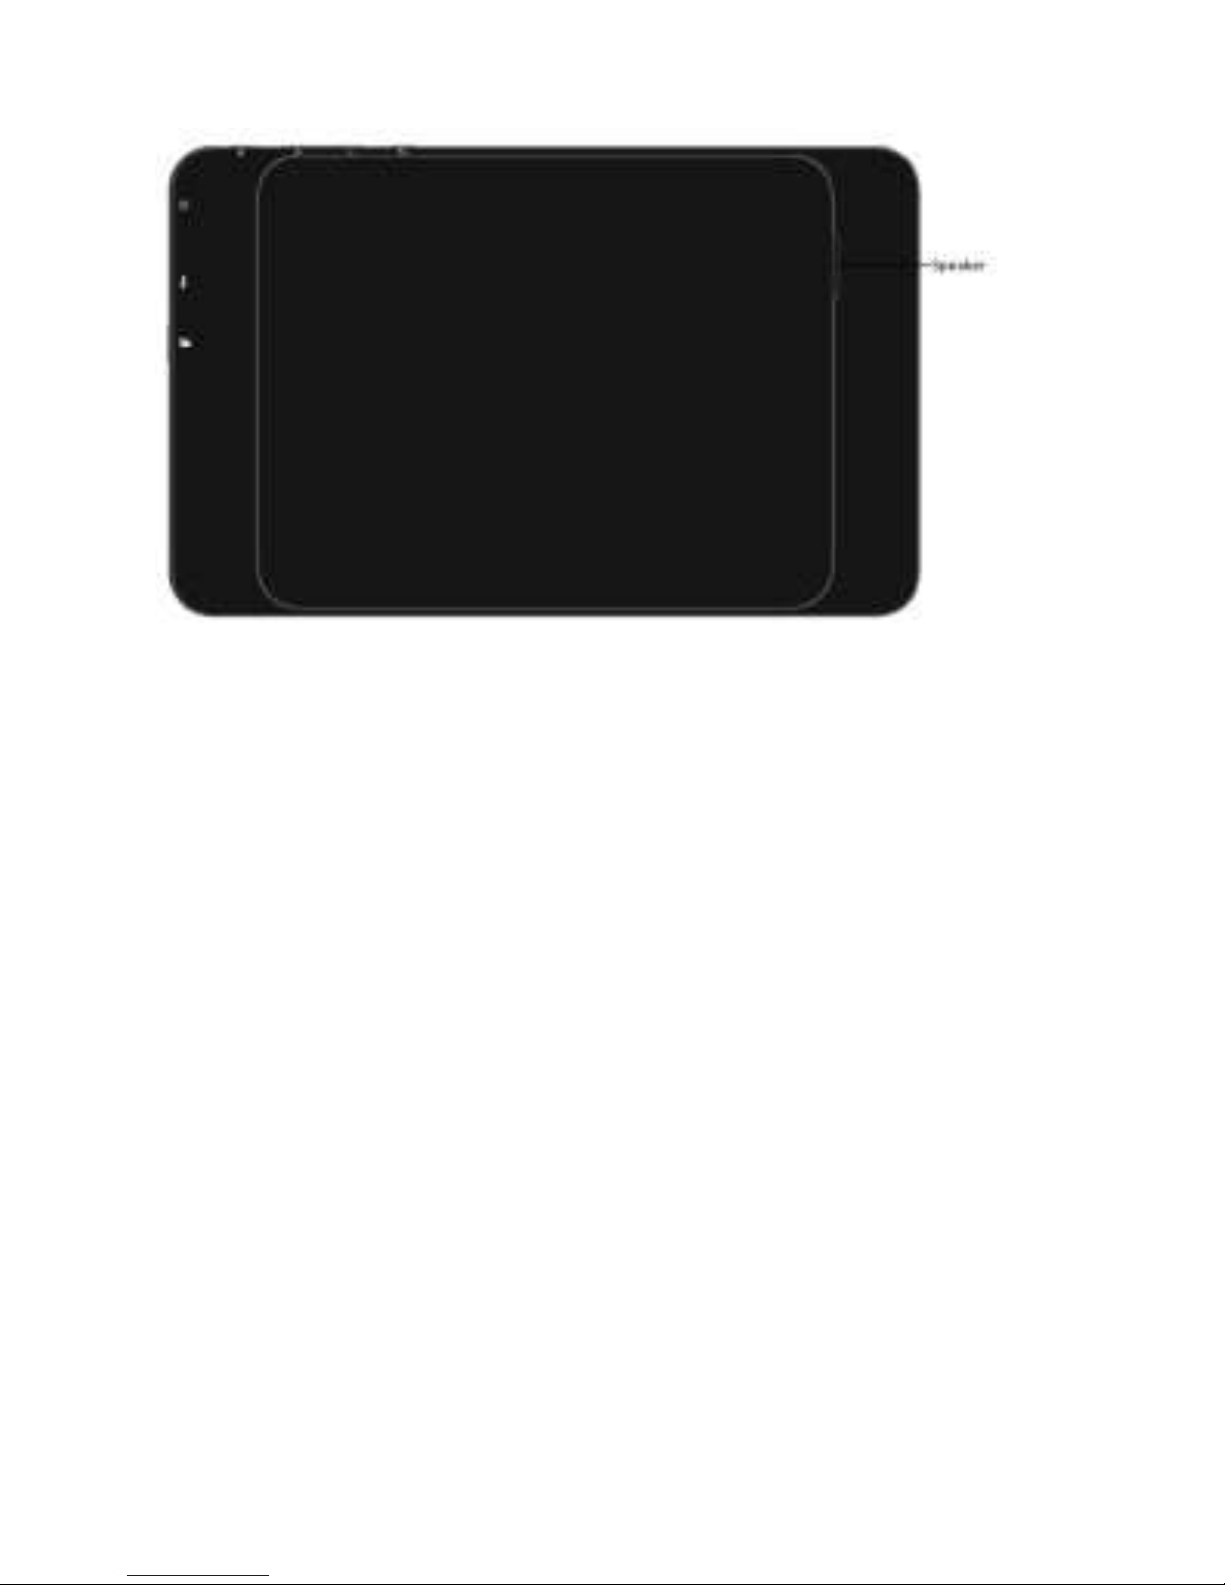
Fig 2.1.2
Button descriptions
On/Off
When the tablet is switched off, press
and hold this button to turn it on.
When the tablet is turned on, press
and hold this button to activate the
shut-down window.
VOL +
Increase the volume.
VOL -
Decrease the volume.
2.2 Charging the tablet
Plug the adapter to the mains and the DC
connector into the DC-in jack as shown in figure
2.1.1, (5V DC in). A full charge takes up to 4
hours.
Page 7

2.3 Using the tablet
Power on the device
• Press and hold the Power button for 2
seconds in order to turn on the device.
Sleep mode
• Pressing the Power button will
activate/deactivate sleep mode when the
device is turned on.
Using pre-installed apps
• To open and use the pre-installed apps,
simply touch the relevant icon/app. The
main application page can be accessed by
touching the application icon , on the home
screen. See section 2.5 Using the applications,
for more
Page 8

Personalising your desktop
• To add an app to the home/desktop screen,
access the applications screen (Fig 2.5.2).
Touch and hold the app you would want on
the desktop. The desktop will appear
behind the icon. Move the icon to the
desired area of the desktop and release the
icon to confirm the placement.
Deleting an icon from the desktop
• To delete an app or widget from the desktop;
press, hold and drag the icon to “x Remove”
which appears at the top of the page as
shown below in figure 2.3.1.
Page 9
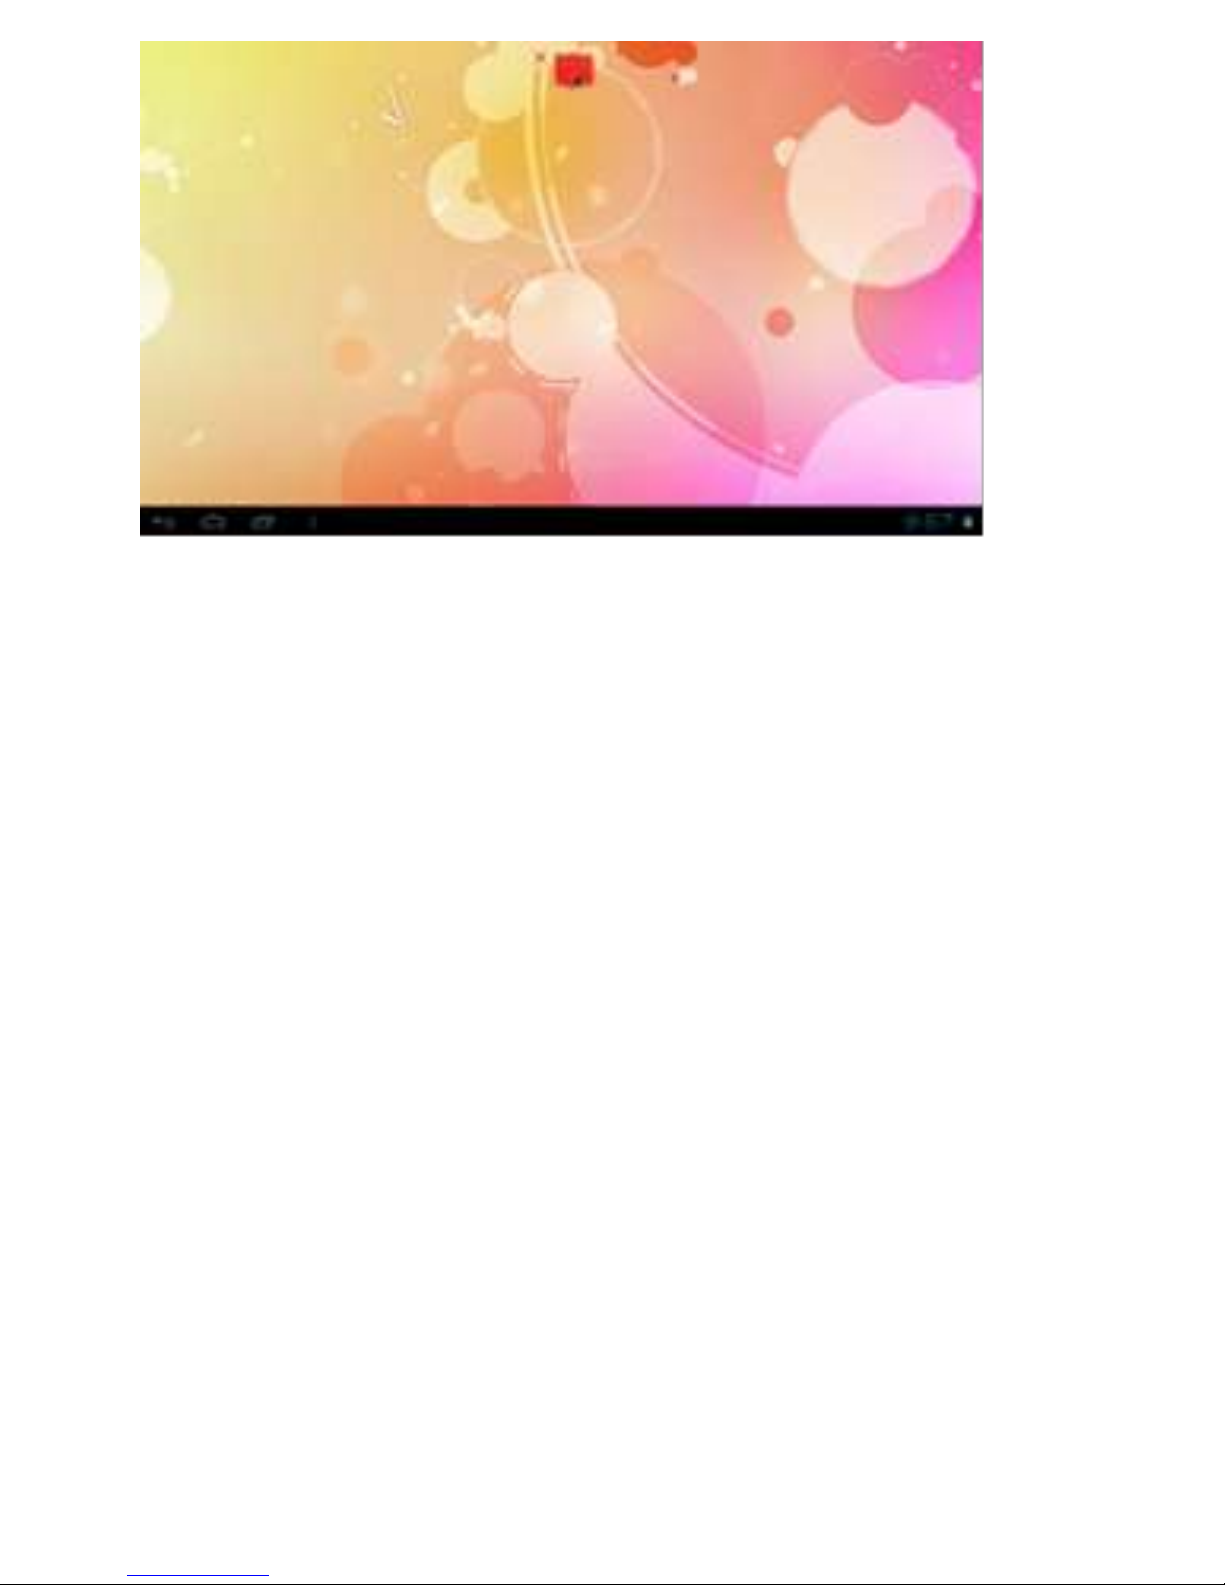
Fig. 2.3.1
Using Widgets on your desktop
• You can also add and delete widgets to/from
the Home screen by using the procedures
outlined in the previous two sections.
Powering off the device
• Press and hold the Power button for 2
seconds to activate the power-off screen.
Note: you can also access the Silent Mode option from
this screen.
Page 10
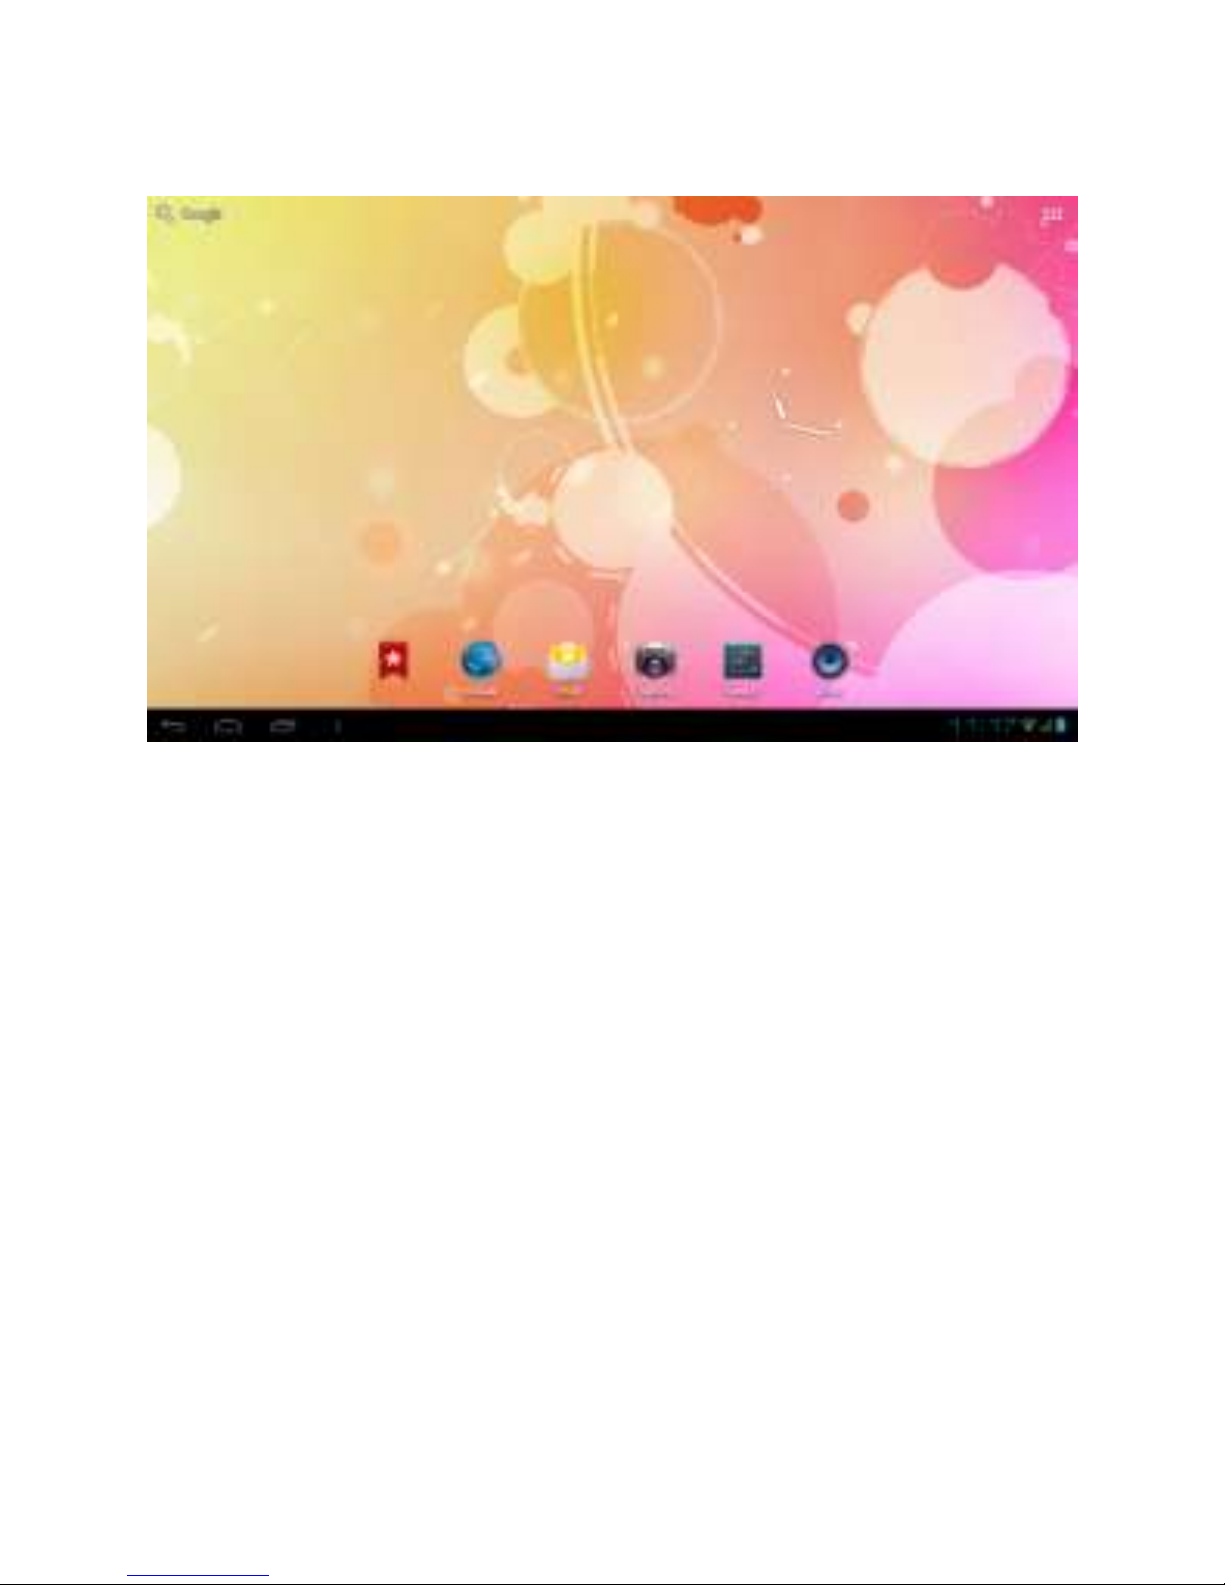
The widget desktop
Fig.2.3.2
As shown in Fig.2.3.2, the Android 4.0 interface has a
toolbar at the bottom to the screen for ease of
navigation. In some cases, the toolbar icons will be
minimized and are denoted by grey dots. Simply touch
on the dot to re-enable the toolbar.
Page 11
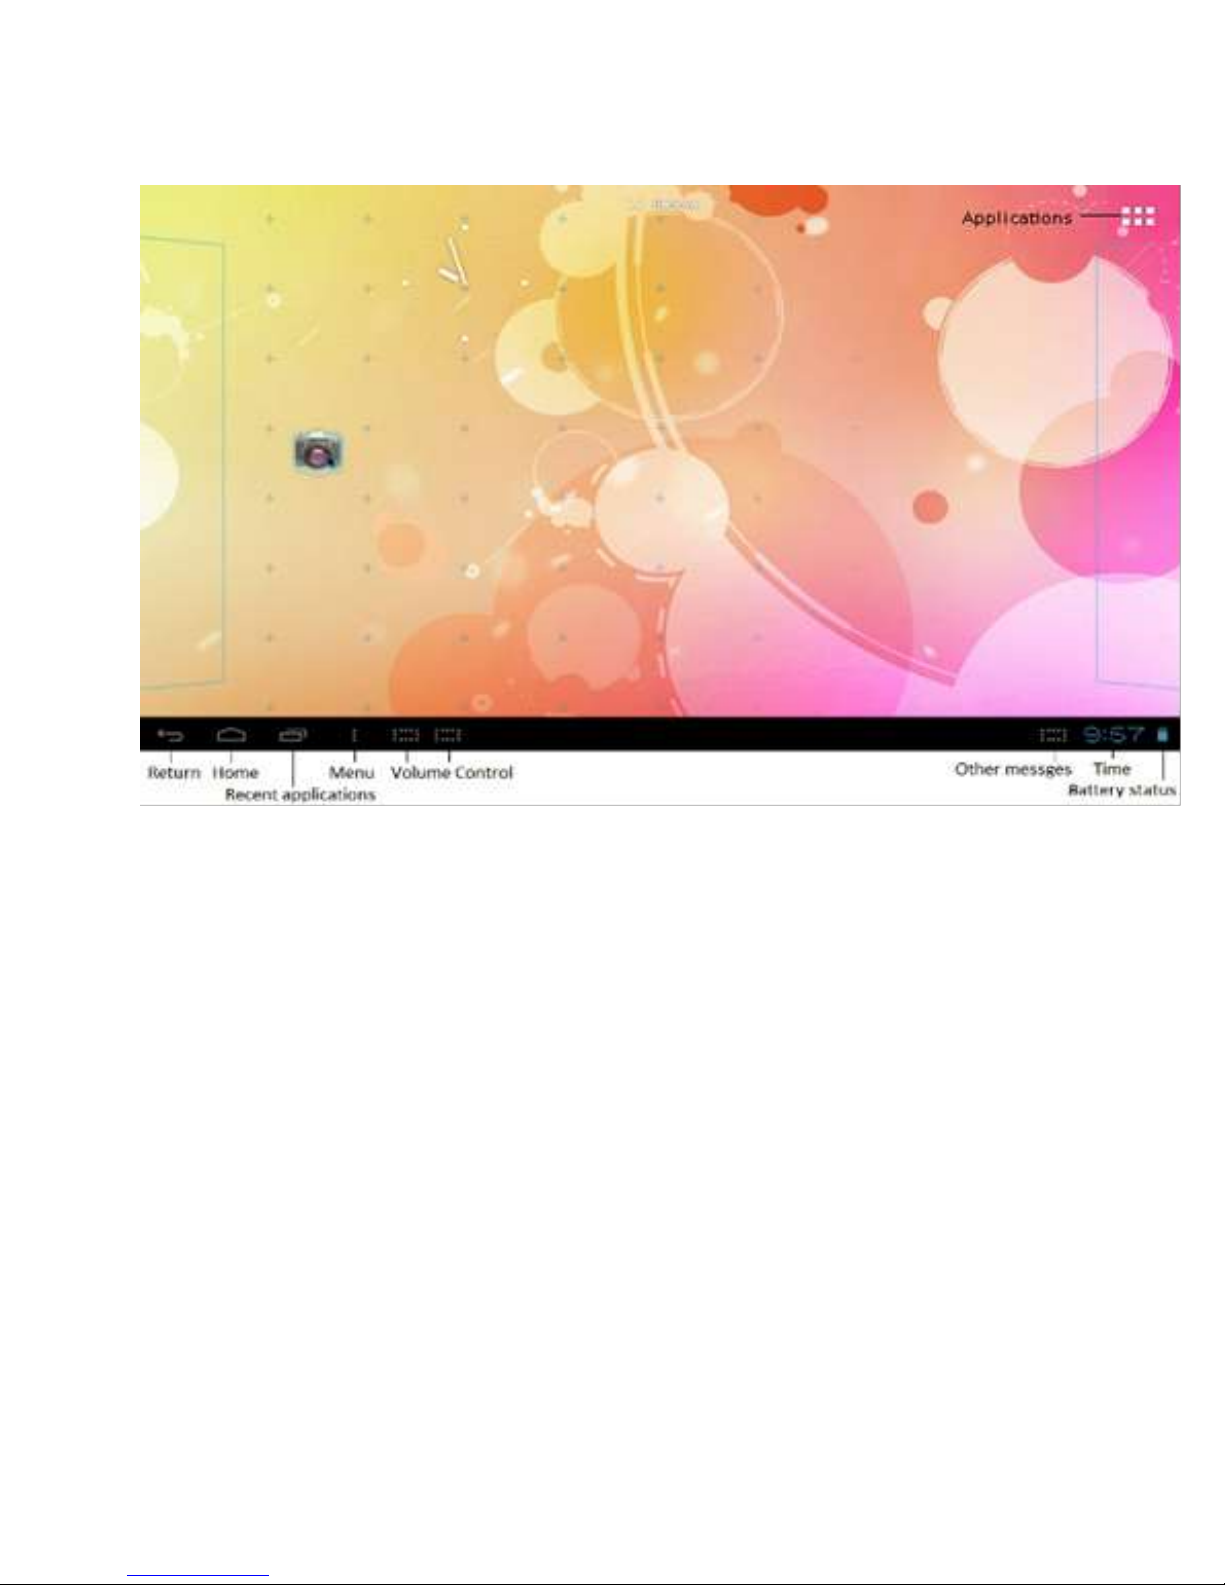
2.4 Toolbar
Fig.2.4.1
The toolbar is located at the bottom of the screen.
The purpose of each icon and its function is
described below:
Return
Return to previous screen.
Home
Touch the Home icon to return to the
desktop. This action will not close
the applications that are open.
Page 12

Recent
Apps
Displays list of applications used
recently.
Volume +
Increase volume.
Volume -
Decrease volume.
Menu
Displays menu available for current
application/screen
Messages
Shows information such as micro SD
card inserted or Wi-Fi connection.
Time
Shows current time
Battery
Shows the charge status of the
battery
Note: Volume control only appears when media related
applications are used. The message indicator will
show the status such as download or SD card
notifications when needed.
Page 13
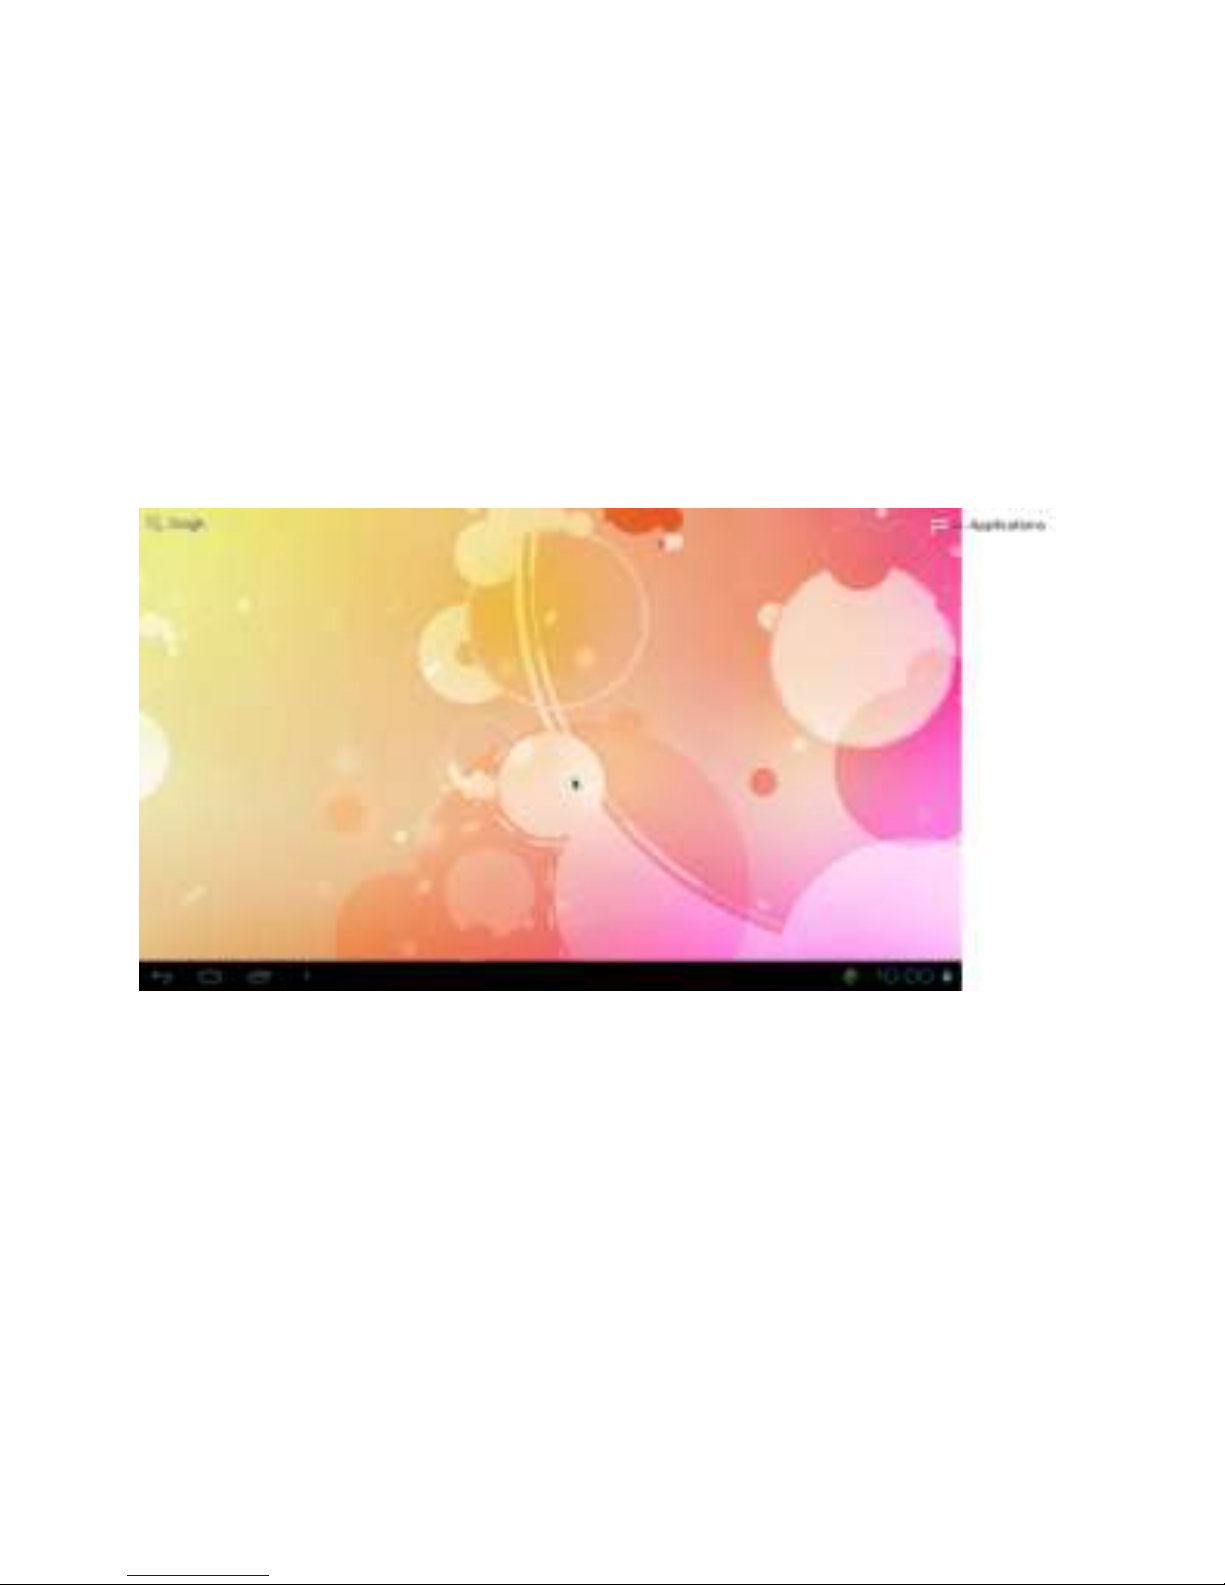
2.5 Accessing the applications
To access the applications, enter the applications page
by touching the top right corner icon as shown in
Fig.2.5.1 below to enter the applications page in
Fig.2.5.2
Fig.2.5.1
Page 14
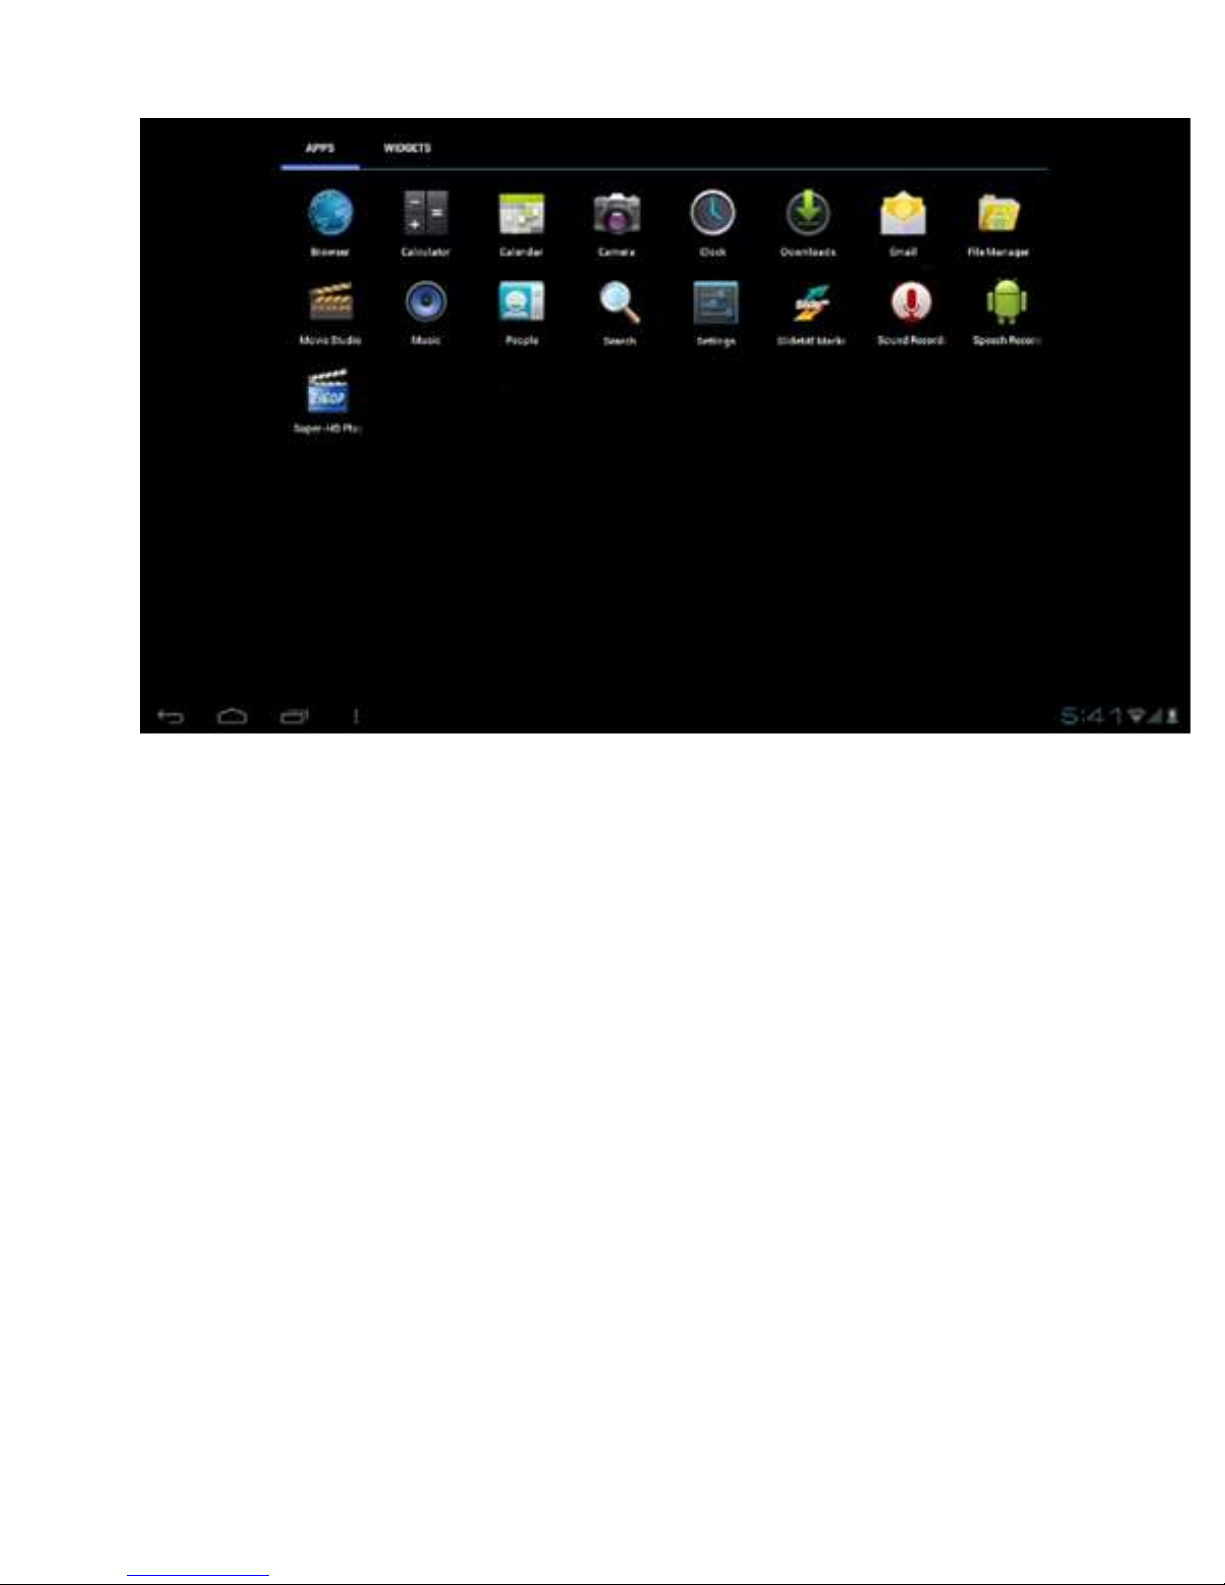
Fig.2.5.2
Page 15
2.6 Using basic applications
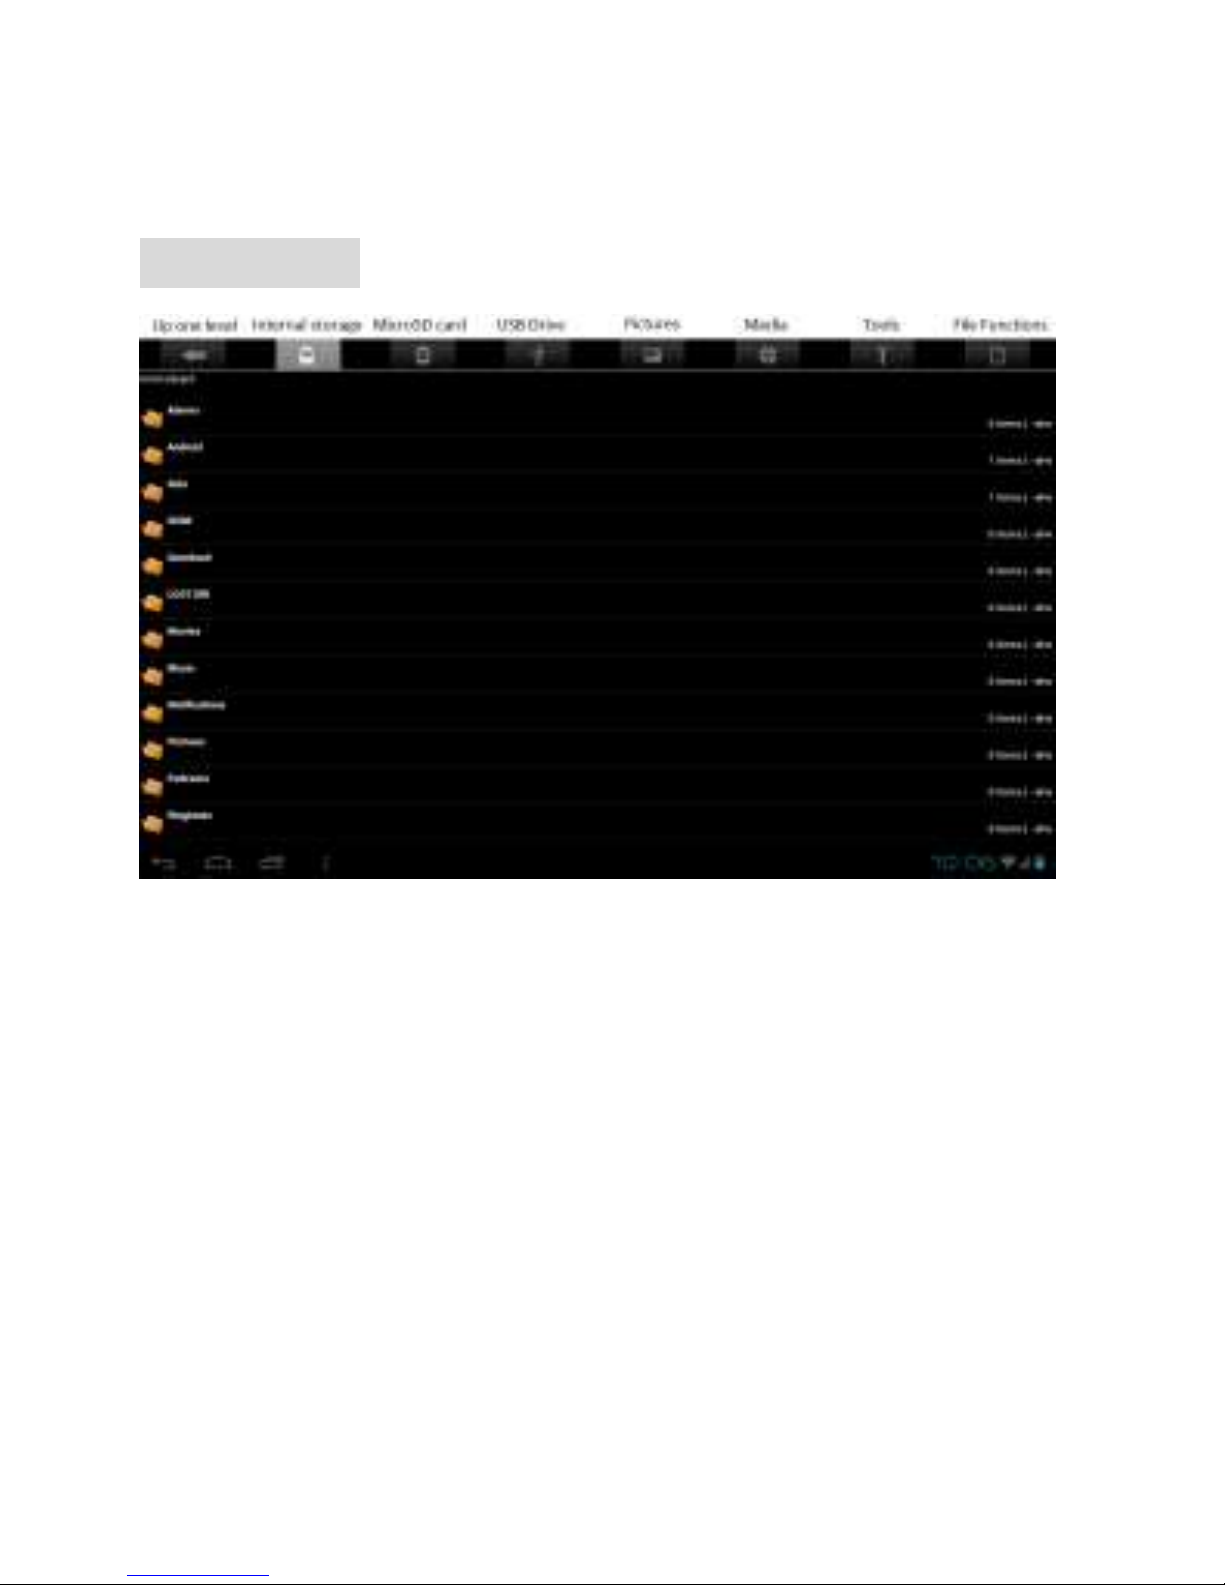
File Manager
Fig.2.6.1
File Manager is a user-friendly application that provides
basic file directory operations. The application can be
used to copy files between folders as required. The
application will also assist with managing files located
on a MicroSD card and external storage drives which
have been connected to the Table
Page 16

Tab functions are described below:
Up one level
Returns to the parent level of the
directory.
Internal
Storage
Shows directory of the system storage of
the tablet.
MicroSD
card
Shows directory of the micro SD card
when inserted
USB Drive
Shows directory of the USB drive when
inserted.
Pictures
Picture files are located here when
scanned by the tablet.
Media
Movie media files are located here when
scanned by the tablet.
Tools
Displays the processes currently running
on the device.
File
functions
Allows user to Attach, Delete, Copy, and
Move files
Page 17

E-Mail
The system will try to automatically setup the Google
Gmail account servers for the chosen Gmail logins. It is
also possible to
setup a mail account manually. Please refer to your
email provider for details on how to setup up your
account manually.
Super HD player
This application is used when viewing pictures and for
video playback
Music
This application is used for music playback.
Sound Recorder
This application will record sound via the inbuilt
microphone. These files are automatically saved to the
Page 18
tablet.
Camera
The camera application can be used to take still images
and video clips.
3. Settings
Touch the Settings icon ( ) to enter this menu.
In this menu, you will find the main menu options
displayed on the Left Hand Side. The sub-options
are displayed on the Right Hand Side.
Page 19
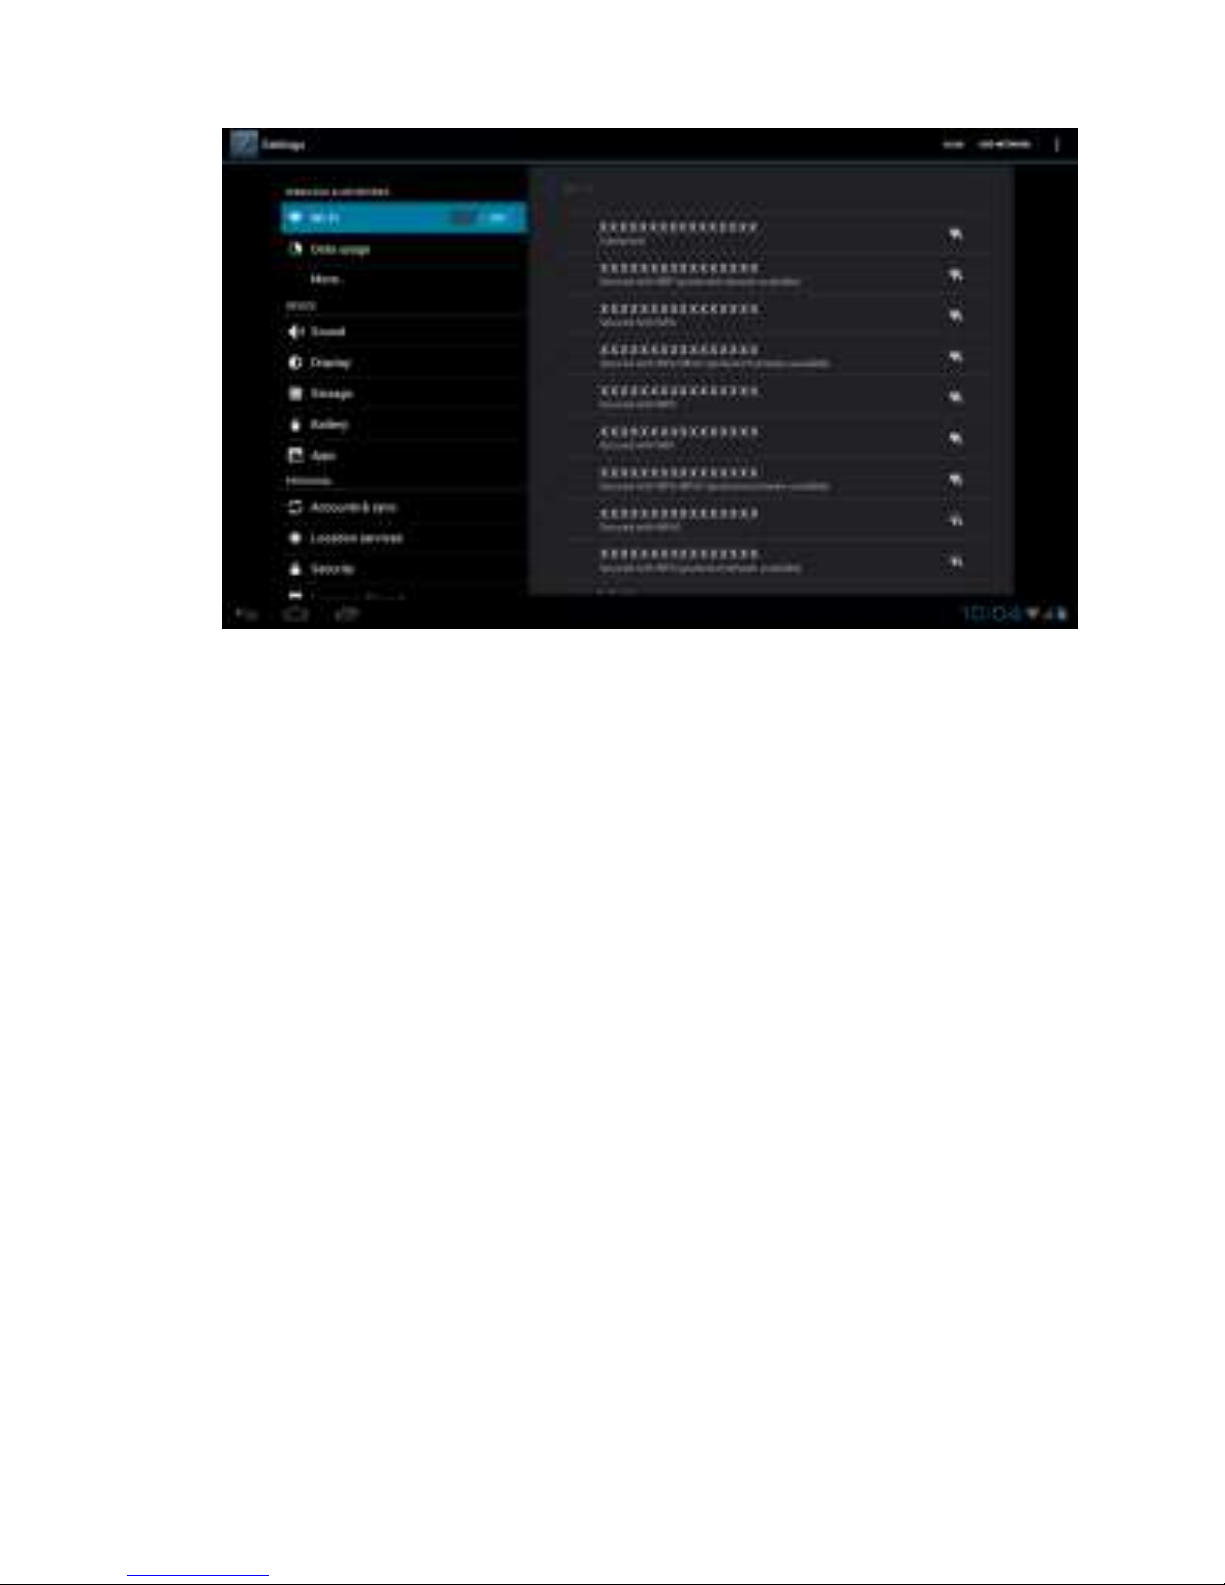
Fig.3.0.1
3.1 Wireless & networks
Wi-Fi
Touch the Wi-Fi toggle to turn the
Wireless On and Off.
Touch the “Wi-Fi” text to display the
sub-menu options.
All available networks will be
displayed when Wi-Fi is turned on.
It is possible to add a network
manually by touching the “Add
Network”, which is located in the top
right corner of the screen.
Data usage
Displays the data usage.
Page 20

More
Allows user to access airplane mode,
VPN, and mobile network settings.
3.2 Sound
Volumes
Allows user to set the media,
notification, and alarm volume
Default
notification
Set default notification tone on
the tablet
Touch screen
sounds
Set screen selection notification
Screen lock
sounds
Set screen lock tone
3.3 Display
Brightness
Set screen brightness
Wallpaper
Set desktop wallpaper and
screen animation modes.
Auto-rotate
Enable / disable the auto
orientation function.
Sleep
Set time for tablet to
automatically enter sleep mode.
Font size
Set font size.
Page 21
Accelerometer
settings
Toggles manual and automatic
accelerometer settings
3.4 Storage
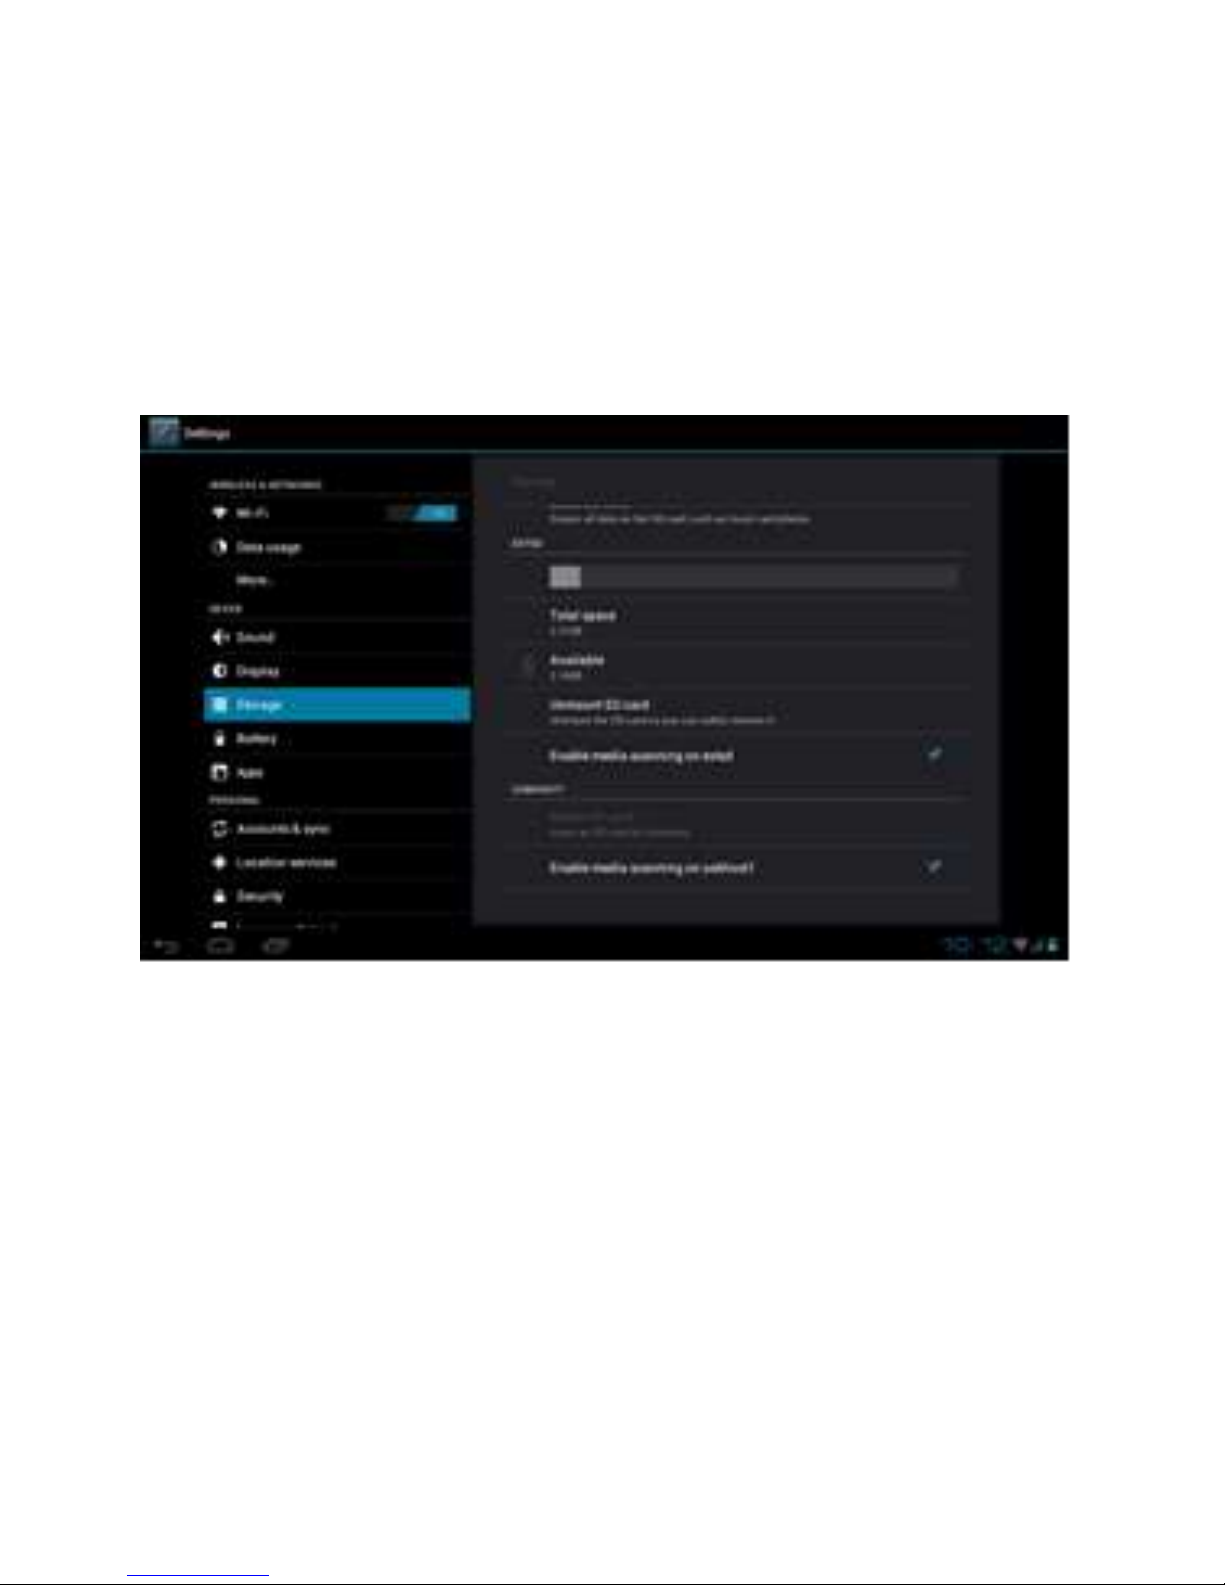
Fig.3.4.1
Internal storage I
Shows the system storage use
of the system partition
Internal storage II
Shows the storage use of the
user partition.
Ext SD
Enable media scanning on
memory cards.
Page 22

USB OTG
Enable media scanning on
external USB devices.
Note: In storage settings, you can also find the
unmount SD card option in the sub-menu. Please
unmount a memory card before removing it from
the tablet. Failure to do so may result in damaging
the memory card.
3.5 Battery
Shows the battery usage and status.
3.6 Apps
Displays the status of installed applications on the
tablet.
3.7 Accounts & sync
Sync accounts which have been setup on the
tablet.
3.8 Location services
Enable / disable network location service.
Page 23
3.9 Security
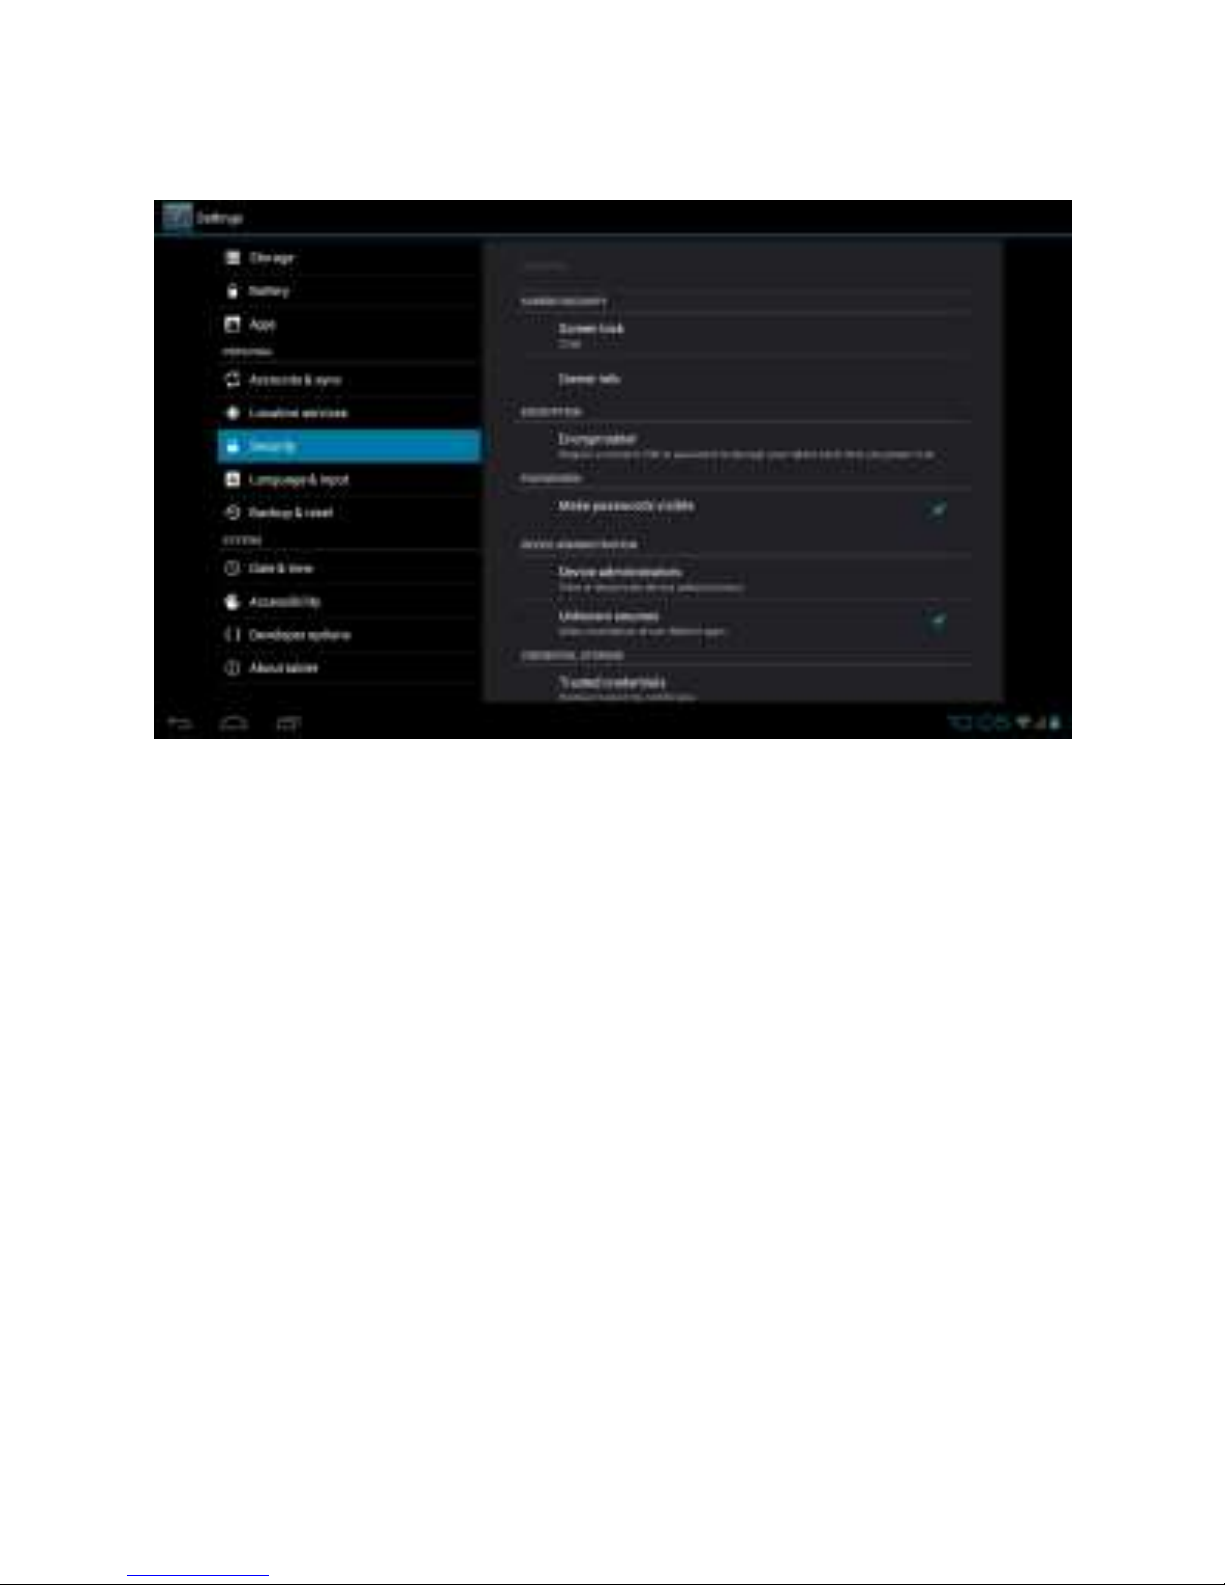
Fig.3.2
Set security options such as lock pattern and passwords
of the tablet.
NOTE: Please check the “Unknown Resources” option in
order to install third party applications.
3.10 Language & input
Set the language of the tablet. Default and
installed input methods will be shown here.
Page 24

3.11 Backup & reset
Provides a factory reset option.
3.12 Date & time
Sets the date, time, time zone, and date format.
The date and time is set to automatic mode by
default. This allows for the date and time to
sync with the Internet upon network connection.
3.13 Accessibility
Provides ease of use options.
3.14 Developer options
Provides advanced interactive options and
information for advanced use and hardware
information.
3.15 About tablet
Displays the tablet build information.
4. Using MicroSD card
Note:
1) Micro SD card is not included with the busbi7
Page 25

product.
2) Note:The busbi7 officially supports Class 6
Micro SD cards up to a capacity of 32GB.
In order to safely remove the storage card from the
device go to Settings Storage. Choose ‘Unmount
MicroSD card’ for safe removal of the card as shown
in Fig.3.4.1
The toolbar will display MicroSD card safe to remove
when this option is chosen. Please wait 3 seconds
before removing the card.
When the MicroSD card is removed, the toolbar will
display Removed MicroSD card.
Re-inserting the MicroSD card will show Preparing
MicroSD card on the toolbar status.
Removing MicroSD card without first unmounting
will give the following message MicroSD card
unexpectedly removed on the toolbar.
IMPORTANT Unexpected removal may cause the
MicroSD card to fail. You will have to reboot the
device for the MicroSD card slot to work again.
Removing the MicroSD card without unmounting
may damage the card. Please refer to 3.4 Storage.
Page 26

Installing apps
The busbi7 includes a suite of apps via the busbi app in
the applications page as shown in section 2.5. The
busbi app will allow you to install a suite of apps which
have been preinstalled on the tablet device. Please
follow the onscreen instructions for installing the
required app.
5.2 Installing apps from Android app stores; Direct to
Tablet
• The busbi7 comes preinstalled with the SlideMe
market. This market contains a catalogue of the
many Android apps available.
• To download an app, either choose by category or
search for a specific app.
• Tap on the app you are interested in and then
choose the download option; the download bar
Page 27

will appear. Note; please ensure that the Tablet is
receiving a strong and uninterrupted internet
connection during the download.
• When download has completed, you will then
have the option to install (now) or to do so at a
later date.
• If you choose to install, the app will install and
appear on the applications page.
• If you choose to install the app at a later time, you
will find the downloaded file at the following
location; File Manager > Download.
5.3 Installing apps from MicroSD card
• If you locate an app which is not downloading via
an Android Market, e.g. SlideMe, Aproov, GetJar
etc., and then you may be able to download the
app direct from your PC.
• The file can then be saved to a MicroSD card.
Please note; the file can be transferred using two
Page 28

different methods;
1) The Tablet can be connected via a Mini USB
A to USB A cable (not provided) to a PC. The Mini
USB connection connects to the USB OTG port as
shown in Fig. 2.1.1. The MicroSD card will show
up as a Removable device on your PC and the
relevant files can be transferred to the card.
2) Alternatively, safely remove the MicroSD card from
the tablet (see section 4; Using MicroSD card) for
more information. Connect the card to a PC. You
may need a separate MicroSD to SD card adapter
for this step. Save the file to the MicroSD card
and return the card to the Tablet when finished.
When the file has been saved to the MicroSD card,
you can locate and install the app with the
following procedure;
Page 29

Open the File Manager app and touch the ‘SD’ card
tab at the top to view and access all the files on the
card. Install the app (.APK file) by touching the app
and then touch Install.
5. Transferring media files
The busbi7 will connect directly to your PC to
allow file transfer. To avail of this function,
please connect a USB to Mini USB cable (not
provided) between the PC and the tablet.
The busbi7 will also recognise an external USB
drive. Please use the USB OTG port as shown in Fig.
2.1.1. See Section 6 ‘Using external devices’ for
more information,
Also, media files can be transferred directly onto
Page 30

the MicroSD card.
See section 5.2 for more information on copying
files and apps to the card.
The copied files will appear in the relevant app, i.e.
music files will appear in the music app, movies will
appear in the video player, etc.
Files can also be viewed on the device by connecting
an external storage device via the USB adapter cable.
See section 6; Using external devices, for more
information.
6. Using external devices
The USB OTG port (see Fig. 2.1.1) can be used to
connect an external keyboard if desired.
This port can also be used for connecting an external
Page 31

storage device, i.e. USB storage device.
Note: When the USB device is connected via the USB
adapter cable (provided), the media scanner
software will provide the relevant Music, Gallery and
Video app with the relevant media files on the
device. To access the device directly, please use the
following procedure;
o Open the File Manager app.
o Touch the ‘USB’ icon tab at the top to view
and access all the files on the device.
7. Technical features
Main Unit
Model No.: BUSTAB7R.
CPU: Boxchip Cortex A8 1.0GHz
Flash Memory: 4 GB NAND flash.
System Memory: DDRIII 512MB
Display: 800x400
Touch Panel: Capacitive Multi-Touch
Battery: Li-Polymer 2300 mAh
Operating Temperature: 0 - 55 °C.
Page 32
8. Recycling
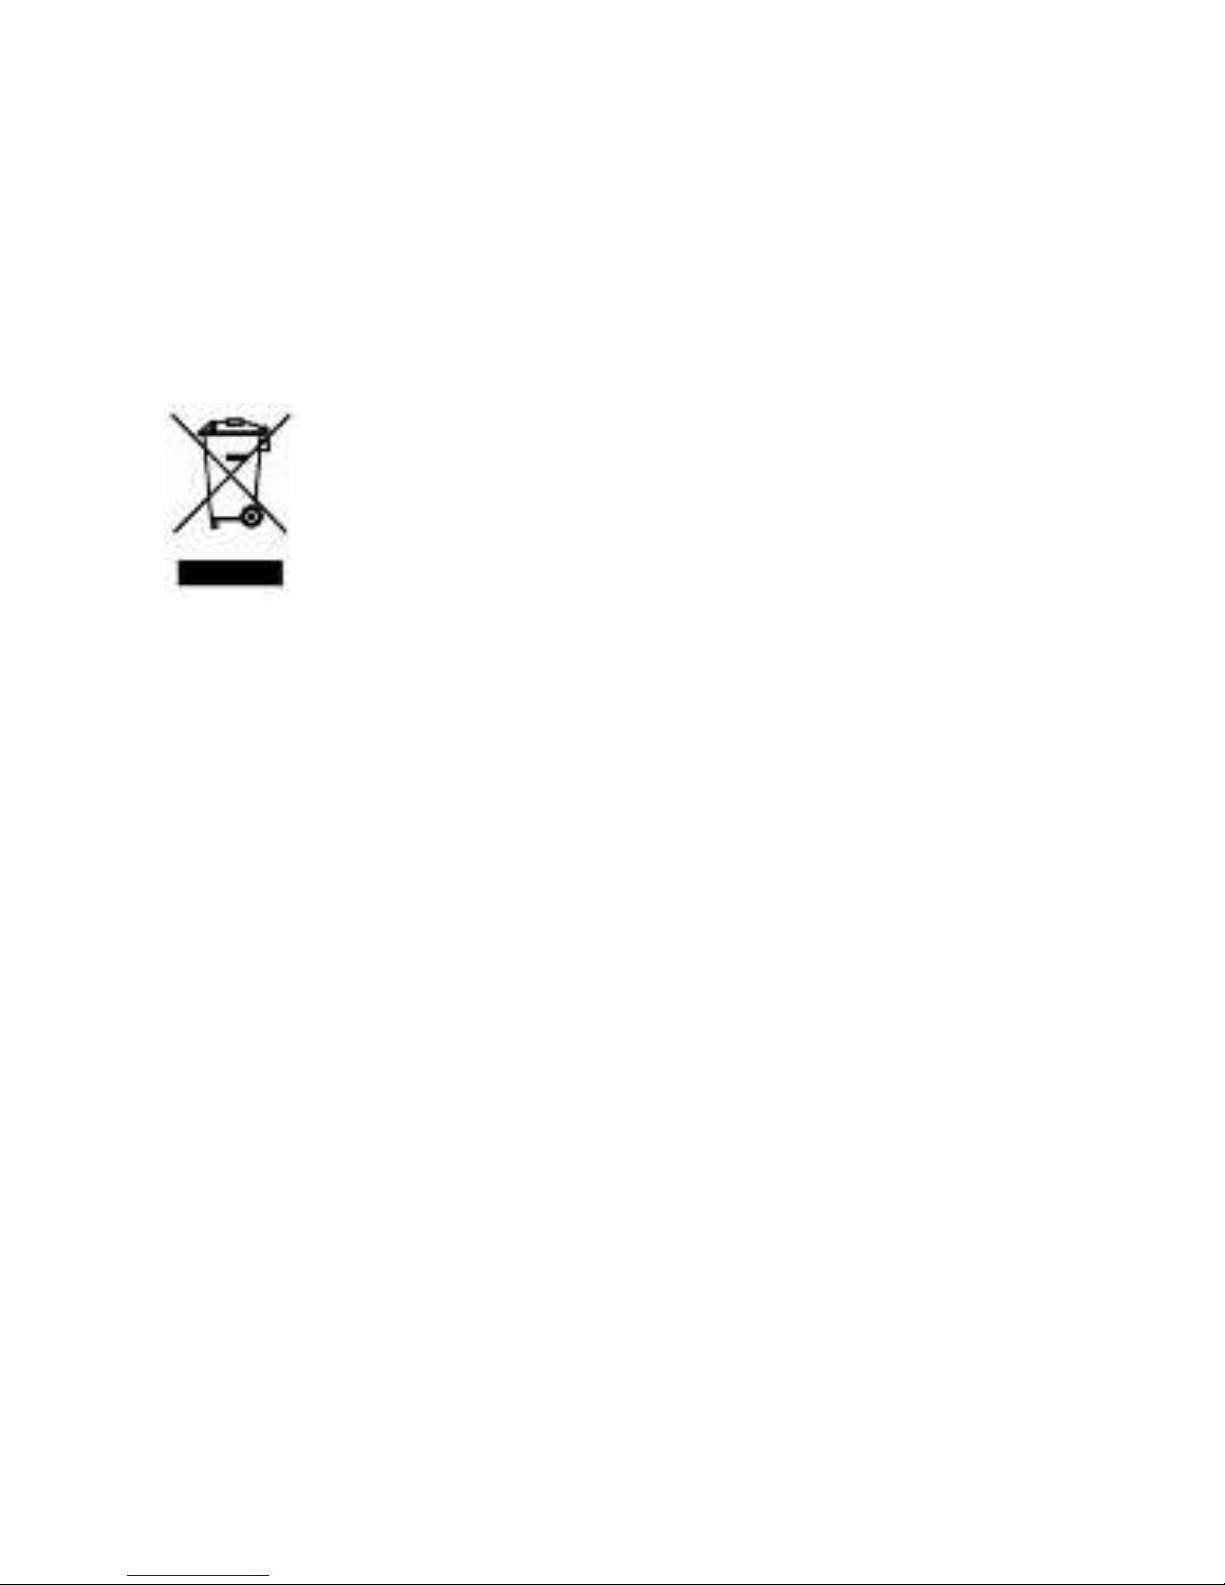
This crossed bin symbol on the appliance
indicates that the product, at the end of its
life, must be disposed of separately from
domestic waste, either by taking it to a
separate waste disposal site for electric and
electronic appliance or by returning it to your
dealer when you buy another similar appliance.
The user is responsible for taking the appliance to a
special waste disposal site at the end of its life. If
the disused appliance is collected correctly as
separate waste, it can be recycled, treated and
disposed of ecologically; this avoids a negative
impact on both the environment and health, and
contributes towards the recycling of the product’s
materials. For further information regarding the
waste disposal service available, contact your local
waste disposal agency or the place of purchase.
Page 33

9. Troubleshooting
8.1 I can see my access point name, but I cannot
connect to the Internet.
Ans: If your access point (AP) supports multiple
access points at a time, you may have to connect
the device using WPA encryption and not WEP.
Please refer to your AP device manual for setup
details.
8.2 My MicroSD card is not being detected and/or
shows damaged SD card.
Ans: Please re-insert the MicroSD card and try
again. If this does not work, please restart the
device again with MicroSD card inserted. Please
ensure that you have removed the MicroSD card
using the correct procedure as described in
section 3.4.
8.3 Can I disable the screen orientation?
Ans: Yes. Please check in “Display” in “Settings”,
Un-check the “Auto-rotate screen” option.
8.4 What is the life of the battery?
Ans: A complete charge will give 6 hours battery
life with wireless functionality turned on.
Page 34

8.5 Can I amend the Operating System or code on
the device myself?
Ans: No. Any misuse of the tablet in this way will
void the warranty.
For further technical queries, please contact the
busbi support helpdesk :
www.bisbi.biz/support
Page 35
9. Battery statement
CMS Peripherals Limited is registered as a producer under The
Waste Batteries and Accumulator Regulations 2009. The battery
in this device is not intended to be removed by the individual or
end user. At the end of the product life, or the expiry of the
product, the relevant local council appointed WEEE disposal and
recycling facility should consult the aforementioned company
using the details at the footer of this page should advice be
sought for the safe disposal of the cell within this product.
The cell within this product uses Lithium Ion technology. The cell
has a voltage rating of 3.7V and a capacity of 2300mAh, with an
energy rating of 8.51Wh (Watt hours)
CMS Peripherals Limited, 24 Scrubs Lane, London, NW10
6RA
Warning: To reduce the risk of fire and burns; do not disassemble, crush,
puncture, short external contacts, or dispose of in fire or water.
 Loading...