

CM MotorMix Owner's Manual

™
Digital Mixer Worksurface
Owner’s Manual
Version 2.0
Creative Tools for New Technologies
20621 Plummer Street • Chatsworth, CA 91311 USA • (888) 588-6434 • cmautomation.com
Before you call us with your questions,
please read the manual at least once.
This way we can improve the quality of
our customer support and create better manuals.
The manual provides you with everything
you need to get going quickly.
Thank you for purchasing Motor Mix. Happy Motoring!
Carl Malone
President, CM Automation

Legal Notice
Notice
Please return your warranty card immediately. Your name will be place on
our mailing list (unless you request otherwise) and we will inform you of
all product updates as well as new product developments. Some of these
updates will be free, so please send the card in.
CM Automation reserves the right to make improvements or changes at
any time to the products described in this manual.
Published by:
CM Automation
20621 Plummer Street
Chatsworth, CA 91311
U.S.A.
Version 2.0 2000
Copyright © 2000 CM Automation
All rights reserved
™
i CM Automation Motor Mix Operations Manual v 2.0 2/00
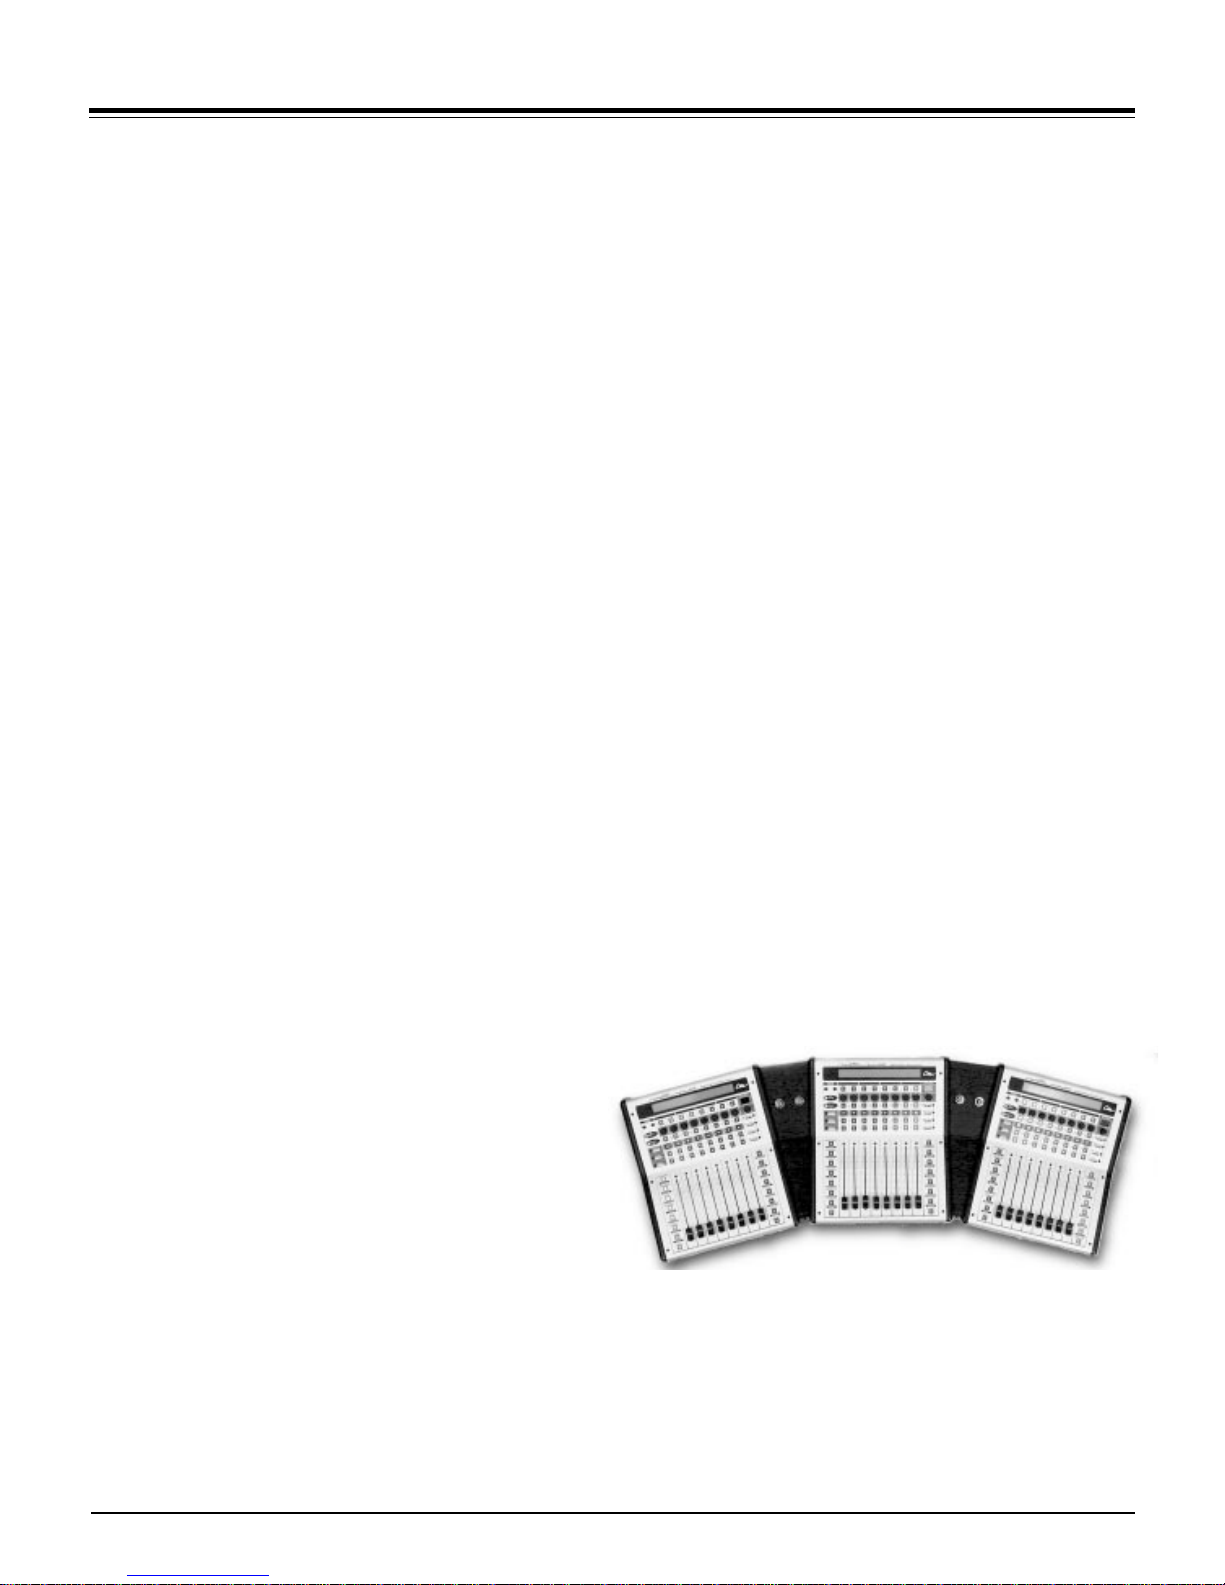
Table of Contents
Pro Tools Operations
Set Up & Quickstart ......................................... 1
Troubleshooting...............................................2
Operation.................................................... 3-6
Multi Unit Benefits............................................ 7
Standard Operations
Set Up, Troubleshooting ................................... 8
Operations ................................................ 9-11
Multi Unit Benefits (Standard Operations) ......... 12
Motivation .................................................... 13
Specifications ................................................ 14
Worksurface Layout....................................... 15
Back Panel Layout ......................................... 16
CM Automation Motor Mix Operations Manual v 2.0 2/00 ii

Pro Tools Set Up & Quickstart
QuickStart, Setting up a
Pro Tools /Motor Mix System
1.) You will need a Pro Tools system with software version 4.1
or later.
2.) Connect Motor Mix MIDI IN and OUT to the MIDI OUT and IN on
one port of your functioning MIDI interface.
3.) Launch OMS setup and define Motor Mix: Is controller on MIDI
channel 1 (only 2 boxes checked). Note: If you are using
multiple Motor Mix units with Pro Tools, each unit must be
connected to the MIDI interface with two MIDI cables. Repeat
step 3 for each unit, but create a unique name for each unit,
like: Motor Mix 1, Motor Mix 2 etc.
4.) Open a Pro Tools session and select “controllers” in the
peripherals menu.
5.) Select “HUI” and then select Motor Mix and the number of
channels = 8. Note: If you are using multiple Motor Mix units
with Pro Tools, repeat step 3 for each unit, but create a unique
name for each unit, like: Motor Mix 1, Motor Mix 2 etc.
6.) If you are using Pro Tools 5.xx, pull down the MIDI menu and
select “MIDI Input Devices”. Click on each Motor Mix listed.
This will enable Pro Tools to receive its MIDI input.
7.) In Pro Tools 5.x and higher, go to the Set up window and choose
Preferences. In the Preferences box, click on Operation. Then
select ‘Classic’ located in the Numeric Keypad Mode Section.
Classic Numeric Keypad allows you use the Locate function on
Motor Mix.
8.) Move a Motor Mix fader and the corresponding fader should
move in the Pro Tools mix window.
9.) If you need to operate software other than Pro Tools, you must
first exit the Pro Tools mode by pressing the "PLAY" and
"ESCAPE" switches on Motor Mix. The LCD will say "Pro Tools
mode - OFF -". Motor Mix will remain in normal operation
mode until returned to Pro Tools mode by pressing the "PLAY"
and "ESCAPE" switches a second time.
10.) Each time when you use Pro Tools you should have Motor Mix
powered up first to insure that Motor Mix gets a complete
update of your most recent session settings.
Page 1 CM Automation Motor Mix Operations Manual v 2.0 2/00

Pro Tools Troubleshooting
Troubleshooting
If Motor Mix does not respond properly, you can run the built in self-test in
Motor Mix. Simply connect the MIDI output directly into the MIDI input on
Motor Mix and apply power. Motor Mix will move all 8 faders, blink the
LED's and the LCD and test the MIDI in and out. If the test passes, you can
look for problems elsewhere.
Contacting Technical Support
For questions related to setting up and using Motor Mix with Pro Tools, or
if you feel that Motor Mix needs to be repaired, contact the Digidesign
technical support department.
Digidesign phone: 650 842-6699
Digidesign email: techsupt@digidesign.com
For questions related to setting up and using Motor Mix with products
other than Pro Tools, please contact the manufacturer of the product you
are using.
CM Automation Motor Mix Operations Manual v 2.0 2/00 Page 2

Pro Tools Operations
Switches, Faders, Pots or Selector
Usage with Pro Tools
Fader Input
Moving a fader on Motor Mix actually moves the Pro Tools on-screen fader.
When Pro Tools Automation is moving the faders on Motor Mix, you can
still make level changes by simply touching the Motor Mix fader and executing the move you desire. Motor Mix disengages the fader motor so
you can make level change, but it reengages the motor the moment you
stop touching the Motor Mix fader. If you wish to keep the fader stationary
with the motor disengaged, press and hold the "SHIFT" switch. The motor
will stay disengaged as long as the "SHIFT” switch is held down. Holding
the “SHIFT” switch down will also allow you to make very small fader
movements quite slowly. It keeps the fader motor disengaged during the
small fader movements.
Fader Punch Mode
Another option that allows you to disengage the fader motor is to Punch In
the individual faders. Punching In a fader will completely disengage the
motor on that fader. It saves you from having to hold the “SHIFT” button.
To enter Fader Punch Mode, “double click” the “SHIFT” button. This will
cause the LED in the button to blink. Now start playback. Press the “burn”
button above the fader you want to Punch In. The yellow LED (funct B)
below the “write” LED shines steadily to show that one or more faders are
punched in.
Fader-Send “FLIP”
While the rotary pots are controlling sends, press the rotary selector
switch. The channels faders and mutes then ”FLIP” to become the send
level and mute controls, The top row of the LCD displays the send assignments and the multi switches and LEDs control the send pre/post settings.
If the channel Multi LED is lit, then the send is pre fader. Pressing the multi
switch will toggle the send from pre to post. The pre and post text will also
be displayed briefly on the LCD.
While “FLIPPED”, rotate the selector to work on any of the other sends in
a “FLIPPED” fashion. Press the selector to return to rotary pot control.
Pan settings and channel plug in bypasses cannot be accessed while the
sends are “FLIPPED”.
Select Switches
The switches just below the LCD are the "SELECT" switches. They are used to
select one or more channels for grouping or Plug-in control, and provide
access to many other Pro Tools features. They are also used to make selections that appear on the LCD. For example, press the "AUTO ENBL" switch
and push the select switches to make automation enable selections in
Pro Tools.
Multi Controls
The 8 channel switches just below the rotary pots are the "Multi" switches.
The 4 switches and 4 green/yellow LED's just below the selector determine
what the "Multi" switches are doing.
To Punch Out an individual fader, press the “burn” button above the fader
you want to Punch Out. To Punch Out all faders, press either the “SHIFT”
or “write” switch. Pressing any of the transport switches will also Punch
Out all faders.
To exit Fader Punch Mode, “double click” the “SHIFT” button once again.
The LED will stop blinking. The “SHIFT” switch still performs its normal
functions while in fader punch mode.
Rotary Pot Usage
When you open a session, the 7 segment display will read "P" For PAN. If a
channel is in stereo, the pot will be the left balance control. Rotate the pots
and watch the lower row on the LCD to see the PAN pointers. The dash in
the center of the channel LCD indicates PAN enter position. Push the selector down, and the 7 segment display will read "Pr", PAN right. The rotary
pots will now be the right balance control on any stereo channels. Push a
second time to return to PAN.
Rotate the selector slowly and the 7 segment display will read "SA" for
Send A. Rotate the pots and watch the lower row of the LCD to see send
pot settings. If no send is assigned on that channel. The lower LCD row will
be blank on that channel. Turn the rotary selector again to select sends B
thru E. The rotary pots and selector are the Plug-in controls. See the "Plugin" section below.
Plug-in Bypass
Press the top switch just below the 7 segment display/selector. The 8
channel switches under the rotary pots are now the Plug-in bypass controls
for the channels. A green LED on in the channel bypass switch indicates
that all the Plug-ins on that channel are bypassed. Push any of the channel
bypass switches to toggle Plug-in bypass on that channel.
Send Mute
Press the second switch under the selector. The same 8 channel switches
under the rotary pots are now send mute controls for the channels. For
example: Rotate the selector to select Send A ("SA" on the 7 segment display). A green LED on in the channel indicates Send A is muted. Push any
of the channel bypass switches to mute/unmute a send. Use the selector to
select other sends for mute/unmute.
Send Pre/Post Assign
Press the third switch below the selector. The 8 switches are the Send pre/
post controls for those channels. Use the rotary selector to select a Send A.
When one of the switches is pressed, the pre/post for that channel will be
toggled and displayed briefly on the top row of the LCD. Use the selector
to choose other sends for pre/post assignment.
Page 3 CM Automation Motor Mix Operations Manual v 2.0 2/00
 Loading...