

Page 1
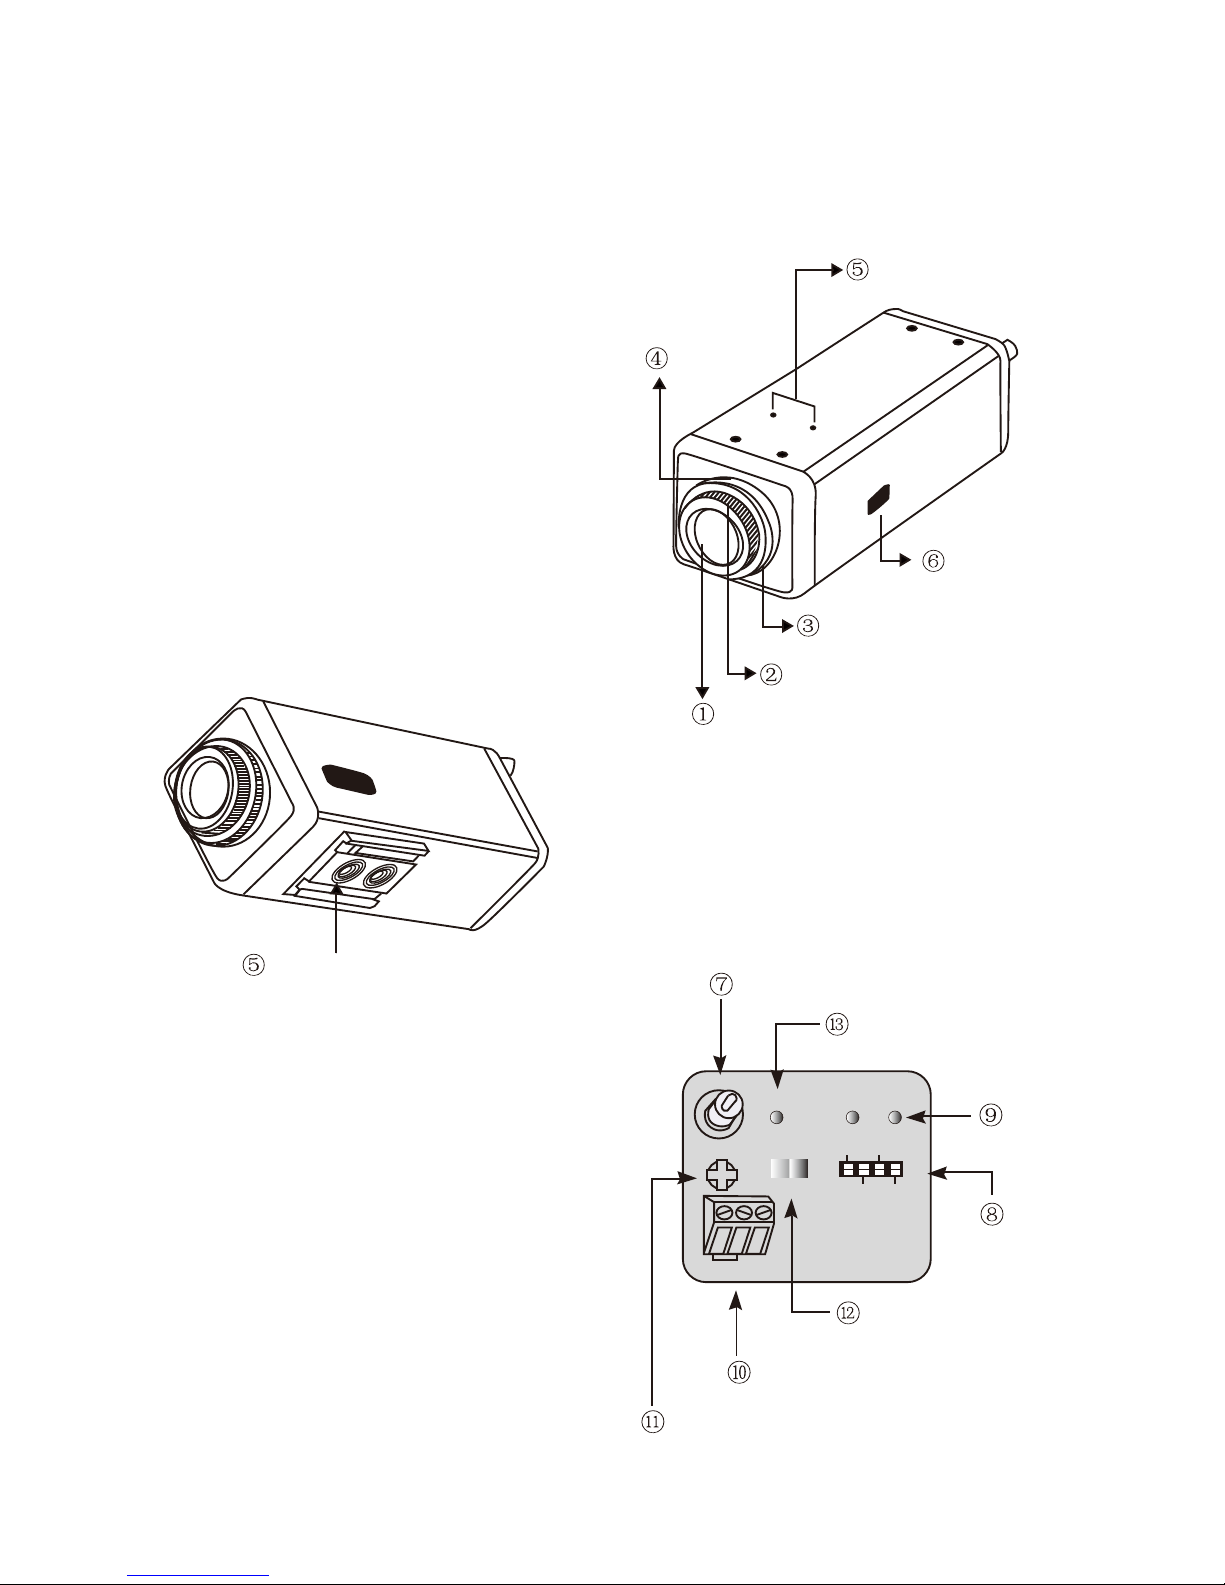
Front
1) Glass Protecting cap
2) C-Mount Lens Adapter
3) CS-Mount Lens Adapter
4) Back Focus Lock Screw
5) Tripod Mounting Hole
6) Auto Iris Jack
Rear view
5) Tripod Mounting Hole
7) Video Out Jack
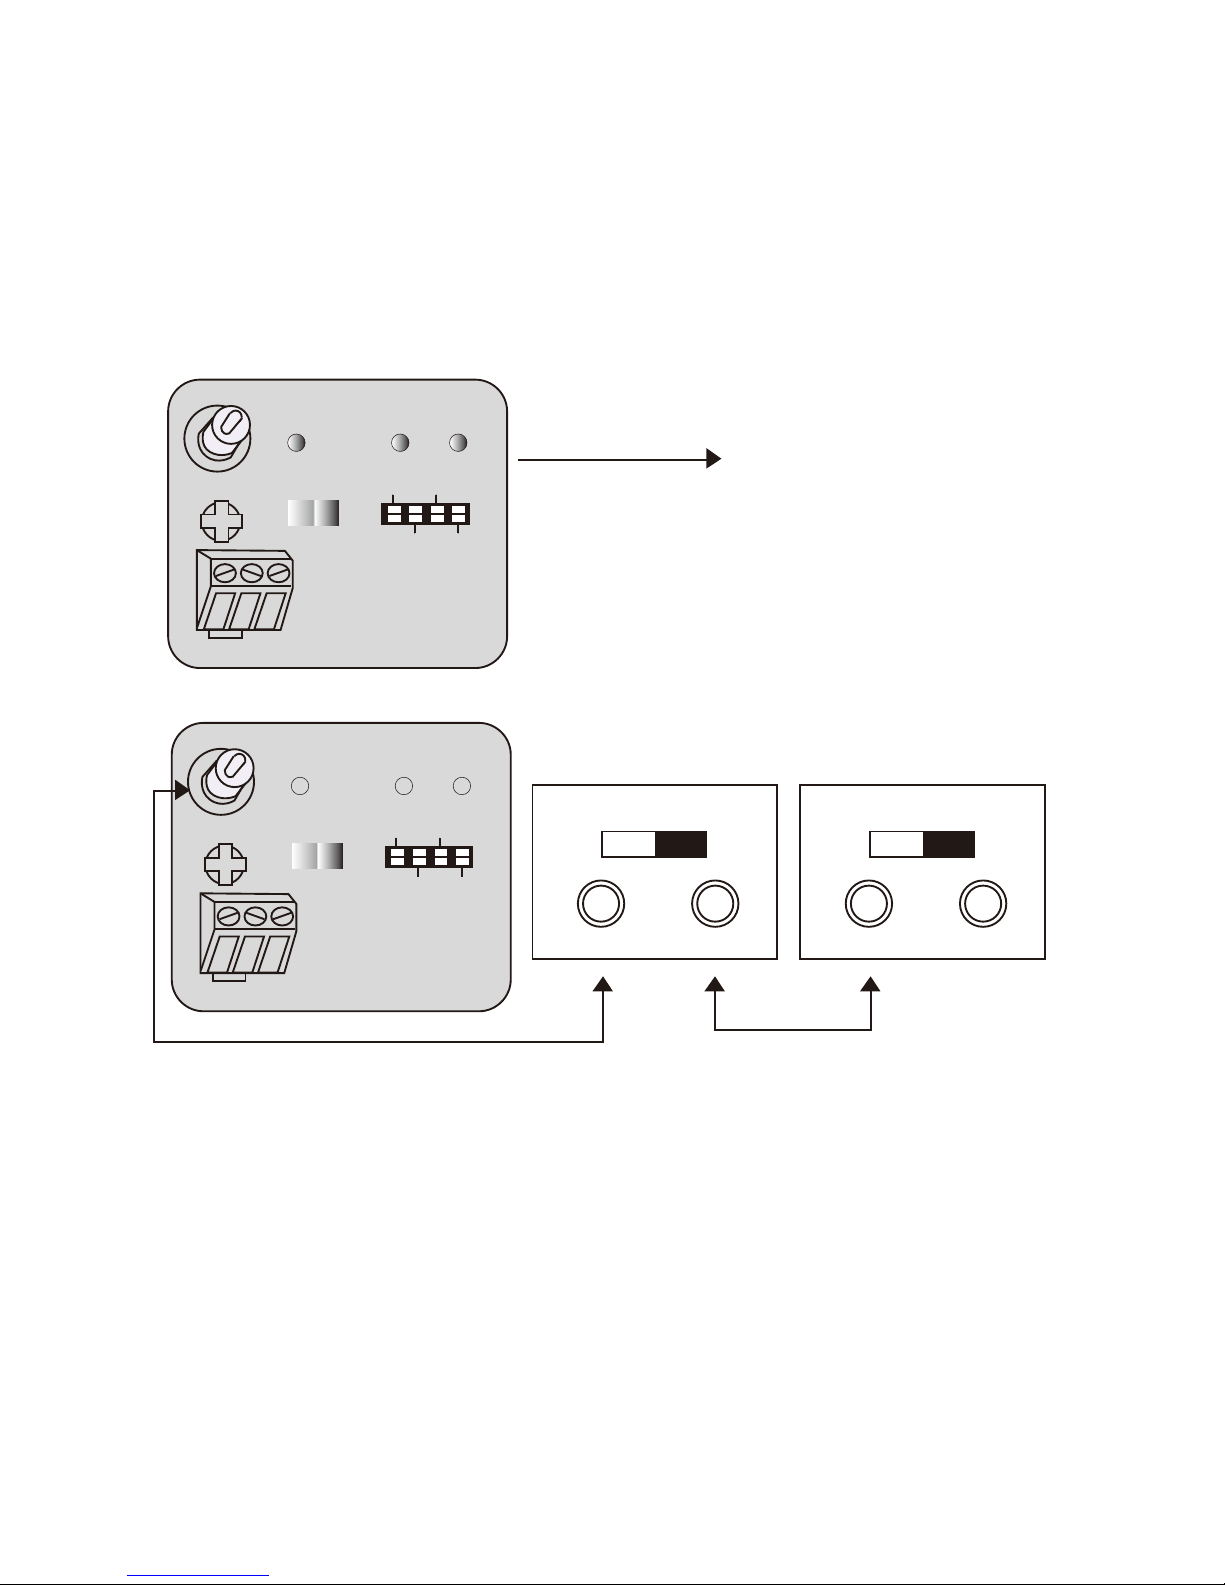
8) Control Switch
9) V.PHASE Button
10)Power Input Terminal
11)DC Level Adjustment V.R
12)Auto Iris Lens Selection Switch
13)Power Lamp
POWER
DC LEVEL
AUTO IRIS
ON
OFF
DIGITAL
COLOR CAMERA
AC 24C GND
CLASS 2
BLC
SYNC
INT
L.L
ESC
FL
VIDEO
VIDEO DC
UP
DOWN
V.PHASE
Auto lris Len Selection Switch
Power Input Terminal
DC Level Adjustment V.R
Contol Switch
Power Lamp
Video Out Jack
V.PHASE Button
Back Focus
Lock Screw
Tripod Mounting Hole
Auto Iris Jack
CS-Mount Lens Adapter
C-Mount Lens Adaper
Glass Protecting cap
Tripod Mounting Hole
How to install
Page 2
Connect the VIDEO out jack to the monitor video in jack.
Connecting to Monitor
Monitor
Intermediate End monitor
POWER
DC LEVEL
AUTO IRIS
ON
OFF
DIGITAL
COLOR CAMERA
AC 24C GND
CLASS 2
BLC
SYNC
INT
L.L
ESC
FL
VIDEO
VIDEO DC
UP
DOWN
V.PHASE
POWER
DC LEVEL
AUTO IRIS
ON
OFF
DIGITAL
COLOR CAMERA
AC 24C GND
CLASS 2
BLC
SYNC
INT
L.L
ESC
FL
VIDEO
VIDEO DC
UP
DOWN
V.PHASE
75ohm Hi-Z
VIDEO
IN
OUT
75ohm Hi-Z
VIDEO
IN
OUT
 Loading...