

CLOUD CVS-C83TB, CVS-C83TW, CVS-C53TW, CVS-C62TB, CVS-C53TB CVS_Series_Manual_EN_v1.0 (1).pdf
...Page 1
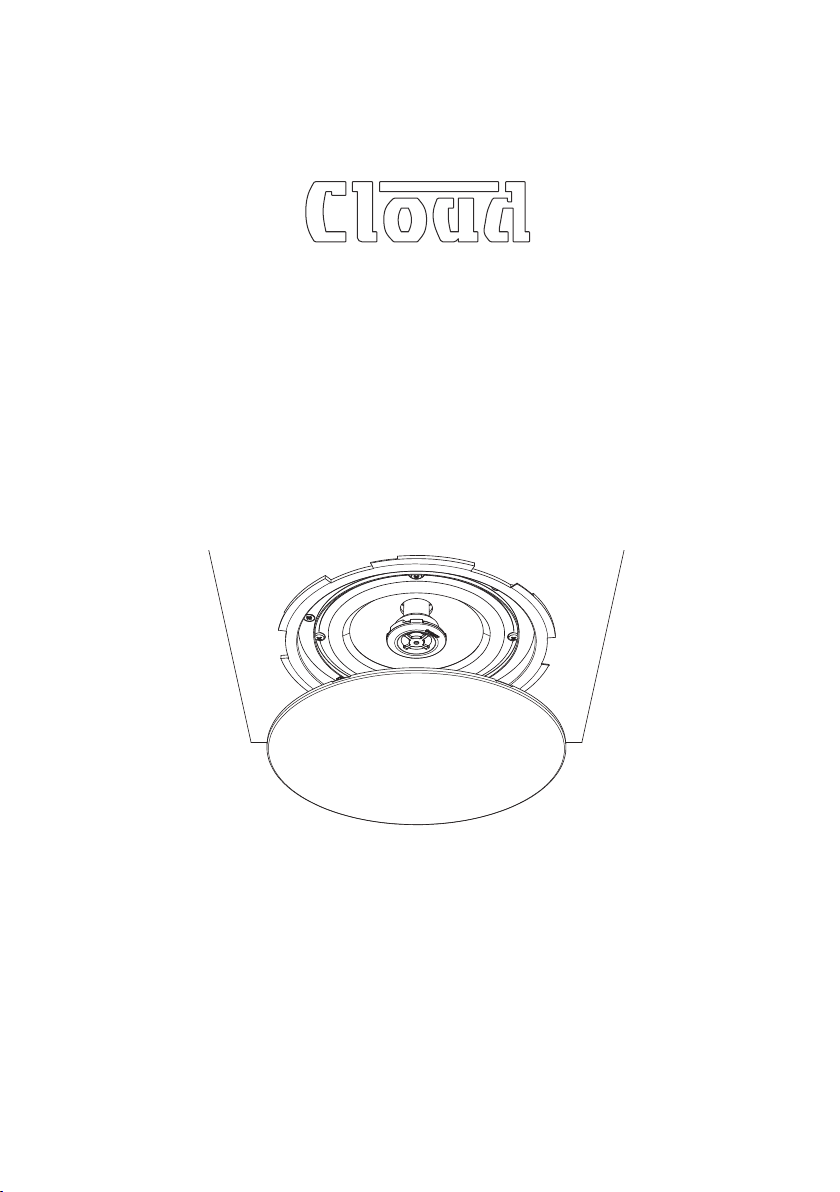
CVS Series
In-Ceiling Loudspeakers
Models
CVS-C5, CVS-C5T, CVS-C52T, CVS-C53T,
CVS-C62T, CVS-C82T, CVS-C83T
Installation Guide
Page 2

CAUTION - Installation
Speaker must be installed by a qualied speaker technician.
CAUTION - Servicing
The unit contains no user-serviceable parts. Refer servicing to qualied personnel.
Do not perform servicing unless you are qualied to do so.
CAUTION - Tap Settings
Before use, check that the transformer is set to the correct power tapping for the system.
INFORMATION
Model
CVS-C5 10 W 20 W 169 mm (6.65") 65 mm (2.56") 16 ohms
CVS-C5T 10 W 20 W 169 mm (6.65") 65 mm (2.56") 6 W / 3 W / 1.5 W / 8 ohms
CVS-C52T 20 W 40 W 169 mm (6.65") 65 mm (2.56") 6 W / 3 W / 1.5 W / 8 ohms
CVS-C53T 20 W 40 W 169 mm (6.65") 65 mm (2.56") 24 W / 12 W / 6 W / 8 ohms
CVS-C62T 25 W 50 W 205 mm (8.07") 105 mm (4.13") 24 W / 12 W / 6 W / 8 ohms
CVS-C82T 25 W 50 W 241 mm (9.49") 92 mm (3.62") 24 W / 12 W / 6 W / 8 ohms
CVS-C83T 25 W 50 W 248 mm (9.76") 110 mm (4.33") 24 W / 12 W / 6 W / 8 ohms
Rated
power
Max
Power
Cut-out diameter
Depth required
above ceiling
Line transformer power tappings
(100 V-line) or impedance
Note: all model numbers are sufxed either ‘B’ or ‘W’. This refers to the colour of the
nish: ‘B’ = black, ‘W’ = white.
All models have integral front grilles, with the exception of Models CVS-62T and CVS-83T,
which have removable front grilles.
CVS Series Installation Guide V1.02
Page 3

Step 1
Step 2
Ø Diameter
Cut a hole at the mounting location in the ceiling
using the template supplied. You can check that the
diameter is correct for the model by referring to the
table above.
Double check that there are no cables or other
obstructions behind the mounting surface before
making the cut-out.
Strip the ends of the wires coming from the amplier
and insert in the spring-loaded terminal block
connector on the loudspeaker. No screwdriver is
required.
The correct power tapping is chosen by connecting
to the appropriate terminals of the connector. A
description of the power tap selection is shown on the
magnet sticker on the rear side of the loudspeaker.
When using 100/70/25 V speakers in low impedance
mode (8Ω), disconnect the ground wires by
interrupting the cable lugs.
Step 3 Step 4
Make sure the mounting clamps are fully bent
inwards, allowing the speaker t through the cut-out.
Insert the speaker to the opening.
Fix the speaker in the provided opening by tightening
the screws of the mounting clamps using a
screwdriver. A quarter turn will cause the mounting
clamps to ip-out, locking the speaker in place.
Tighten the screws further until the speaker unit is
fully secure.
Step 5 (only applies to models with removable grilles) Step 6
To attach the grill to the speaker, insert the lips into
the provided openings on the speaker bafe and
rotate it a partial turn (15°) to lock it into place.
The speaker is now correctly installed and ready for
use.
CVS Series Installation Guide V1.0 3
 Loading...