

Page 1
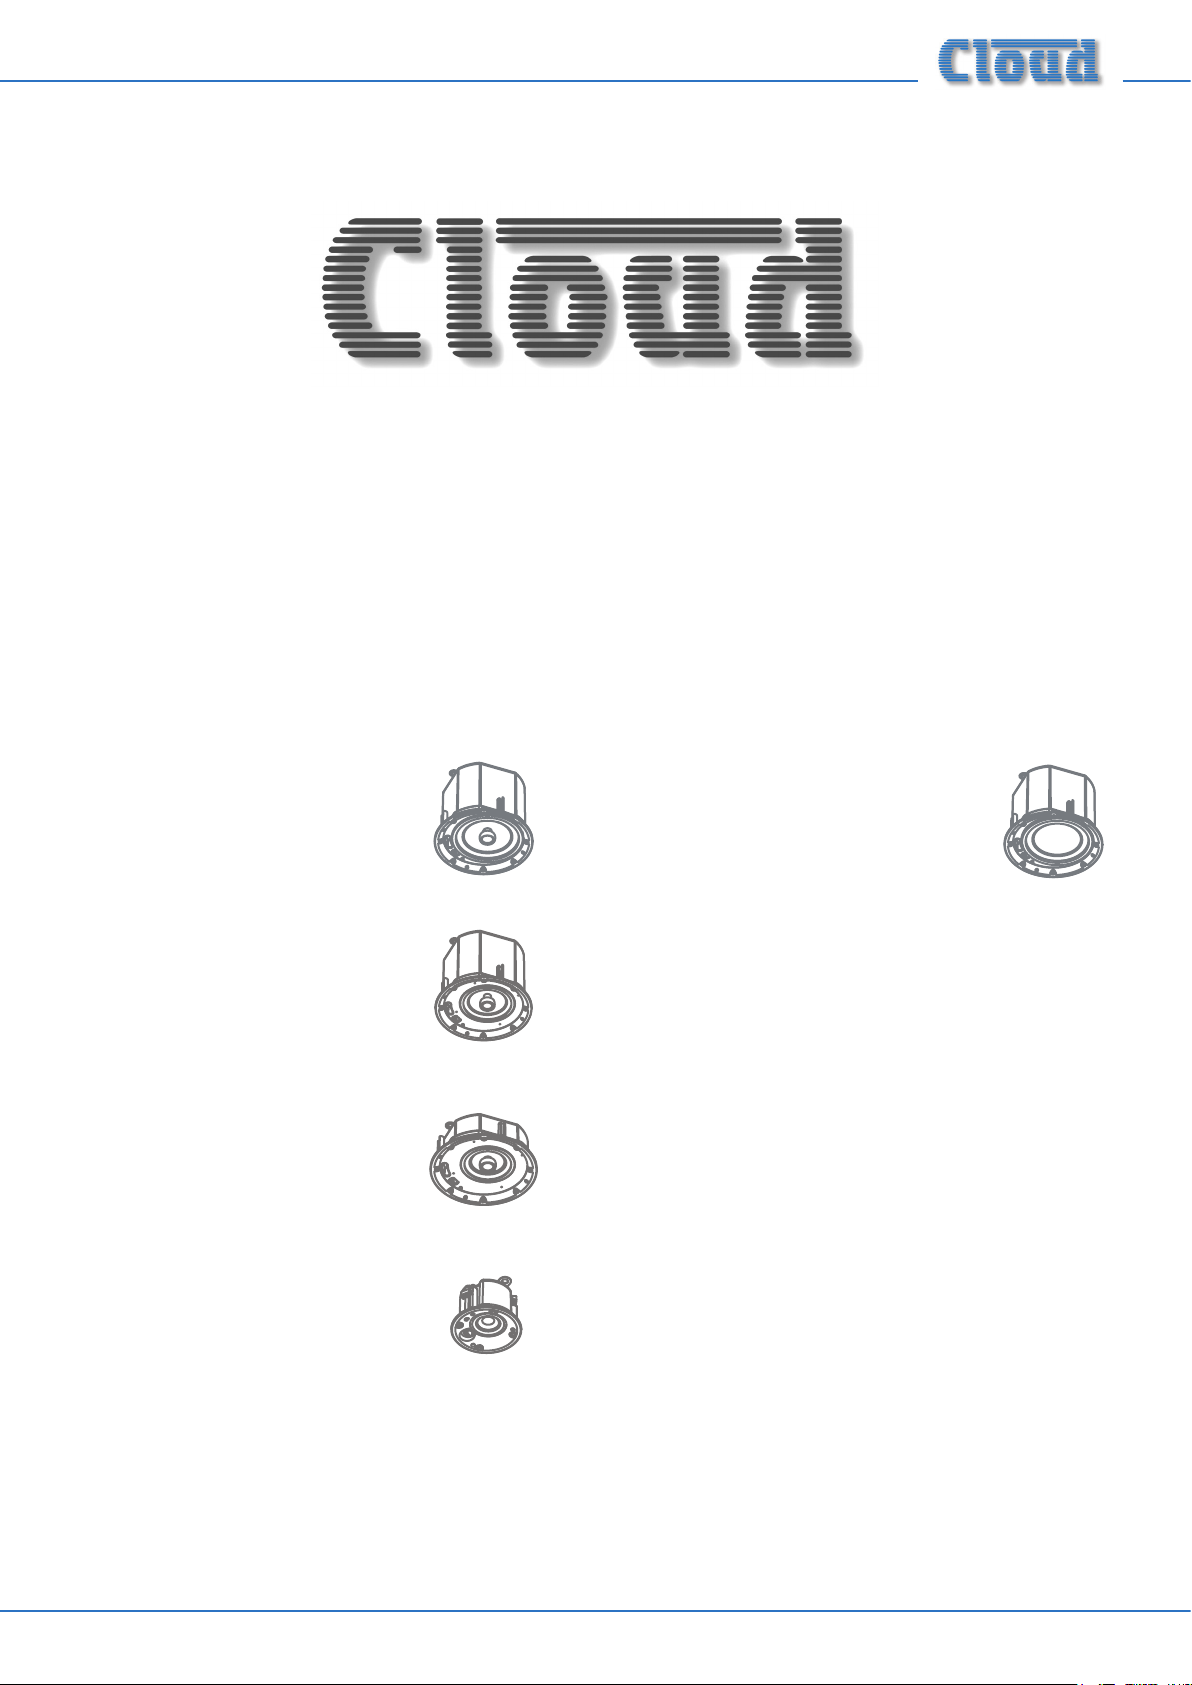
CS-C Series
In-Ceiling Loudspeakers
CS-C8
8” IN-CEILING LOUDSPEAKER
CS-C6
6.5” IN-CEILING LOUDSPEAKER
CS-C5
5” IN-CEILING LOUDSPEAKER
CS-C3
3” IN-CEILING LOUDSPEAKER
CS-CSUB8
8” IN-CEILING SUBWOOFER
Installation Guide
CS-C Series Installation Guide V2.1
Page 2

CAUTION - Installation
Speaker must be installed by qualied speaker technician.
CAUTION - Servicing
The unit contains no user-serviceable parts. Refer servicing to qualied personnel.
Do not perform servicing unless you are qualied to do so.
CAUTION - Tap Switch
Before use check and set tap switch under grille to proper setting for your system.
EXPLODED VIEW
Cover plate
Ceiling Tile Bracket
Fits all models
(ships separate)
Euro Block
Safety Restraint Tab (x2)
(Restraint not included)
Back can
Clamp Screw (x4)
Grille Leash
Screw
TAP SETTINGS
Ta p
1 4 ohm 16 ohm 16 ohm 16 ohm 16 ohm
2 X 100W 13W X 64W 8W X 32W 4W X 20W 2.5W X 16W 2W
3 100W 50W 7W 64W 32W 4W 32W 16W 2W 20W 10W 1.3W 16W 8W 1W
4 50W 25W 3W 32W 16W 2W 16W 8W 1W 10W 5W 0.6W 8W 4W 0.5W
5 25W 13W 1.5W 16W 8W 1W 8W 4W 0.5W 5W 2.5W 0.3W 4W 2W 0.3W
6 13W 6W 0.8W 8W 4W 0.5W 4W 2W 0.3W 2.5W 1.3W 0.2W 2W 1W 0.2W
CS-CSUB8 CS-C8 CS-C6 CS-C5 CS-C3
100 V 70 V 25 V 100 V 70 V 25 V 100 V 70 V 25 V 100 V 70 V 25 V 100 V 70 V 25 V
Dog ear mount
Baffle
Tap Switch
Grille leash
Grille
CS-C Series Installation Guide V2.12
Page 3

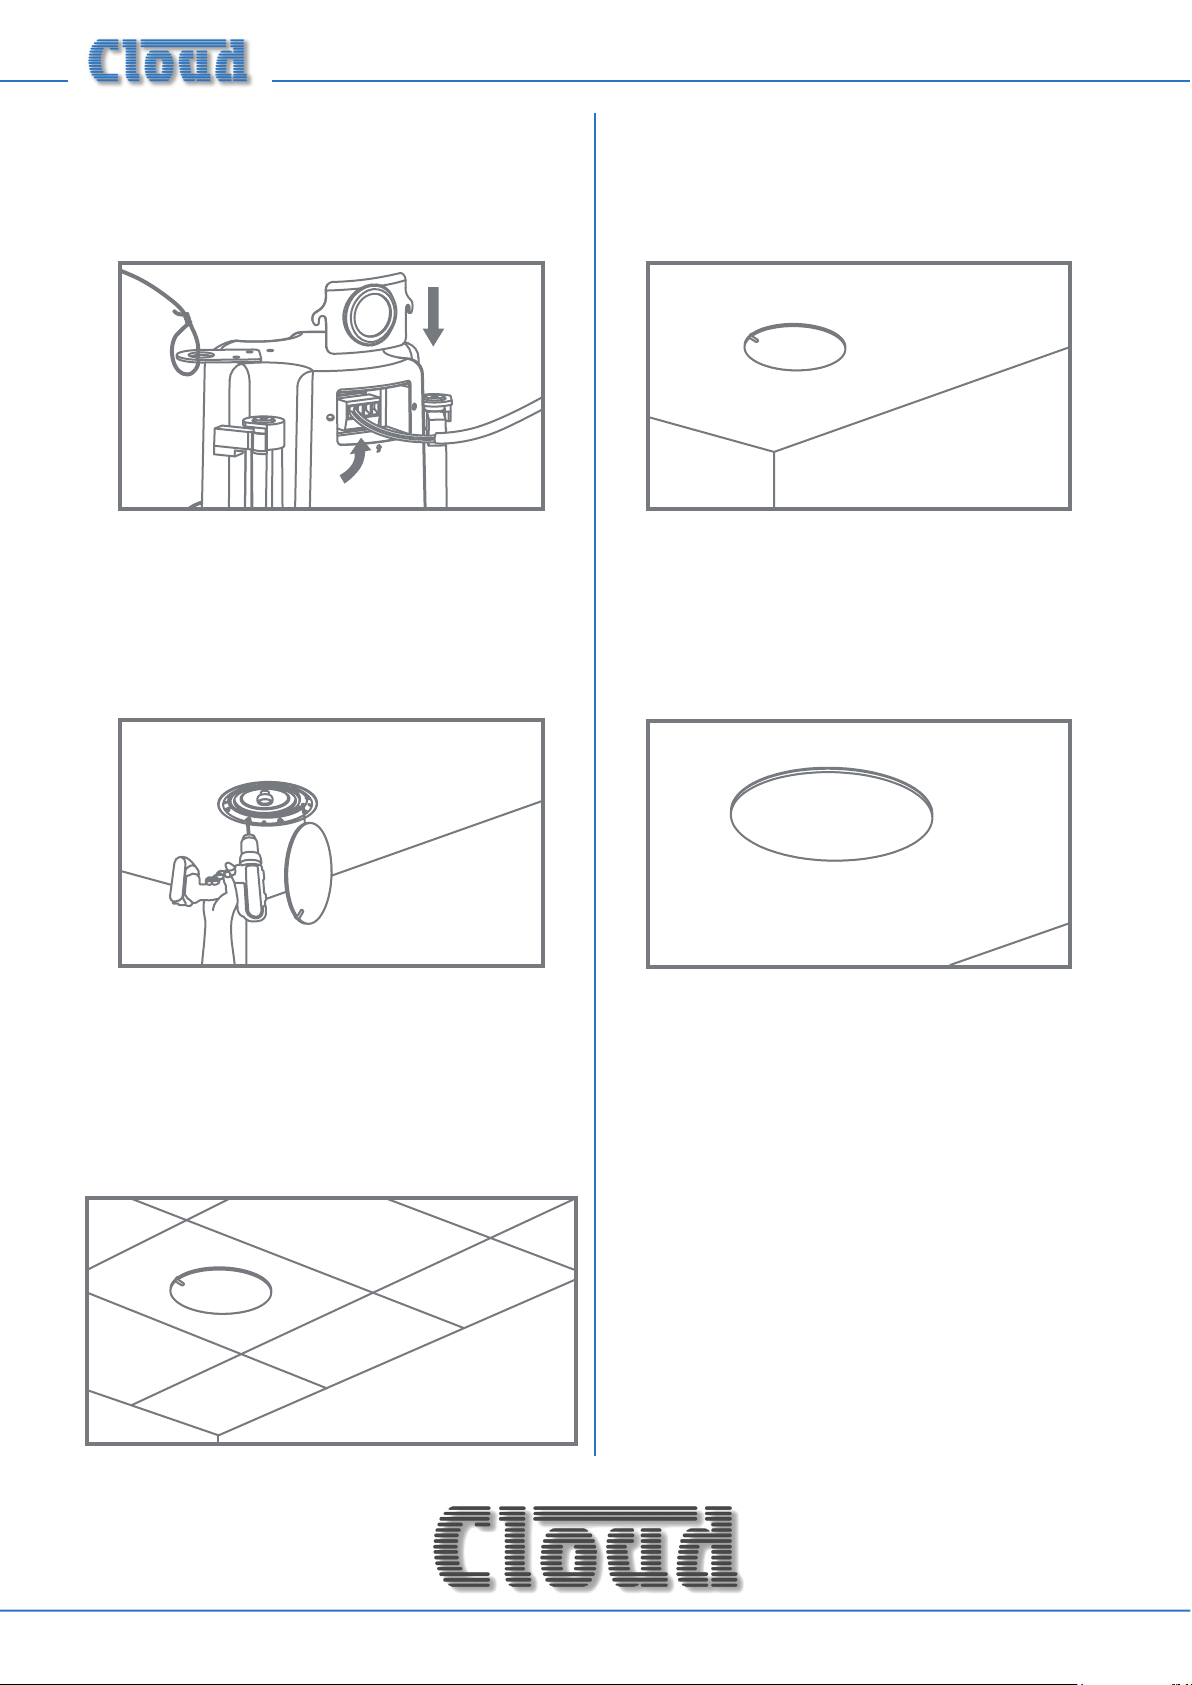
INSTALLATION
Step 1
Remove speaker from box.
Step 2
Mark and cut hole in ceiling or ceiling tile.
Use included hole template.
Step 4
Remove grille and set tap switch to proper setting and attach
grille leash to bafe. Tap switch is preset to highest 100 V
position.
Step 5 (Ceiling Tile Only)
Place tile bridge on back of ceiling tile. Align holes and insert
speaker in hole. Tighten dog ears. Do not overtighten.
271mm (10.67”)
CS-C3 = 140mm (5.50”)
Step 3
Locate euroblock in accessory bag and connect signal wire.
For daisy-chaining use “LINK” output to run to next speaker.
Step 6
Insert euroblock into rear of back can. Attach safety restraint
to rear of back can. Close and secure cover plate.
CS-C Series Installation Guide V2.1 3
Page 4
Step 6.1 (CS-C3 only)
Step 8
Insert euroblock into rear of back can. Attach safety restraint
to side of back can. Close and secure cover plate.
Step 7 (Drywall)
Insert speaker into ceiling opening and tighten dog ear clamps,
do not over tighten.
Check tap setting and replace grille.
Step 9
Remove logo tab if desired.
Step 7.1 (Ceiling Tile Only)
Insert euroblock into rear of back can. Attach safety restraint
to rear of back can. Close and secure cover plate, reattach
grille to speaker. Insert speaker, tile and tile bridge into ceiling.
www.cloud.co.uk www.cloudusa.pro
CS-C Series Installation Guide V2.14
 Loading...