

Climate Technologies PNE Commissioning/setup
Commissioning / Setup
Setting up multiple appliances with the
PNE
Touch Pad Control
www.climatetechnologies.com.au
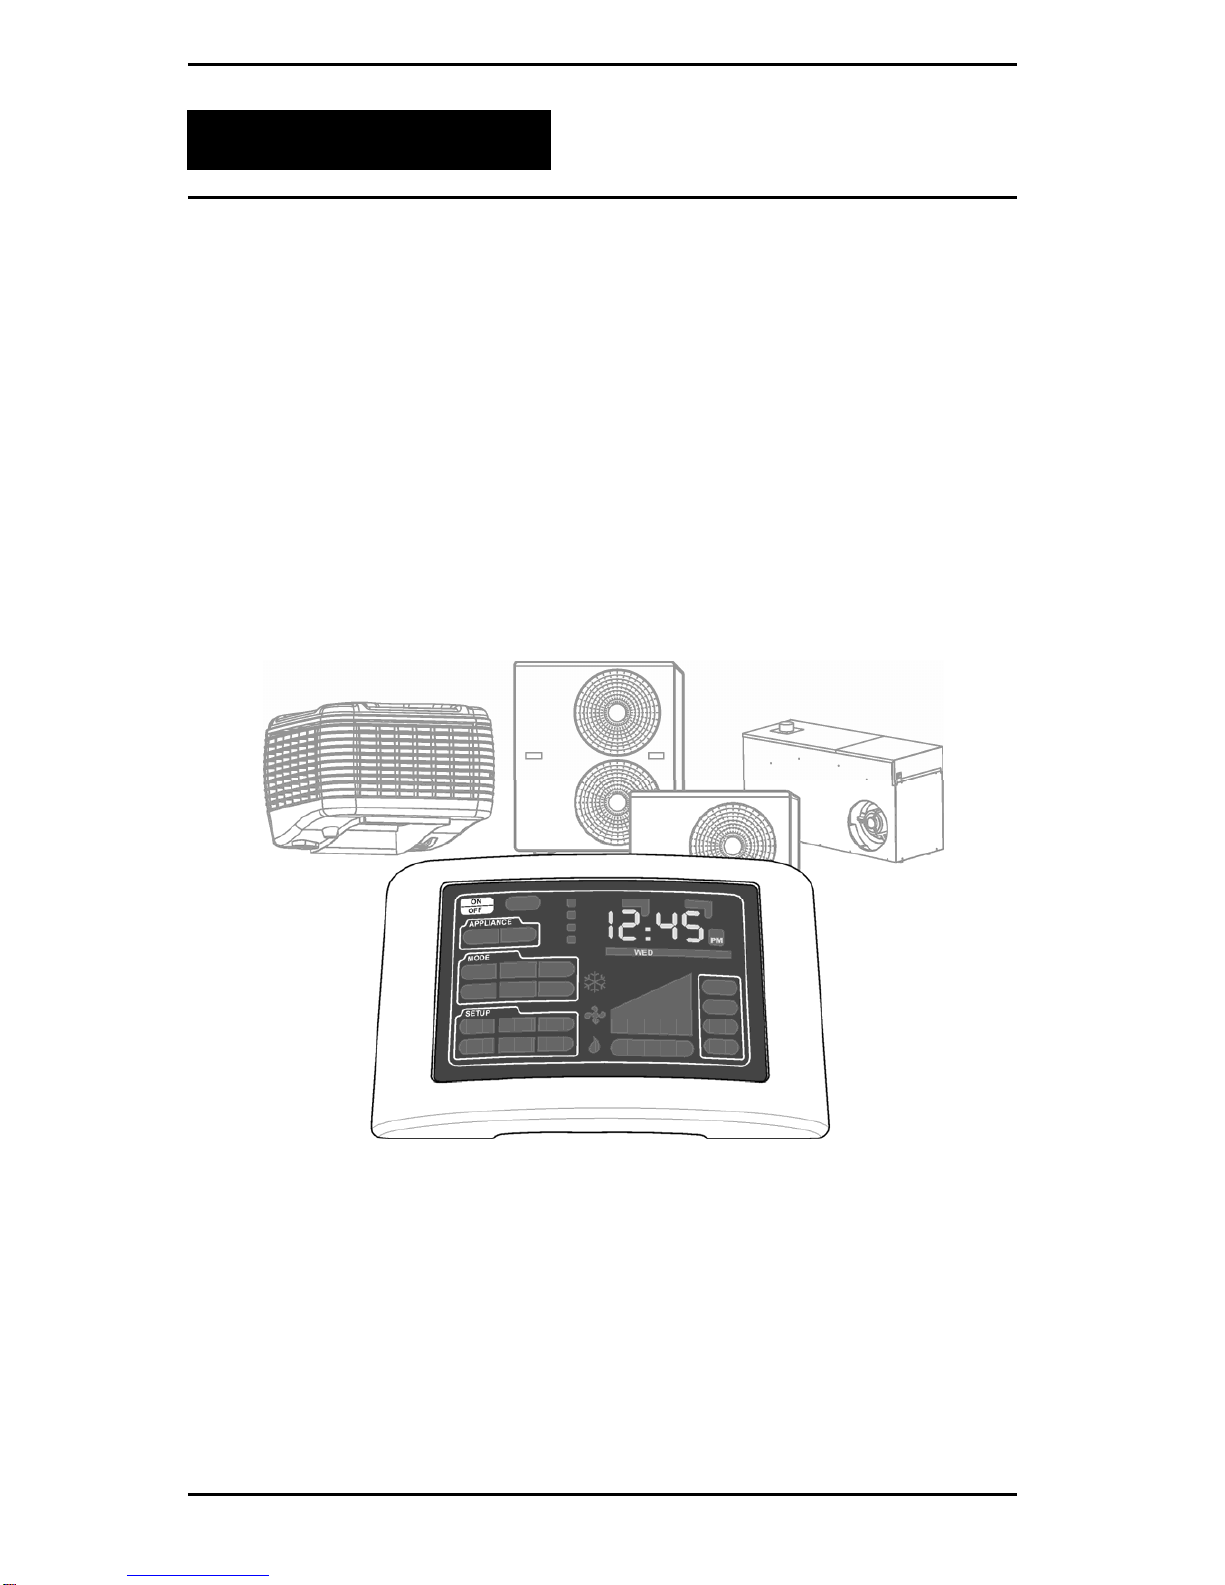
Multi-Appliance Touch Pad
Multiple Unit Setup
This instruction is for PNE touchpad controls connected to compatible Bonaire EAC and or
Vulcan & Pyrox gas central heaters.
The Bonaire EAC units compatible are fitted with the “2003S” control system. This will be
indicated by the label on the control box inside the unit. The control box will also be Grey
in colour.
The Vulcan & Pyrox gas central heating units compatible are fitted with control boards
that include an external reset button.
CONNECTING ALL THE UNITS
Step 1 Before connecting the comms looms, ensure the power is isolated to all the
units being connected.
Step 2 Connect the touchpad to the first
appliance using the PNE connection
loom.
Step 3 Connect all appliances together in a daisy
chain effect using the PNE connection
loom.
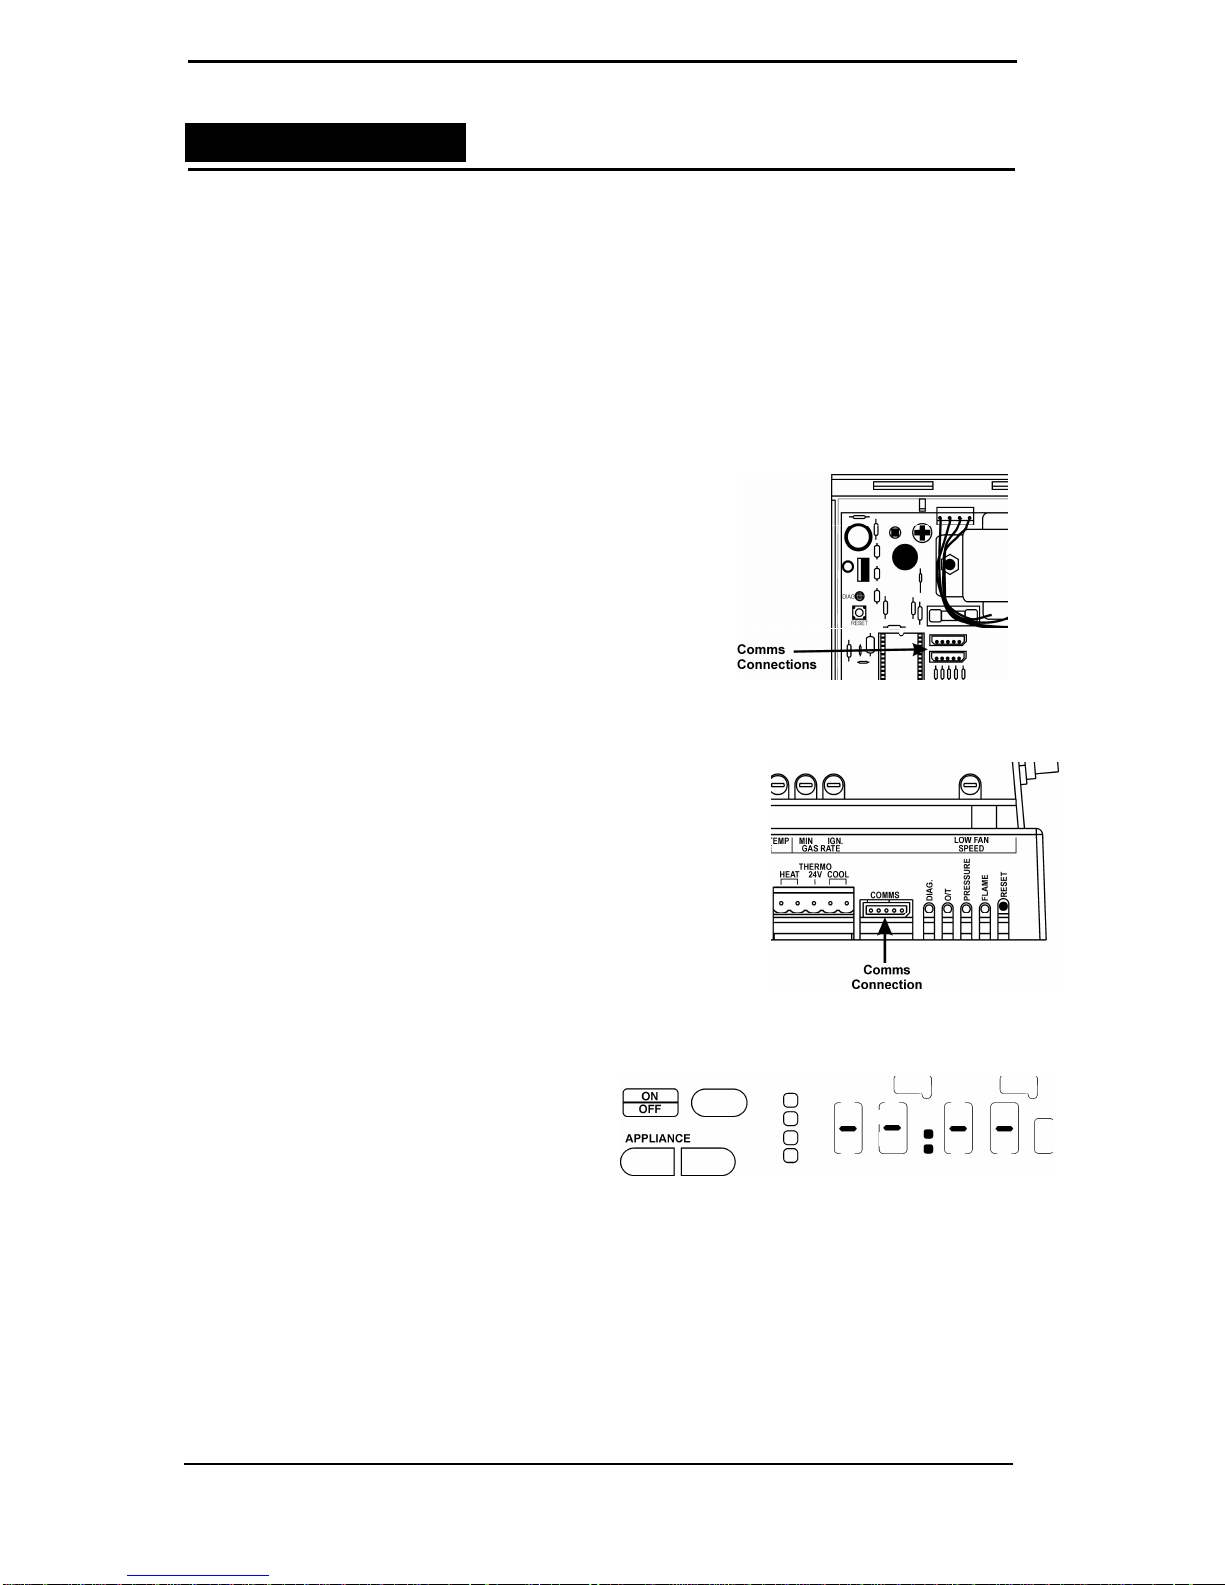
For evaporative air conditioning, the
control is fitted with a spare comms port.
The comms ports are parallel connected
on the control board, so there is no
required sequence for connection on each
control board.
For ducted central heating, the control is
only fitted with one comms port. For
multiple connections of central heaters, a
home automation module will be required
for each unit to be connected in the daisy
chain.
CODING THE UNITS
Step 1 Turn the power on to the 1st unit
only connected to the touchpad.
The unit will no auto-code itself
to the touchpad. This is
indicated by the 4 dashes on the
screen.
Step 2 Once the coding process has complete,
turn the unit on to verify the coding has
completed itself correctly.
Step 3 Turn the power on to the next unit to code
and allocate the code / zone required.
See next section for coding and allocation
of additional units.
Evaporative Cooler
Board
Central Heater
Board
 Loading...