

ClimateMaster iGate Connect Installation Manual
iGate™ Connect Thermostat
Installation Manual

CONTENTS
GETTING STARTED 1
Welcome 1
Technical Support 1
Before You Begin 2
HVAC System Compatibility Information 3
Approvals 4
FCC Compliance Statement 4
Speci cations 8
Wiring Requirements 8
INSTALLING THE iGate
™
Connect THERMOSTAT 9
Step 1. Power O HVAC Equipment 9
Step 2. Remove Existing Thermostat 9
Step 3. Install the iGate™ Connect Thermostat 9
Step 4. Connect the Wiring 11
Step 5. Power On HVAC Equipment 12

NAVIGATING THE MENUS 12
CONFIGURING THE IGATE
™
CONNECT THERMOSTAT 14
Thermostat Con g 14
Equipment 14
Thresholds 18
Humidity Control Settings 21
Service Mode 21
Sensors 27
Reset HVAC Equipment Settings 29
Performing a Hardware Reset 29
Rebooting the iGate™ Connect Thermostat 29
Con guring Reminders and Alerts 30
Alerts 31
END USER SOFTWARE LICENSE AGREEMENT 33

This Page Intentionally Left Blank

1
GETTING STARTED
Welcome
This step–by–step Installation Manual will walk you
through all aspects of the installation.
To ensure an on–going service relationship with your
customers, please register all of your ClimateMaster
thermostats in your Contractor Portal.
Technical Support
Our technical support team is available to answer
your questions at 1.405.745.6000.
2
Before You Begin
This product is intended to be installed by
trained service professionals.
This manual explains the procedures for
installing the ClimateMaster iGate™ Connect
thermostat. Please read it carefully before
beginning the installation.
For information on how to operate the
ClimateMaster iGate
™
Connect thermostat,
please see the iGate™ Connect Thermostat User
Manual.
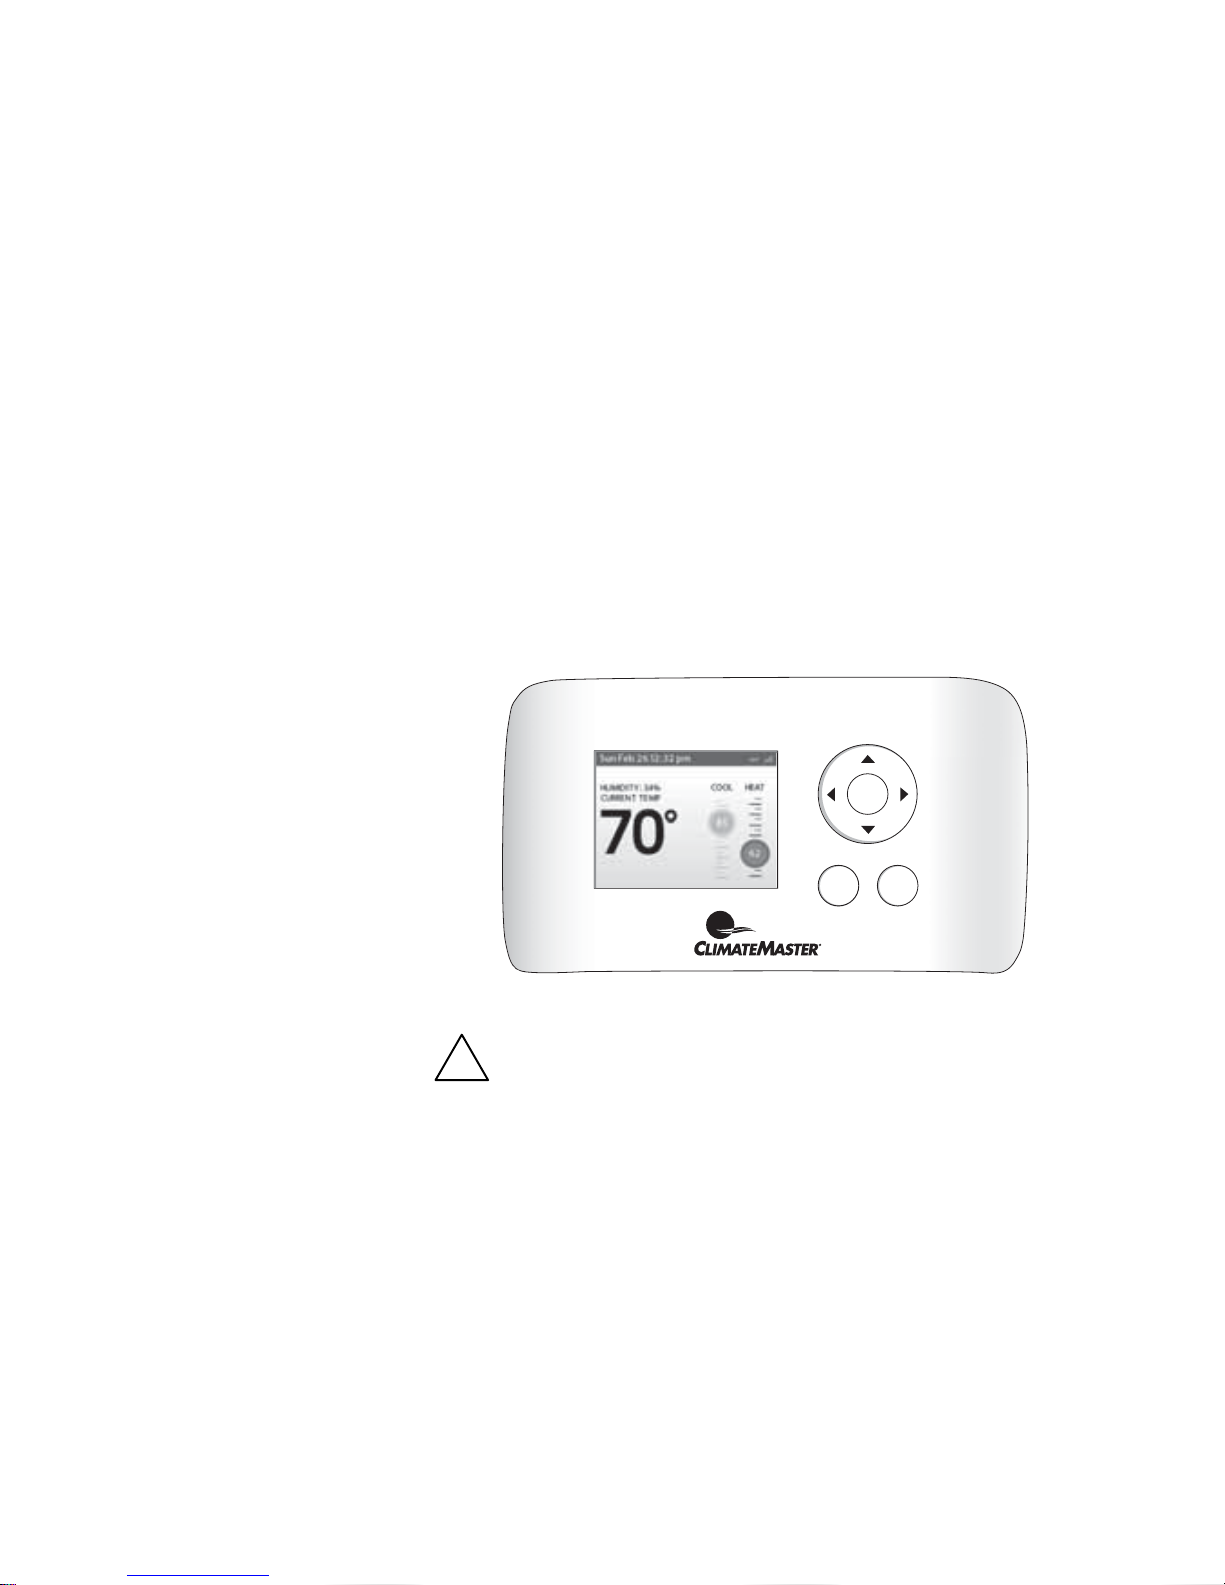
The iGate™ Connect thermostat is designed to
be mounted on the homeowner’s wall in a
convenient location.
Caution: Disconnect electric power to the HVAC
system before installing this product. Failure
to do so could result in electric shock and/or
equipment damage.
All wiring must conform to your local electrical
code.
Mercury Notice: This product does not contain
mercury. If you are replacing a product that
does contain mercury, contact your local
waste–management authority for disposal
instructions. Do not discard the old product in
the regular trash.
!
ecobee
OK
MENU BACK

3
HVAC System Compatibility
Information
The iGate™ Connect thermostat is designed
to operate with the ClimateMaster Trilogy
®
Geothermal Unit.
The ClimateMaster iGate
™
Connect thermostat
supports the following equipment:
Equipment Supported?
Trilogy® with Auxiliary Heat Yes
iGate™ Smart Tank Yes

4
Approvals
This product was designed and built in accordance to RoHS
directive 2002/95/EC and contains no hazardous substances as
de ned by this directive.
FCC Compliance Statement
This equipment has been tested and found to comply
with the limits for Class B digital devices, pursuant to Part
15 of the FCC Rules. These limits are designed to provide
reasonable protection against harmful interference in a
residential installation. This equipment generates, uses, and
can radiate radio frequency energy and, if not installed and
used in accordance with the instructions, may cause harmful
interference to radio communications. However, there is
no guarantee that interference will not occur in a particular
installation. If this equipment does cause harmful interference
to radio or television reception, which can be determined by
turning the equipment o and on, the user is encouraged to
try to correct the interference by one or more of the following
measures:
Reorient or relocate the receiving antenna.
Increase the separation between the equipment and
receiver.
Connect the equipment into an outlet on a circuit di erent
from that to which the receiver is connected.
Consult the dealer or an experienced radio/TV technician
for help.
This device complies with part 15 of FCC rules. Operation is
subject to the following two conditions:

5
1. This device may not cause harmful interference.
2. This device must accept any interference received,
including interference that may cause undesired operation.
Change or modi cations that are not expressly approved by
the manufacturer could void the user’s authority to operate
the equipment.
RF Exposure Information
This equipment complies with FCC radiation exposure limits
set forth for an uncontrolled environment. In order to avoid
the possibility of exceeding the FCC radio frequency exposure
limits, human proximity to the antenna shall not be less than
20cm during normal operation.
Industry Canada (IC)
Compliance Notice
This device complies with Industry Canada license-exempt
RSS standard(s).
Operation is subject to the following two conditions:
1. This device may not cause interference.
2. This device must accept any interference, including
interference that may cause undesired operation of the
device.
This Class B digital apparatus complies with Canadian
ICES-003.
RF Exposure Statement
This equipment complies with IC RSS-102 radiation exposure
limits set forth for an uncontrolled environment. This
transmitter must be installed to provide a separation distance
of at least 20 cm from all persons and must not be collocated or
operating in conjunction with any other antenna or transmitter.

6
Homologations
Ce produit a été conçu et fabriqué conformément à la
directive européenne RoHS 2002/95/EC, et ne contient
aucune substance dangereuse selon la dé nition de cette
directive.
Commission fédérale des communications
(FCC)
Avis de conformité :
Le matériel a été testé et jugé conforme aux limitations
de la catégorie B des appareils numériques, en vertu de
l’article 15 des règles de la FCC. Ces critères sont établis a n
d’assurer une protection su sante contre les interférences
nocives à l’intérieur d’une résidence. Cet appareil produit,
utilise et peut émettre de l’énergie radioélectrique
et peut occasionner des interférences nuisibles aux
communications radio s’il n’est pas assemblé et utilisé
selon les directives. Toutefois, il est impossible de garantir
qu’aucune interférence ne se produira dans une installation
donnée. Si ce matériel cause des interférences nuisibles à
la réception radio ou télévisuelle, ce qui peut être établi en
éteignant et en rallumant le matériel, nous recommandons
à l’utilisateur d’essayer de remédier à cette interférence de
l’une ou de plusieurs des façons suivantes :
· Réorientez ou déplacez l’antenne réceptrice.
· Augmentez la distance séparant l’appareil et le
récepteur.
· Branchez l’appareil à un circuit di érent de celui où est
branché le récepteur.
· Consultez le marchand ou un technicien expérimenté
en radio et télévision pour obtenir de l’aide.
Cet appareil est conforme en vertu de l’article 15 des règles
de la FCC. L’exploitation est autorisée aux deux conditions
suivantes :
1. L’appareil ne doit pas produire de brouillage.
2. L’utilisateur de l’appareil doit accepter tout brouillage
radioélectrique subi, même si le brouillage est suscep
tible d’en compromettre le fonctionnement. Toute __

7
moi cation apportée à votre appareil qui n’est pas expres
sément approuvée par le fabricant pourrait annuler le _
droit d’usage du matériel par l’utilisateur.
Informations relatives à l’exposition aux fréquences radio
Cet équipement est conforme aux limites d’exposition aux
fréquences radio de la FCC dé nies pour un environnement
non contrôlé. A n d’éviter de dépasser les limites d’exposition
aux fréquences radio établies par la FCC, il est recommandé
de maintenir une distance minimale de 20 cm entre le corps et
l’antenne lors d’une utilisation normale.
Industrie Canada (IC)
Avis de conformité :
Le présent appareil est conforme aux CNR d’Industrie Canada
applicables aux appareils radio exempts de licence.
L’exploitation est autorisée aux deux conditions suivantes :
1. l’appareil ne doit pas produire de brouillage, et
2. l’utilisateur de l’appareil doit accepter tout brouillage
radioélectrique subi, même si le brouillage est susceptible
d’en compromettre le fonctionnement.
Cet appareil numérique de la classe B est conforme à la norme
NMB-003 du Canada.
Énoncé sur l’exposition aux fréquences radio :
Cet équipement est conforme aux limites d’exposition
aux fréquences radio d’IC RSS-102 dé nies pour un environnement non contrôlé. Cet émetteur doit être installé à au
moins 20 cm de toute personne et ne doit pas être colocalisé
ou fonctionner en association avec une autre antenne ou
émetteur.
MODEL: AWC99B51
FCC ID: WR9EBSTATSI01
IC: 7981A-EBSTATSI01
CONTAINS
FCC ID: DI2CT-EM2606
IC: 1700C-CTEM2606
Warning: Changes or modi cations not expressly approved by ClimateMaster inc.
could void the users authority to operate the equipment.

8
Speci cations
Temperature ranges
Heat: 55 to 80 °F (12 to 27 °C)
Cool: 65 to 95 °F (18 to 35 °C)
Display: 40 to 100 °F (5 to 37 °C)
Sensitivity: +/– 1 °F (0.5 °C)
Operating: 32 to 130 °F (0 to 55 °C)
Humidity Range
Display: 20 to 90% R.H.
Sensitivity: +/– 5% R.H.
Operating: 5 to 95% R.H (non–condensing)
Dimensions
Thermostat: 5.5”W x 3.25”H x 1”D
(139.5mm H x 82.5mm W x 25mm D)
Power
24 VAC (3VA maximum)
Wiring Requirements
The following table shows the maximum wire lengths allowed:
Thermostat to HVAC Equipment
18 AWG 20 AWG 22 AWG
1250 ft/380 800 ft/240 m 500 ft/150 m

9
INSTALLING THE IGATE™ CONNECT
THERMOSTAT
There are 5 steps to install the ClimateMaster iGate™ Connect
thermostat:
Step 1. Power O Trilogy® Unit
Step 2. Remove Any Existing Thermostat
Step 3. Install the iGate
™
Connect Thermostat
Step 4. Connect the Wiring
Step 5. Power On Trilogy® Unit
Step 1. Power O Trilogy® Unit
Before disconnecting the existing thermostat, or installing
the iGate™ Connect thermostat, disconnect the power to the
heating and air conditioning equipment.
Step 2. Remove Any Existing Thermostat
Disconnect the wires to the existing thermostat (if applicable)
and remove it from the wall (if you are installing the iGate™
Connect thermostat in the same location).
Step 3. Install the iGate™ Connect
Thermostat
The ideal location for the thermostat is approximately 5 ft (1.5
m) above oor level in the main living area.
Do not install the thermostat:
Close to sources of heat such as incandescent lights
Near supply heating/cooling sources
 Loading...