

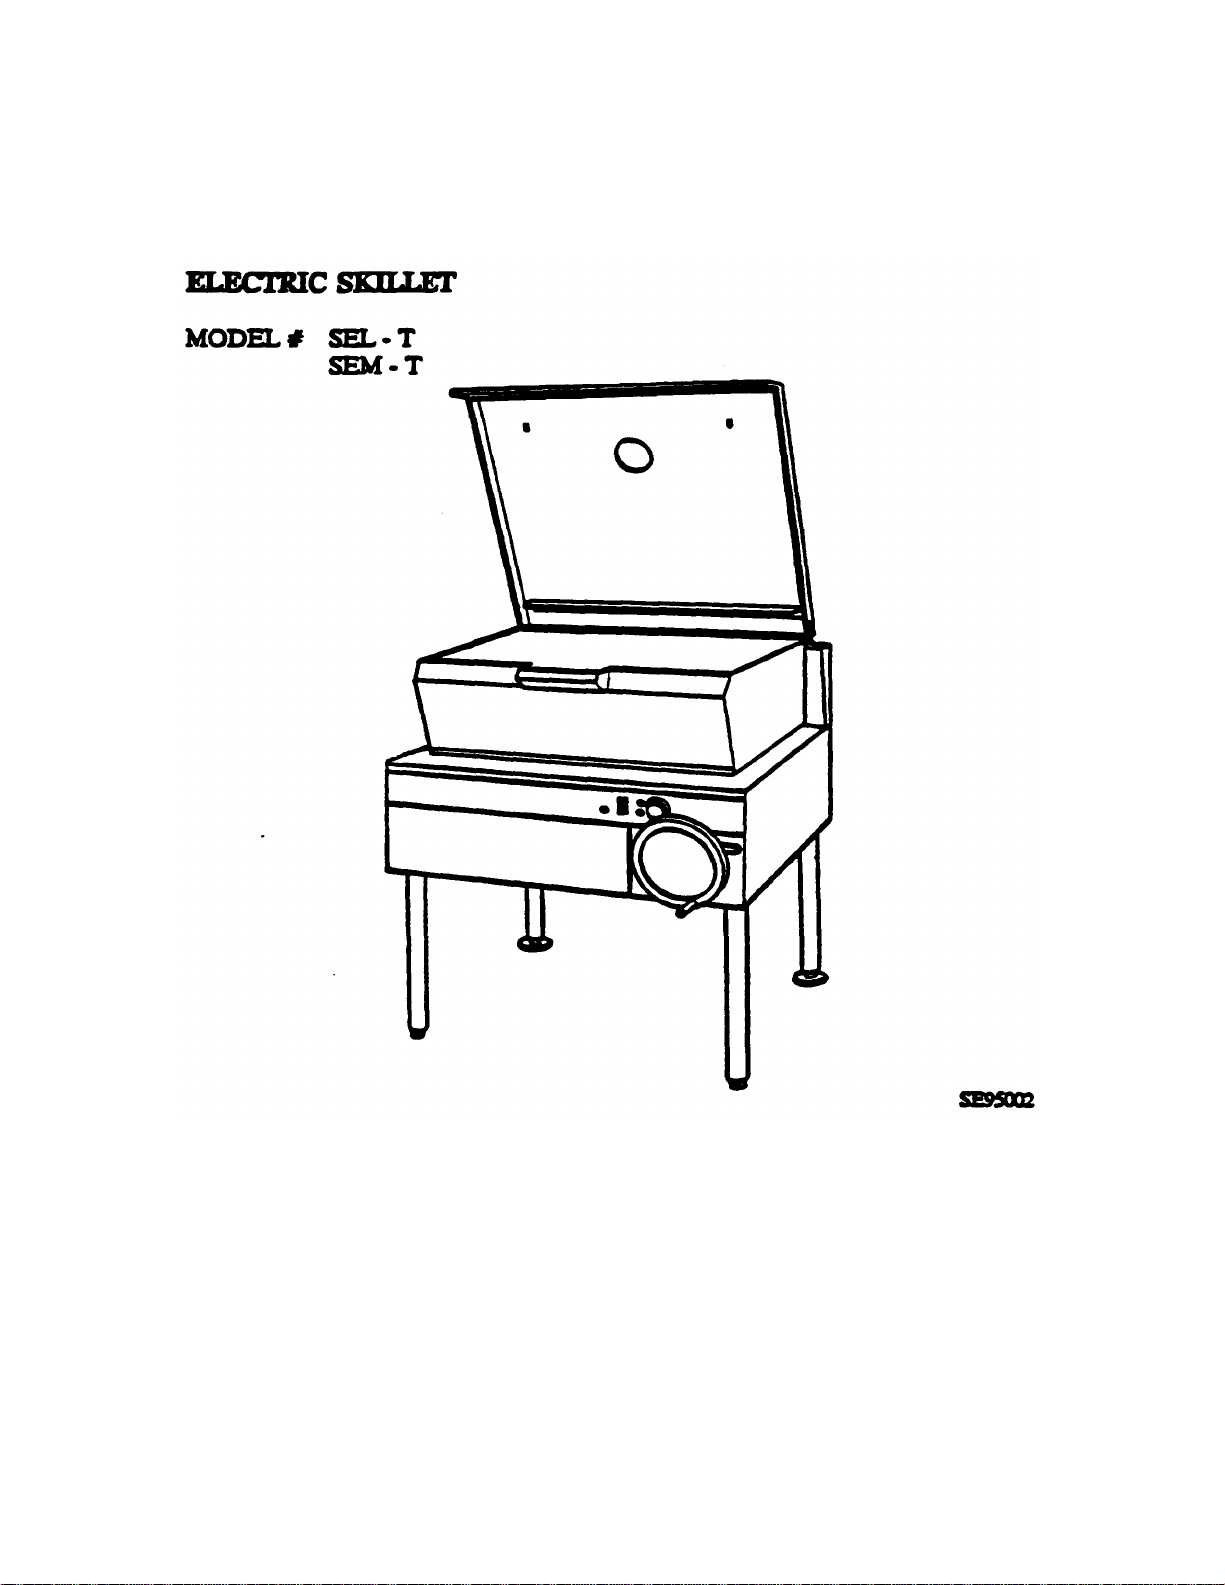
Cleveland SEL-30-T Installation Manual
INSTALLATION, OPERATION AND REPAIR MANUAL
Clevland Range, Inc.
UNITED STATES CANADA
1333 East 179th St. Garland Commercial Ranges 1177 Kamato Rd.
Cleveland, Ohio 41110 Mississauga, Ontario CN I4W 1X4
Phone: (216) 481-1900 Telex: 98-0546 FAX: (216) 481-3782 Phone: (416) 64-0260 FAX: (416) 624-0623

IMPORTANT
THE INSTALLATION AND CONNECTION MUST COMPLY WITH
THE LOCAL AND NATIONAL ELECTRICAL CODES
ENSURE ELECTRICAL SUPPLY CONFORMS WITH ELECTRICAL
CHARACTERISTICS SHOWN ON THE RATING PLATE
RETAIN THIS MANUAL FOR YOUR REFERENCE.
1

INSTALLATION INSTRUCTIONS FOR
GENERAL INFORMATION
ELECTRIC SKILLET
WARNING: Installation of skillet must be
accomplished by qualified installation
personnel, working to all applicable local
and national codes. Improper installation of
product could cause injury or damage.
This equipment is built to comply with
applicable standards for manufacturers.
Included among those approval agencies are:
UL, NSF, ASME/Ntl.Bd., CSA, ETL, and
others. Many local codes exist, and it is the
responsibility of the owner and installer to
comply with these codes.
INSPECTION
Before unpacking visually inspect the unit
for evidence of damage during shipping. If
damage is noticed, do not unpack the unit,
follow shipping damage instructions.
The serial plate is located on the left hand
box cover. Remove front lift off cover for
access. Voltage, phase, amperage and
wattage are stated on the plate.
1. Damage check: Check carton or crate
for possible damage incurred in
shipping. After carefully uncrating,
check for "concealed" damage. Report
any damage immediately to your
carrier.
2. Check the electrical rating plate to
ensure that the unit is correct voltage,
amperage, phase and wattage.
3. This unit must be installed by a
qualified electrician working in
accordance with applicable local and
national electrical codes. Improper
installation could cause damage and
void the warranty.
INSTALLATION CLEARANCES
SHIPPING DAMAGE INSTRUCTIONS
If shipping damage to the unit is discovered
or suspected, observe the following
guidelines in preparing a shipping damage
claim.
1. Write down a description of the
damage or the reason for
suspecting damage as soon as it is
discovered. This will help in filling
out the claim forms later.
2. As soon as damage is discovered or
suspected, notify the carrier that
delivered the shipment.
3. Arrange for the carrier's
representative to examine damage.
4. Fill out all carrier claims forms and
have the examining carrier sign and
date each form.
This unit must be installed in
accordance with the following
clearances in order to provide proper
operation and servicing of the
appliance. Also, it is recommended
that the unit be installed with
sufficient clearances to provide proper
cleaning and maintenance. Minimum
clearances are 1" for the sides and
back.
INSTALLATION
1. Carefully remove unit from carton or
crate. Remove any packing material
from unit. On stainless steel panels,
the protective material should be
removed before the unit is installed.
2

2. Set skillet in position where electrical
services are nearby. Comply with
clearances stated on the specification
sheet. Ensure there is sufficient
clearance between skillet and back
wall. Check overhead clearance to
accommodate hinged cover when in
the raised position.
2. Turn power switch to the "ON"
position. Pilot light will indicate
power is on.
3. Cleveland skillets are equipped with
an electrical power tilt mechanism for
ease in raising and lowering the
skillet.
3. Level skillet by means of adjustable
stainless steel feet. Use a spirit level
to level unit four ways; across front
and back and down left and right
edges. Securely anchor adjustable
feet to floor and seal joints with a
silicone sealant.
ELECTRICAL CONNECTION
1. A direct electrical connection is
required at the terminal block located
near the left side of the unit. The
supply line will enter through rear (or
bottom) of the component enclosure.
Refer to specification sheet for
exact locations.
2. For supply connections use wire
suitable for at least 194° F (90° C).
3. For ease in attaching the supply lines
there is a removable cover on the
electrical housing. Feed wire through
hole in centre or rear of the electrical
housing and attach to terminal block.
4. The electrical service connection
must comply with all local and
national codes.
5. NOTE: This skillet is factory wired
for 3 phase installation. If single
phase is required check the wiring
diagram for proper modifications.
Wiring diagram is located in the
electrical component housing.
OPERATING INSTRUCTIONS
1. Ensure electrical supply to the
appliance, is in the "ON" position.
FOR YOUR SAFETY: This skillet is
also equipped with a power interrupter
which automatically shuts off the
electrical power to the elements
whenever the skillet is raised more
than 1/2" (13mm). When released, the
tilt mechanism will stop gently at any
point.
IMPORTANT: Before commencing
to cook, ensure skillet is in the
lowered position by pressing down on
the tilt switch. Ensure cover is raised
first.
4. To preheat, set thermostat to desired
cooking temperature. Pilot light will
cycle on and off with thermostat. In
the event of a high heat condition
(over 450° F), the red pilot light will
flash to alert operator AND electrical
elements will automatically shut off.
5. Allow skillet to preheat for
approximately 15-30 minutes.
6. Once preheated, insert product in
skillet and adjust thermostat to
required cooking temperature.
7. If desired, once product has cooked, it
can be held prior to serving at a lower
temperature setting.
8. When cooking is completed, set
thermostat and power switch to the
"OFF" position.
9. The best time to clean the skillet is
immediately after use, once skillet
has cooled down. Please refer to
section titled CLEANING
INSTRUCTIONS.
3

OPERATING SUGGESTIONS
1. Turn power switch to the "OFF'
position when skillet is not in use.
2. Clean skillet as soon as possible after
cooking.
3. Allow skillet to preheat before adding
product
4. Always lift the spring assist cover
before activating the tilt switch.
MAINTENANCE INSTRUCTIONS
You have purchased the finest commercial
cooking equipment available anywhere. like
any other fine precision built piece of
equipment it should be given regular care
and maintenance.
Periodical inspections by your dealer or a
qualified service agency are recommended to
check temperatures, adjustments and ensure
moving parts are operative. Whenever
possible, avoid overheating idle equipment
as this is the primary cause for increased
service costs.
When corresponding with the factory or your
equipment dealer regarding service problems
or replacement parts, be sure to refer to the
particular unit by the correct model number
(including prefix and suffix letters and
number) and the serial or code number. The
rating plate affixed to the unit contains this
information.
"REGULAR MAINTENANCE ENSURES
PEAK PERFORMANCE."
2. Skillet should be cleaned after each
use, as soon as possible after cooking.
CAUTION: Ensure skillet has cooled
down.
3. For general purpose cleaning, use a
soft cloth with mild detergent and
warm water. A sponge, non-abrasive
scouring pad or a fibre brush can also
be used for this purpose.
To remove grease that has baked on,
apply a non-abrasive cleanser to a
damp cloth or sponge and rub cleanser
on the metal in the direction of the
polishing lines of the metal. NEVER
RUB IN A CIRCULAR MOTION.
Soil or burnt deposits which do not
respond can usually be removed by
rubbing the surface with SCOTCHBRITE scouring pads or STAINLESS
scouring pads. DO NOT USE
ORDINARY STEEL WOOL. Do not
use grill stones. Heat tint can be
removed by a vigorous scouring in the
direction of the polish lines using
SCOTCH-BRITE scouring pads or a
STAINLESS scouring pad in
combination with a non abrasive
powdered cleanser.
4. Tomato and vinegar based products
have a high add content which could
attack the stainless steel finish of the
skillet. After cooking of such
products, empty skillet as soon as
possible and clean skillet interior with
a baking soda and water solution. Use
one tablespoon of baking soda per one
gallon of water.
CLEANING INSTRUCTIONS
A regular daily cleaning program should be
followed to maintain your skillet's efficient
performance and minimize service calls. At
the end of each day's operation, the following
steps are recommended:
1. Turn power switch to the "OFF' position.
5. After cleaning, the skillet should be
thoroughly rinsed with clean water
and dried.
4

5
 Loading...