

Cleveland CSM Installation Manual
Installation and Maintenance Manual
IM 819-3
Group: McQuay Controls
Part Number: IM 819
Date: October 2006
Supersedes: IM 819-2
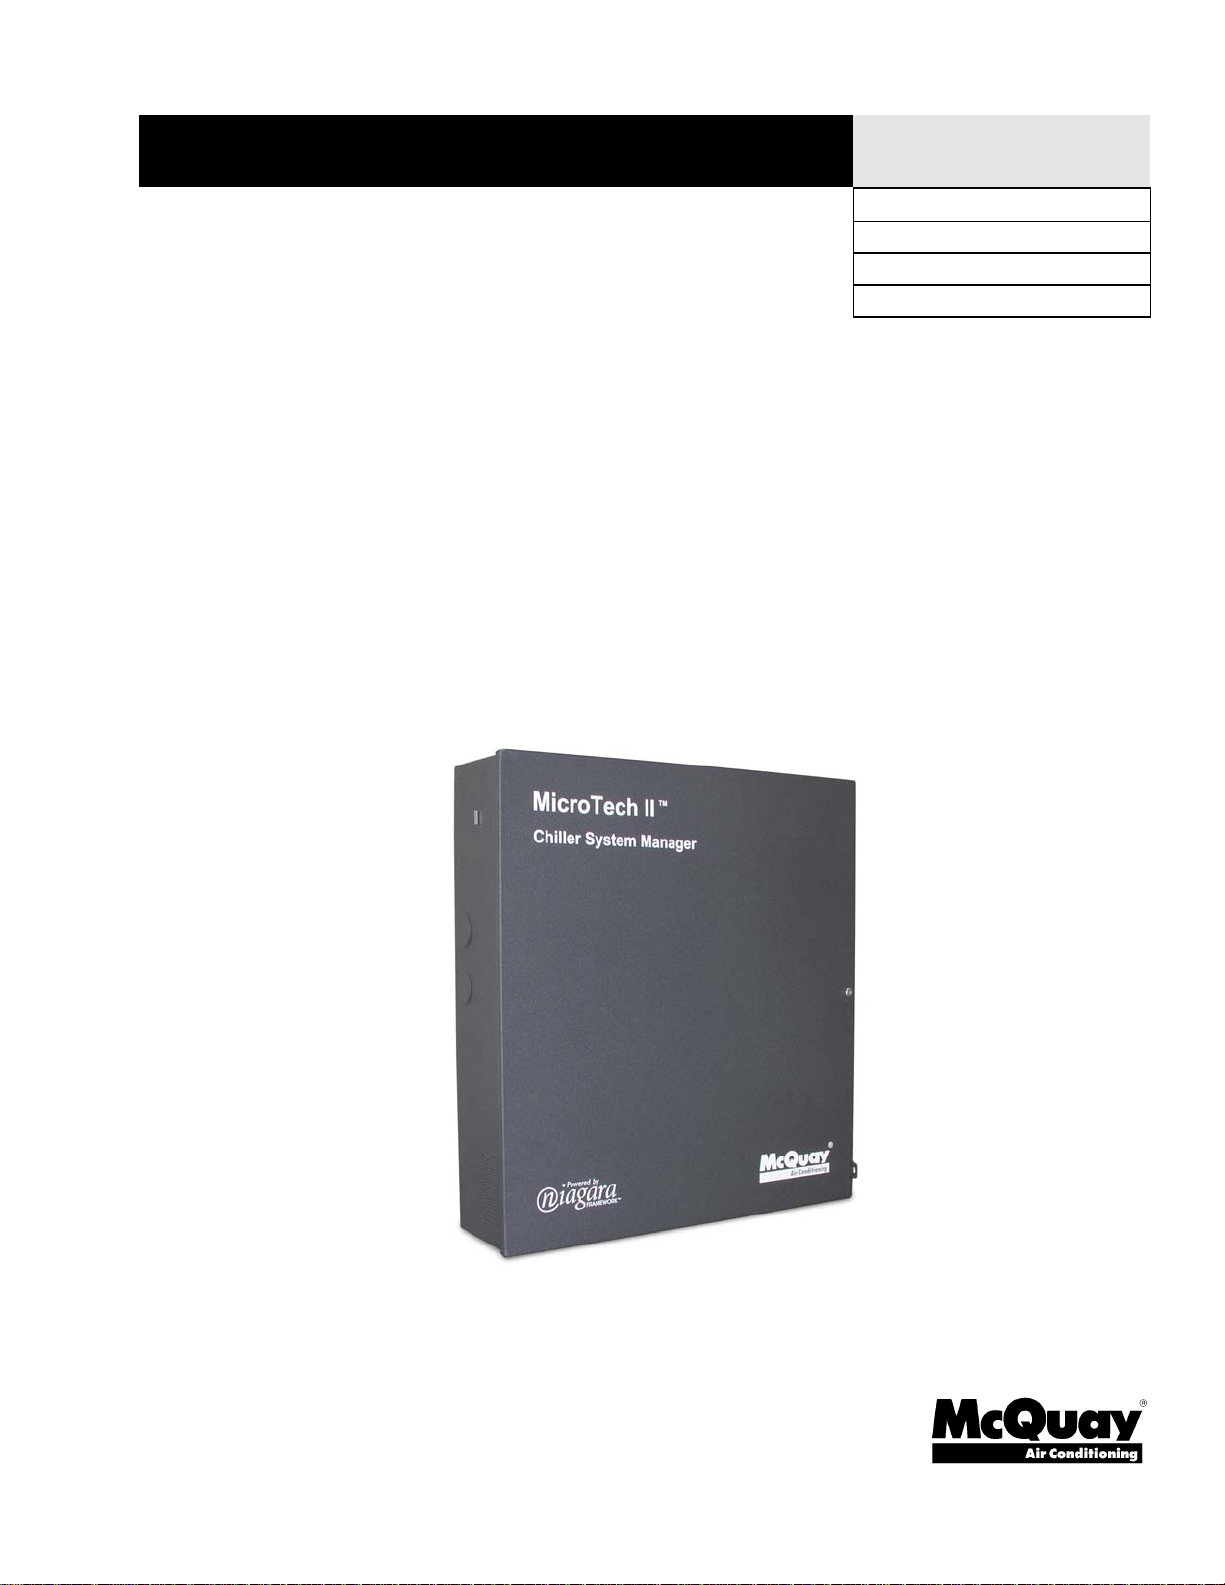
Installation Instructions for Upgrading MicroTech II
Chiller System Manager (CSM) Software
®
© 2006 McQuay International
CAUTION
!
Upgrading CSM software returns all customized system setpoints back to factory
defaults.
Prior to upgrading the CSM software, it is recommended that you perform the following
tasks:
1. Record your current settings from each page of the CSM User Interface. After completion of this
procedure, you will need to re-enter the data from the browser screens to return the system to its
previous state with the software upgrade.
2. Backup your existing CSM database using the appropriate Admin Tool in the unlikely case that
you will need to go back to your original configuration. If you need further assistance, please
contact the McQuay Controls customer support group at 866-462-7829.
Note: The following document describes the steps required to upgrade existing CSM
software. Please note that these instructions are to be followed only if you
already have a CSM and are updating to a newer version of the software. If
you do not already have a CSM, contact your local McQuay sales
representative.
Step 1: Update PC with Admin Tool and CSM
Software Files
1. Open Internet Explorer and go to www.mcquay.com/Product
Information/Controls/MicroTech II/Application Software.
2. Click on AdminTool for MicroTech II Chiller System Manager (CSM) and save the
zip file to a designated location on your hard drive.
3. From your hard drive, double-click on the AdminTool zip file and then double-
click on the McQuayAdminToolSetup_R2.301.511_v1.exe.
4. Accept all defaults. The updated AdminTool has now been installed on your PC.
5. Go to www.mcquay.com/Product Information/Controls/MicroTech II/Application
Software.
6. Click on MicroTech II Chiller System Manager vX.XX update (where X_XX is the
version of the CSM application) and save the CSM zip file to a designated location
on your hard drive.
7. Go to the C:\niagara\McQuayAdminTool\r2.301.511_v1\nre\modules directory and
delete all files that have a “.jar” extension.
8. Go to the C:\niagara\McQuayAdminTool\r2.301.511_v1\nre\modules\emb
directory and delete all files that have a “.jar” extension.
9. From your hard drive, double-click on McQuay_MTII_CSM_X_XX.exe and
accept all defaults. The updated CSM software has now been installed on your
PC.
IM 819-3 2
Step 2: Upgrade the Niagara Release
10. If the Admin Tool is not already open, click the Windows Start button on the
bottom left hand corner of the screen and select Programs/McQuay CSM
AdminTool r2.301.511_v1/Admin Tool.
11. Once the Admin Tool is open, select File/Open.
12. In the Connect To Host dialog box, enter the IP address of the CSM in the Host
Address box and click on OK.
13. Enter the User Name “McQuay” and Password “Password” in the appropriate fields
and then click on OK. Note that the User Name and Password fields are case
sensitive.
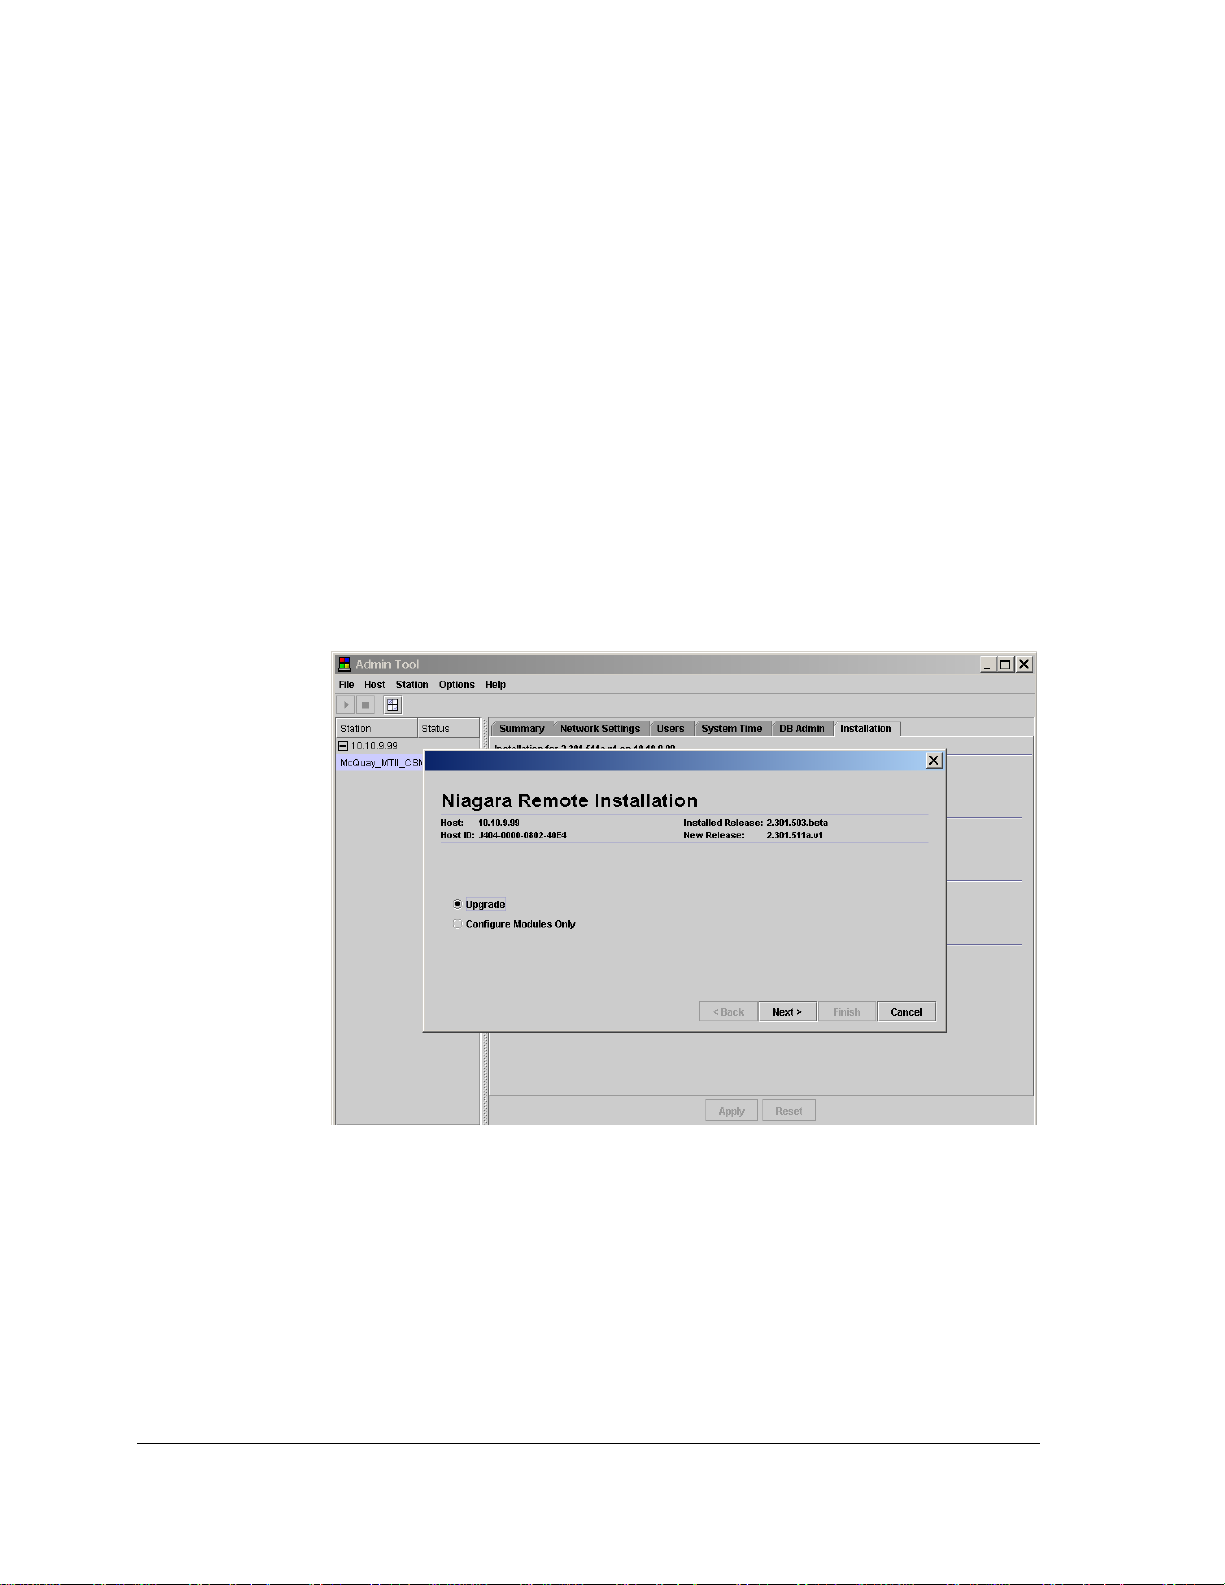
14. Click on the Installation tab and press the Installation Wizard button. The Select
Distribution Directory box will appear.
15. Select the emb folder in nre/modules/emb. Once emb appears in the Look In drop-
down box, click on the Install button.
16. Select Upgrade and then click on Next (see Figure 1).
Figure 1. Niagara Remote Installation
17. Check all three boxes (Upgrade OS, Upgrade NRE and Upgrade niagarad) (see
Figure 2) and then click on Next.
IM 819-3 3
 Loading...