

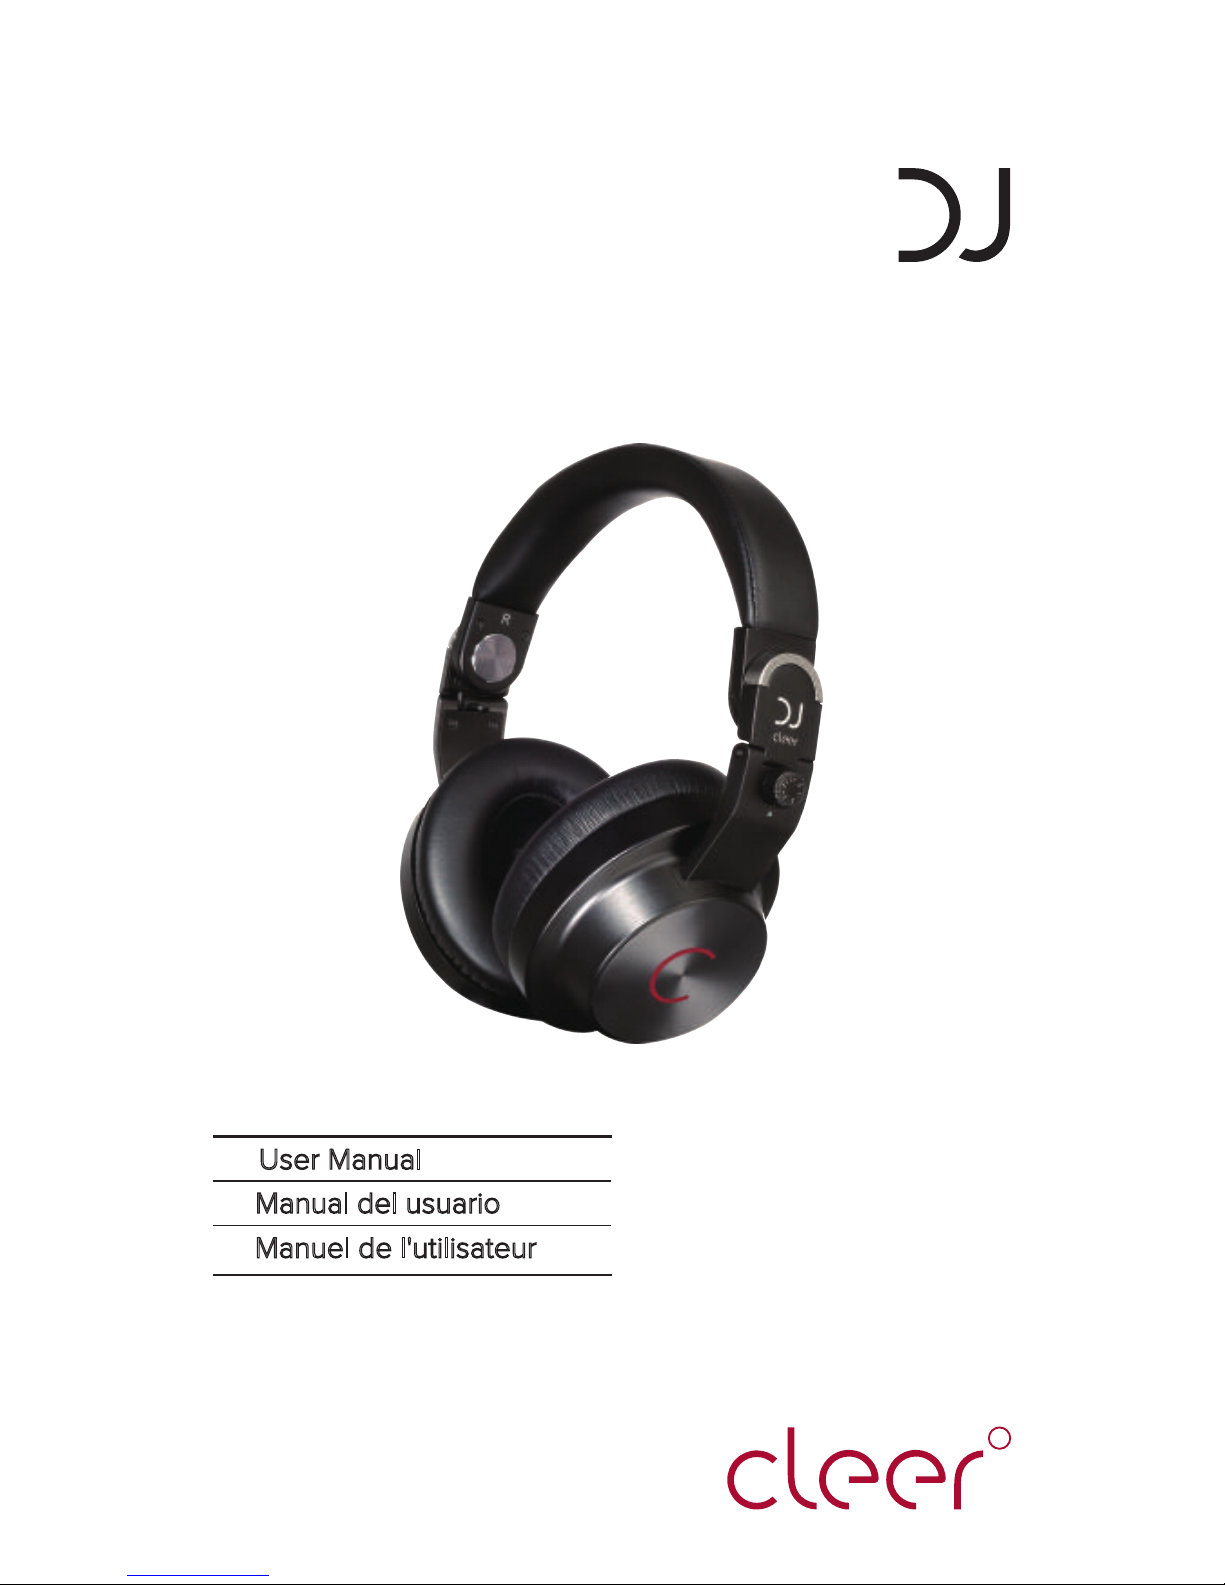
User Manual
Register your product and get support at
www.cleer.us
R
EN User Manual 1
ES Manual del usuario
11
FR Manuel de l'utilisateur
21

Contents
1. Important
Notice
Trademark notice
What’s in the box
Overview of your headset
Charge your headset
4. Use your headset
Adjust the locking hinge mechanism
Wear your headset
Connect and get listening
Manage your music and calls
Folding and storing the headphone
Change your ear pads
2. Your headset
3. Get started
5. Specification
6. Trouble shooting
1- Important
Hearing safety
Listening at a moderate volume:
Hearing Safety
Using headphones at a high volume can impair your hearing. This product can produce
sounds in decibel ranges that may cause hearing loss for a normal person, even for
exposure less than a minute. The higher decibel ranges are oered for those that may
have already experienced some hearing loss.
Sound can be deceiving. Over time your hearing ‘comfort level’ adapts to higher volumes
of sound . So after prolonged listening, what sounds ‘normal’ can actually be loud and
harmful to your hearing. To guard against this, set your volume to a safe level before your
hearing adapts and leave it there.
1
1
1
2
3
4
4
4
5
5
6
6
6
6
7
8
8
9
10
English
To establish a safe volume level:
Set your volume control at a low setting
Slowly increase the sound until you can hear it comfortably and clearly, without distortion.
Prolonged exposure to sound, even at normally ‘safe’ levels, can also cause hearing loss.
Be sure to use your equipment reasonably and take appropriate breaks.
Listen at reasonable volumes for reasonable periods of time.
Be careful not to adjust the volume as your hearing adapts.
Do not turn up the volume so high that you can’t hear what’s around you.
You should use caution or temporarily discontinue use in potentially hazardous situations.
Do not use headphones while operating a motorized vehicle, cycling, skateboarding, etc.;
it may create a trac hazard and is illegal in many areas.
Notice
Recycing
Listen for reasonable periods of time:
Be sure to observe the following guidelines when using your headphones.
2
Your product is designed and manufactured with high quality materials and components,
which can be recycled and reused. When you see the crossed-out wheel bin symbol
attached to a product, it means the product is covered by the European Directive 2002/96 EC:
Never dispose of your product with other household waste. Please inform
yourself about the local rules on the separate collection of electrical and
electronic products. The correct disposal of your old product helps prevent
potentially negative consequences on the environment and human health. Your
product contains batteries covered by the European Directive 2006/66/EC,
which cannot be disposed of with normal household waste.
When you see the crossed-out wheel bin symbol with the chemical symbol ‘Pb’,
it means that the batteries comply with the requirement set by the directive for
lead.
English
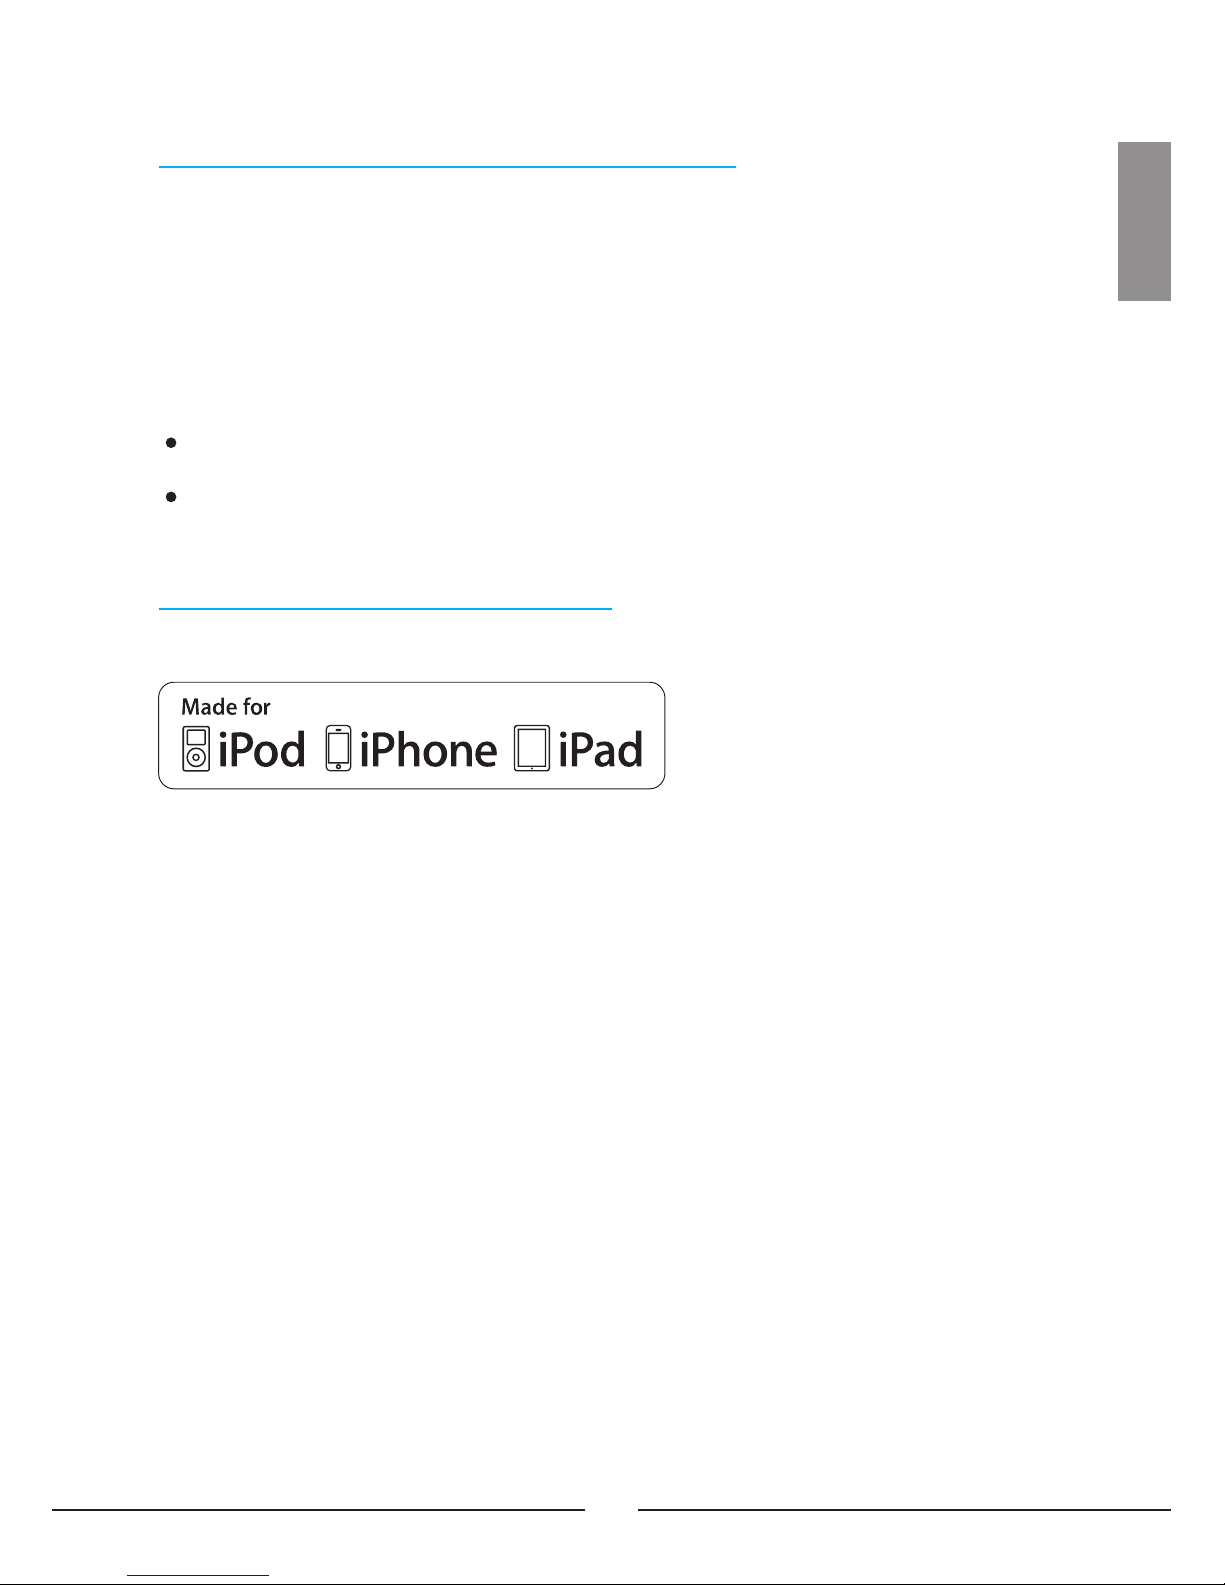
Trademark notice
“Made for iPod,” “Made for iPhone,” and “Made for iPad” mean that an electronic accessory
has been designed to connect specifically to iPod, iPhone, or iPad, respectively, and has
been certified by the developer to meet Apple performance standards. Apple is not
responsible for the operation of this device or its compliance with safety and regulatory
standards.
This device complies with Part 15 of the FCC rules. Operation is subject to the following two
conditions:
(1) This device may not cause harmful interference, and
(2) this device must accept any interference received, including interference that may cause
understand operation.
FCC WARNING
Changes or modifications not expressly approved by the party responsible for compliance
could void the user’s authority to operate this equipment.
Proper connections must be used for connection to a host computer and/or peripherals in
order to meet FCC emission limits.
iPad, iPhone, iPod, iPod classic, iPod nano, iPod shue and iPod touch are trademarks of
Apple Inc., registered in the U.S. and other countries.
Android™ is a trademark of Google Inc.
Trademark are the property of Cleer Limited or their respective owners.
The making of unauthorized copies of copy-protected material, including computer programs,
files, broadcasts and sound recordings, may be an infringement of copyrights and constitute a
criminal oence. This equipment should not be used for such purposes.
Compliance with FCC rules (U.S.A., only)
3
English

2 – Your headset
What’s in the box?
Overview of the headset
You should find these items upon opening the box
Hard carrying case
USB charging cable
Two audio cable with inline remote control (1.2m)
DJ cord cable (1.2m)
3.5 – 6.5mm adaptor
User manual
Warranty card
Quick start guide
Acoustic Certificate
-> LED turns blue flash light when the PASC is turned on
1. Mono stereo switch
2. PASC on/o switch
3. Micro USB jack for charging
4. 3.5mm audio jack
5. LED light on / o button
6. PASC on/o LED indicator
4
1
2
3
4
4
5
6
English

3 – Get started
Charge your headset
Connect the supplied USB charging cable to :
the USB connector of the headset and;
USB power source
LED turns red light during charging and turns
blue light when the headset is fully charge
LED turns red flash light during low battery
5
-
>
-
>
Notes
Before you use your headset for the first time, charge the battery for
3 hours for optimum battery capacity and lifetime
Use only the supplied USB charging cable to avoid any damage
You can operate the headset normally during charging
When the battery is empty, you can carry on listening music with an
audio cable.
English
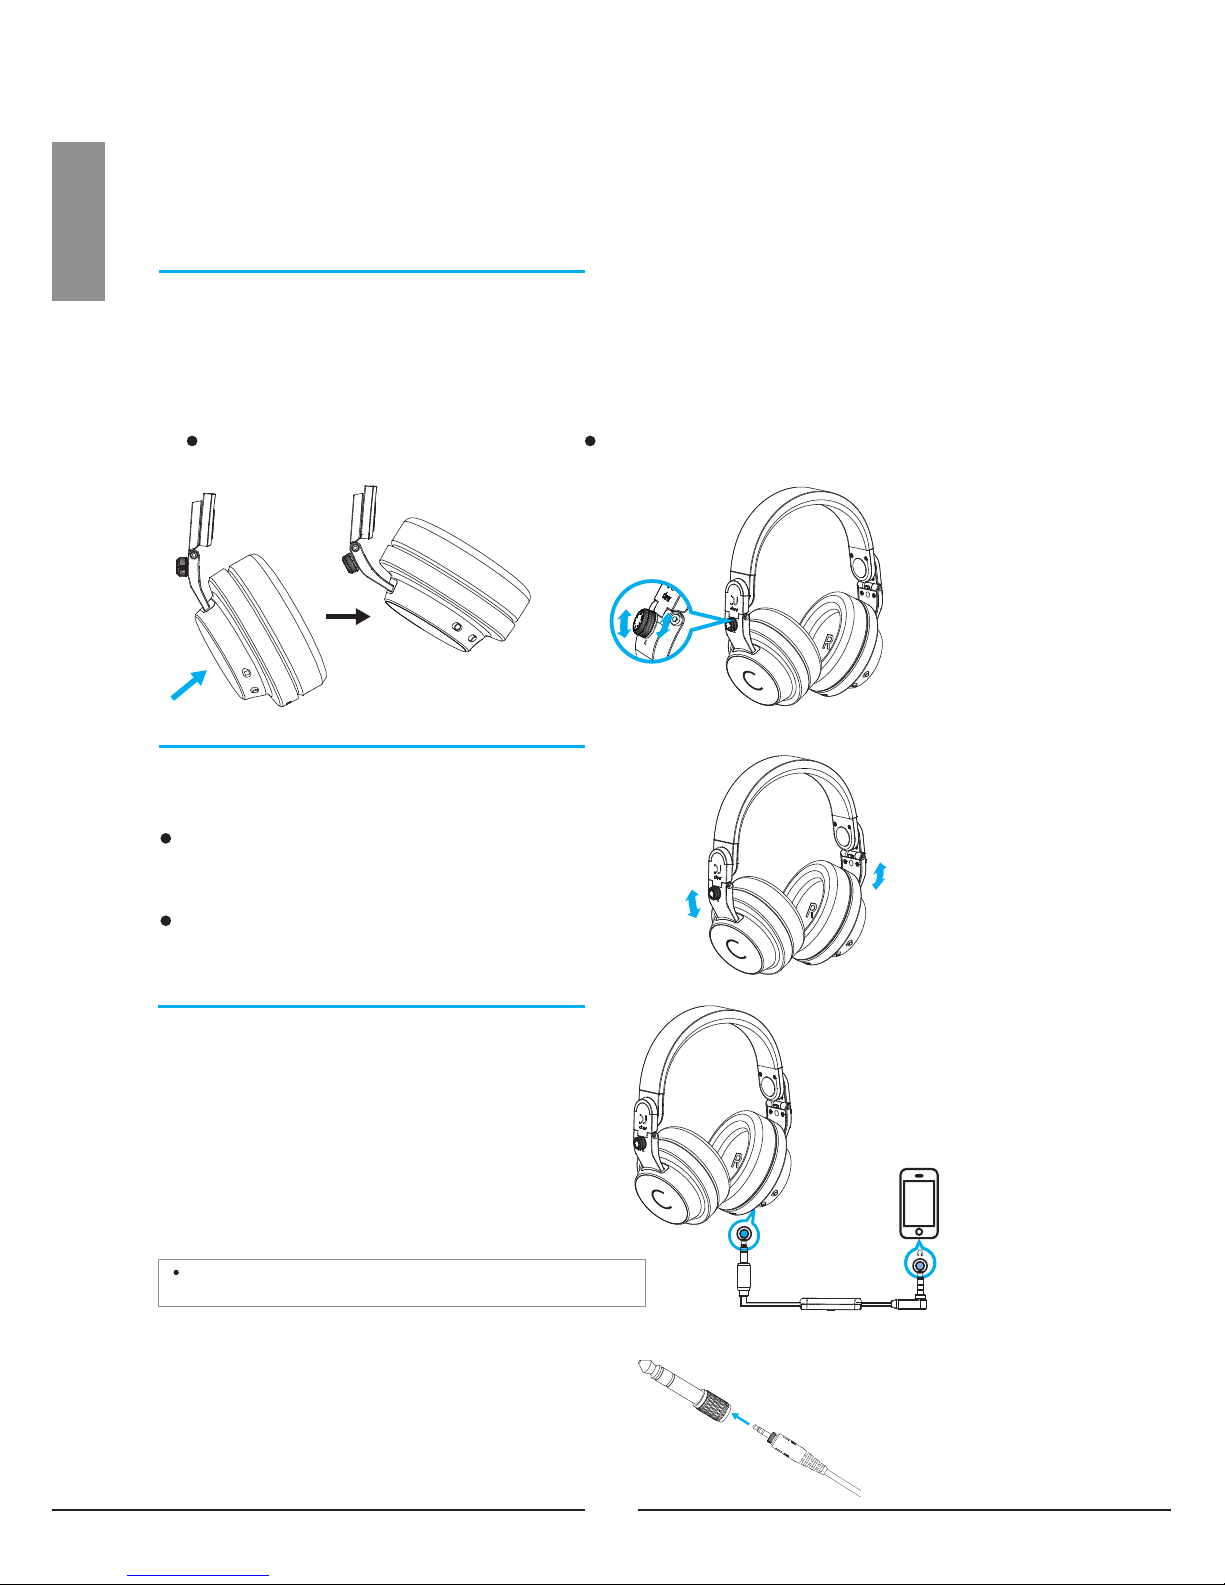
Connect the supplied audio cable to the
headphone socket either on the left or
right ear cupand the L-plug to your sound
source such as MP3, PC, CD player, etc.
If the plug on the audio cable is too small for
the headphone socket on your sound source,
plug the 3.5mm to 6.3mm adaptor onto the
audio cable
4 – Use your headset
Connect and get listening
Adjust the locking hinge mechanism
For good sound quality and best possible comfort, the headband has to be adjusted to
properly fit your head. To do so, adjust the headband via its snap-in locking mechanism:
Rotate the earcups inwards
Place headset on your ears by matching
the L/R markers to your ears accordingly
Adjust the length of the headband so that
your ears are completely inside the ear pads.
Wear your headset
6
English
Turn the knob to adjust the locking hinge
Notes
No battery power is required for the headset when you
use it with audio cable.

7
Manage your music and calls
The audio cable is combined remote control and microphone that enables you to make or
answer calls while wearing the headphones. The control also enables you to play, pause and
skip songs. Select the type of inline remote control
1x
2x
3x
Play / pause
Replay the track/
Previous track
Next track
Answer
End call
Volume up
Volume down
Microphone
** Compatible with apple devices :
iPhone, iPod, iPad
Compatible with most
Android™
devices
*
English
Basic function
Increase volume
Decrease volume
Call-related function
Answer a call
End a call
Use the voice control
Media playback function
Play or pause a song
Skip to the next song
Skip to the Previous song
Press the button
Press the button
When you receive an incoming call,press the answer/end
call button
Press the answer/end call button
Press and hold the answer/end call button
Press the play/pause button
Press the play/pause button twice quickly
Press the play/pause button three times quickly
* Functions vary depending on your phones, tablets and application
** The remote and mic are supported only by iPod nano (4th generation or later), iPod classic (120GB, 160GB),
iPod touch (2nd generation or later), iPhone 3GS or later, and iPad. The remote is supported by iPod shue
(3rd generation or later). Audio is supported by all iPod models and iPad.
Notes

Change your earpads
Remove the ear pads from both ear
cups by turning the ear pads in the
direction of the arrow
Lift the ear pads o the ear cups.
8
Folding and storing the headphone
Rotate the earcups inwards, then place the
headphones in the hard carrying case
The earcups rotate only in one direction. Incorrectly
rotating the earcups can damage the headphones
Notes
English

9
5 - Specifications
Frequency Response 18Hz to 20,000Hz
Sensitivity
Impedance
Speaker driver 50mm
Magnet type
Distortion
Music playback time
Battery charging time
Battery type
Audio connection
Dimensions (W x H x D)
Weight
105dB
32 Ohm
Neodymium
<1%THD IEC3181mW @1KHz
Lithium ion polymer
3 hours
20 hours
3.5mm stereo jack socket
165 x 195 x 80mm
0.335kg
Product information is subject to change without prior notice
Note
English

Low or no volume
LEDs are not light up
Sound is only coming from one earpiece
Headphone cannot be switched on
Make sure the audio source is on and the volume is turned up
Make sure the battery is not of power
Disconnect and re-connect the headphones to ensure the connection is secure.
Make sure the battery is not out of power
Try another audio source.
Make sure the audio cable is properly connected
Check the audio cable if it is defective and replace the audio cable
Make sure the headphone volume is turned up
Reconnect the headphone and the music source
Check the audio cable if it is defective and replace the audio cable
6 - Trouble shooting
10
English

R
2014 Cleer Limited.
All rights reserved.
http://www.cleer.us
C
 Loading...