

ClearMirror ShowerLite 16104-121212BL, ShowerLite 181812BL, ShowerLite 122412BL, ShowerLite Series Installation Instructions Manual
ShowerLite
Installation Instructions
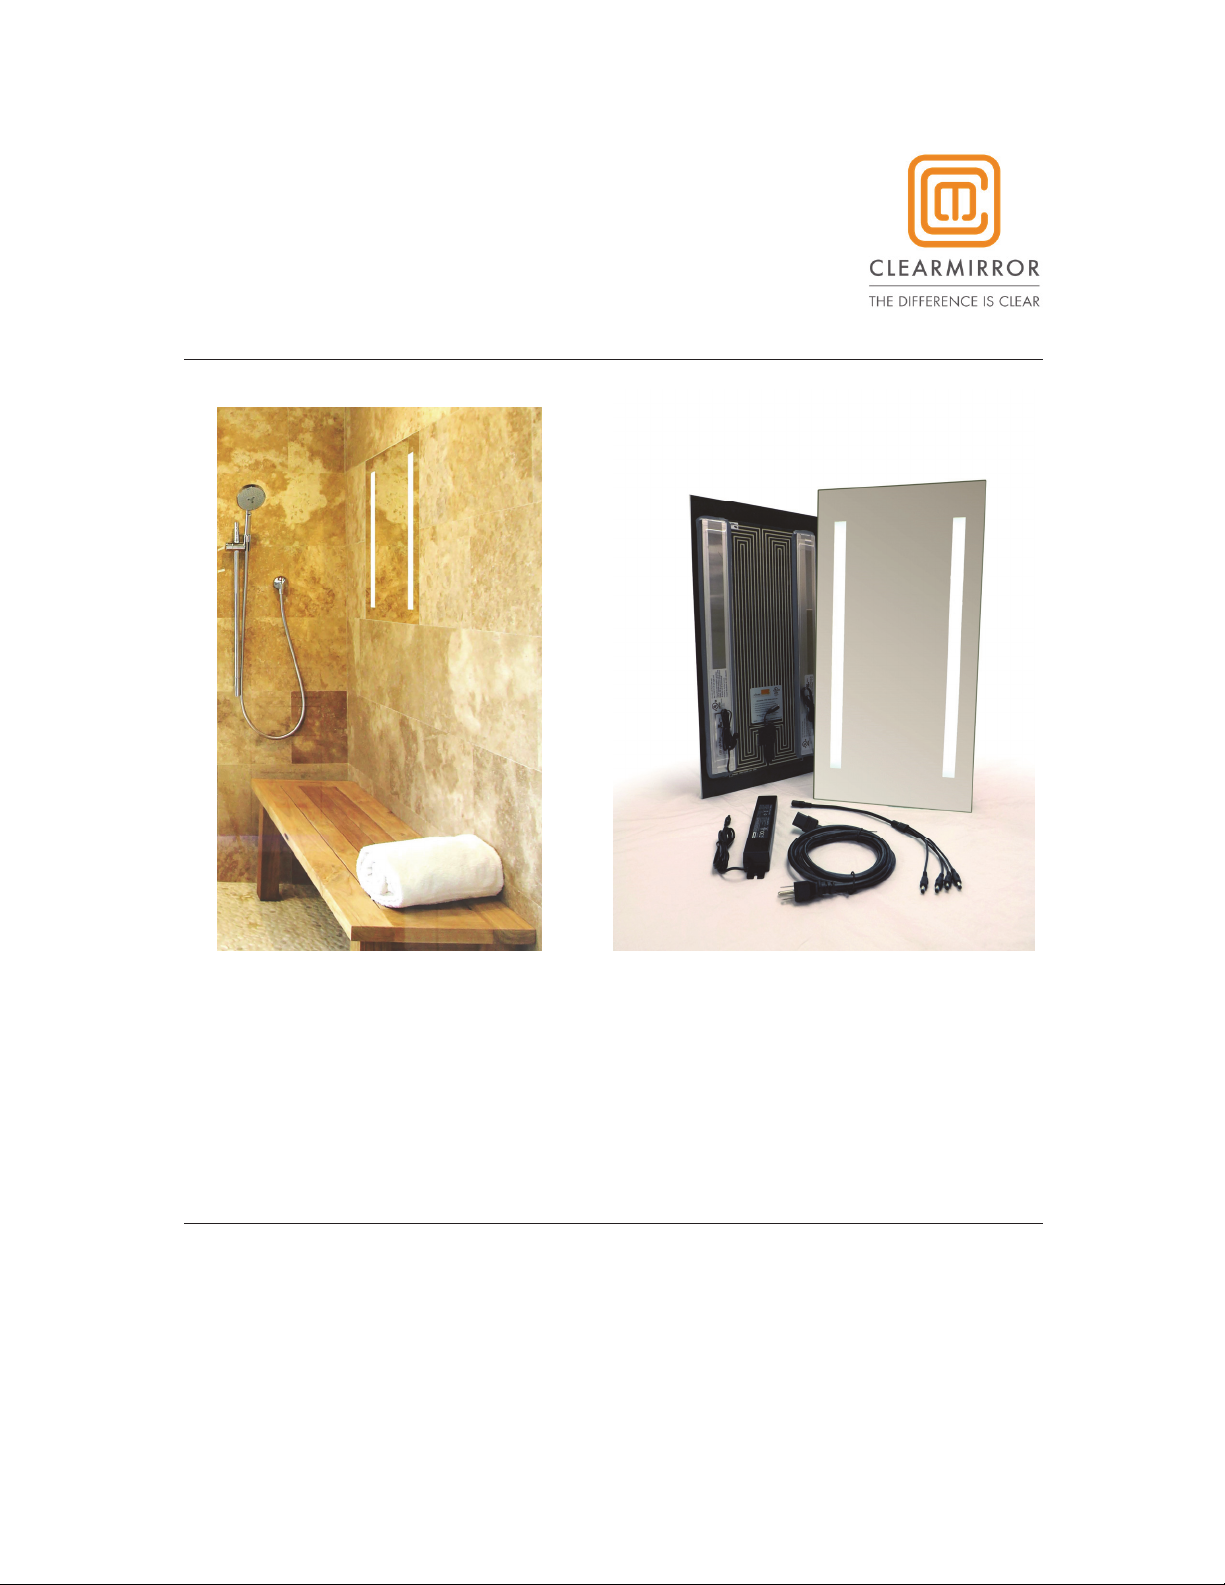
ShowerLite LED Back-lit, Fog-free
Shower Mirrors
Models 16104-121212BL, 122412BL, 181812BL, & Custom
June 2018
IMPORTANT INSTRUCTIONS
Only wire the ShowerLite to the 12-volt DC direct plug-in power supply included with this
product. Install in accordance with all applicable safety, national and local electrical codes.
Read all instructions before using the ShowerLite ClearMirror.
NOTICE: All installation wiring must be performed by a licensed electrician. Follow the National
Electrical Code, local codes, NFPA 70-2011 as applicable.
NOTICE: Only use the power supply included with this product.
NOTICE: All wiring including new receptacles, must be performed by a licensed electrician.
Follow the National Electrical Code or local codes as applicable.
WARNING: Direct plug-in power supply must be placed in a dry location outside of the shower.
Outlet used must be at least three feet from the shower. Follow NEC Article 406. Failure to
follow instructions could result in death or serious injury.
General Guidelines
• Extreme caution is necessary when any heater is used by or near children or invalids and
whenever the heater is left operating and unattended.
• Do not operate any heater after it malfunctions. Disconnect power at service and have heater
inspected by a reputable electrician before reusing.
• Do not use outdoors.
• To disconnect heater, turn controls to off using light/fan/receptacle switch, and turn power off to
circuit at the main disconnect panel.
• Use this heater only as described in this manual. Any other use not recommended by the
manufacturer may cause fire, electric shock, or injury to persons.
• Do not install on un-insulated exterior walls in cold climate areas.
• Do not install if product is damaged.
• Do not bend, cut, alter, submerge in water, or use for purposes other than described.
• Mirror must be caulked or grouted into tile, flush with the tile surface. Edges of the mirror cannot
be exposed to touch.
• Contact ClearMirror for LED replacement parts.
• Consult the NEC, Article 551 for rec. vehicle installation.
• SAVE THESE INSTRUCTIONS.
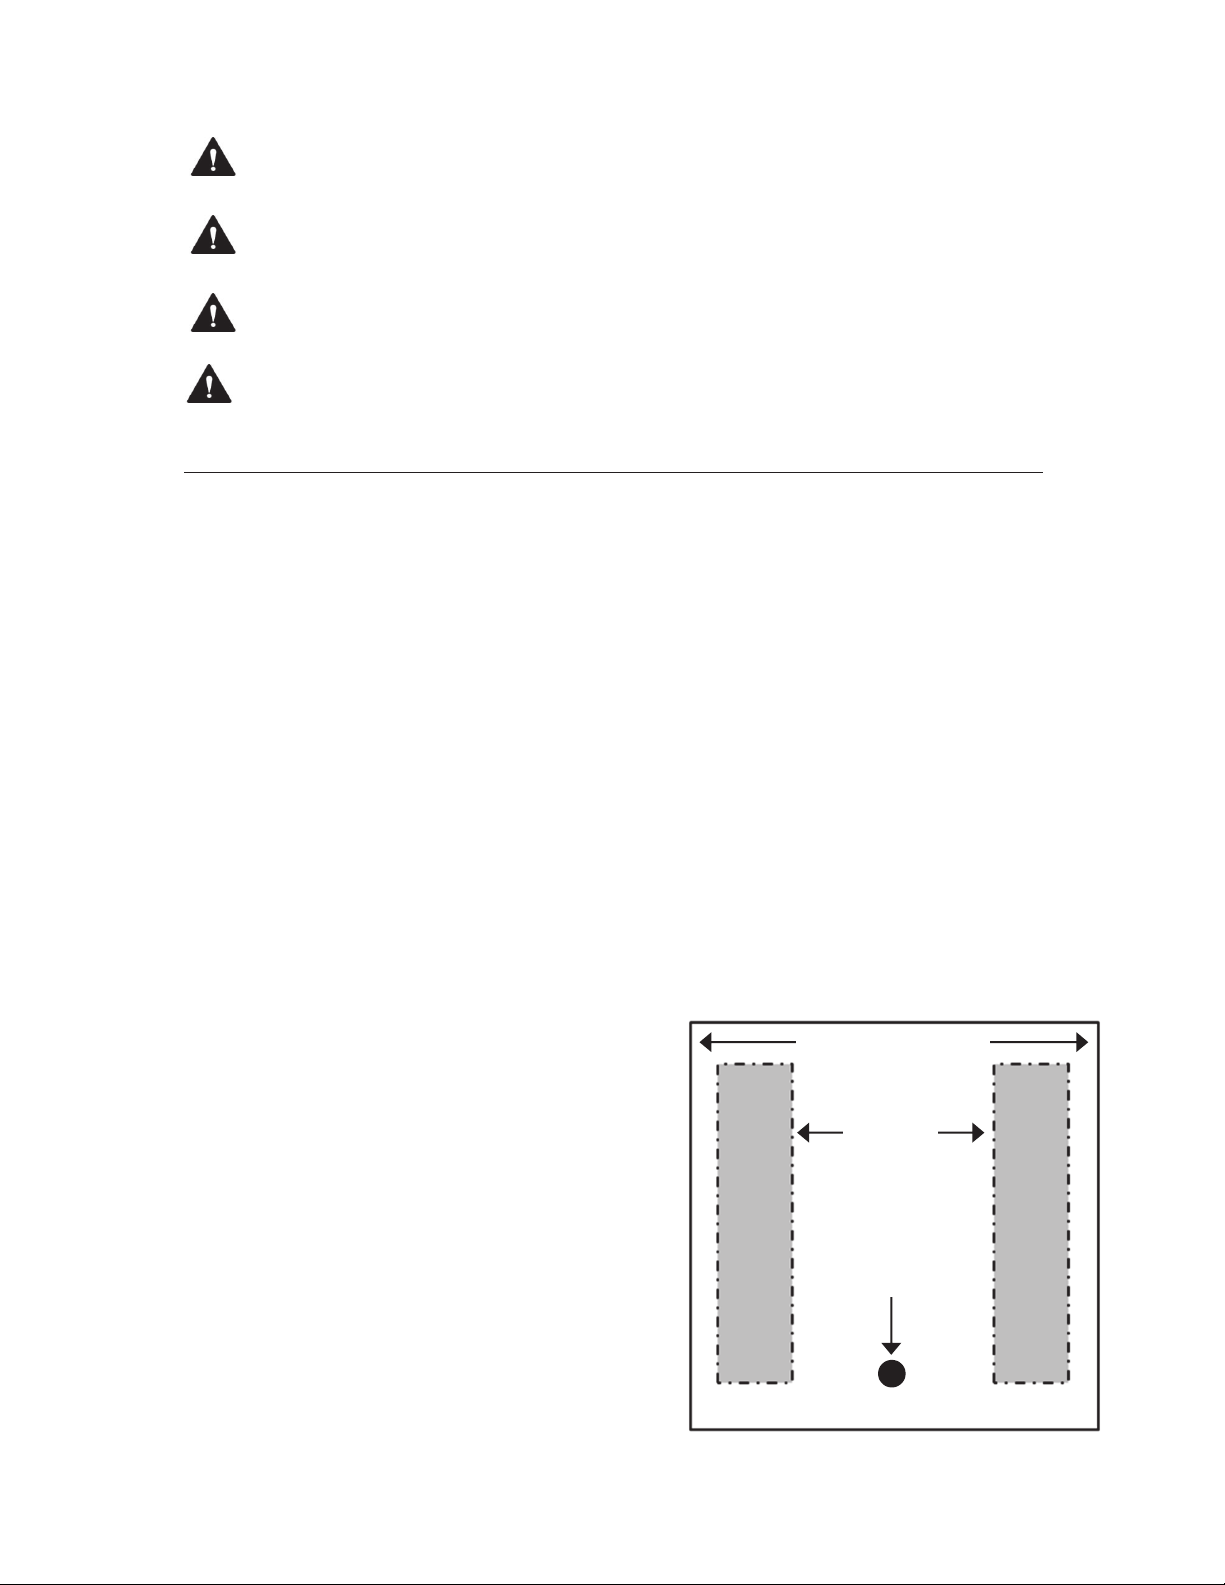
OutsideDimensionof
theShowerLiteLocation
Installation
1. Before installing ceramic tile, measure for
desired ShowerLite height from the finished
shower floor.
2. Prepare an area for the outside dimensions of
the mirror adjusting for your grout lines as
needed.
3. Measure & mark the location of the LED lights.
4. Remove the marked area of wallboard to allow
the mirror to install flush with the tile and cut a
small hole for the LED and heater barrel
connector leads (see Figure 1).
Notched
Opening
for
LEDLight
Panels
HoleforBarrel
ConnectorLeads
Figure 1. Preparing the wall board (front view).
 Loading...