

Clearlite Bathrooms Trombone Door Set Installation Instructions Manual
Installaon Instrucons
Trombone Door Set
Please read these Instrucons carefully
May 2018
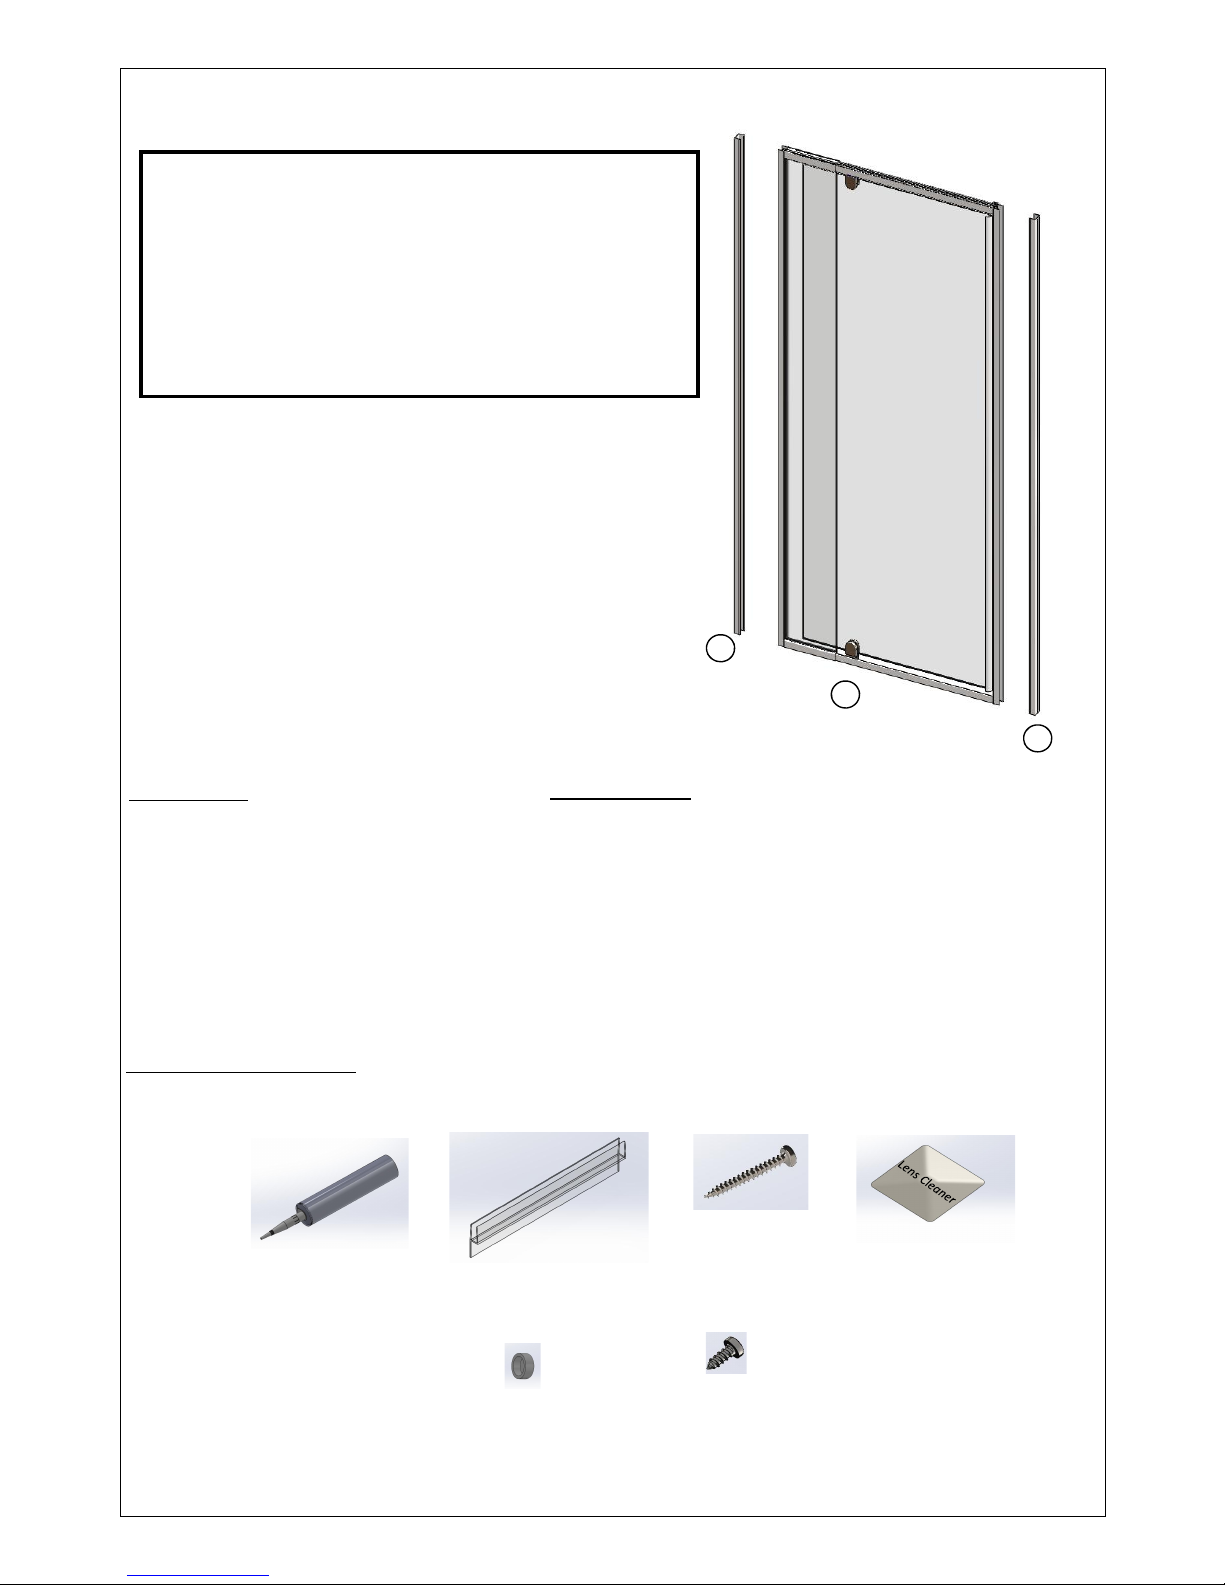
Components
A - Door Wall Receiver X2
B - Door Assembly
(For shipping purposes the Door & Return
Receivers are packed in the sides of the
Door and Return)
Installaon Components
Drip Seal –1m
Cleaning Towelee
No.6 x 10mm screw
Qty 8
No.6 x 38mm screw
Qty 6
Screw Cap
Qty 8
Drill
Spirit level
Tape Measure
Screw Driver (No.1 Sq drive)
Tools Required
Caulking Gun
Masking tape
Pencil
Tube of NG Silicone
A
A
A
B
Size Minimum Door Width Maximum Door Width
P640 640mm 700mm
P700 700mm 760mm
P760 760mm 840mm
P840 840mm 940mm
P940 940mm 1000mm
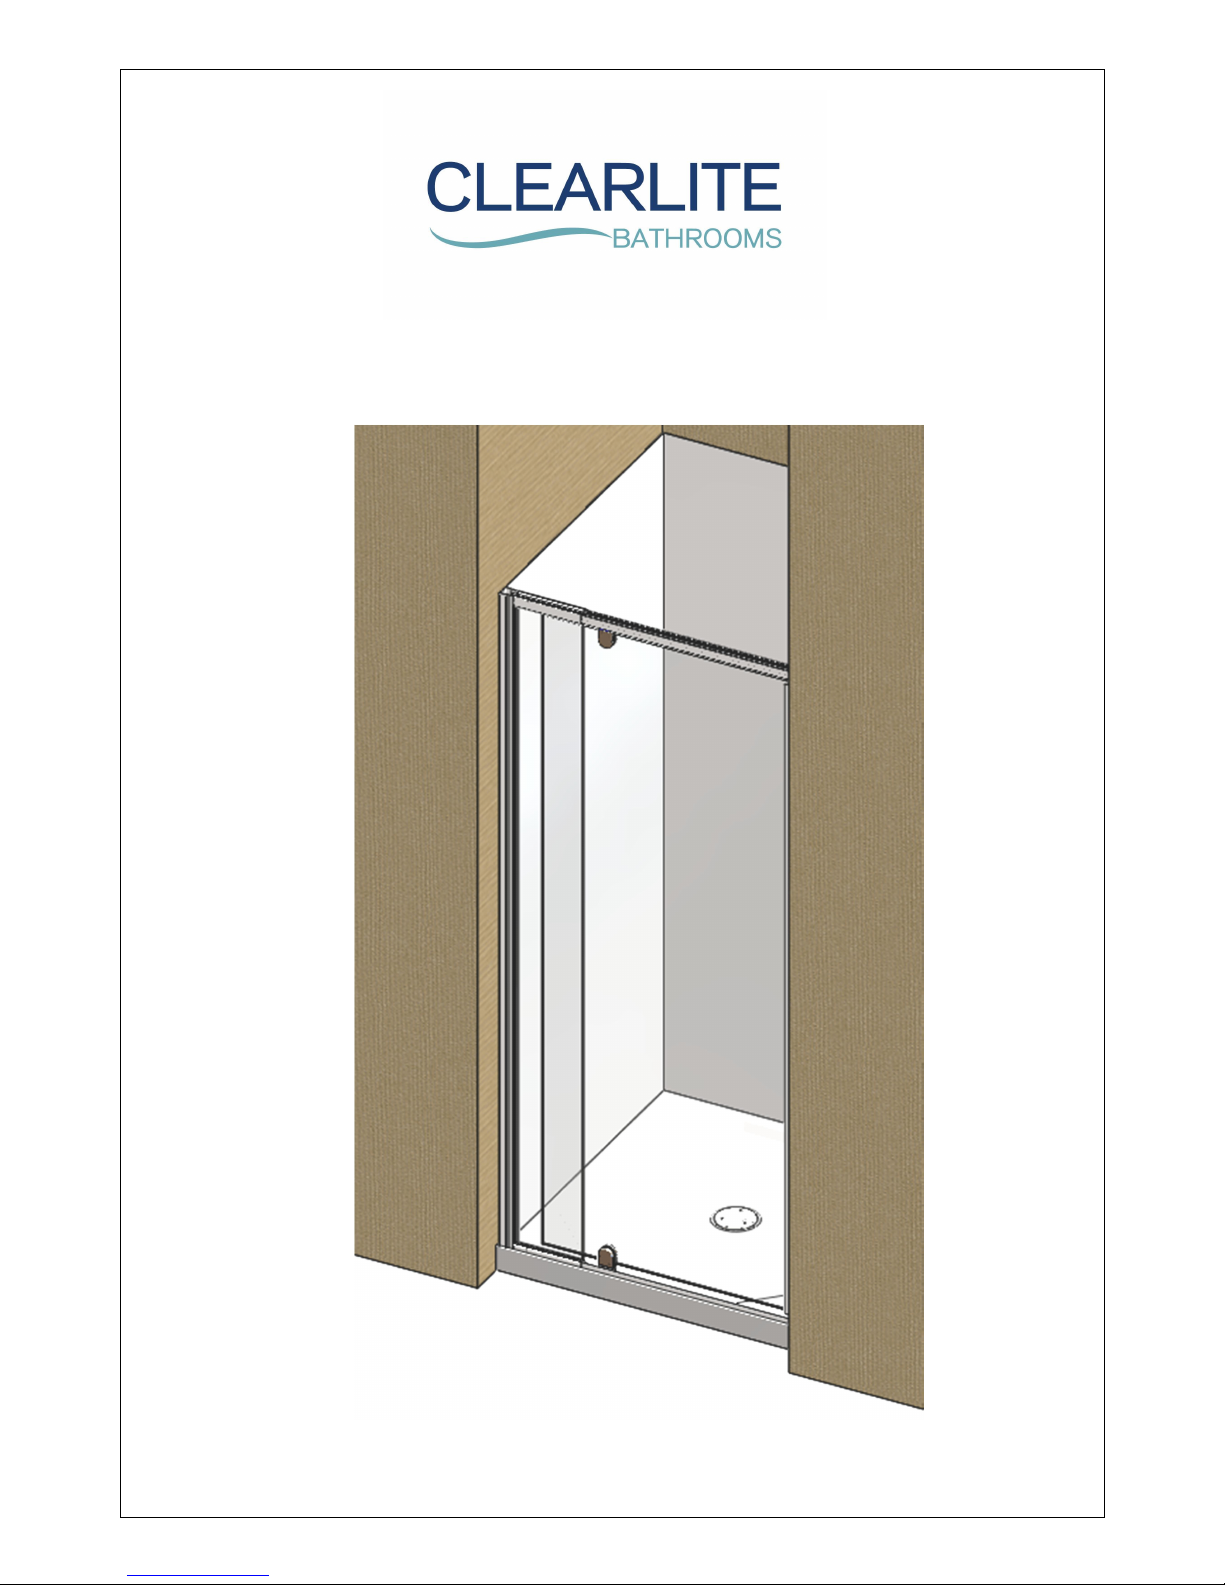
The Door can be installed either le or right hand hinged by simply rotang 180 degrees.
Important : The Door must always open outwards
Installing a Door Only
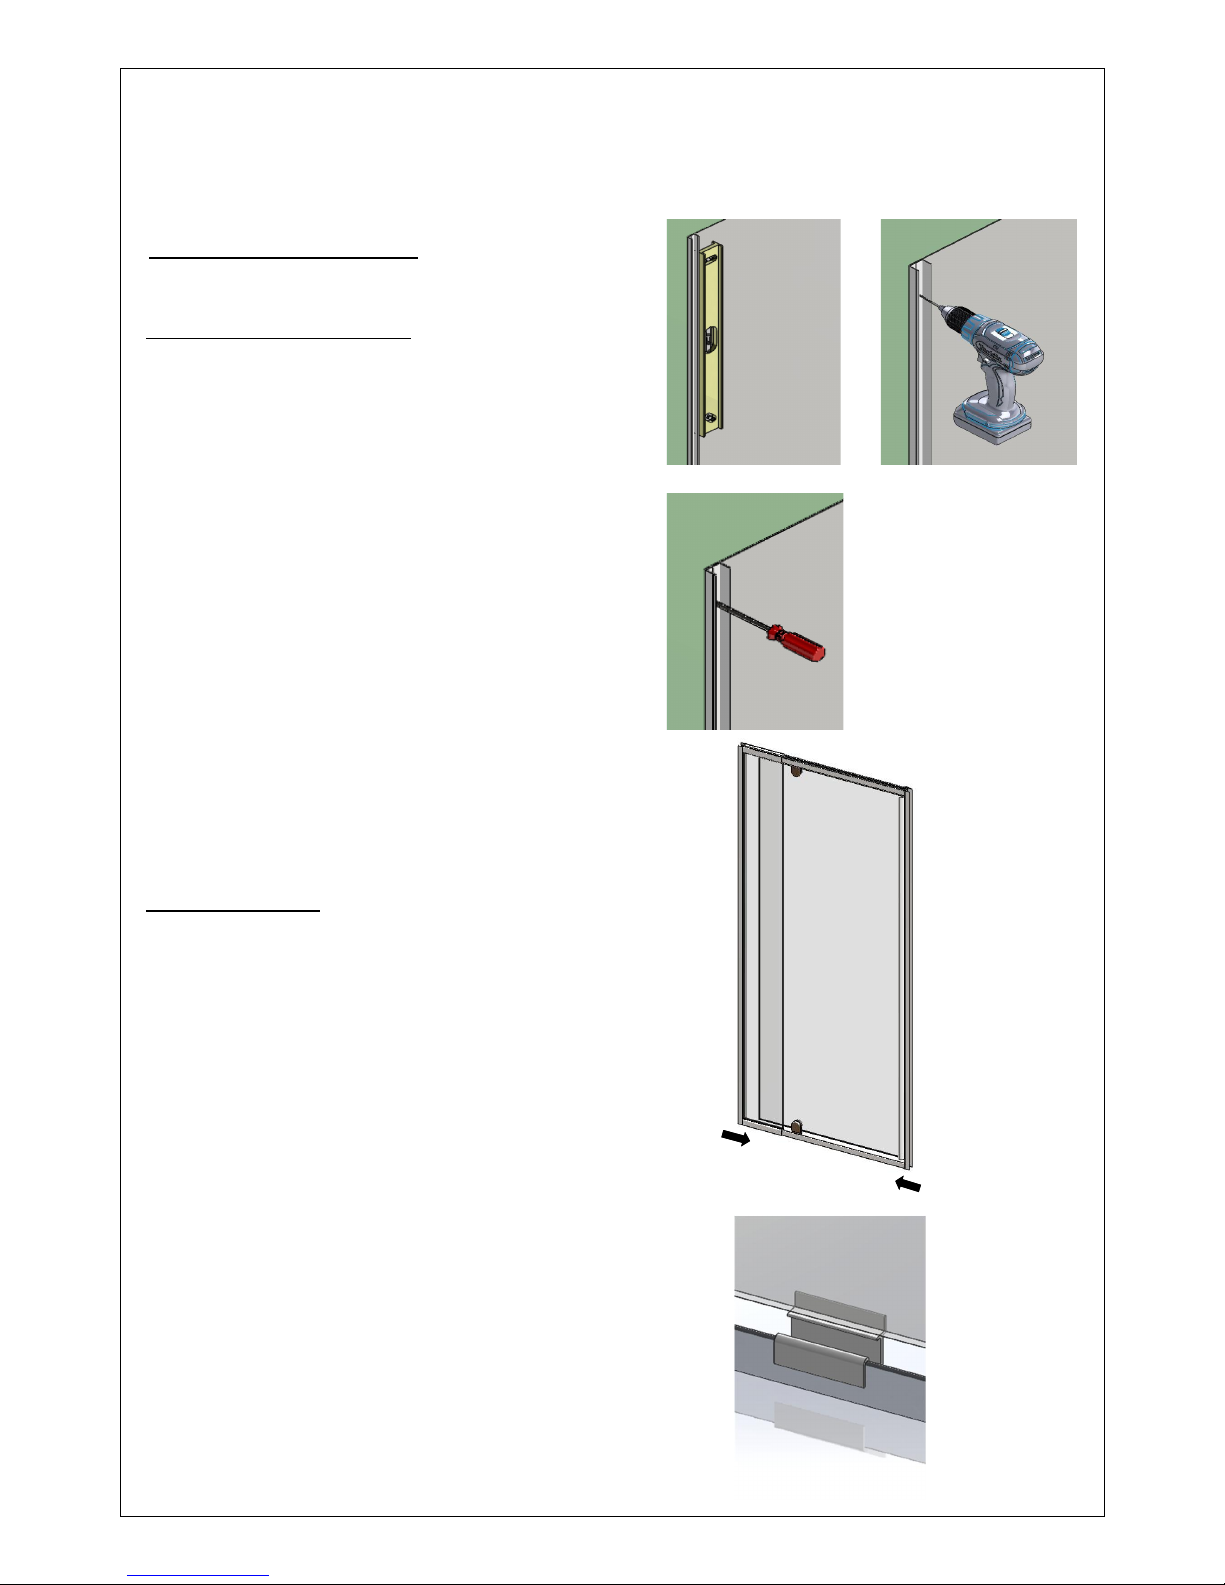
Installing the Wall Receivers
1. Place the Wall Receiver hard against the inside
edge of the tray upstand. Using a spirit level en-
sure the Wall Receiver is plumb. Mark the posion
of the Wall Receiver on the wall. Repeat for the
opposite side
2. Pre drill three equally spaced clearance holes (i.e.
top, boom and centre) in the Wall Receivers us-
ing a 4.5mm drill bit. Reposion the Wall Receivers
onto the wall. Drill into the wall through the clear-
ance holes using a 3.0mm drill bit.
N.B. The holes preferably locate into a stud or nog.
As an alternave, a toggle system can also be used.
3. Apply Silicone into the screw holes and secure the
Wall Receivers to the walls using the No.6 x 38mm
stainless steel screws.
Installing the Door
4. Slide the door assembly together so it is narrower
than the opening.
Do not remove the door seng block, this will assist in
supporng the door during installaon and seng the
correct clearance from the sill
 Loading...