

clayton audio M-300 User Manual
Clayton Audio
M-300 Monaural power amplifier
Truly Remarkable Amplifiers.

Page - 2

Clayton Audio
M-300 Monaural power amplifier
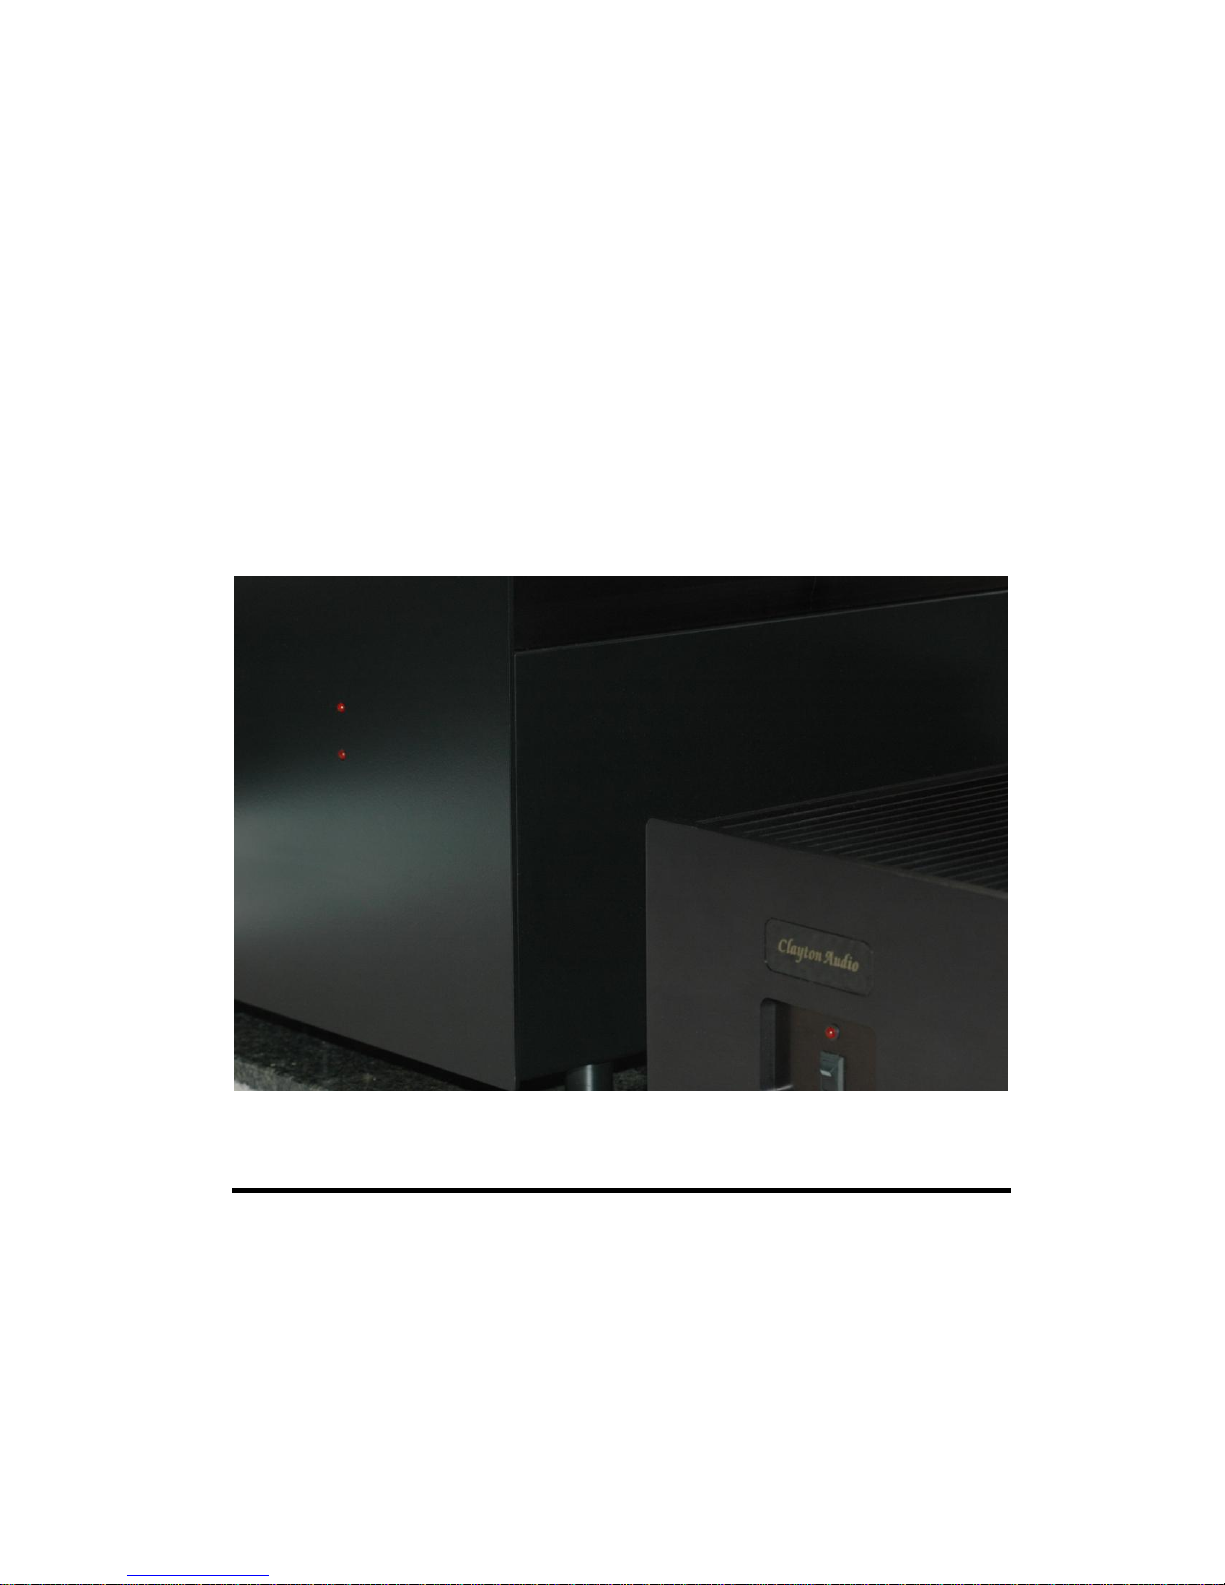
Introduction
Congratulations on your purchase of the Clayton Audio M-300
monobloc amplifiers! Your M300s were made to sound good and to
perform as well as the very best amplifiers on the market. They are a
high-current design that can drive the most demanding speaker loads.
These power amplifiers were designed to produce reference-quality
sound with all the excitement and elegance of live music. The M-300s
were handmade in the USA after years of careful design and testing.
Properly used and installed, these amplifiers will provide you with many
years of trouble-free, high-quality amplification. We hope that you will
take the time to read and look through this owner’s manual before
operating the M-300.
Page - 3

Installation
Please unpack the amplifier carefully in accordance with the enclosed
instruction card. Each monaural power amplifier weighs 87 pounds so
we urge reasonable caution in handling to avoid injury. Please save all
packing materials for future use. Should you need to ship your
amplifier to us, only the original shipping cartons will be acceptable.
Other packing methods might result in serious damage to your precision
amplifiers.
Inspect your amplifier carefully to make sure that it has suffered no
damage in shipping. Consult your dealer if you have any questions.
Do not stack any equipment on top of the amplifiers. Always remember
to power-off and disconnect the amplifiers when moving or handling
them.
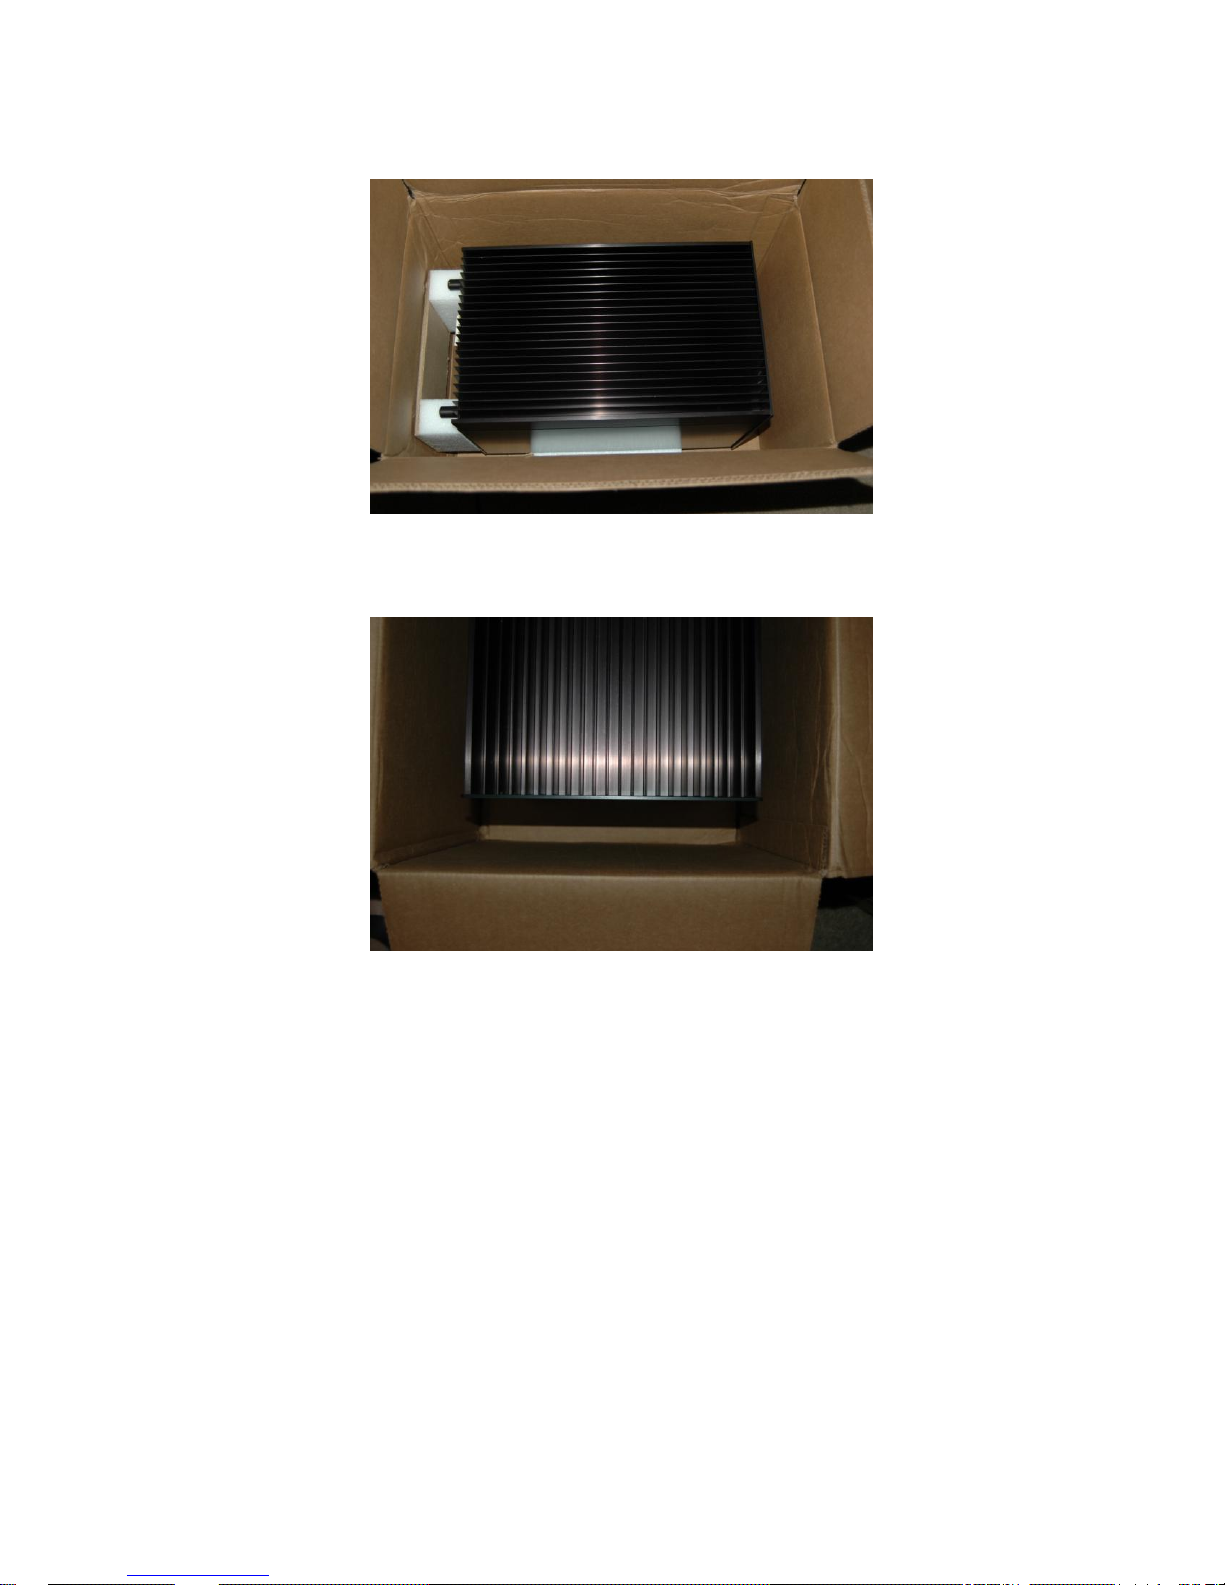
Unpacking your new amplifiers
The amplifers are heavy. Use caution when lifiting them after
removing all packing material, or use a friend to assist with lifting
and amplifer placement in your home. Save all packing materials in
Page - 4
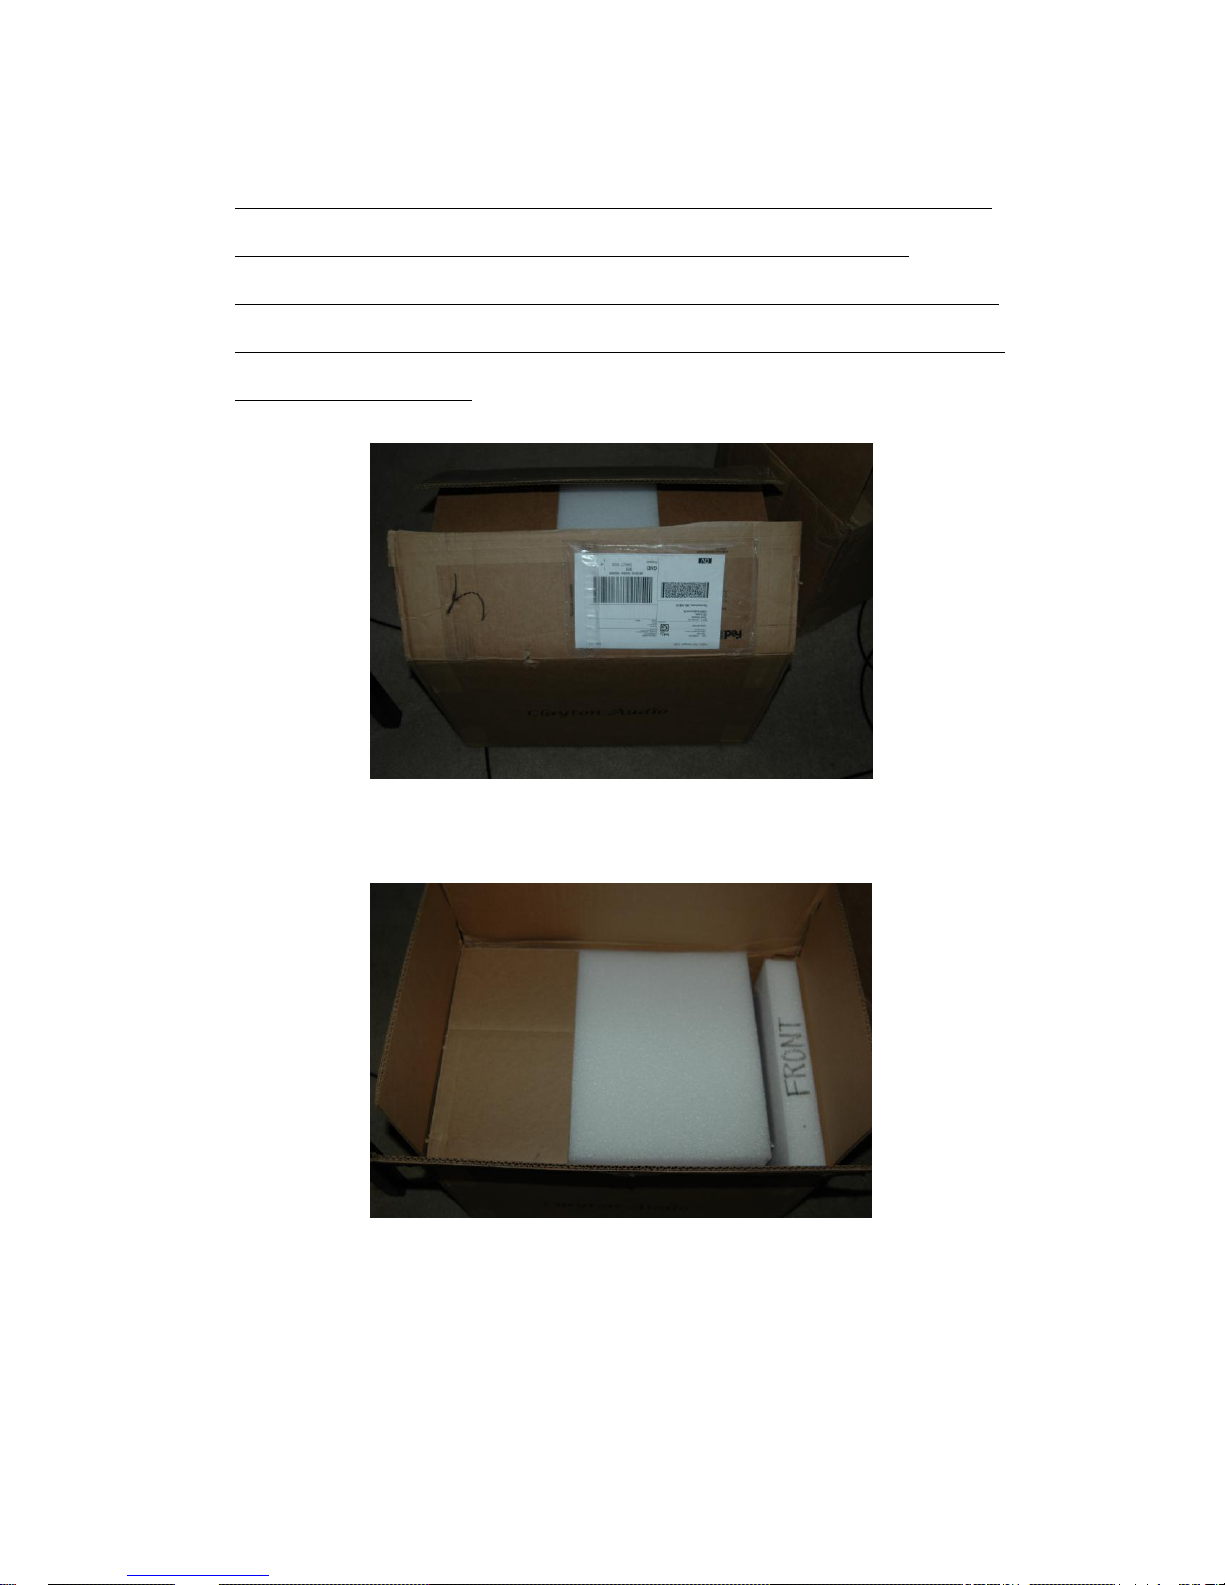
the box. Below are photos of the series of steps used to unpack the
amplifier. Please note that we use a special metal protector
blocking the fuse holders, 12 volt trigger switch and remote control
port. We recommend leaving this metal strip on the rear panel until
removal is necessary.
Carefully cut through the taped top center and top sides
Lift the cardboard flap exposing the top layers of foam and remove.
Page - 5
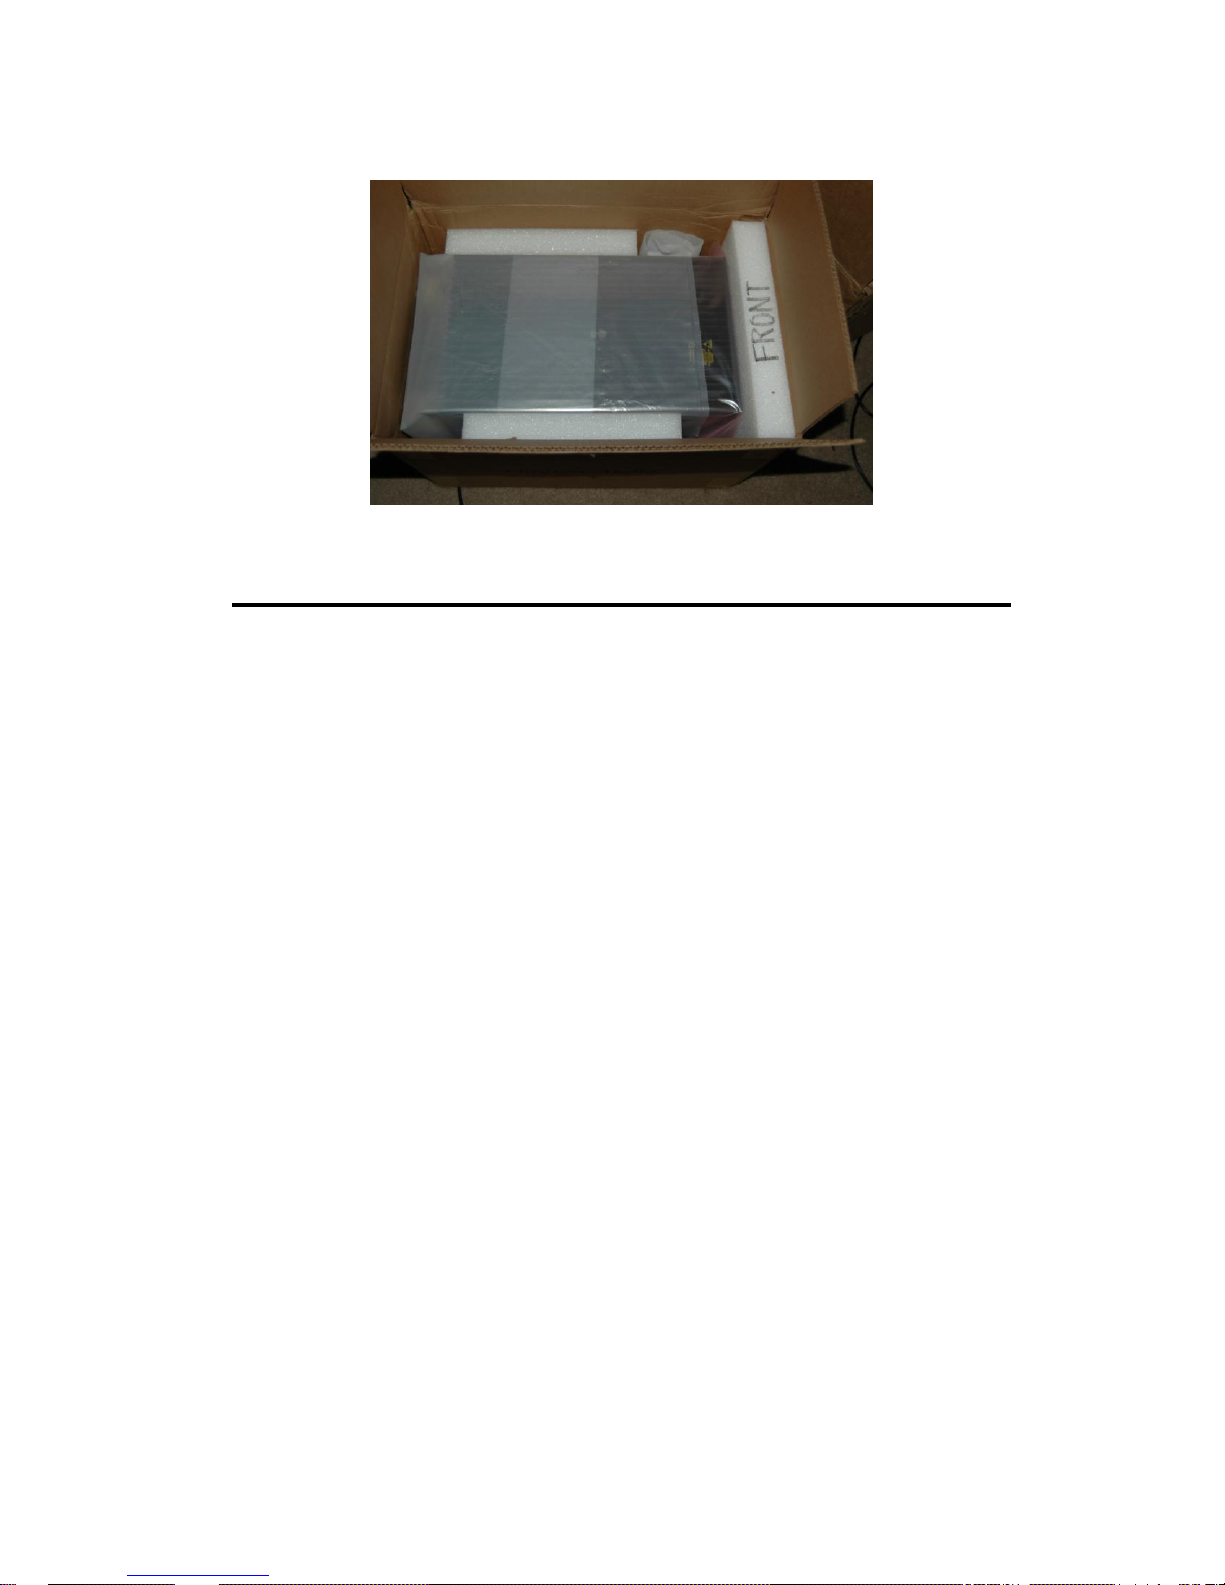
Remove the Front Faceplate foam.
Page - 6
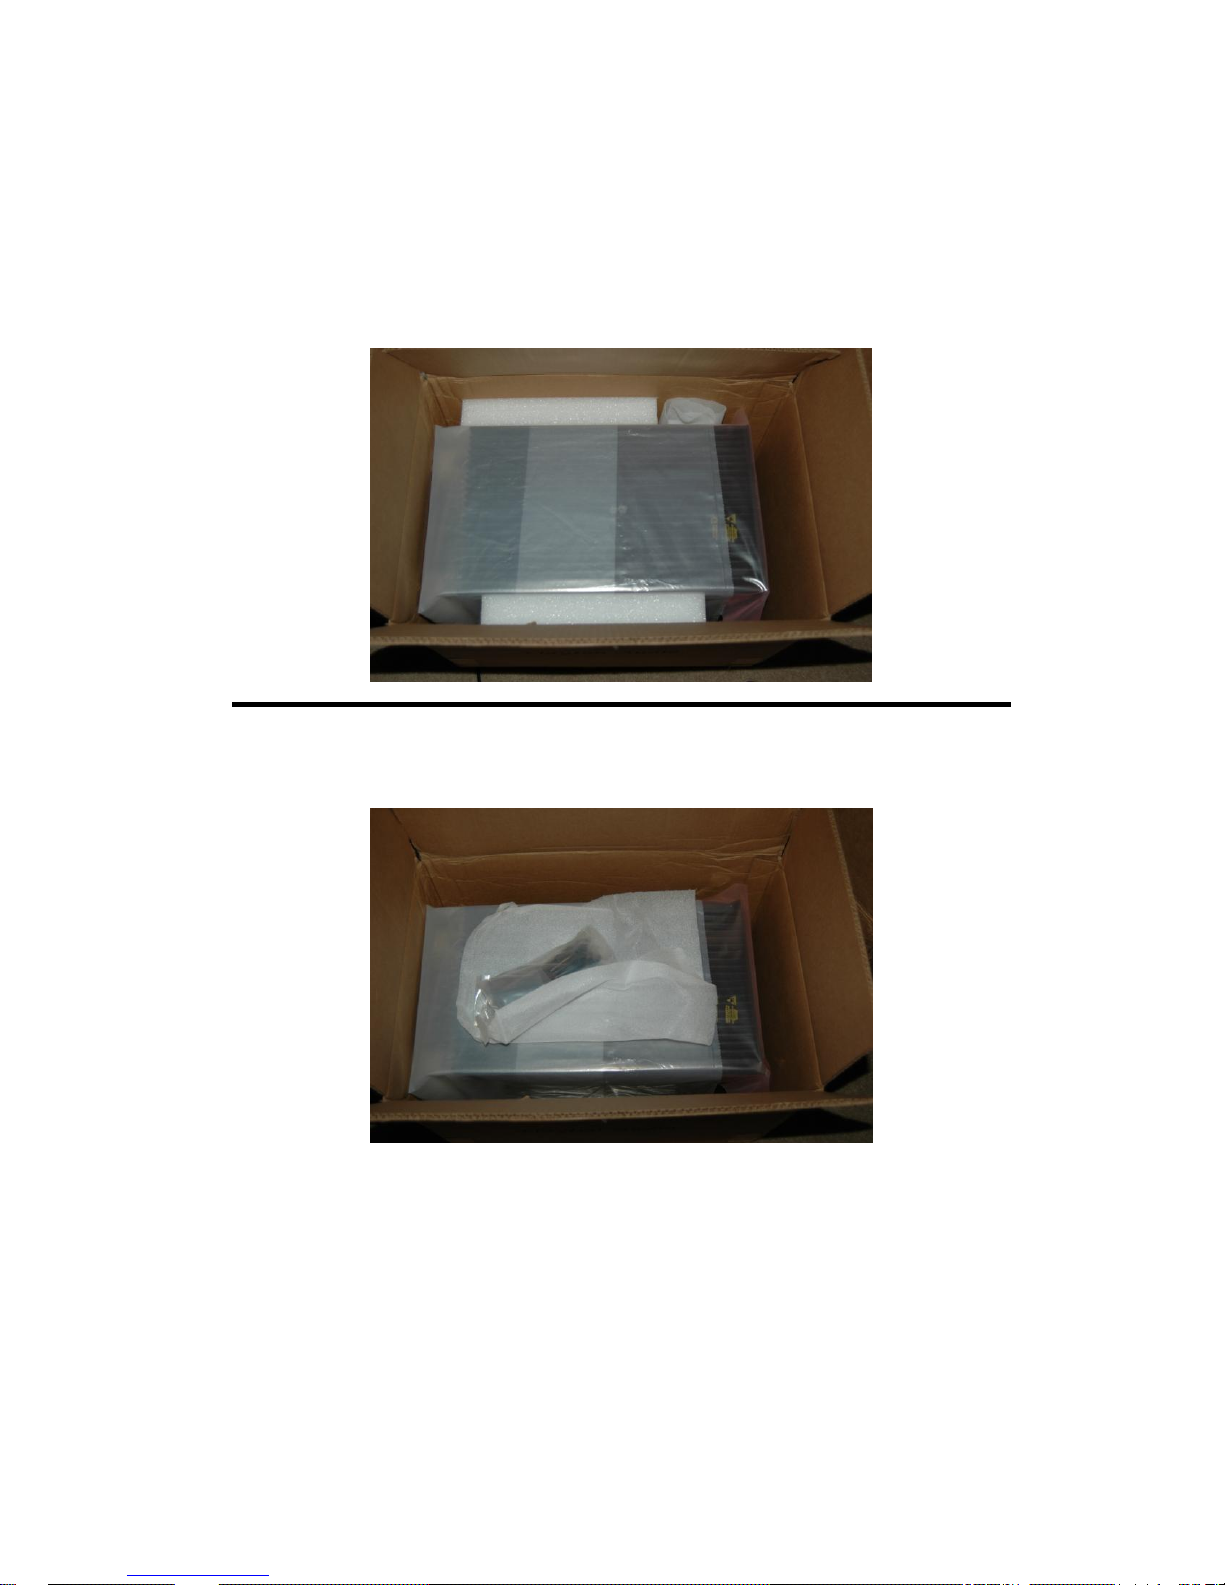
Remove the side foam, power cord and antistatic plastic wrap
Page - 7
Carefully remove the antistatic plastic and protective material
This is a photo of the front faceplate cleared after removal of foam.
Page - 8
 Loading...