

Page 1
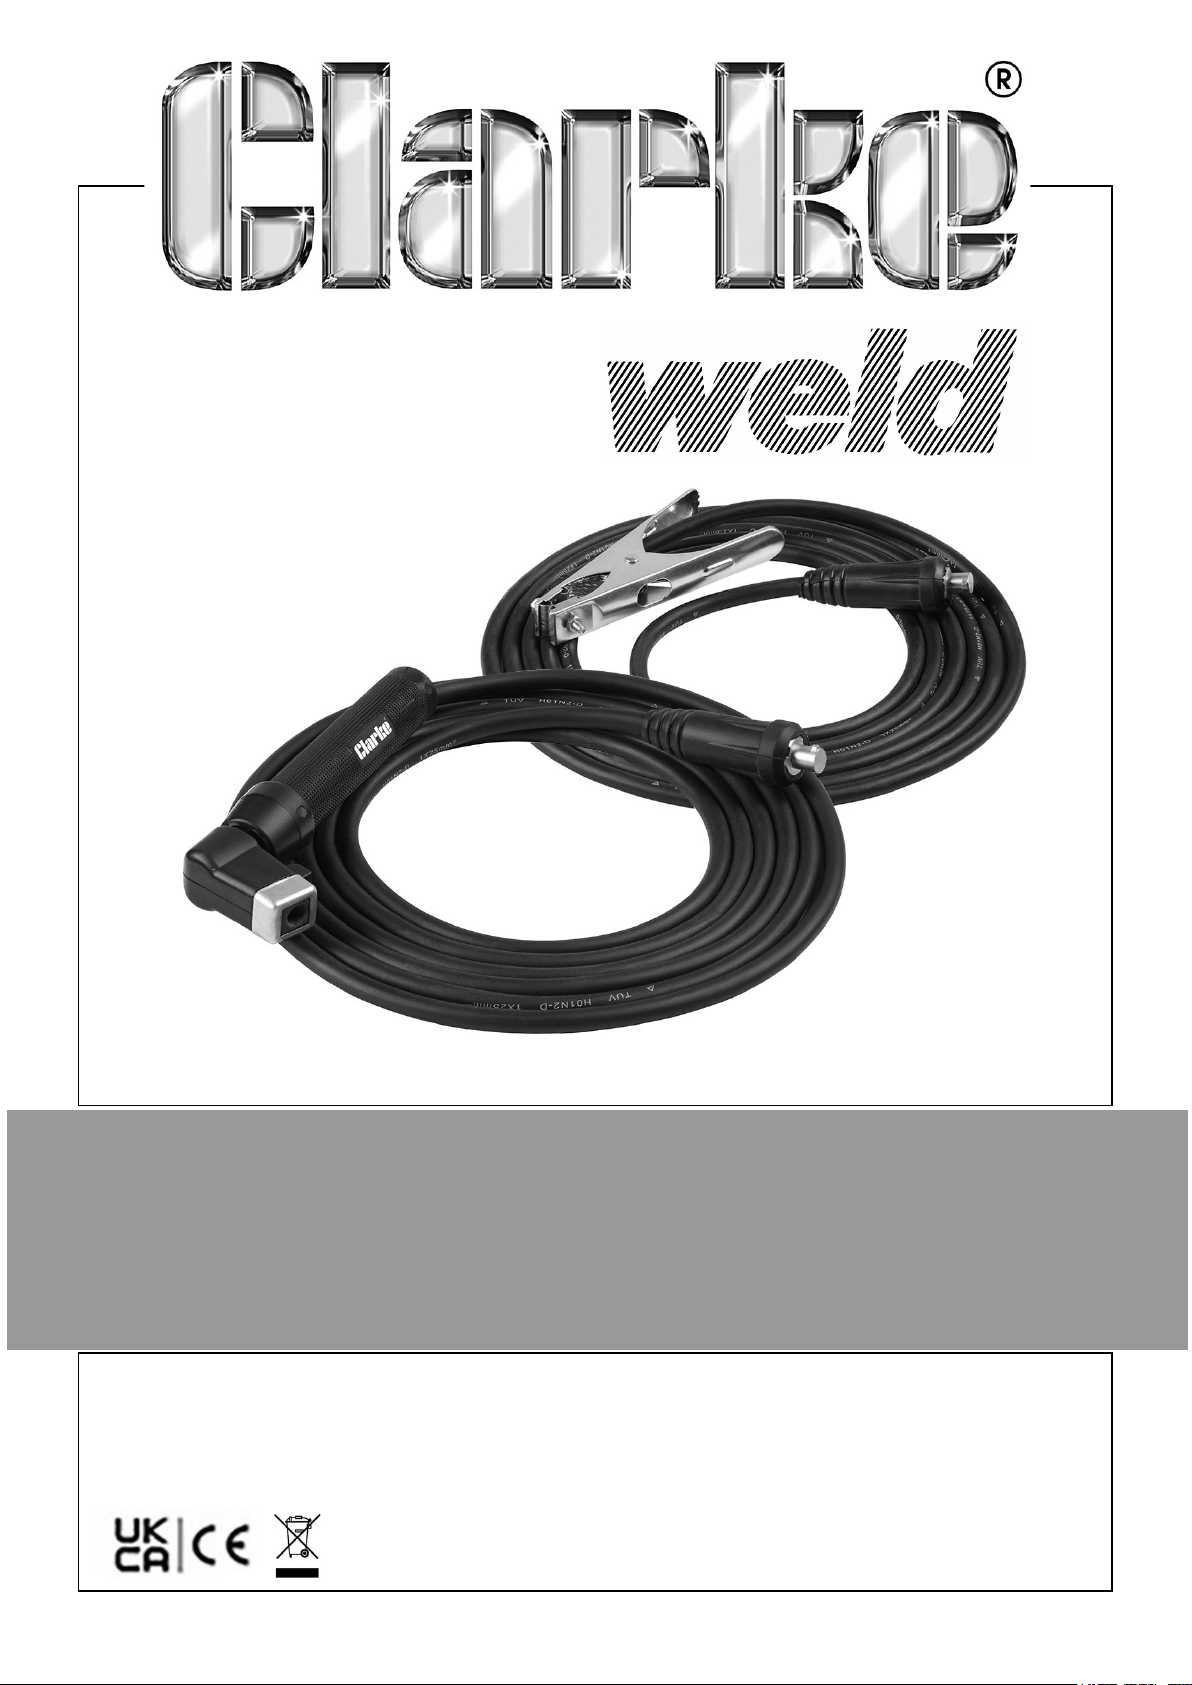
WELDING LEAD KIT
MODEL NO: WGK13
PART NO: 8134141
USER INSTRUCTIONS
ORIGINAL INSTRUCTIONS GC 0925
Page 2
INTRODUCTION
Thank you for purchasing this CLARKE product. This Lead Kit is a standard welding
accessory kit for stick and MMA welding. The kit is suitable for use with Clarke
CWG200 Welder Generator and all other welders with a 13mm dinse connector which
are rated current up to 200A.
Before attempting to use this product, please read this manual thoroughly and follow
the instructions carefully. In doing so you will ensure the safety of yourself and that of
others around you, and you can look forward to your purchase giving you long and
satisfactory service.
KIT CONTENTS
• 1 x Earth Lead (including earth clamp & dinse connector)
• 1 x Electrode Holder Lead (including holder & dinse connector)
SPECIFICATION
Model Number WGK13
Electrode holder Type A
Rated current @ duty cycle 200A @ 35% (Electrode holder)
200A @ 60% (Clamp)
Clamp type Crocodile spring clamp with 45mm jaw opening
Cable fixing M6 nut/bolt
Suitable electrode sizes 2.5 - 4mm
Cable length 4.8m
Suitable socket size 13mm
GUARANTEE
This product is guaranteed against faulty manufacture for a period of 12 months from
the date of purchase. Please keep your receipt which will be required as proof of
purchase.
This guarantee is invalid if the product is found to have been abused or tampered
with in any way, or not used for the purpose for which it was intended. Faulty goods
should be returned to their place of purchase, no product can be returned to us
without prior permission.
This guarantee does not effect your statutory rights.
2
Parts & Service: 020 8988 7400 / E-mail: [email protected] or [email protected]
Page 3
SAFETY WARNINGS
WARNING: ELECTRIC SHOCKS CAN KILL. DO NOT TOUCH LIVE ELECTRICAL
PARTS WITH BARE HANDS AND DO NOT USE WET OR DAMP GLOVES OR
CLOTHING. USE THIS CLAMP ONLY FOR ELECTRICAL WELDS AND FOR
RETURN CURRENT OF THE WELDING CIRCUIT.
1. For electrical conductivity ensure that the cable is properly connected to the earth
clamp.
2. Make sure that the earth clamp is properly connected to the workpiece to be
welded, cleaning the contact area adequately.
3. Welding gloves must be worn when using this equipment.
4. NEVER look at an electric arc without protection. A welding headshield or helmet
with appropriate lenses must be used when welding.
5. DO NOT use this product for anything other than its intended purpose. If
damaged it must be replaced.
6. Cleaning and repair of the welding machine MUST BE CARRIED OUT with the
machine SWITCHED OFF and disconnected from the electrical supply.
7. When welding indoors, ensure there is adequate ventilation.
8. After welding, always check that the area is free of any sparks or glowing embers.
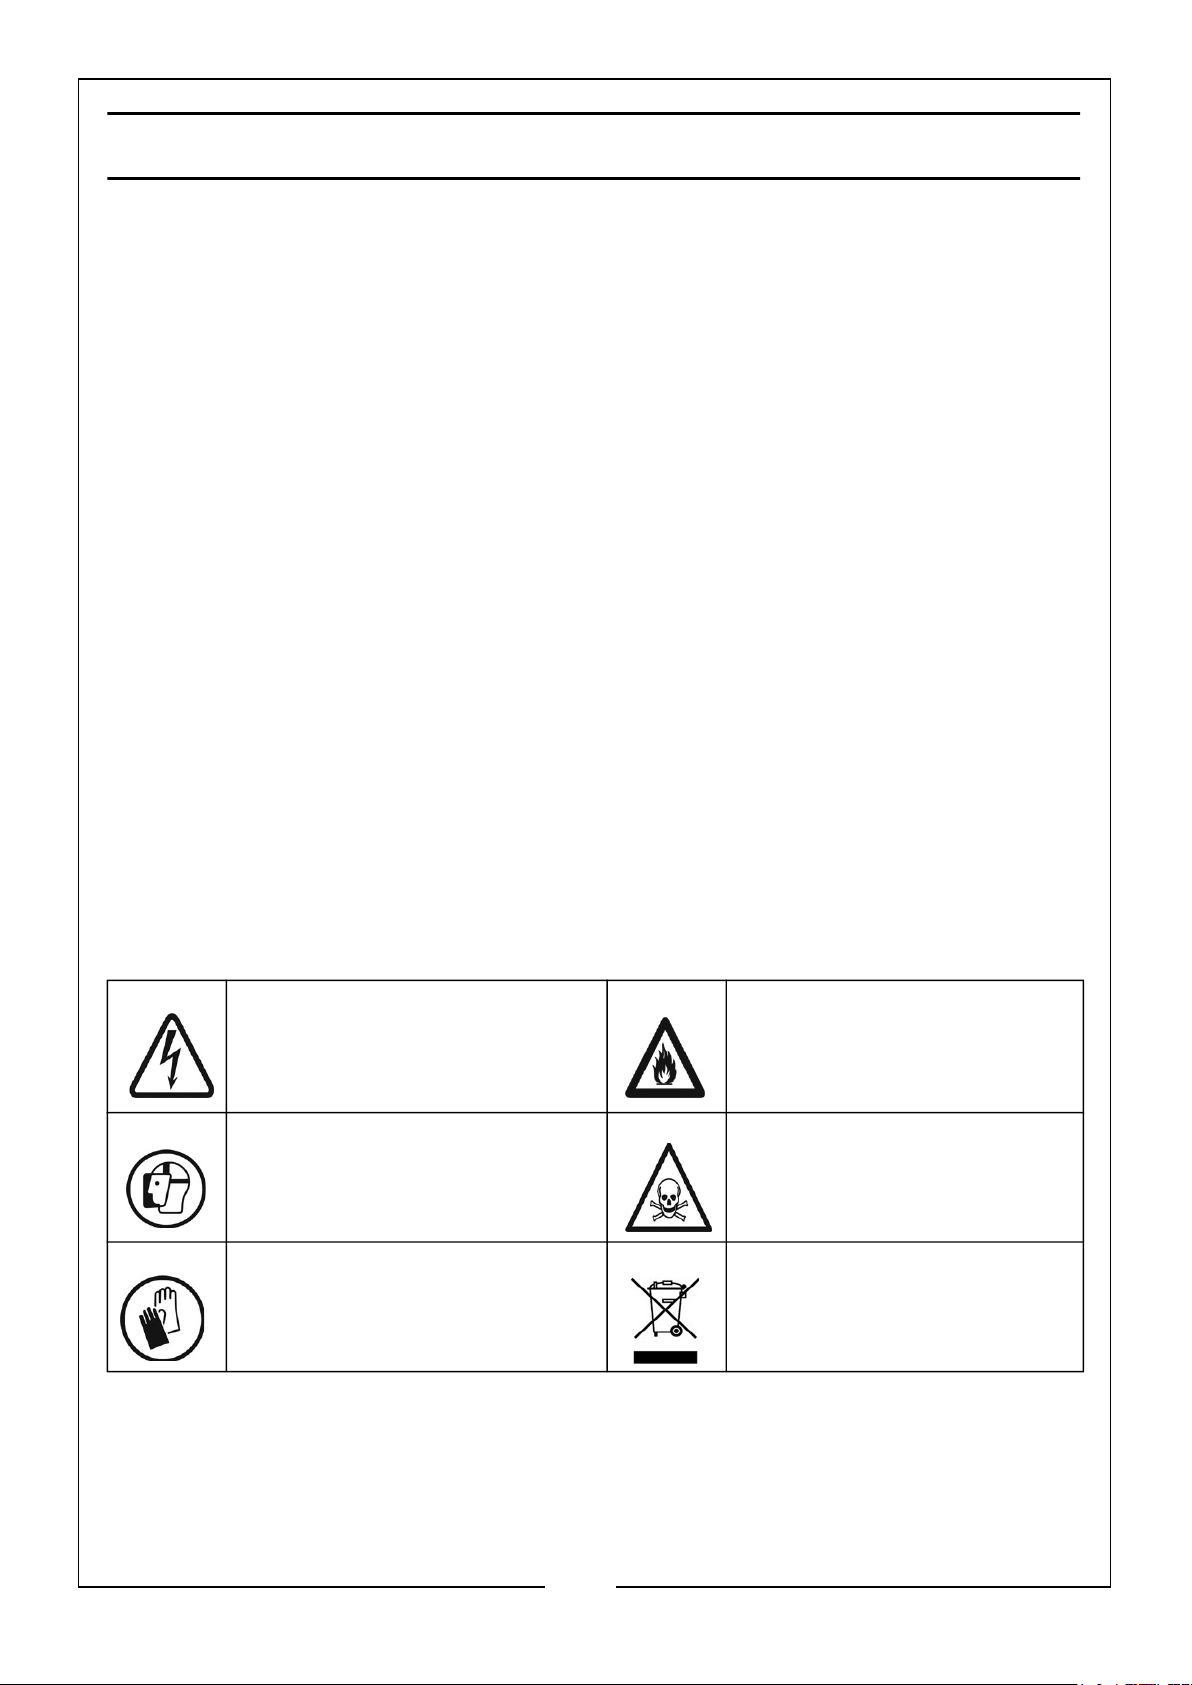
The following safety symbols are to be found on this product or its
packaging..
Danger of electric shock Fire Hazard
Radiation Hazard - always wear
a welding mask while welding
Heat hazard wear protective gloves
Gas Fumes avoid inhalation
This product falls within the
Waste Electrical & Electronic
Equipment directive
3
Parts & Service: 020 8988 7400 / E-mail: [email protected] or [email protected]
Page 4
PREPARATION FOR WELDING
1. Select the appropriate electrode which should be approximately the same
thickness as the piece to be welded.
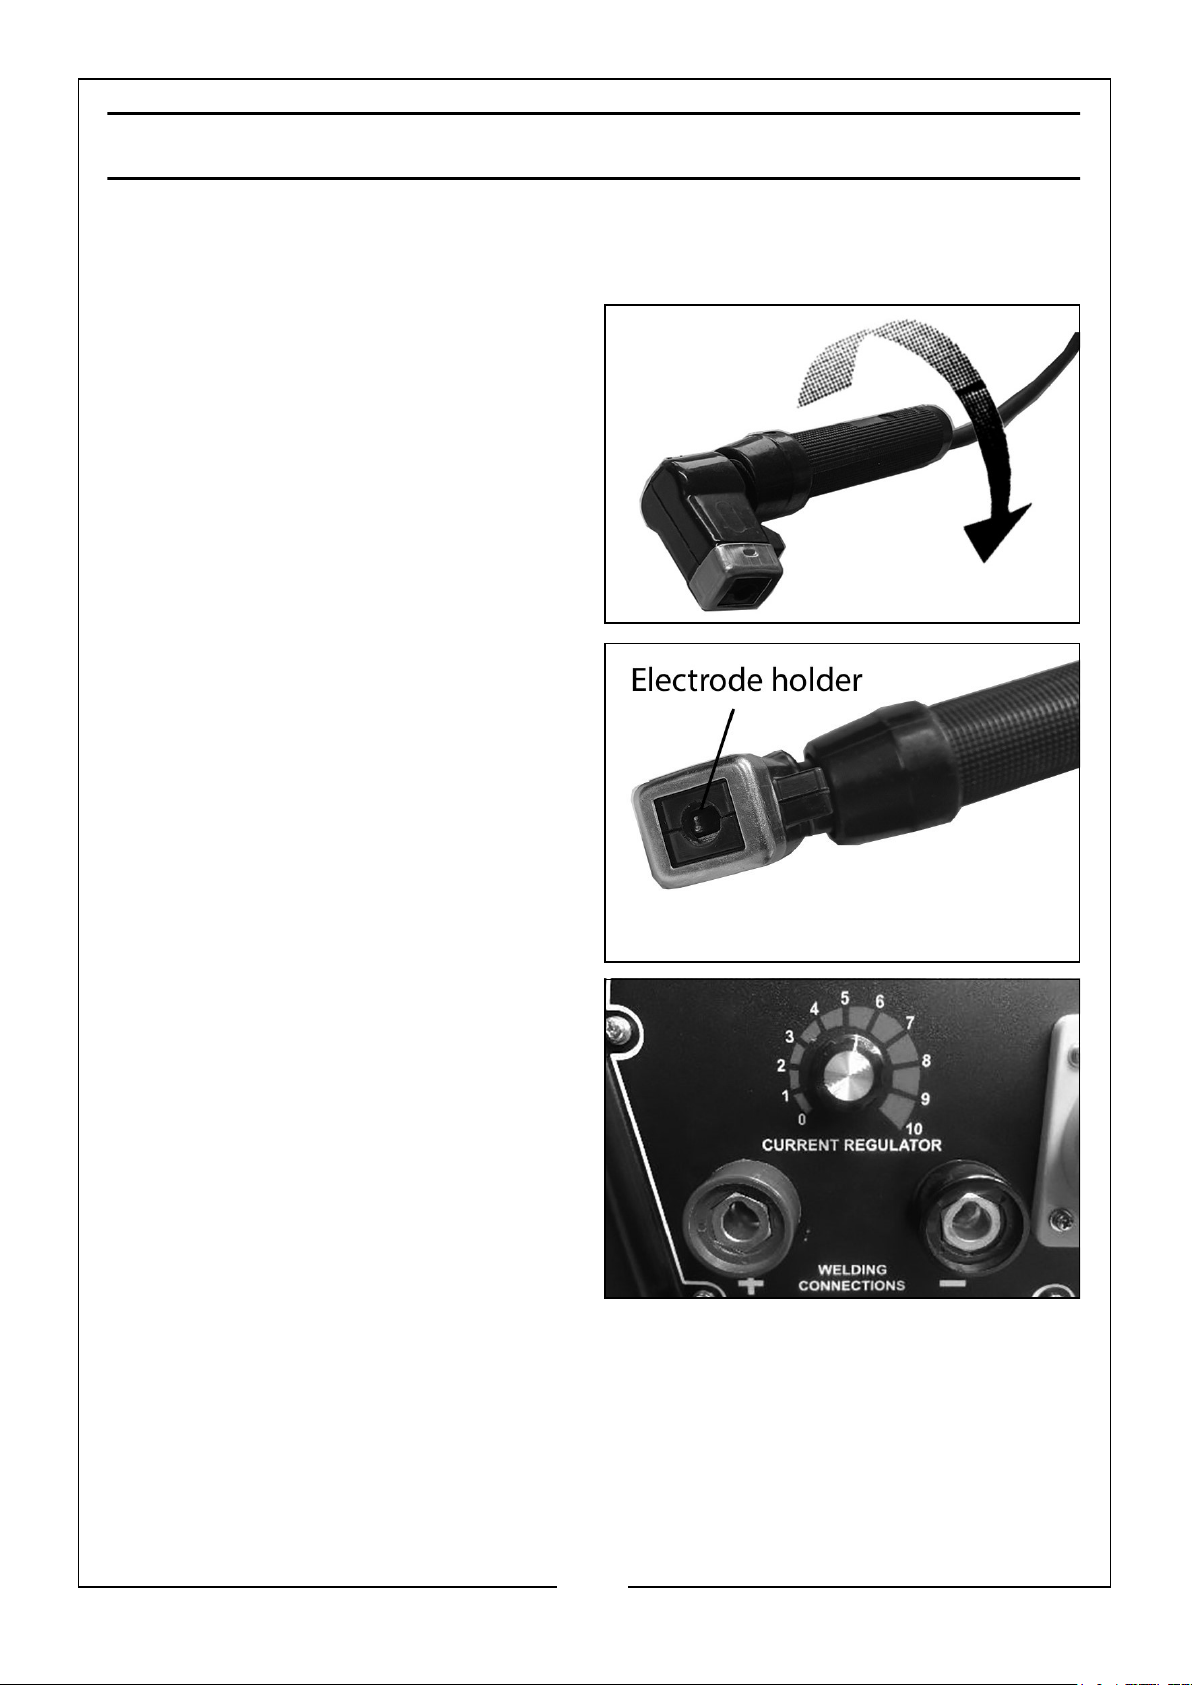
2. Release the electrode holder by
twisting the handle grip until the
welding rod can be inserted.
3. Tighten the grip until the electrode is
secure.
4. Follow the instructions for the
welding machine that you will be
using, typically the CLARKE CWG200.
5. Connect the welding lead to the
appropriate DIN socket on the
welder.
6. Connect the earth lead to the COM
DIN socket.
7. Ensure the earth lead is connected to
the workpiece.
IMPORTANT: Ensure also that the
earth clamp is attached to clean,
solid metal. If necessary
thoroughly clean with a wire brush or similar to guarantee a good
connection.
4
Parts & Service: 020 8988 7400 / E-mail: [email protected] or [email protected]
Page 5
WELDING TECHNIQUE
1. With the welder correctly connected to the power supply and the leads attached
to the machine, ensure the earth clamp is firmly attached to the workpiece on
clean, solid metal and as close to the proposed weld as is practical, and the
appropriate current setting for the job has been set.
2. Bring the electrode to the work surface at an angle of approx 70o then, BEFORE
you strike an arc, bring the face shield up to protect your eyes.
Strike an arc by briefly touching the work surface with the tip of the electrode. Once
the arc is struck or primed, raise the electrode slightly and maintain it at a distance of
approx 1.5mm (1/16”) from the work surface, then proceed to move the electrode
along its intended path, keeping the tip in the molten pool at all times. An even
crackling noise should be heard, which is an indication of a good weld.
It is recommended that you practice on some scrap material in order to get a feel of
the operation.
If the electrode is not withdrawn quickly enough once the arc is primed, there is a
possibility that the electrode will weld itself to the workpiece. Should this happen, give
it a sharp tug to free it and try again. If this fails to free it, turn OFF the machine
immediately as it will quickly overheat.
If you withdraw the electrode too far once the arc is primed, you will lose the arc and
have to try again.
3. Inspect the job carefully. With a correct combination of electrode size and current
setting the area of weld should be complete fusion of the electrode and parent
metal. Any slag which forms on the surface should be chipped away with a pick/
brush.
If the resultant weld looks messy and irregular, this is an indication of porosity or slag
contamination and you have almost certainly failed to achieve the correct
combination. This is a common problem, so do not worry as practice will quickly cure
this.
MAINTENANCE
The torch and cable should be inspected before use, to ensure it is undamaged.
NEVER use a damaged torch and ensure all connections are firmly secured before
switching on the welder.
DO NOT dispose of welding products with general household waste. They
contain valuable raw materials and should be disposed of appropriately at a
recognised disposal facility. This product falls within the Waste Electrical &
Electronic Equipment directive.
5
Parts & Service: 020 8988 7400 / E-mail: [email protected] or [email protected]
Page 6
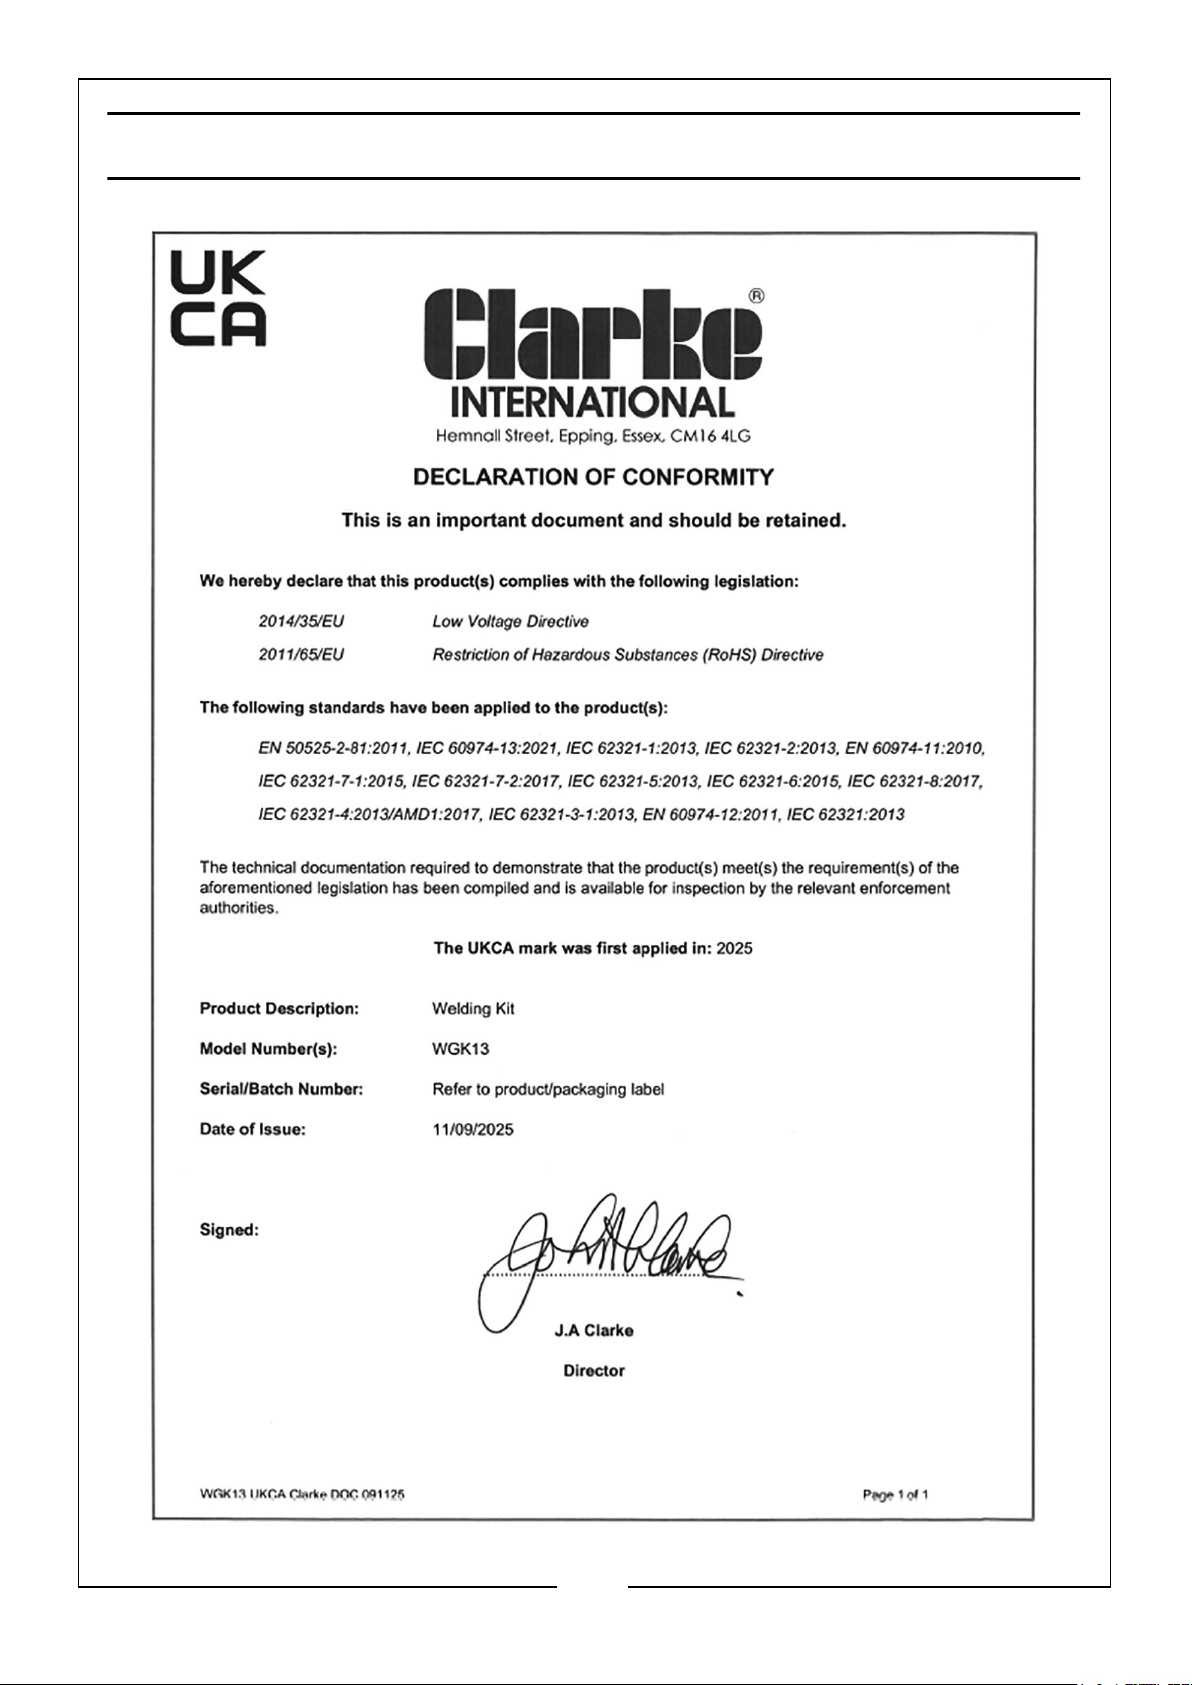
DECLARATION OF CONFORMITY - UK
6
Parts & Service: 020 8988 7400 / E-mail: [email protected] or [email protected]
Page 7
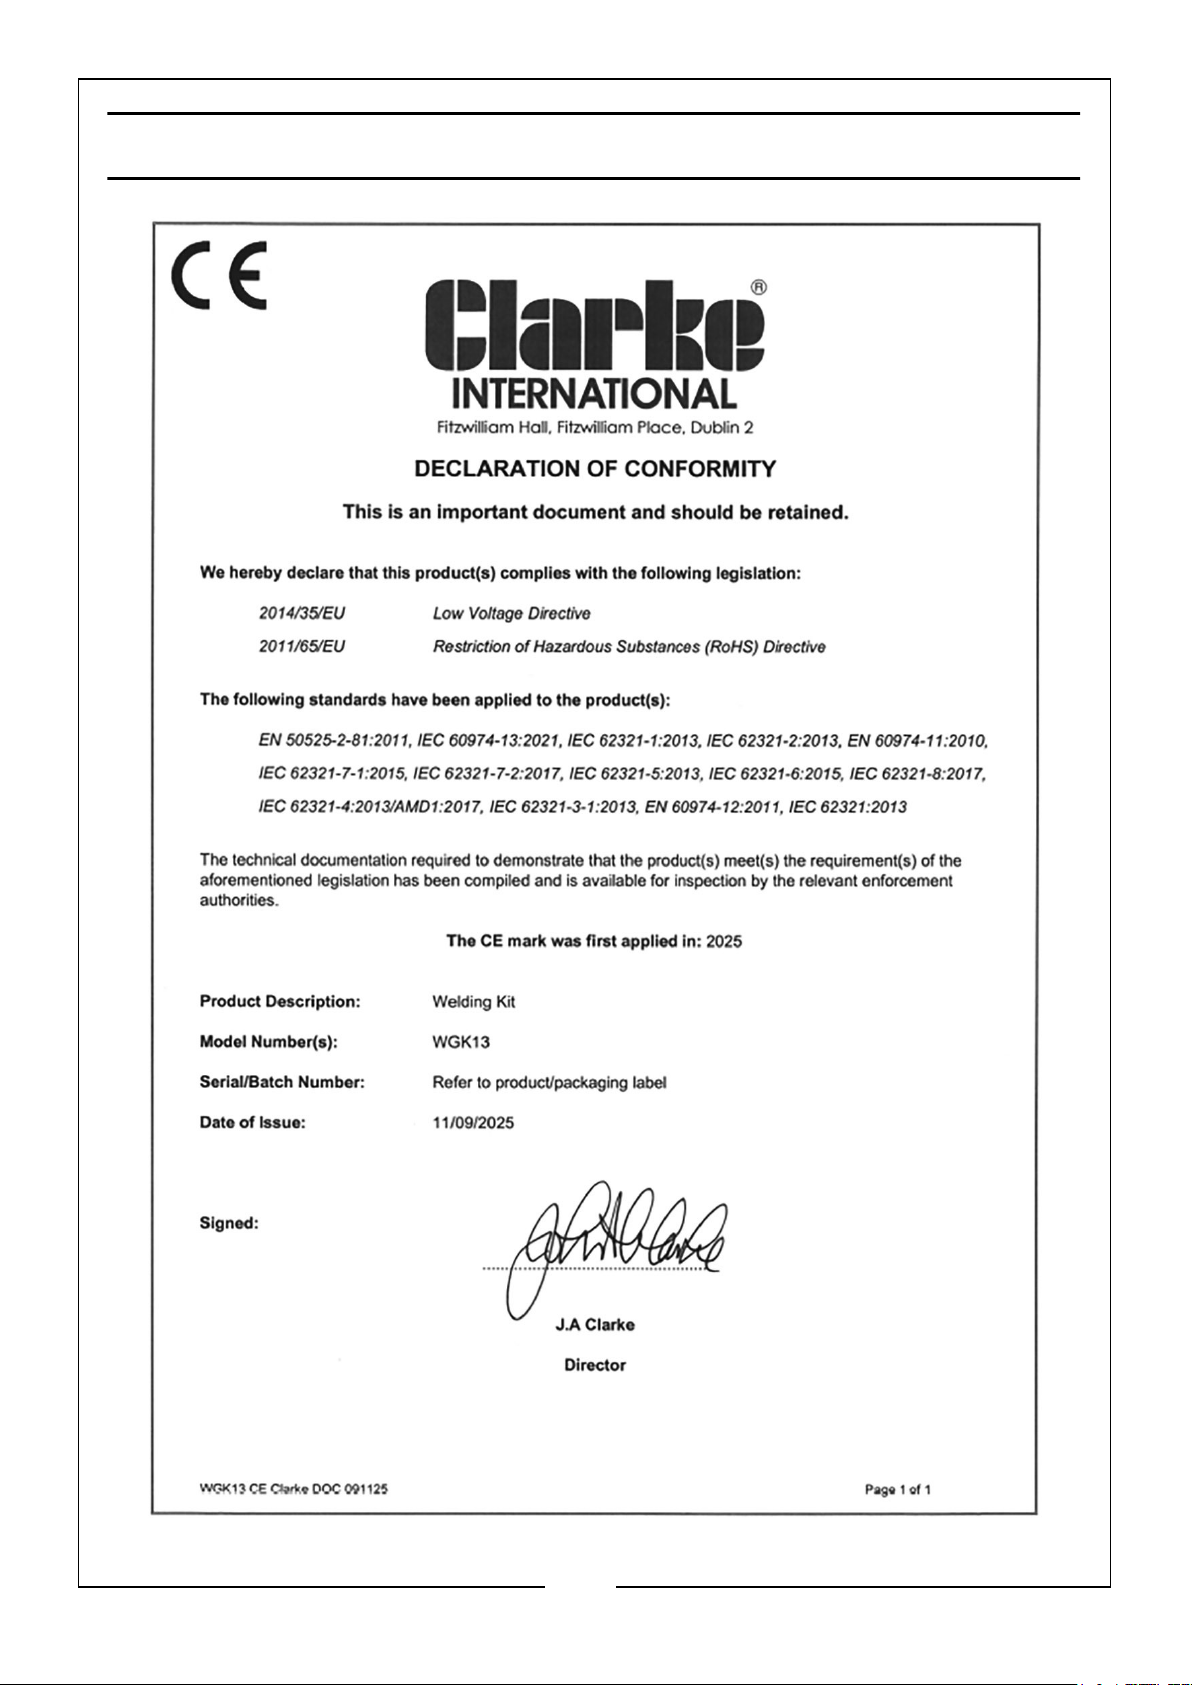
DECLARATION OF CONFORMITY - CE
7
Parts & Service: 020 8988 7400 / E-mail: [email protected] or [email protected]
Page 8
 Loading...