

Page 1
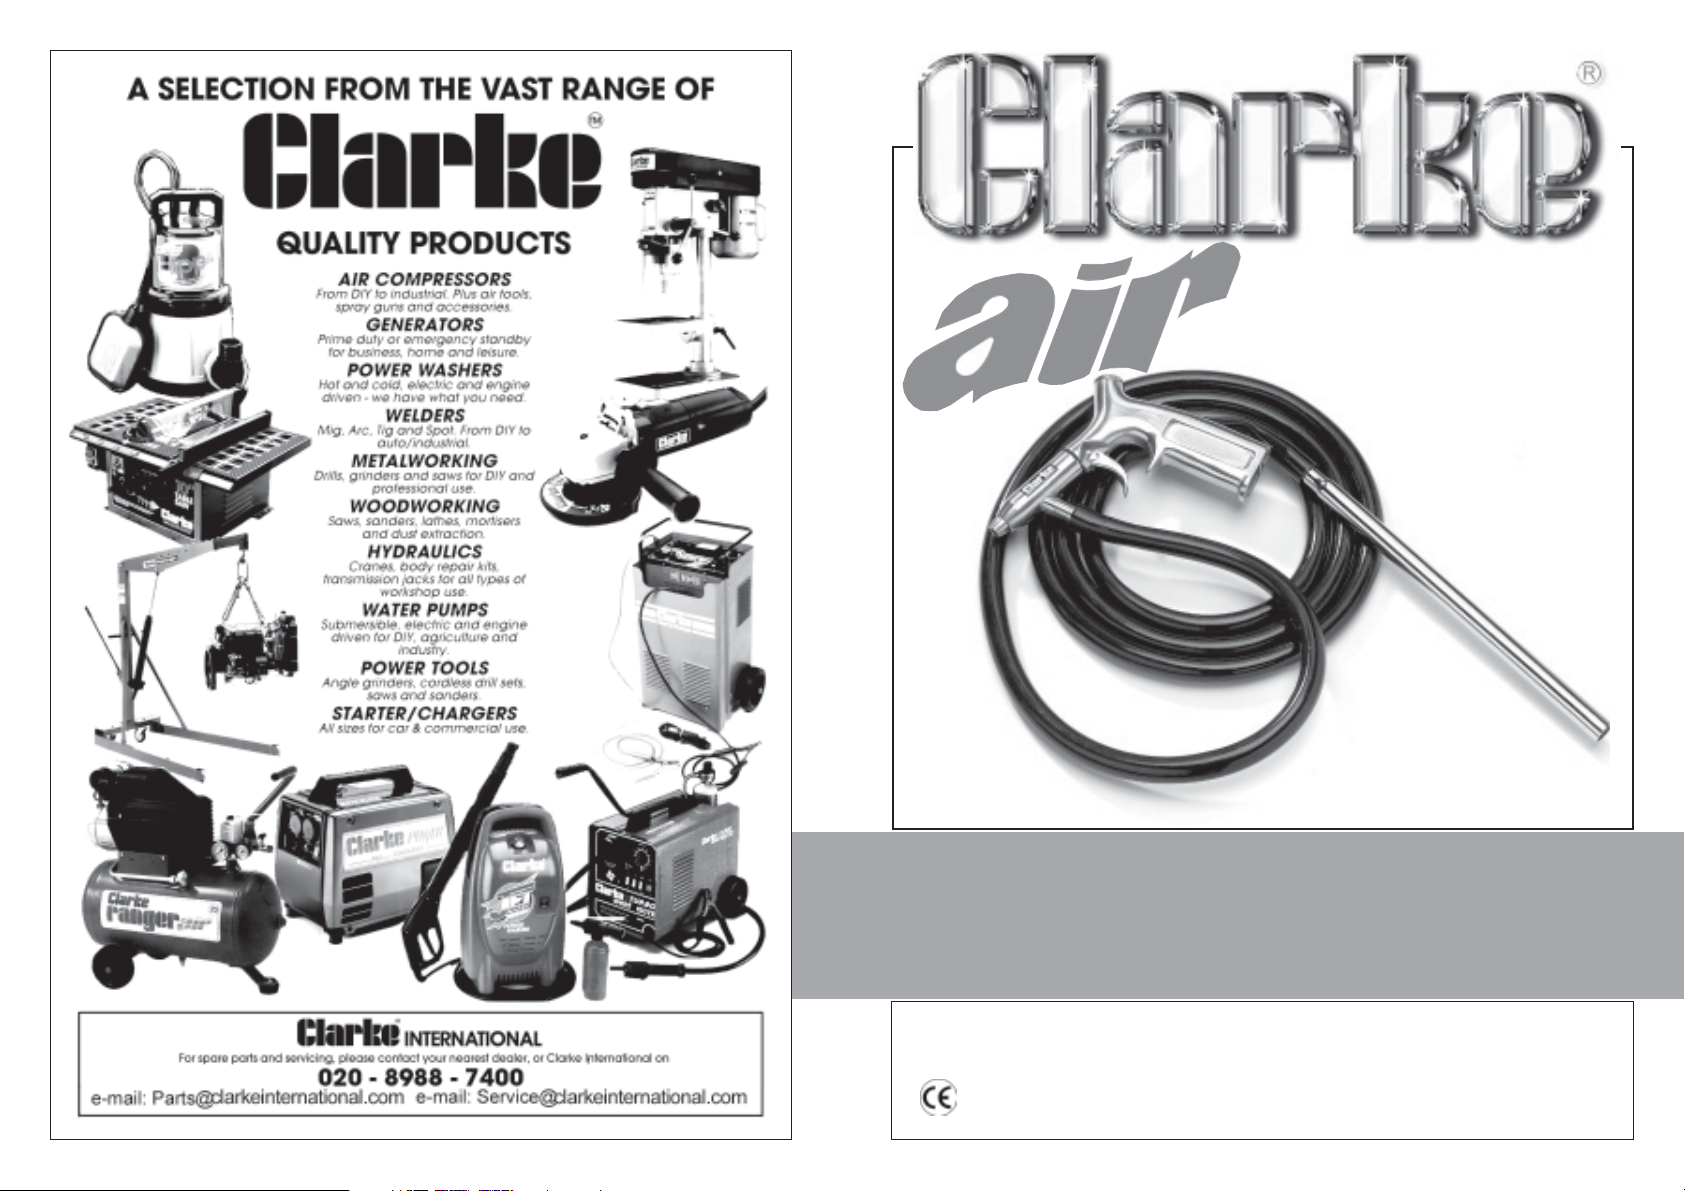
SPOT BLAST GUN
SPOT BLAST GUN
MODEL NO: SB4
PART No: 5091103
OPERATION & MAINTENANCE
INSTRUCTIONS
0704
Page 2
SPECIFICATIONS
Model : .................................................. SB4
Part No : ................................................. 5091103
Air Consumption @ 90PSI : ................... 15 cfm
Air Inlet Connector : ............................. ¼”BSP
Nozzle : .................................................. 6 mm
Operating Pressure : ............................ 5.5-6.5bar
Hose + Pick-up Length ........................ 3M
Please note that the details and specifications contained herein are correct at the time of going to
print. However CLARKE International reserve the right to change specifications at any time without
prior notice.
- 2 -
- 7 -
Page 3
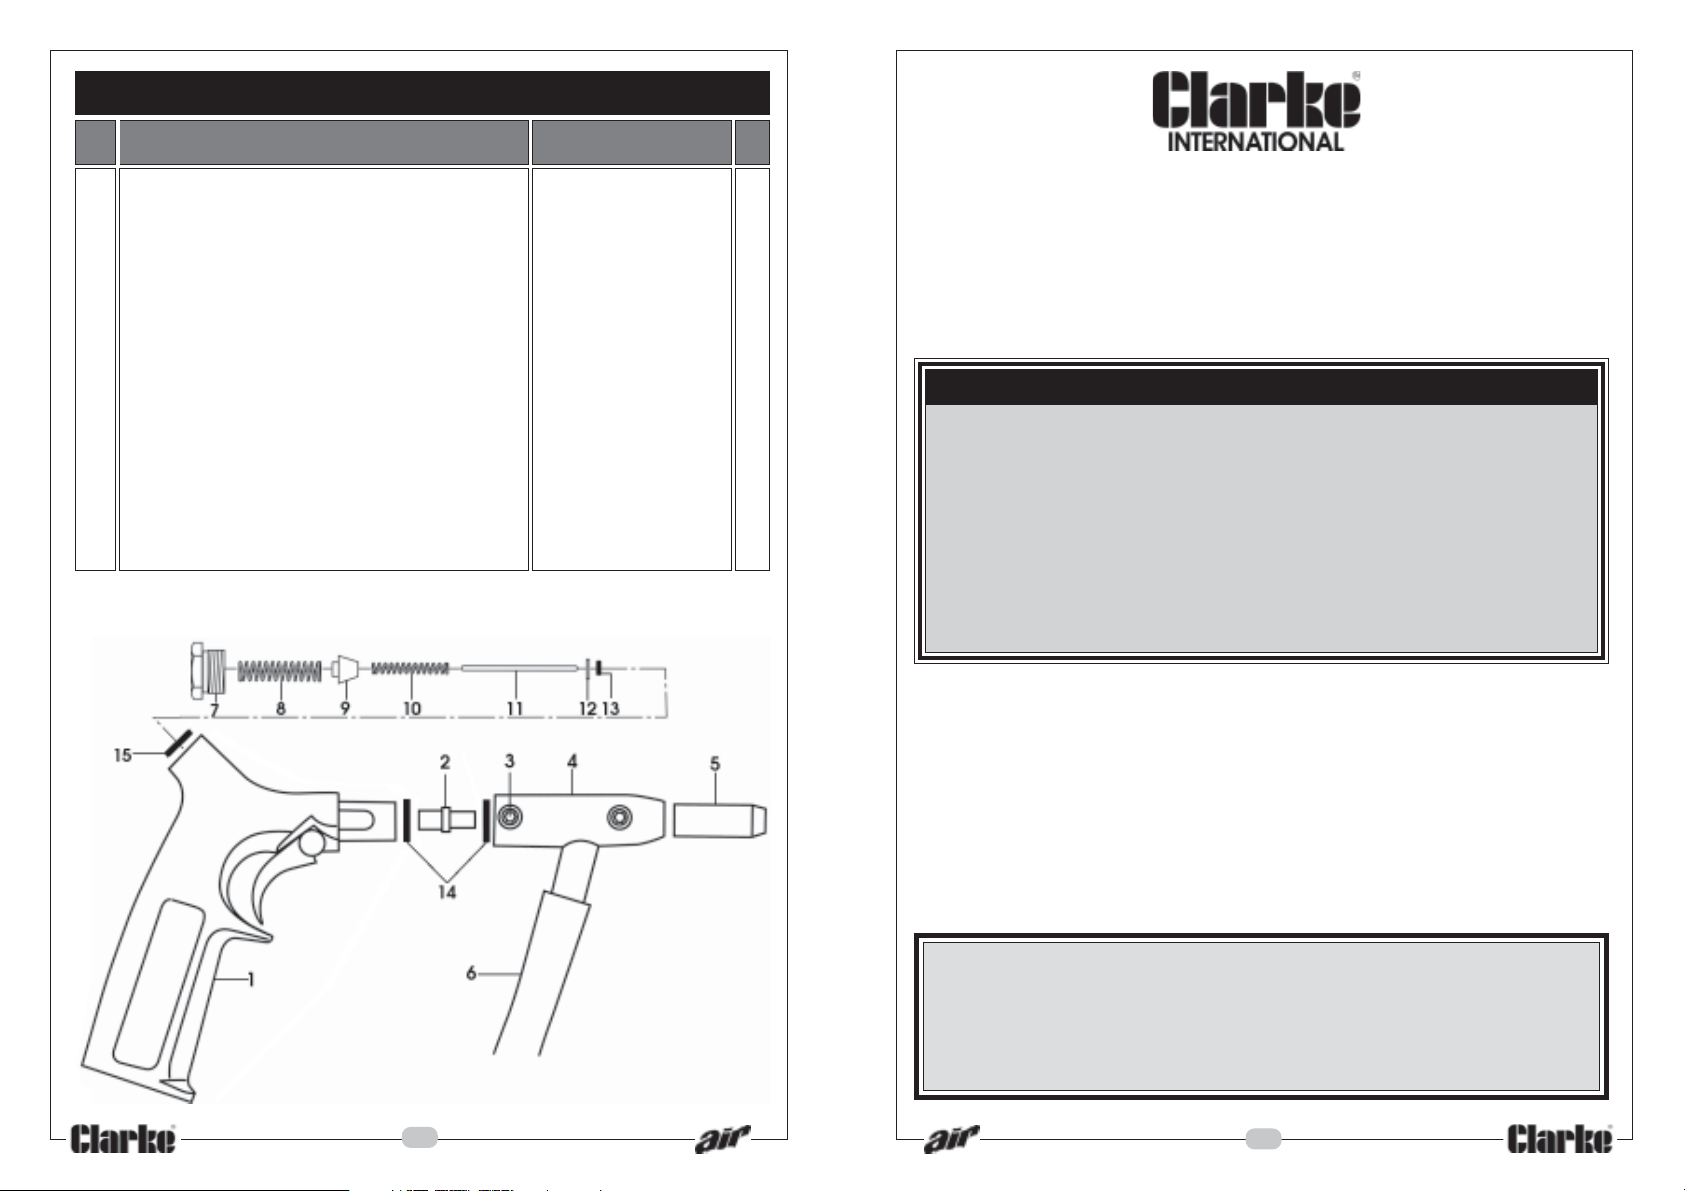
PARTS LIST
No DESCRIPTION PART NUMBER Qty
1 Main Body NSSB401 1
2 Inner Nozzle NSSB402 1
3 Grub Screw NSSB403 2
4 Nozzle Holder NSSB404 1
5 Nozzle Hose NSSB405 1
6 Hose NSSB406 1
7 Cap Nut NSSB407 1
8 Spring (Small) NSSB408 1
9 Air Valve NSSB409 1
10 Spring (Large) NSSB410 1
11 Needle NSSB411 1
12 Flat Washer NSSB412 1
13 O-Ring NSSB413 1
14 Sealing Rings NSSB414 2
15 Sealing Ring NSSB415 1
- Pick-up Tube NSSB416 1
Please read these instructions carefully before operating the tool
Thank you for purchasing this CLARKE Spot Blast gun with pick-up hose.
Before using the device, please read this manual thoroughly and carefully follow
all instructions given. This is for your own safety and that of others around you, and
is also to help you achieve long and trouble free service from your new spray gun.
CLARKE GUARANTEE
This CLARKE product is guaranteed against faulty manufacture for a period
of 12 months from the date of purchase. Please keep your receipt as proof
of purchase.
This guarantee is invalid if the product is found to have been abused or
tampered with in any way, or not used for the purpose for which it was
intended.
Faulty goods should be returned to their place of purchase, no product
can be returned to us without prior permission.
This guarantee does not affect your statutory rights.
Please be aware that certain parts of this spot blast gun will wear, requiring
replacement and that these parts may not be covered by your guarantee.
The wear on certain parts depends on the abrasiveness of the materials used.
Replacement parts are available from your nearest Clarke International dealer.
- 6 -
PARTS & SERVICE TEL: 020 8988 7400
or e-mail as follows:
PARTS: [email protected]
SERVICE: [email protected]
- 3 -
Page 4
SAFETY PRECAUTIONS
WARNING
Compressed air can be
dangerous. Ensure that you are
thoroughly familiar with all
precautions relating to the use of
compressors and compressed air
supply.
INSTALLATION
1. Connect your Spot Blast Gun to a regulated, dry air supply via the ¼” BSP connector at
the base of the handle.
2. The pressure required to operate the gun is determined by the grit size and the finish
required e.g. High Pressure + Coarse Grit = Coarse Finish
Low Pressure + Fine Grit = Fine Finish
3. Insert the metal tube and hose into a container with the appropriate grade of grit for dry
blasting, as required.
NOTE: ALWAYS consult the grit manufacturers recommendations for the correct
grade ofgrit to be used. NEVER use wet or damp grit
For your personal safety and that of others around you. Follow
these safety instructions carefully.
NOTE : products used in this spray gun may be covered by COSHH Regulations.
✔ ALWAYS wear protective gloves and clothing, and a face shield or safety goggles.
NOTE: Spectacles DO NOT give sufficient protection, correct goggles must be worn,
although a full face mask is strongly recommended.
✔ Dust masks MUST ALWAYS BE WORN. Inhaling dust produced by the spot blasting
process or the possible inhalation or ingestion of grit is extremely hazardous.
✔ ALWAYS make sure there is adequate ventilation. Do not spray in confined or enclosed
areas.
✔ ALWAYS disconnect the gun from the air supply when it is not in use, and before any
disassembly.
✔ ALWAYS thoroughly clean the gun after use. See ‘Maintenance’
✔ ALWAYS turn OFF the air supply at the compressor outlet, and expel all air from the air
hose and gun, BEFORE disconnecting the Spot Blast Gun from the air hose.
✔ ALWAYS use appropriate air hoses and couplings and ensure that they are in good
condition. If any parts are worn or damaged, they should be replaced immediately.
✔ ALWAYS hold the tool firmly and maintain good balance.
✔ ALWAYS ensure hose couplings are secure before use.
✗ NEVER carry the gun by the hose. Keep hoses away from heat, oil and sharp edges.
✗ NEVER use wet or even damp grit. Ensure the grit is completely dry,
✗ NEVER operate the gun in the vicinity of an air compressor unless an efficient air filter
is fitted. The possibility of grit entering the air compressor cylinder, which would cause
serious damage, should not be overlooked.
✗ NEVER direct the Grit Spray at people or animals.. In the case of injury, seek expert
medical advice immediately.
✗ NEVER allow children to use or play with this appliance.
✗ NEVER operate the gun at pressures exceeding 100 psi (6.5 bar)
OPERATION
1. Place the nozzle against a scrap piece of material, and pull the trigger to discharge
excessive grit in the feed tube. You could cause damage to the workpiece if you
do not carry out this procedure.
2. Hold gun the appropriate distance from the workpiece to be cleaned, (dependent upon
the type of material and the size of grit being used), and where possible, perpendicular to
the workpiece. Pull the trigger for a few seconds at a time. Check the workpiece frequently.
NOTE: The softer the material the lower the pressure, or the further the gun should be
held from the workpiece.
3. Shake the metal pick-up tube frequently when in use, to prevent a cavity forming in
the grit container, thereby ensuring that the grit will be drawn up correctly.
The finish left by the spot blast operation should be ideal for immediate priming where
required.
MAINTENANCE
WARNING
Disconnect the spray gun from the air supply, and relieve any pressure in the gun
and hose, before any disassembly.
NOTE: The numbers in brackets refers to the item nos. in the parts list on poge 6
This Spot Blast Gun requires minimum maintenance, and requires no adjustment, as the
Air/Grit mix is factory set.
The nozzle (5) is made of hardened steel for long life, but may need replacing from time
to time, as indicated by a decrease in performance. Three nozzles are provided. The
nozzle is secured with one grub screw (3), which is slackened using the hex. key provided.
Check the Inner nozzle also for wear and replace if badly scored.
Should air leaks become evident, check the air valve. To do this, unscrew and remove the
Air Valve Cap (7) and withdraw the valve components, being careful to note their orientation.
Ensure the sealing rings are perfectly serviceable. If in doubt, they should be replaced.
- 4 -
- 5 -
 Loading...