

Page 1
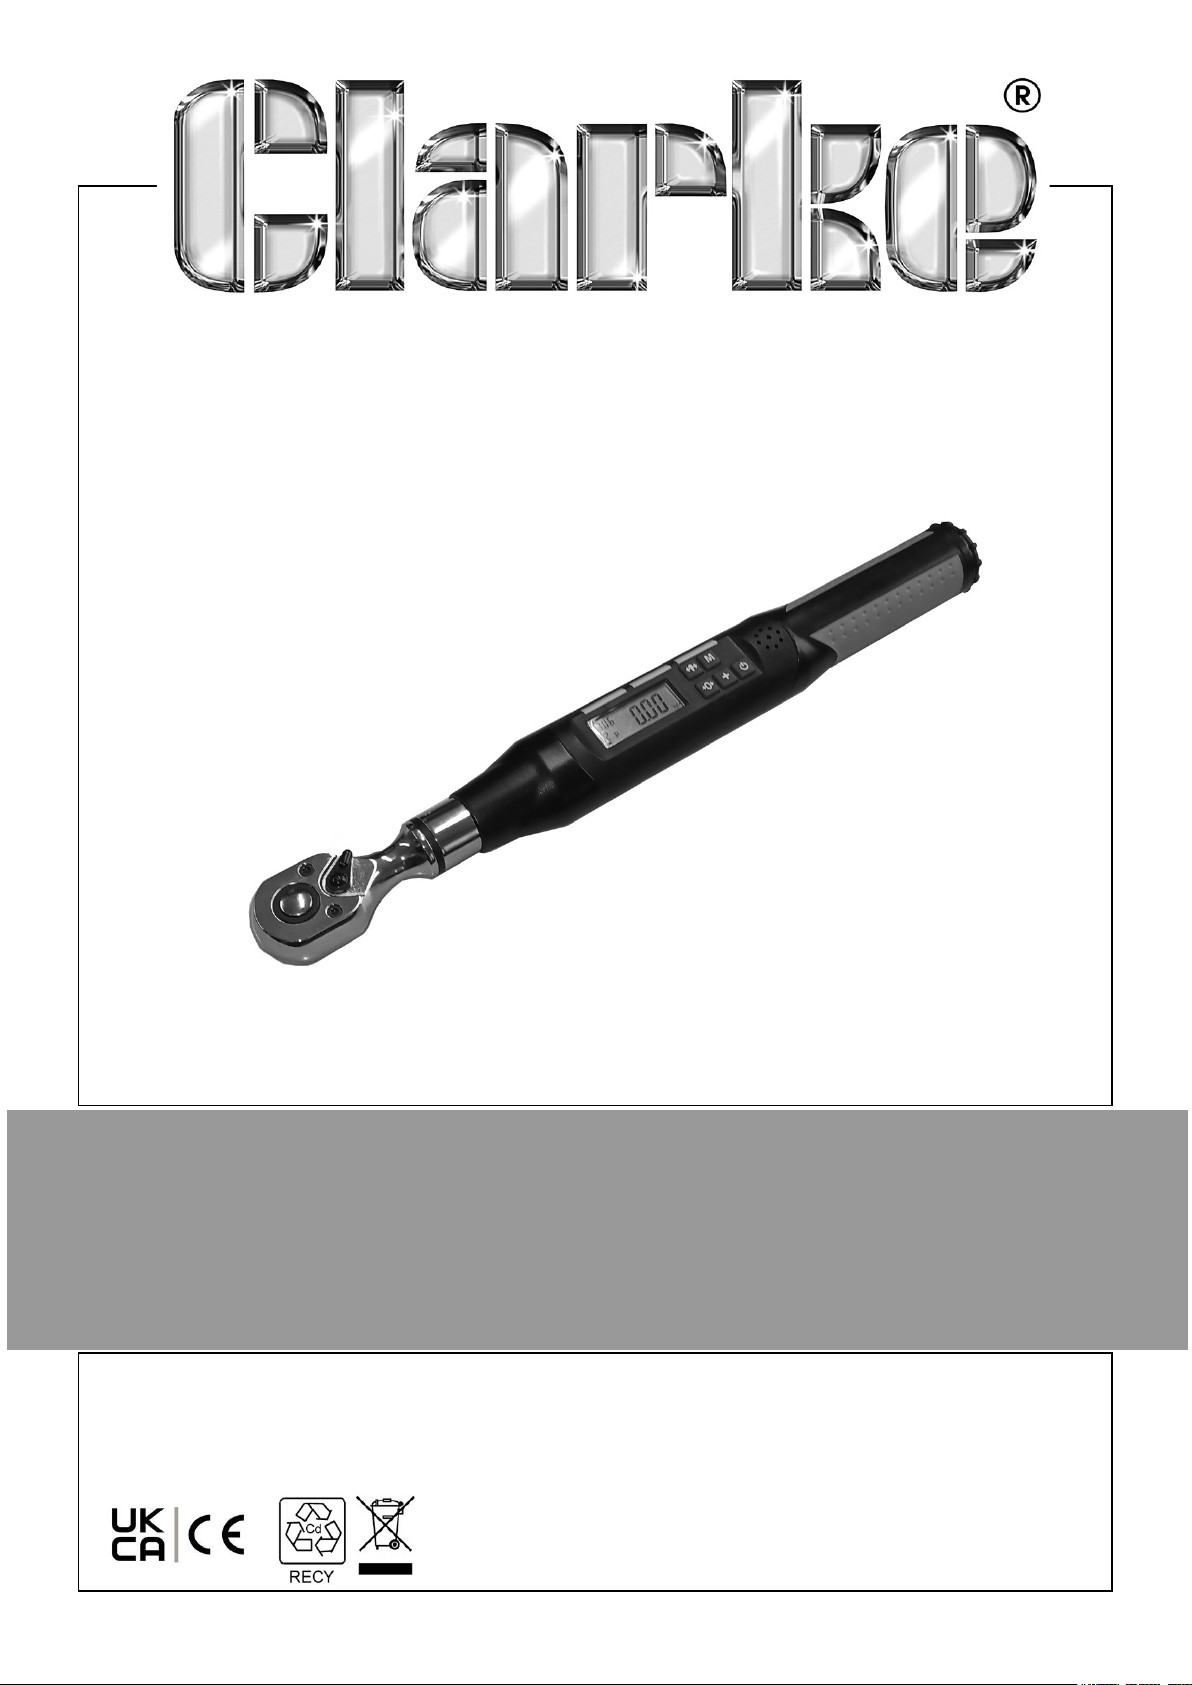
1/4” DRIVE DIGITAL TORQUE WRENCH
MODEL NO: PRO235B
PART NO: 1700821
USER INSTRUCTIONS
ORIGINAL INSTRUCTIONS GC02/25 rev 1
Page 2

INTRODUCTION
Thank you for purchasing this CLARKE Torque Wrench. This CLARKE product has
been designed to give long and trouble free service. If however, having followed the
instructions in this booklet carefully, you encounter problems, take the unit to your
local CLARKE dealer.
LIFETIME GUARANTEE
The lifetime guarantee covers defects in manufacture or materials during the lifetime
of the tool, however this guarantee does not apply to the ratchet mechanism. Please
keep your receipt which will be required as proof of purchase. This guarantee is
invalid if the product is found to have been abused or tampered with in any way, or
not used for it’s intended purpose.
Faulty goods should be returned to their place of purchase, no product can be
returned to us without prior permission. This guarantee does not effect your statutory
rights.
ENVIRONMENTAL RECYCLING POLICY
Through purchase of this product, the customer is taking on the obligation
to deal with the WEEE in accordance with the WEEE regulations in relation
to the treatment, recycling & recovery and environmentally sound disposal
of the WEEE.
In effect, this means that this product must not be disposed of with general
household waste but according to the laws governing Waste Electrical and Electronic
Equipment (WEEE) at a recognised disposal facility.
If disposing of this product do not dispose of with general waste. This product
contains valuable raw materials. Metal products should be taken to your local civic
amenity site for recycling of metal products.
GENERAL SAFETY PRECAUTIONS
1. NEVER exceed the permitted maximum torque value for this wrench. Overloading
the wrench could cause damage.
2. Ensure that associated adaptors, extensions and sockets are rated to equal or
exceed the torque being applied.
3. ALWAYS use the correct size and type of socket for the nut/bolt.
4. NEVER use sockets showing wear or cracks.
5. ALWAYS pull the wrench towards you. NEVER push it away and adjust your
stance to prevent a fall should something give way unexpectedly.
6. NEVER use the torque wrench or remove the batteries with wet hands.
2
Parts & Service: 020 8988 7400 / E-mail: [email protected] or [email protected]
Page 3
OVERVIEW
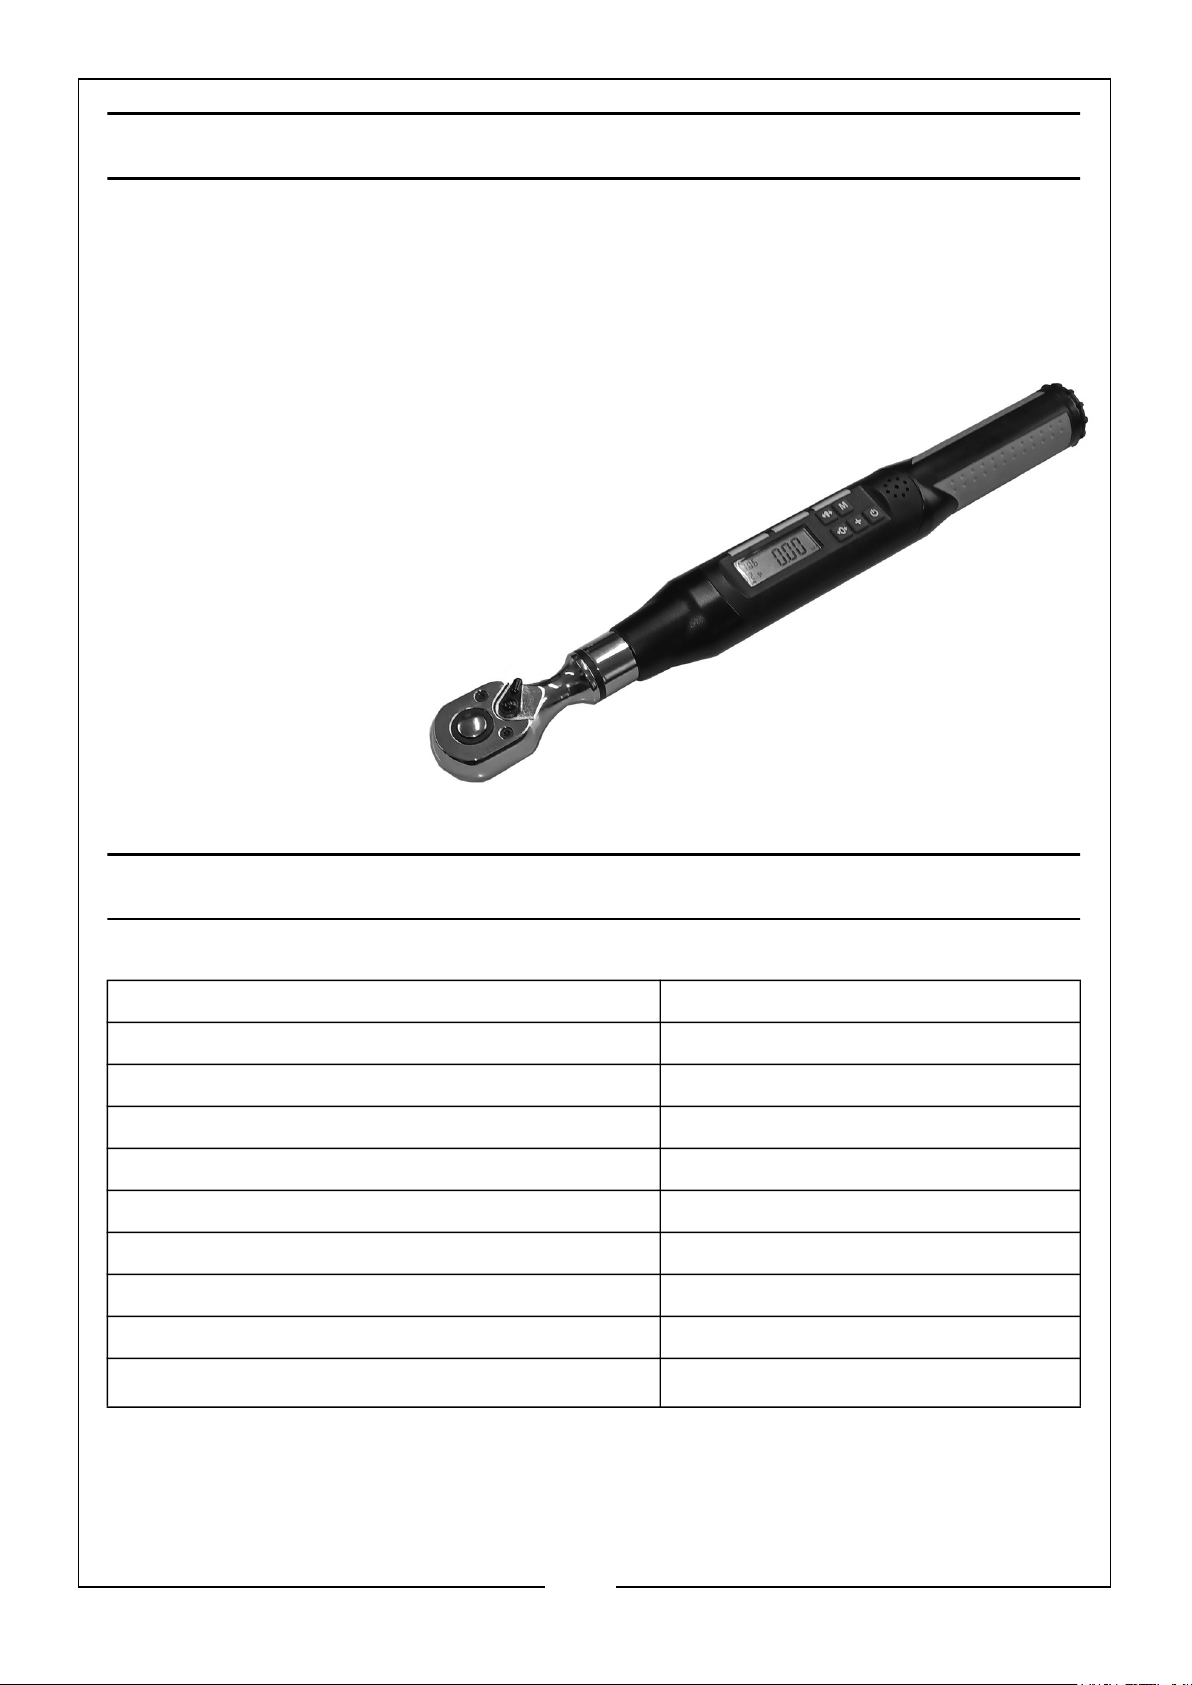
This torque wrench is designed to tighten nuts with precision and with careful and
considerate use, the wrench will give years of reliable service. Features of the wrench
include:
• LED Screen with backlight (Blue)
• Audible/Light Alarm (when pre-set target torque is reached)
• Auto Power-Off
• Peak Value Hold/Track selection
• Target Torque Value pre-set
• Low Battery indication
• Moulded Storage Case
SPECIFICATIONS
Model PRO235B
Drive Shank Size 1/4”
Torque Measuring Range 3-30 Nm
Selectable Unit of Measurement Nm, Lbf-in, Lb-ft & kgf.m
Torque Function in Both Directions Yes
Accuracy +/- 2%
Overall length 337 mm
Weight 0.67 kg
Batteries required 2 x AAA (not included)
Operating temperature
0-40oC
3
Parts & Service: 020 8988 7400 / E-mail: [email protected] or [email protected]
Page 4
THE CONTROL PANEL
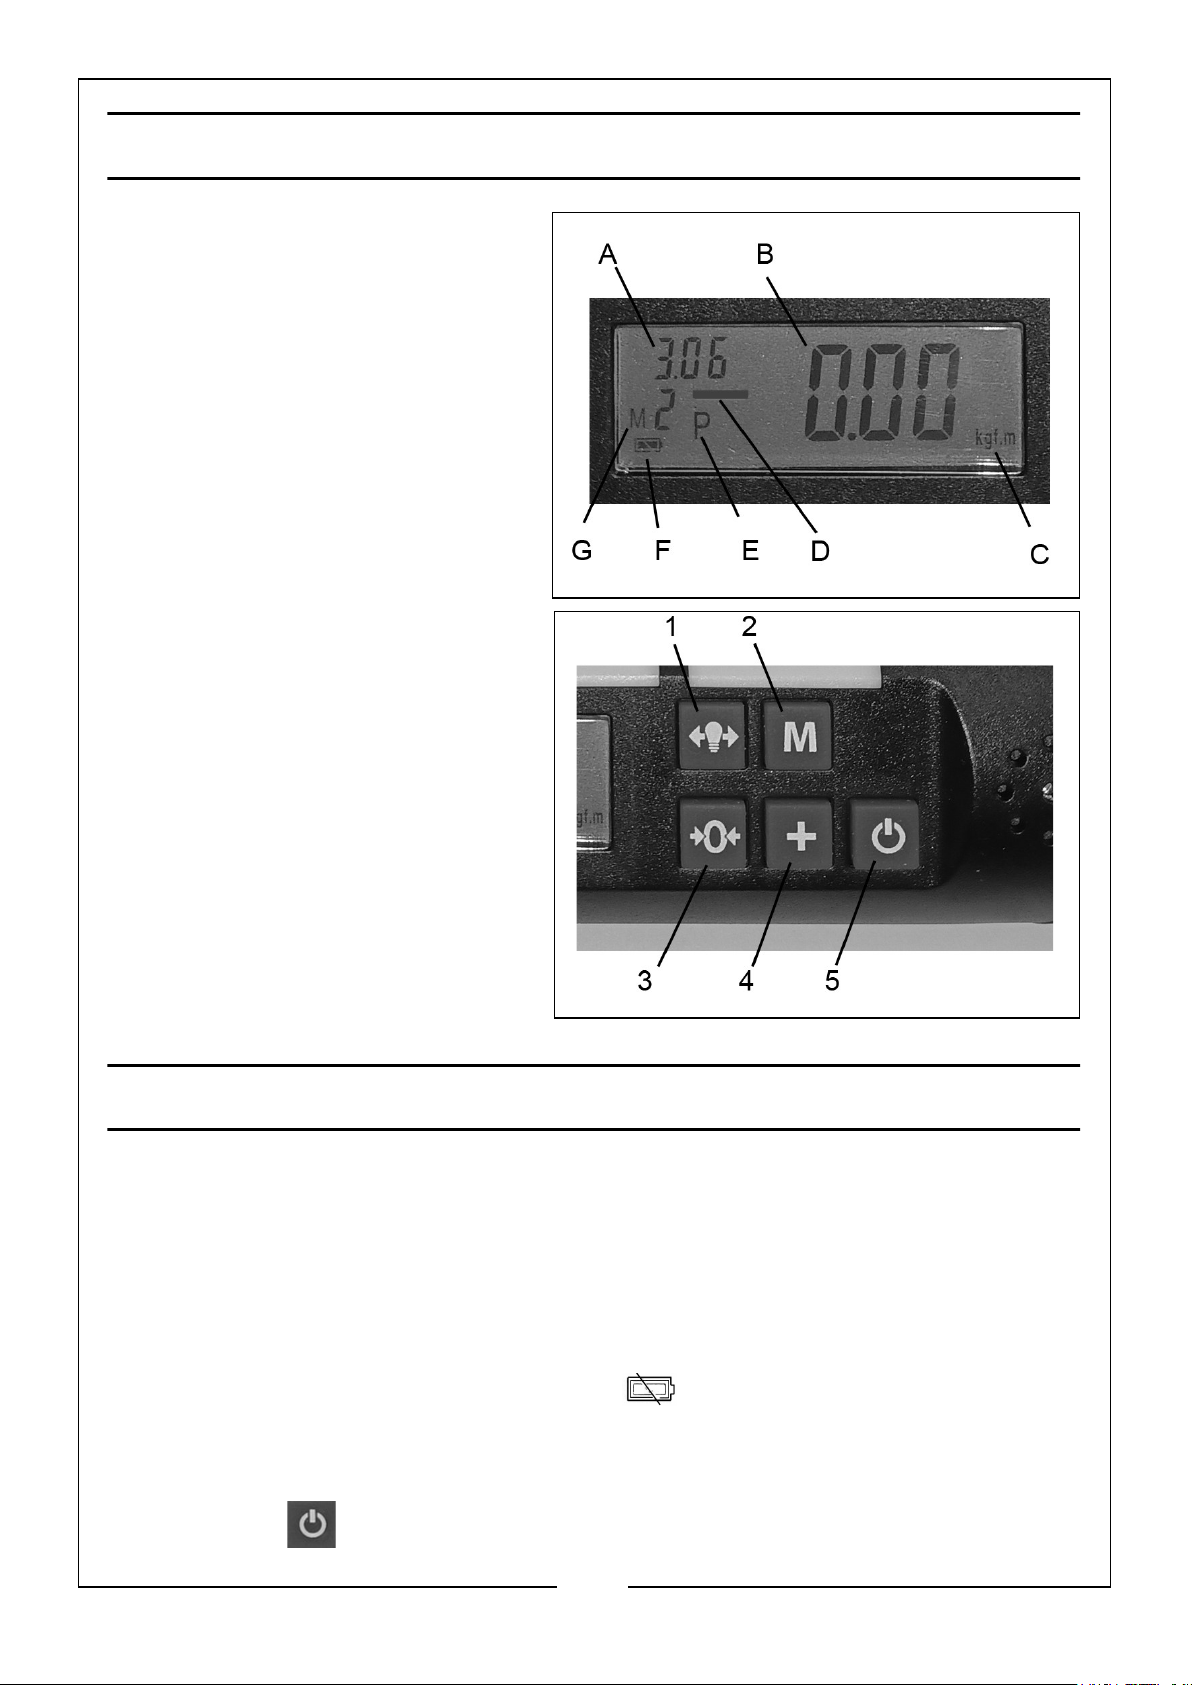
THE DISPLAY
A Target torque indicator
B The value of torque displayed
C Selectable units of measurement
D Minus symbol for counter
clockwise rotation
E Peak/track mode
F Battery Status indicator
G Memory storage numbers
PUSHBUTTON FUNCTIONS
1. Illuminates the display / press to
move to the next digit.
2. Memorizes the torque setting
value.
3. Zero/tare.
4. Changes the value of the pre-set
torque.
5. Power ON/OFF button.
PREPARATION FOR USE
FITTING THE BATTERIES (BATTERIES NOT INCLUDED)
1. Unscrew the battery cap.
2. Install batteries (2 x AAA) with their positive end inwards and screw the cap back
on.
• If the batteries are in poor condition the icon will flash during operation and
new ones should be fitted.
SWITCHING ON & OFF
1. Press the button to turn the wrench on.
4
Parts & Service: 020 8988 7400 / E-mail: [email protected] or [email protected]
Page 5

• The buzzer will sound and the LCD panel will display all characters. After 2
seconds the display will show 0.00.
• The wrench will be in ‘TRACK’ mode, i.e., it will measure and display the actual
torque detected.
3. To manually turn the wrench off, press and release the button.
• If you do not use the wrench it will turn off automatically.
4. NEVER turn the wrench off while force is applied.
AUTO POWER-OFF
The torque wrench will turn off automatically if unattended.
Changing the auto –off setting is possible as follows:
1. Select the unit of measurement and the default Auto-Off time (eg 5 minutes) will
be shown on screen.
2. Wait for 2 seconds without touching any buttons or press the button to
remain the default setting.
3. Change the Auto-off time by pressing the button. Select the shut-off time
between 5 minutes, 15 minutes or “OFF” to turn off the Auto-off function.
4. Press the button to confirm the selection. The wrench will return to the
measurement mode.
NOTE: If there is no button touching in 3 seconds, the wrench will remain the last
selection of the Auto Power Off setting and return to Measuring mode.
DISPLAY LIGHTING
1. Press the button on the display lighting to come on.
2. Press again to turn the lighting off.
SETTING ‘PEAK’ MODE
1. After turning on the display, the default is in " Track “ mode, i.e. the real-time
torque reached during operation will be displayed.
2. During the "Peak“ mode, the maximum value reached will be saved additionally
and the value is shown on the display for approx 2 seconds. After that, this value
will be flashing and you can continue for the next application or press the
button to zero before continuing.
5
Parts & Service: 020 8988 7400 / E-mail: [email protected] or [email protected]
Page 6
SETTING UP THE WRENCH
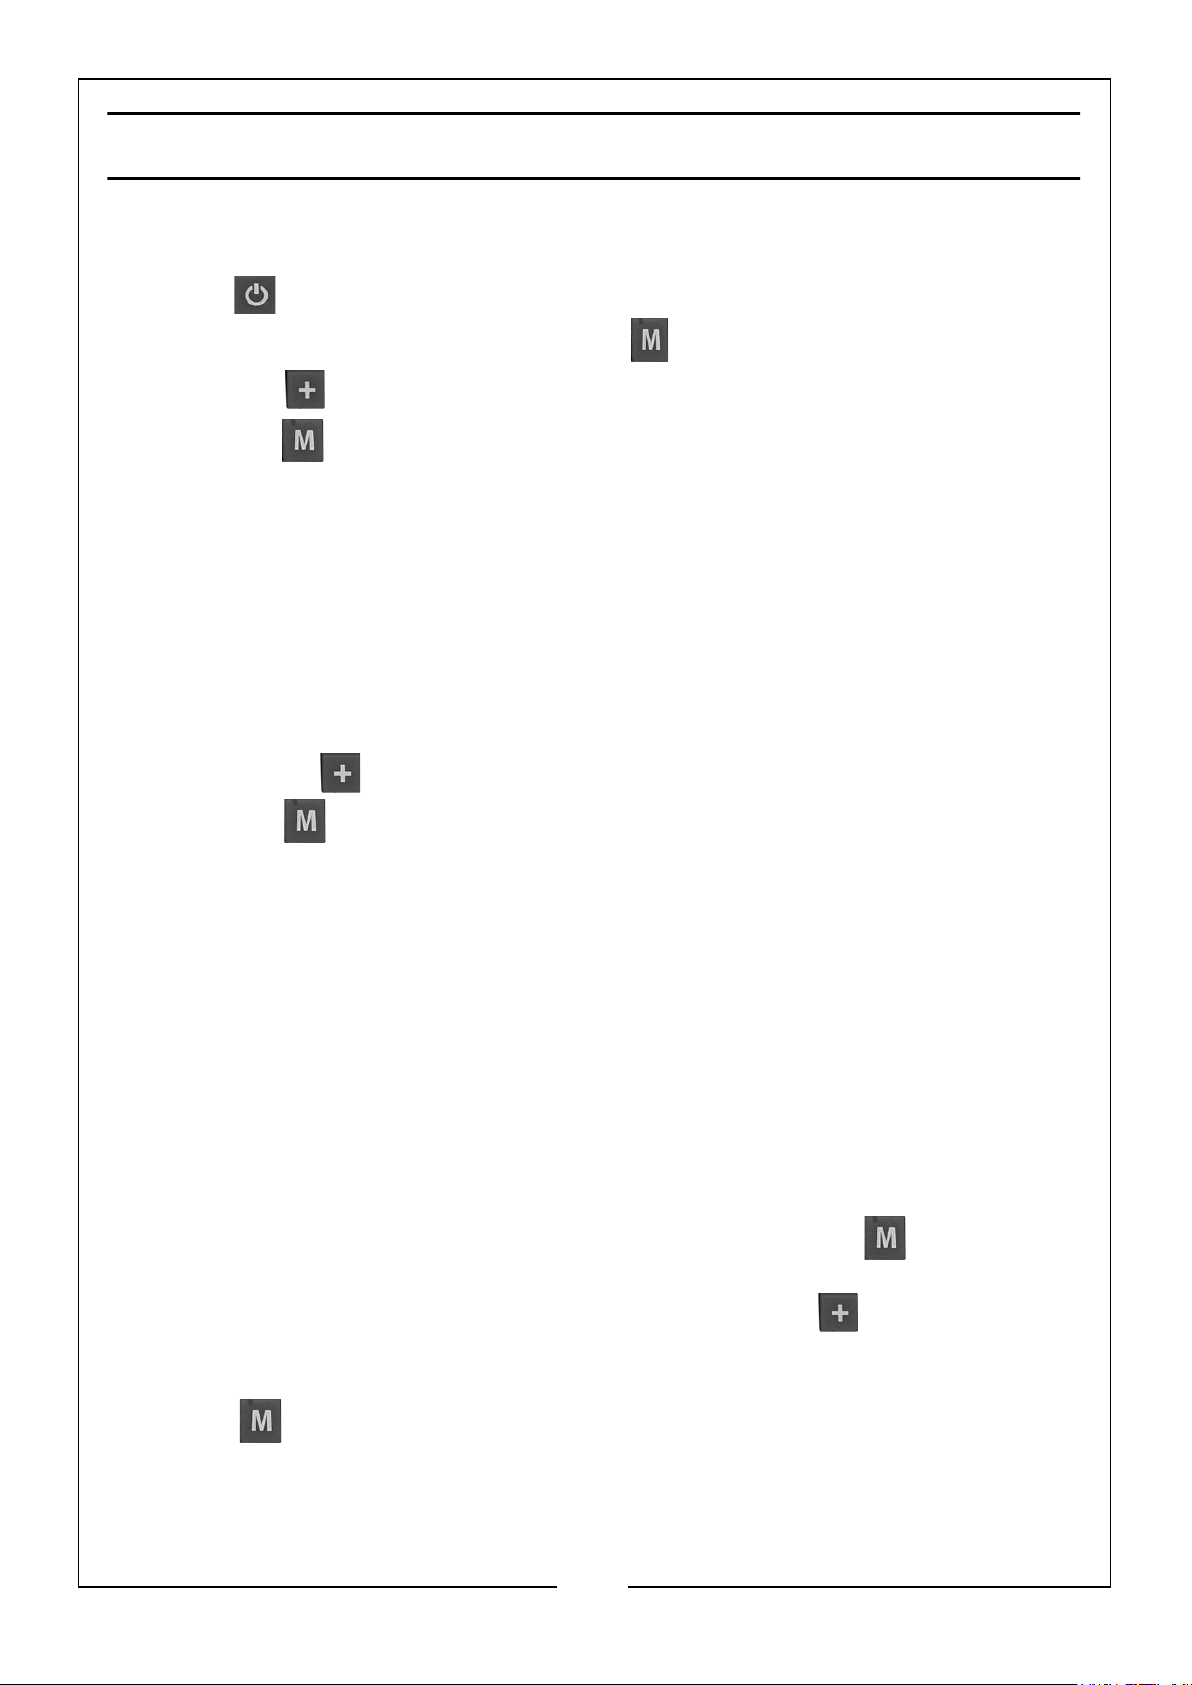
SETTING PEAK AND TRACK MODE
1. Press to turn the wrench on.
2. Enter the mode selection by pressing the button.
3. Press the button to select
4. Press the button to confirm the selection. The wrench will switch to the UNIT
setting automatically.
NOTE: If there is no activity within 3 seconds, the wrench will remain the last unit
selection and return to measuring mode.
T
(track) mode or
P
for peak mode.
SELECTING THE UNIT OF MEASUREMENT
1. Once the Peak / Track mode have been set, switch to the setting of “UNIT
selection”.
2. If
3. Press the button to confirm the unit selection. The wrench will switch to the
NOTE: If there is no activity within 3 seconds, the wrench will remain the last unit
Nm
is shown on screen, select the units between N.m/ lbf.ft / lbf.in / kgf.m by
pressing the button.
setting of Auto Power Off.
selection and return to measuring mode.
AUTO POWER OFF SETTING
The torque wrench will turn off automatically if no buttons are pressed for a given
time.
You can change the Auto-Off setting as follows;
1. Once the unit is selected, the default Auto-Off time eg 5 (5 minutes) will be
shown on the screen.
2. Wait for 2 seconds without touching any buttons or press the button to
remain at the default setting.
3. Change the torque wrench Auto-Off time by pressing the button. Select the
shut-off time between 5 minutes, 15 minutes or “OFF” to turn off the Auto-off
function.
4. Press to confirm the selection. The wrench then returns to measurement
mode.
NOTE: If there is no activity within 3 seconds, the wrench will remain the last unit
selection and return to measuring mode.
6
Parts & Service: 020 8988 7400 / E-mail: [email protected] or [email protected]
Page 7
SELECTING THE TORQUE SETTING
The wrench has 5 sets of memory storage for pre-setting the target torque.
1. Press the button to turn the wrench on.
2. Press the button to select the memory storage number between M1~M5.
3. Once the memory number is chosen, access the Target Torque program by
pressing and holding the button for 5~10 seconds.
4. Release the button when
torque is displayed.
5. When the first digit of this value (“0000“) is flashing press the button to zero
the last saved value or by repeatedly pressing the button, the value of the
flashing digit is gradually increased.
6. When the desired value is achieved, press the button to skip to the next digit.
Repeat this process for all digits. (ones, tens, hundreds etc)
7. When the required torque is set, press the button to save the pre-set value.
Repeat this process for all digits (ones, tens, hundreds etc).
8. When the required torque is set, press to save this pre-set value.
CAUTION: “ERRO” WILL BE SHOWN ON THE SCREEN WHEN THE PRE-SET TORQUE
DID NOT EXCEED THE MINIMAL TORQUE OF 10% FS OR OVER THE 100% MAXIMUM
OF TORQUE VALUE. AFTER 1 SECOND, THE WRENCH RETURNS TO THE TARGET
TORQUE VALUE SETTING.
CAUTION: AFTER PRESSING THE BUTTON ACCESS THE TORQUE SETTING MODE,
WITHOUT ANY BUTTONS TOUCHING OVER 5 SECONDS THE TORQUE WRENCH WILL
QUIT AUTOMATICALLY AND RETURN TO MEASUREMENT MODE.
SEL
is shown on the screen and the last saved
7
Parts & Service: 020 8988 7400 / E-mail: [email protected] or [email protected]
Page 8

OPERATION
1. Place the square drive on to the socket or extension bar, perpendicular to the nut/
bolt to be tightened. Smoothly tighten your fastening, applying even pressure
throughout the operation.
2. ALWAYS use the correct size socket for the fastening and NEVER use sockets
that are damaged. Sockets, adaptors and extension must be robust enough for
exposure to the maximum possible torque.
3. Grasp the torque wrench handle and pull on the wrench with a steady
movements.
4. With target torque pre-set the target value is indicated on screen.
• The LED Light will be “yellow” when you reach 50% of the programmed
torque value.
• When approaching the programmed torque value the buzzer will sound
• When you are within 2% of the programmed value the green light will be
seen.
• Once achieved (+/- 0.2 Nm), the buzzer will emit a quicker sound
sequence.
• When you are over 2% above the programmed torque the buzzer will emit
a continuous tone and the LED will turn red. You will also feel a vibration of
the handle.
NOTE: When you hear the continuous tone, immediately stop pulling, especially in
cases when the target torque is low.
NEVER USE THE TORQUE WRENCH WHEN THE WRENCH IS IN LOW BATTERY
CONDITION. THE WRENCH ACCURACY WILL BE AFFECTED.
“- - - -” WILL BE SHOWN ON THE SCREEN, WHEN THE APPLIED TORQUE EXCEEDS
100% OF THE MAXIMUM OF TORQUE VALUE.
CARE OF THE WRENCH DURING USE
1. Take care not to drop the wrench on a hard surface and re-set the unit as
described under MAINTENANCE & CALIBRATION, should it be subjected to
sudden shock.
2. Take care not to damage the LED display.
3. NEVER apply force with the torque wrench when the power is off. Always turn the
unit on before using it.
4. For assured accuracy of the wrench, periodic self re-setting is desirable as
described under MAINTENANCE & CALIBRATION.
8
Parts & Service: 020 8988 7400 / E-mail: [email protected] or [email protected]
Page 9

5. Check that the wrench operating range is adequate for the anticipated load before
proceeding. DO NOT exceed the maximum rating of the wrench (30Nm or
equivalent units).
6. Re-set of the unit as described on page 7 if you believe its capacity may have
been exceeded.
7. NEVER use the wrench to undo bolts & nuts which may be excessively tight. Very
tight nuts and bolts should be loosened with a standard wrench and the torque
wrench used only for re-tightening.
8. DO NOT expose the wrench to extreme temperature, humidity or direct sunlight
for extended periods.
9. Avoid using knuckle or universal joints as these could possibly result in inaccurate
torque readings.
10. Always pull,- DO NOT push the wrench handle. NEVER use the wrench with wet
hands.
STORAGE & CLEANING
1. Store in a clean, dry environment away from excess heat, humidity or dust.
2. If the wrench is not to be used for long periods of time it is advisable to remove
the batteries to avoid the risk of leaking.
3. Clean by wiping the tool and the display with a soft cloth. NEVER immerse it in
water or any type of solvent or cleaning fluid.
MAINTENANCE & CALIBRATION
The wrench has been calibrated at the factory order to ensure accurate readings and
should not require any re-calibration. The original calibration certificate should be
supplied.
To restore the factory calibration settings perform the following procedure.
In measuring mode, press and hold and buttons at the same time.
Release the buttons until the screen appears showing the indicator “----” to reset the
wrench. The factory settings will be restored.
If further inaccuracy is suspected contact your local CLARKE dealer.
DO NOT attempt to dismantle the wrench.
BATTERY USE AND CARE
The batteries must be replaced if, when switching on, there is no reading on the
display or the ‘Battery Condition’ indicator on the panel is empty.
Never combine used batteries with old ones or mix battery types. NEVER use a
battery if it is cracked or damaged and always dispose of old batteries appropriately.
NEVER either dump or incinerate old batteries.
9
Parts & Service: 020 8988 7400 / E-mail: [email protected] or [email protected]
Page 10
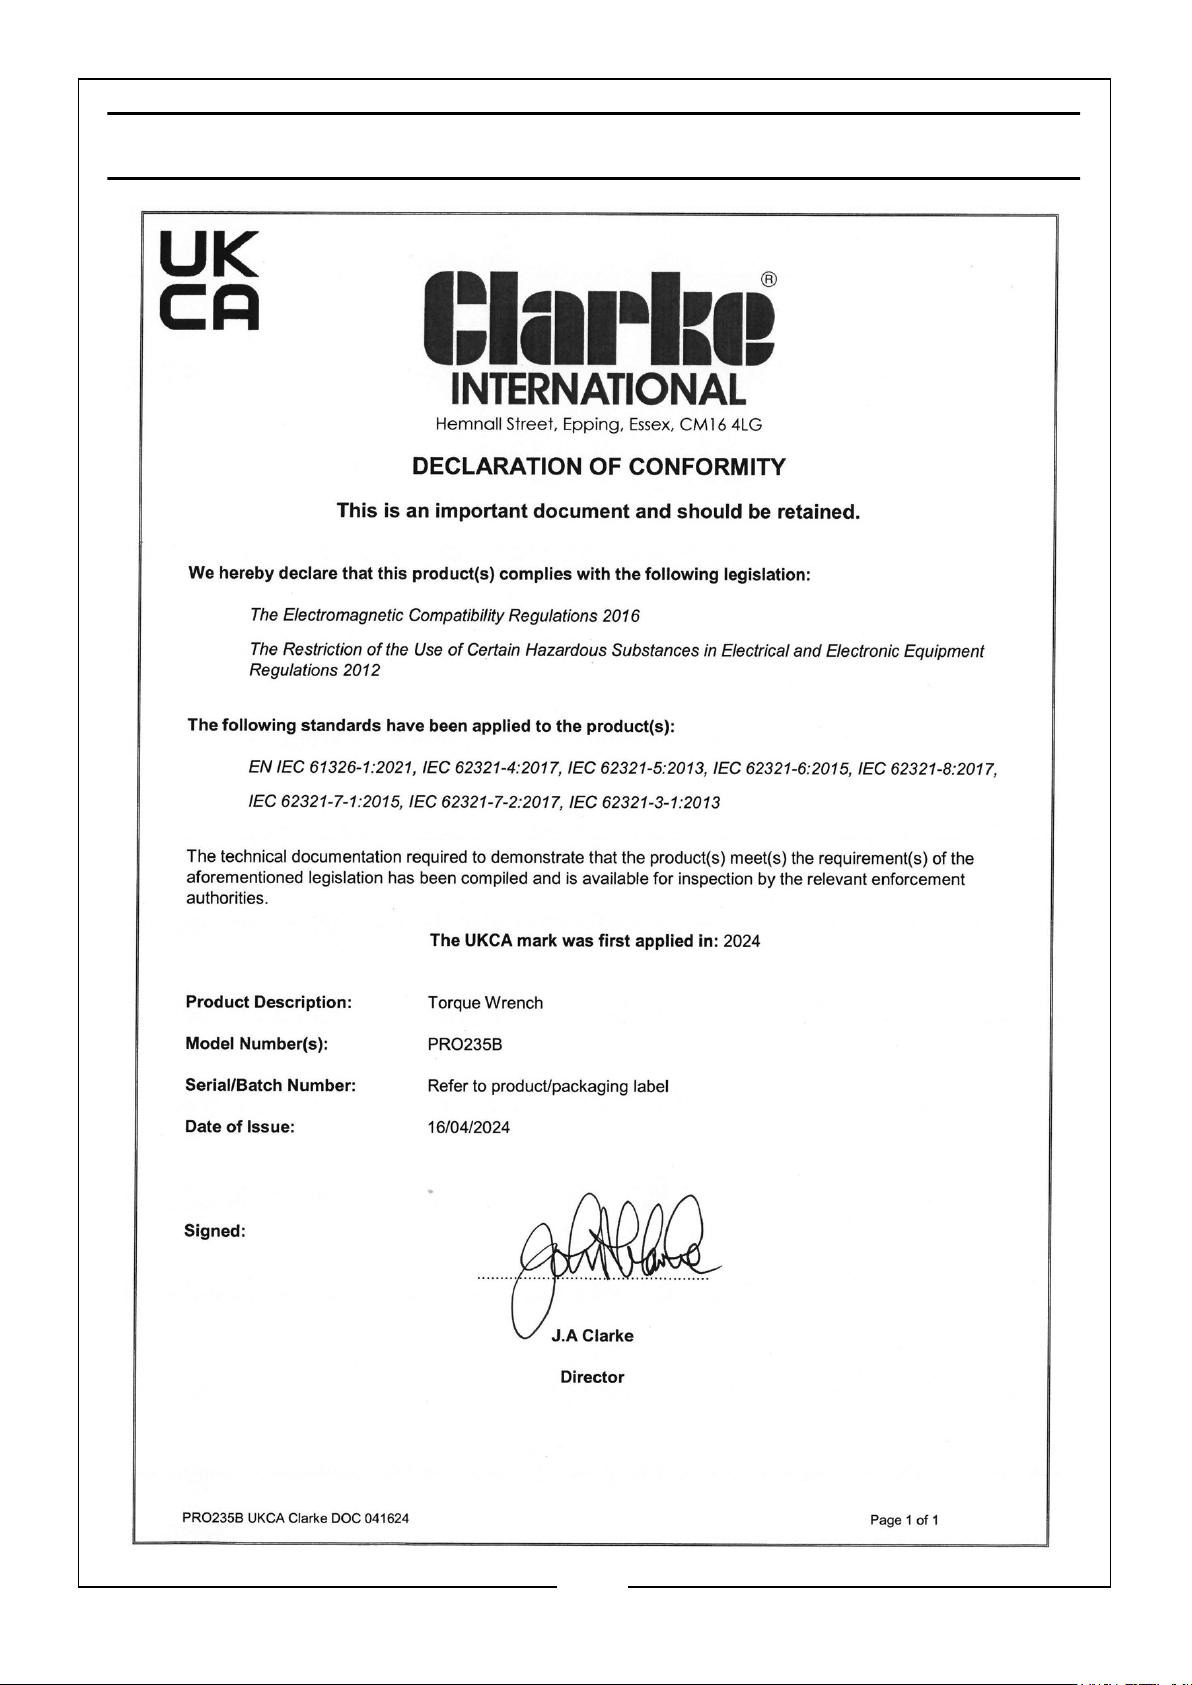
DECLARATION OF CONFORMITY - UK
10
Parts & Service: 020 8988 7400 / E-mail: [email protected] or [email protected]
Page 11
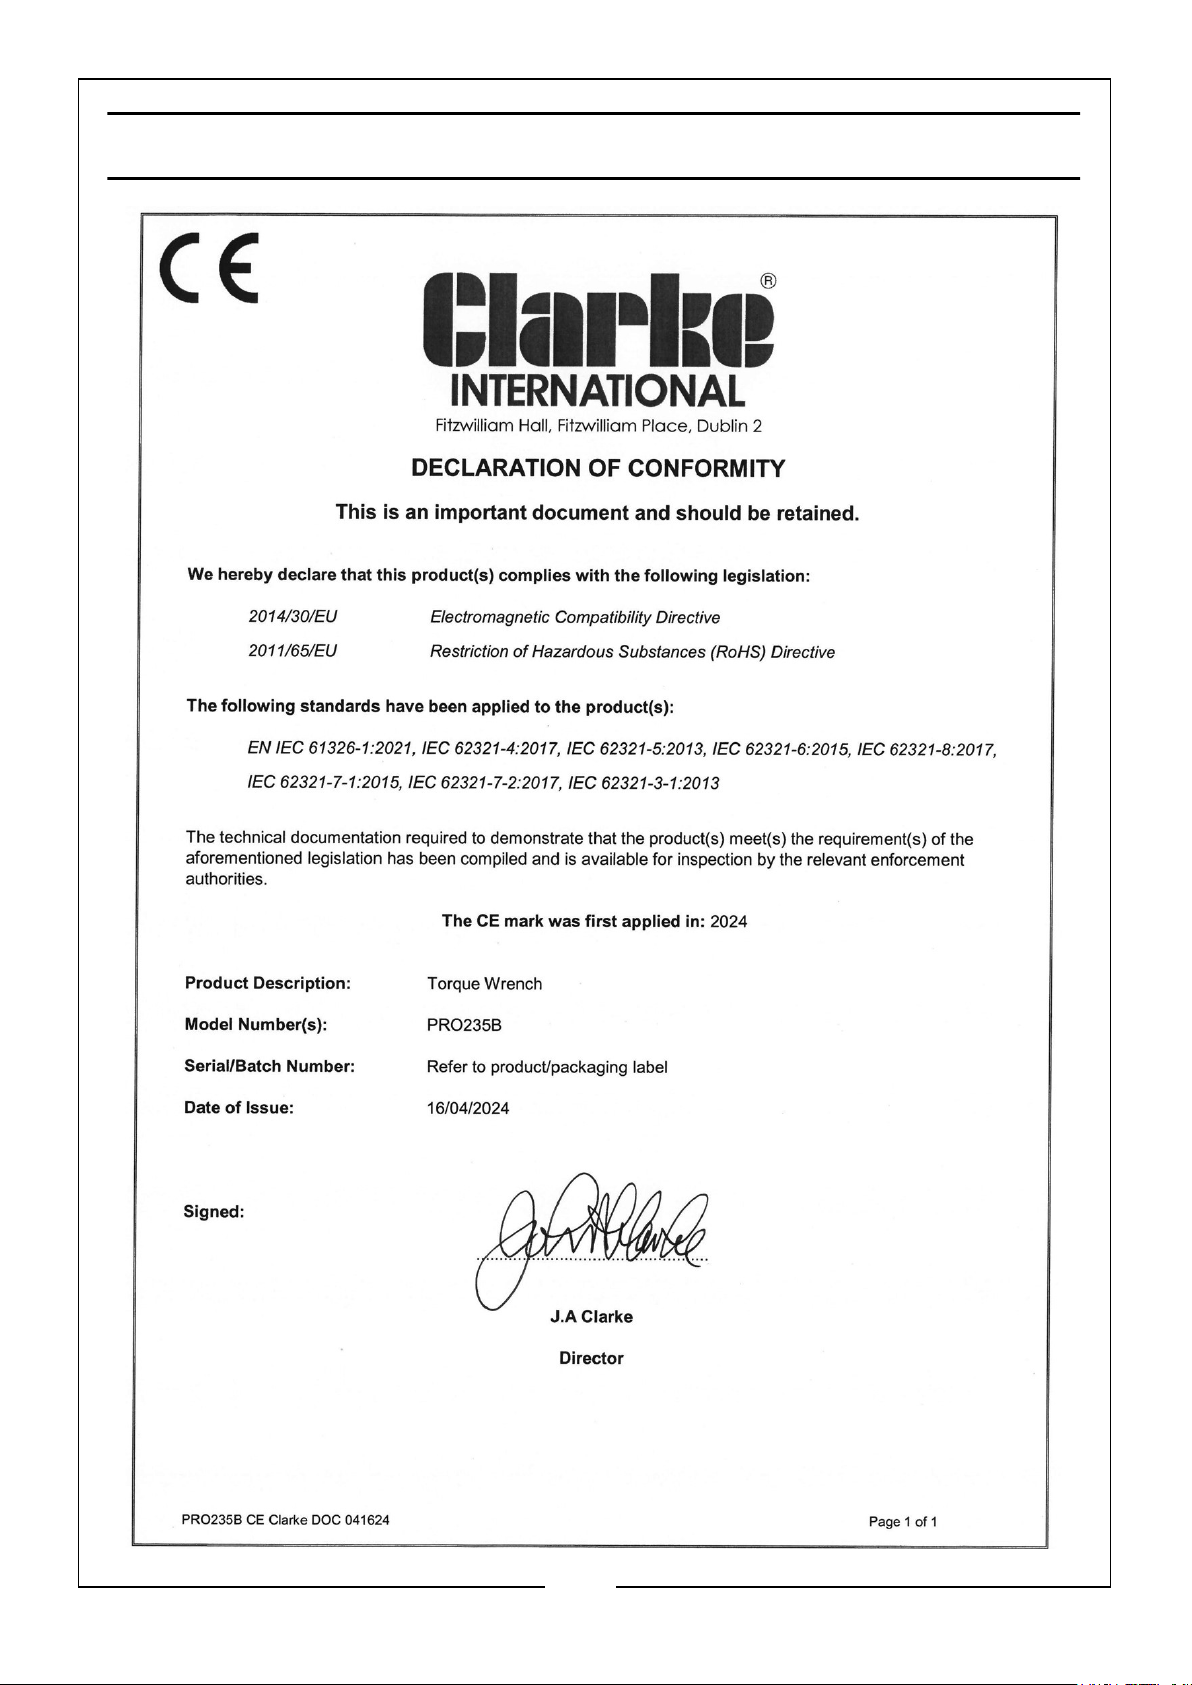
DECLARATION OF CONFORMITY- CE
11
Parts & Service: 020 8988 7400 / E-mail: [email protected] or [email protected]
Page 12

 Loading...