

Page 1
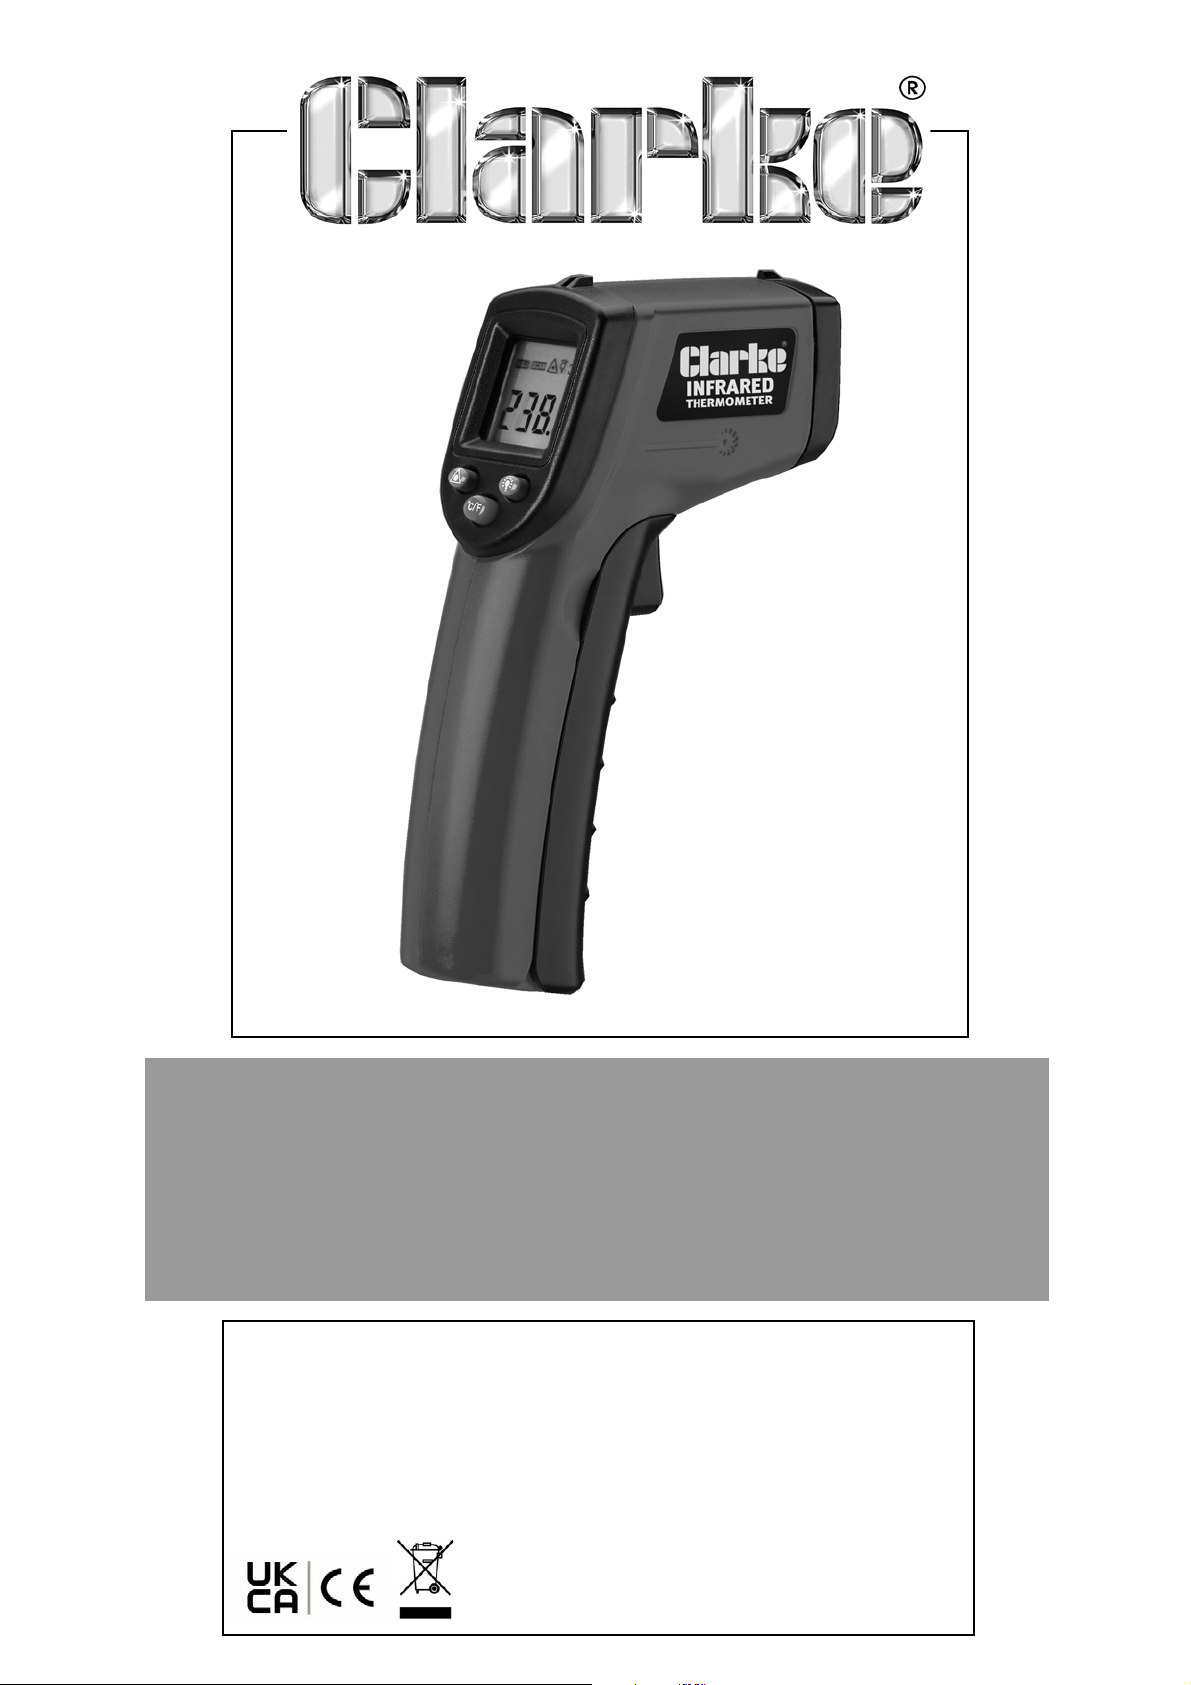
INFRARED THERMOMETER
MODEL NO: IRT2
PART NO: 4501011
OPERATION & MAINTENANCE
INSTRUCTIONS
ORIGINAL INSTRUCTIONS
DL1023
Page 2

INTRODUCTION
Thank you for purchasing this CLARKE Infrared
Thermometer.
Please read this instruction leaflet thoroughly and
follow the instructions carefully, to ensure that the
instrument will give you long and satisfactory service.
Please keep these instructions in a safe place for
future reference.
This infrared thermometer can be used for measuring
the temperature of an objects surface, which is
applicable for various hot, hazardous or hard to
reach objects without contact.
This unit consists of optics, temperature sensor, laser
guide, signal amplifier, processing circuit and LCD
display. The optics collect the infrared energy
emitted by an object and focuses it onto the sensor.
Then the sensor translates the energy into an
electrical signal and temperature display.
GUARANTEE
This CLARKE product is guaranteed against faulty
manufacture for a period of 12 months from the date
of purchase. Please keep your receipt as proof of
purchase.
This guarantee is invalid if the product is found to
have been abused or tampered with in any way, or
not used for the purpose for which is was intended.
Faulty goods should be returned to their place of
purchase, no product can be returned to us without
prior permission.
This guarantee does not effect your statutory rights.
Parts & Service: 020 8988 7400
2
Page 3
WARNINGS & CAUTIONS
WARNING:
• This thermometer should NOT be used as a
medical thermometer.
• Before you use this unit, check on the housing
carefully. If there is any damage, DO NOT use
it.
• DO NOT point the laser directly at eyes or
indirectly off reflective surfaces.
• DO NOT use this unit in the environment of
explosive gas, steam or dust.
CAUTION:
To avoid damage to the unit or the target, please
protect from the following situations:
• EMF (Electro-Magnetic Field) from arc
welders, induction heaters, etc.
• Thermal shock (caused by large or abrupt
ambient temperature changes), allow 30
minutes for the unit to stabilise before use.
• DO NOT leave the unit on or near objects of
high temperature.
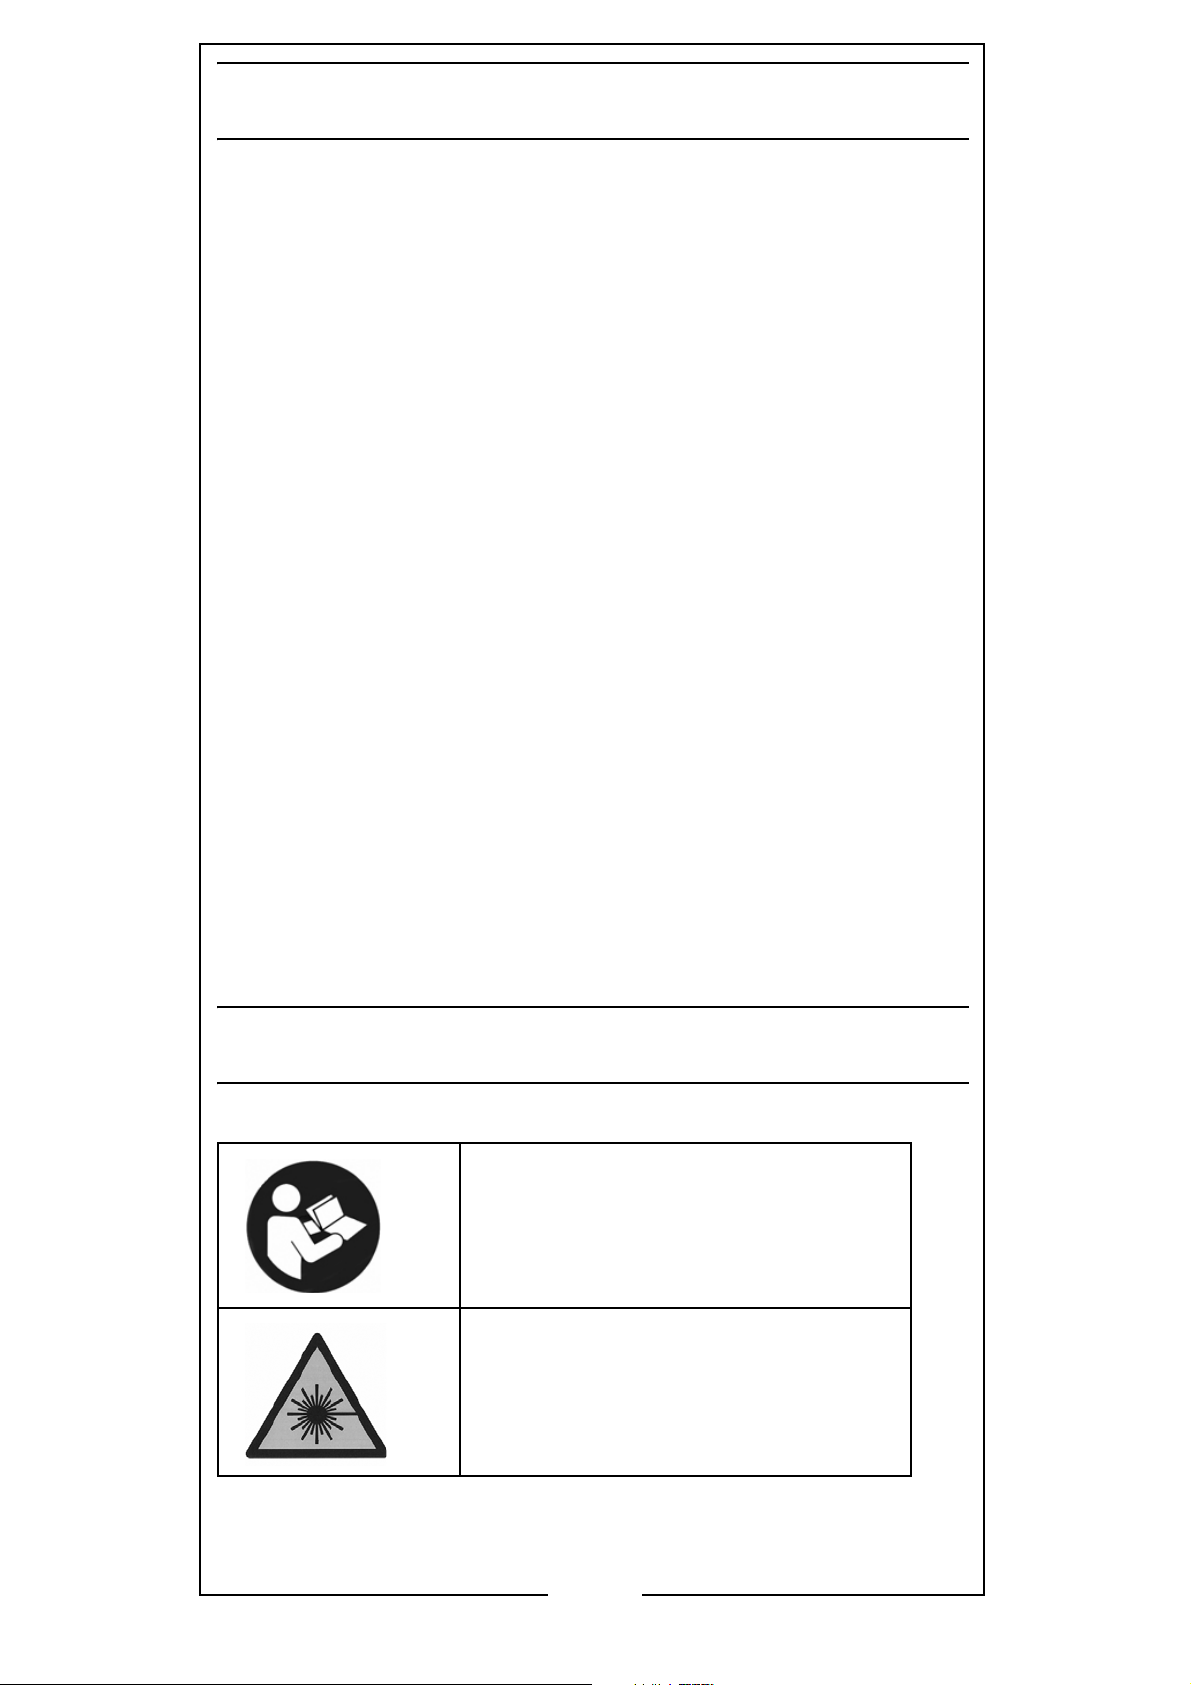
SAFETY SYMBOLS
Read this instruction booklet
carefully before use.
Warning: Laser Beam
Parts & Service: 020 8988 7400
3
Page 4
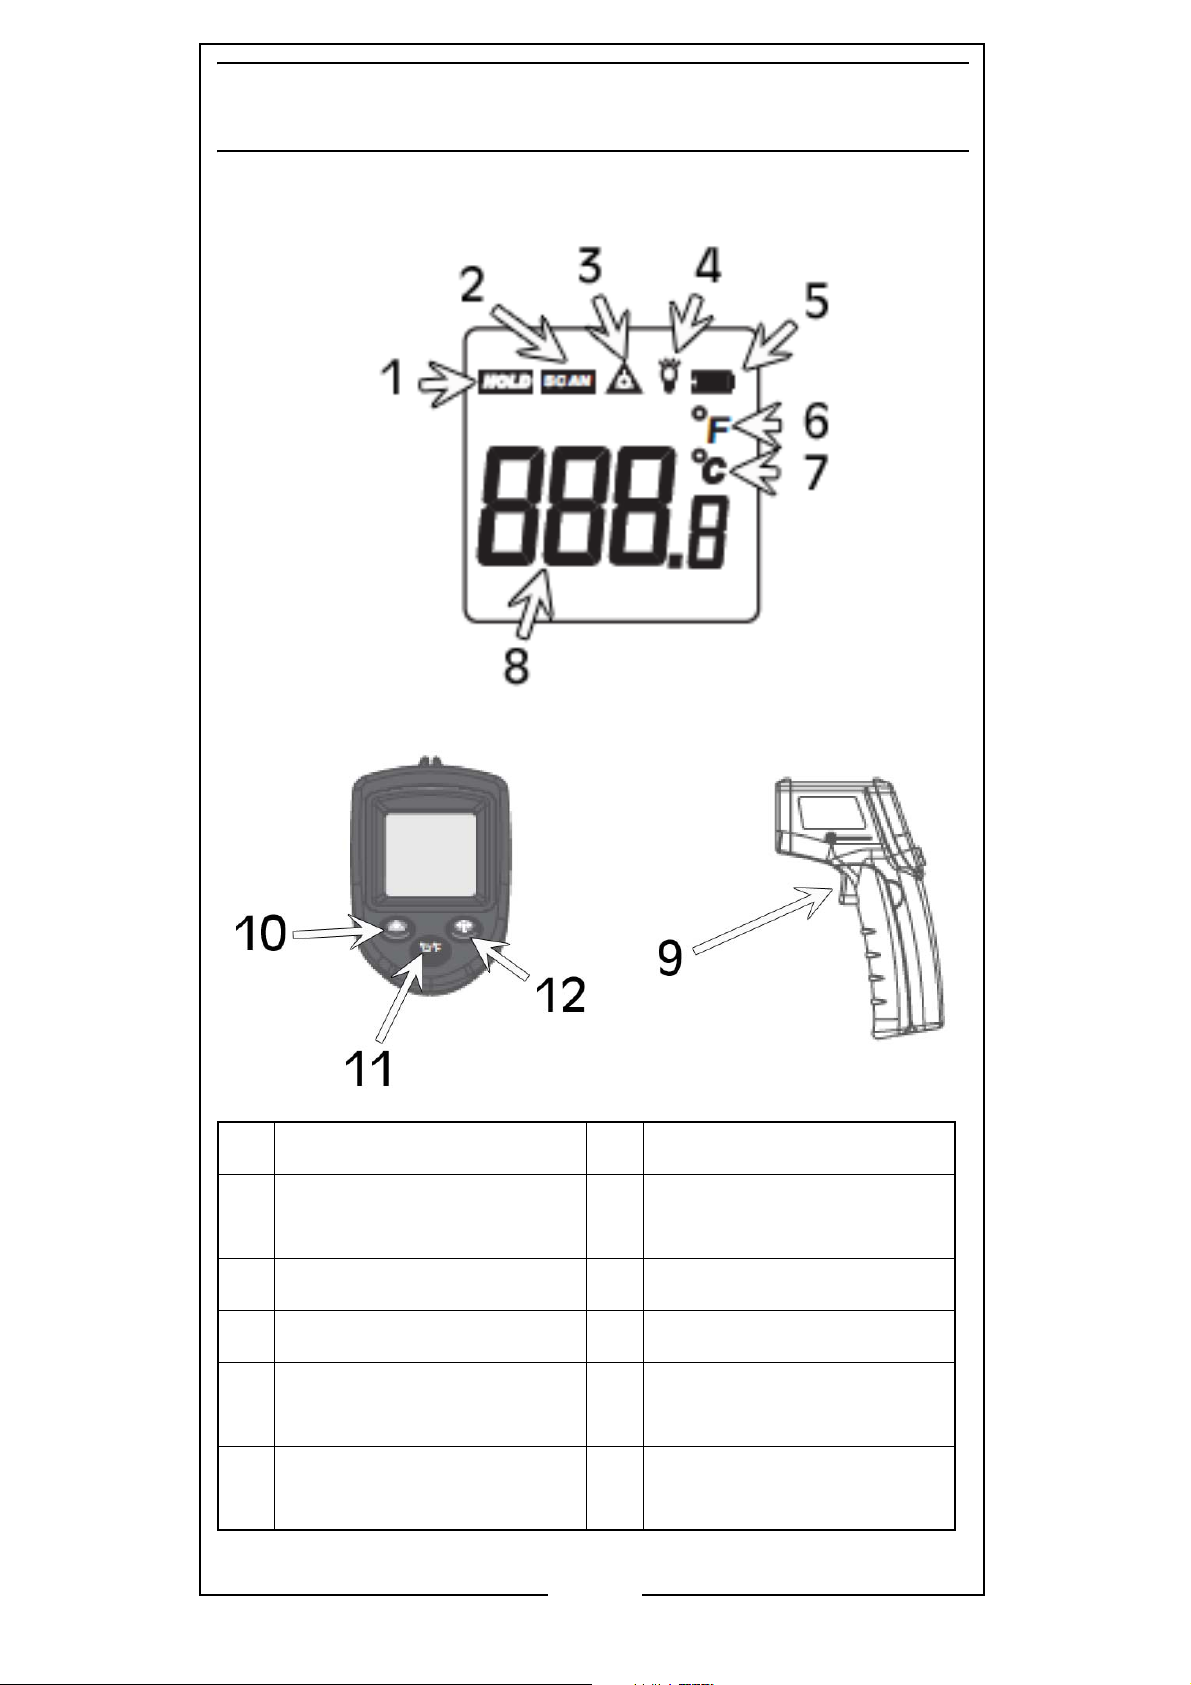
LCD DISPLAY AND BUTTONS
1 Data Hold Icon 7 Celsius Unit
2 Scanning Icon 8 Temperature
Reading
3Laser On Icon 9Trigger
4 Backlight On Icon 10 Laser On/Off Button
5 Low Battery Icon 11 Celsius/Fahrenheit
Switch Button
6 Fahrenheit Unit 12 Backlight On/Off
Button
Parts & Service: 020 8988 7400
4
Page 5
OPERATION
BATTERY INSTALLATION/REPLACEMENT
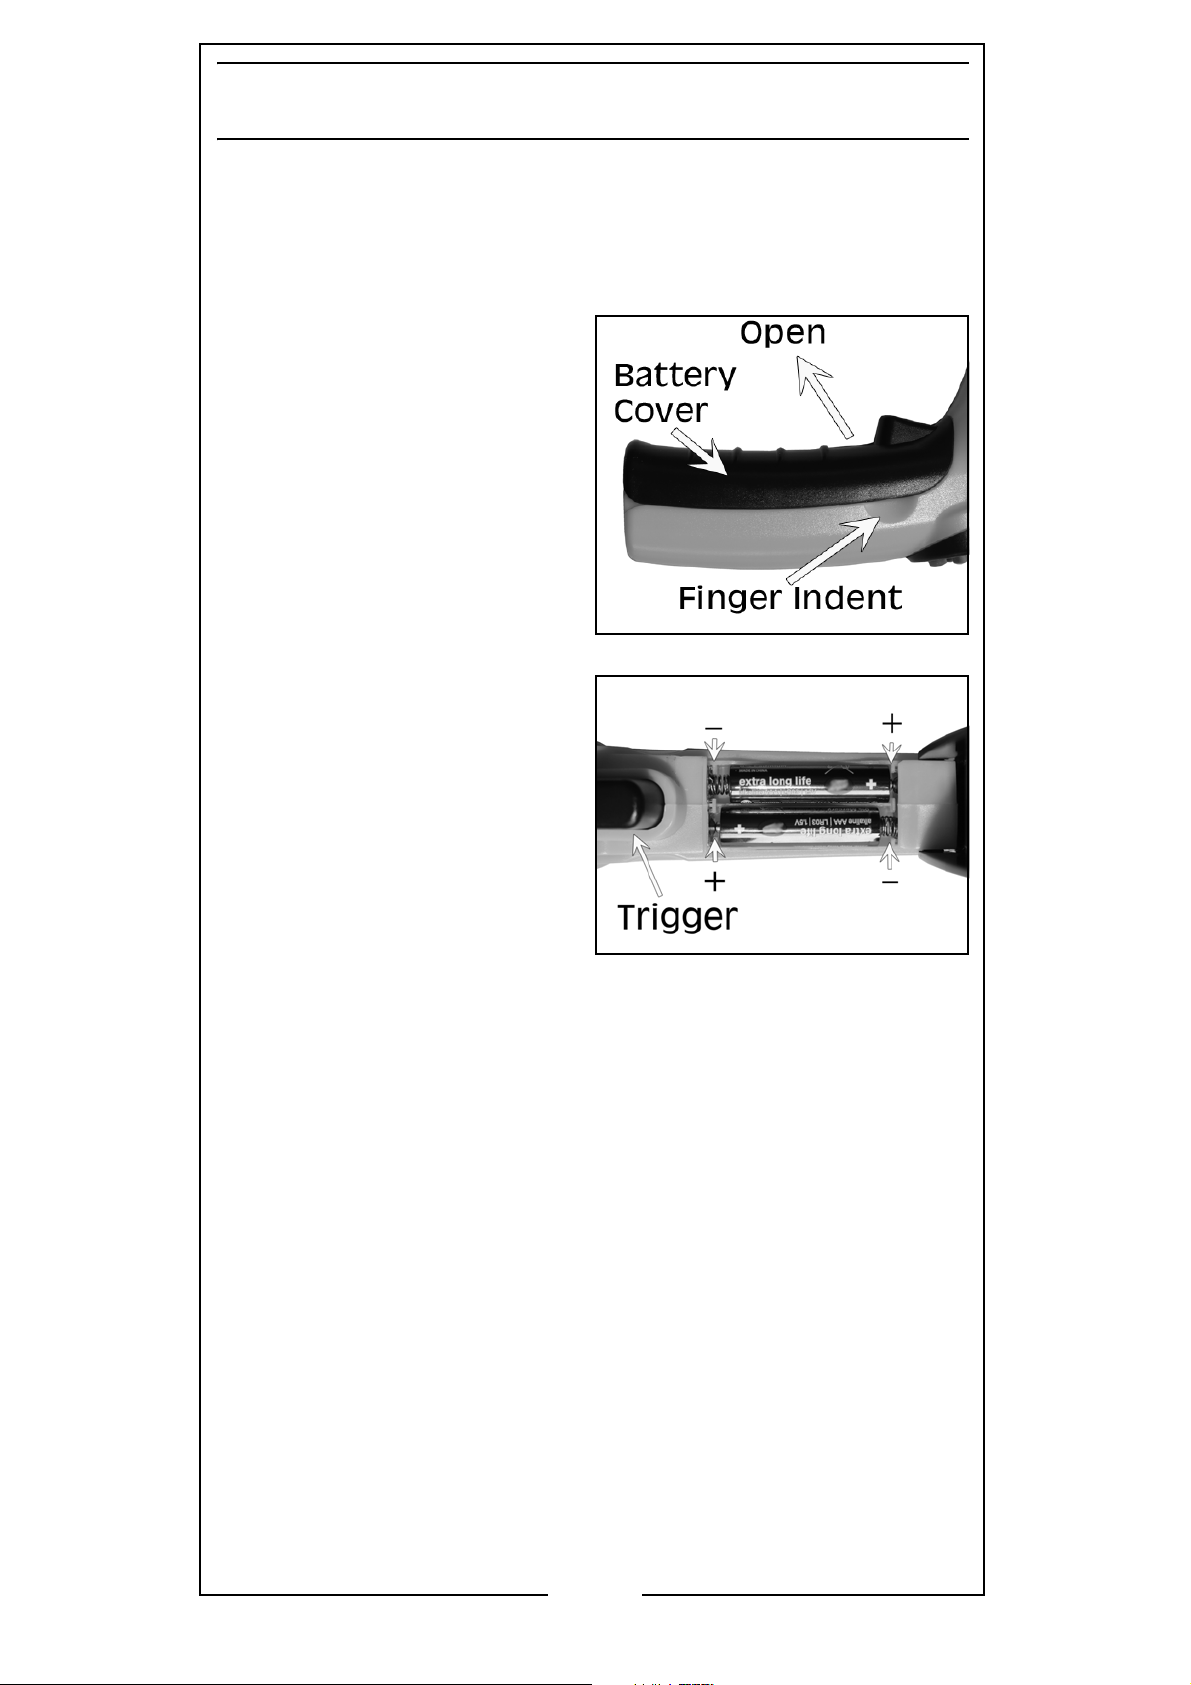
This unit requires 2 x 1.5V, AAA batteries. To install/
replace the batteries, carry out the following:
1. Open the battery
cover by placing
your thumb and
index finger in the
finger indents on the
handle and pulling
the cover open.
2. Place 2 x AAA size
batteries in the
battery
compartment as
shown.
3. Close the cover.
OPERATION
1. Pull the trigger to turn on the unit.
2. Press the Backlight On/Off button and/or the
Laser On/Off button if required. An icon will
display on the screen when either of them has
been switched on.
3. Press the Celsius/Fahrenheit Switch Button to
chose which unit of measurement is required.
4. Aim at the required target and press the trigger.
If the laser has been switched on, a red laser dot
will appear on the target. This laser is ONLY used
for aiming the sensor.
5. If the trigger is pressed and held, the unit will
continually scan the target and the SCAN icon
will appear on the screen.
Parts & Service: 020 8988 7400
5
Page 6
6. Release the trigger and the screen will show the
HOLD icon and the last scanned temperature
will show for 7 seconds.
7. This unit has a built-in 7 second auto power off
function.
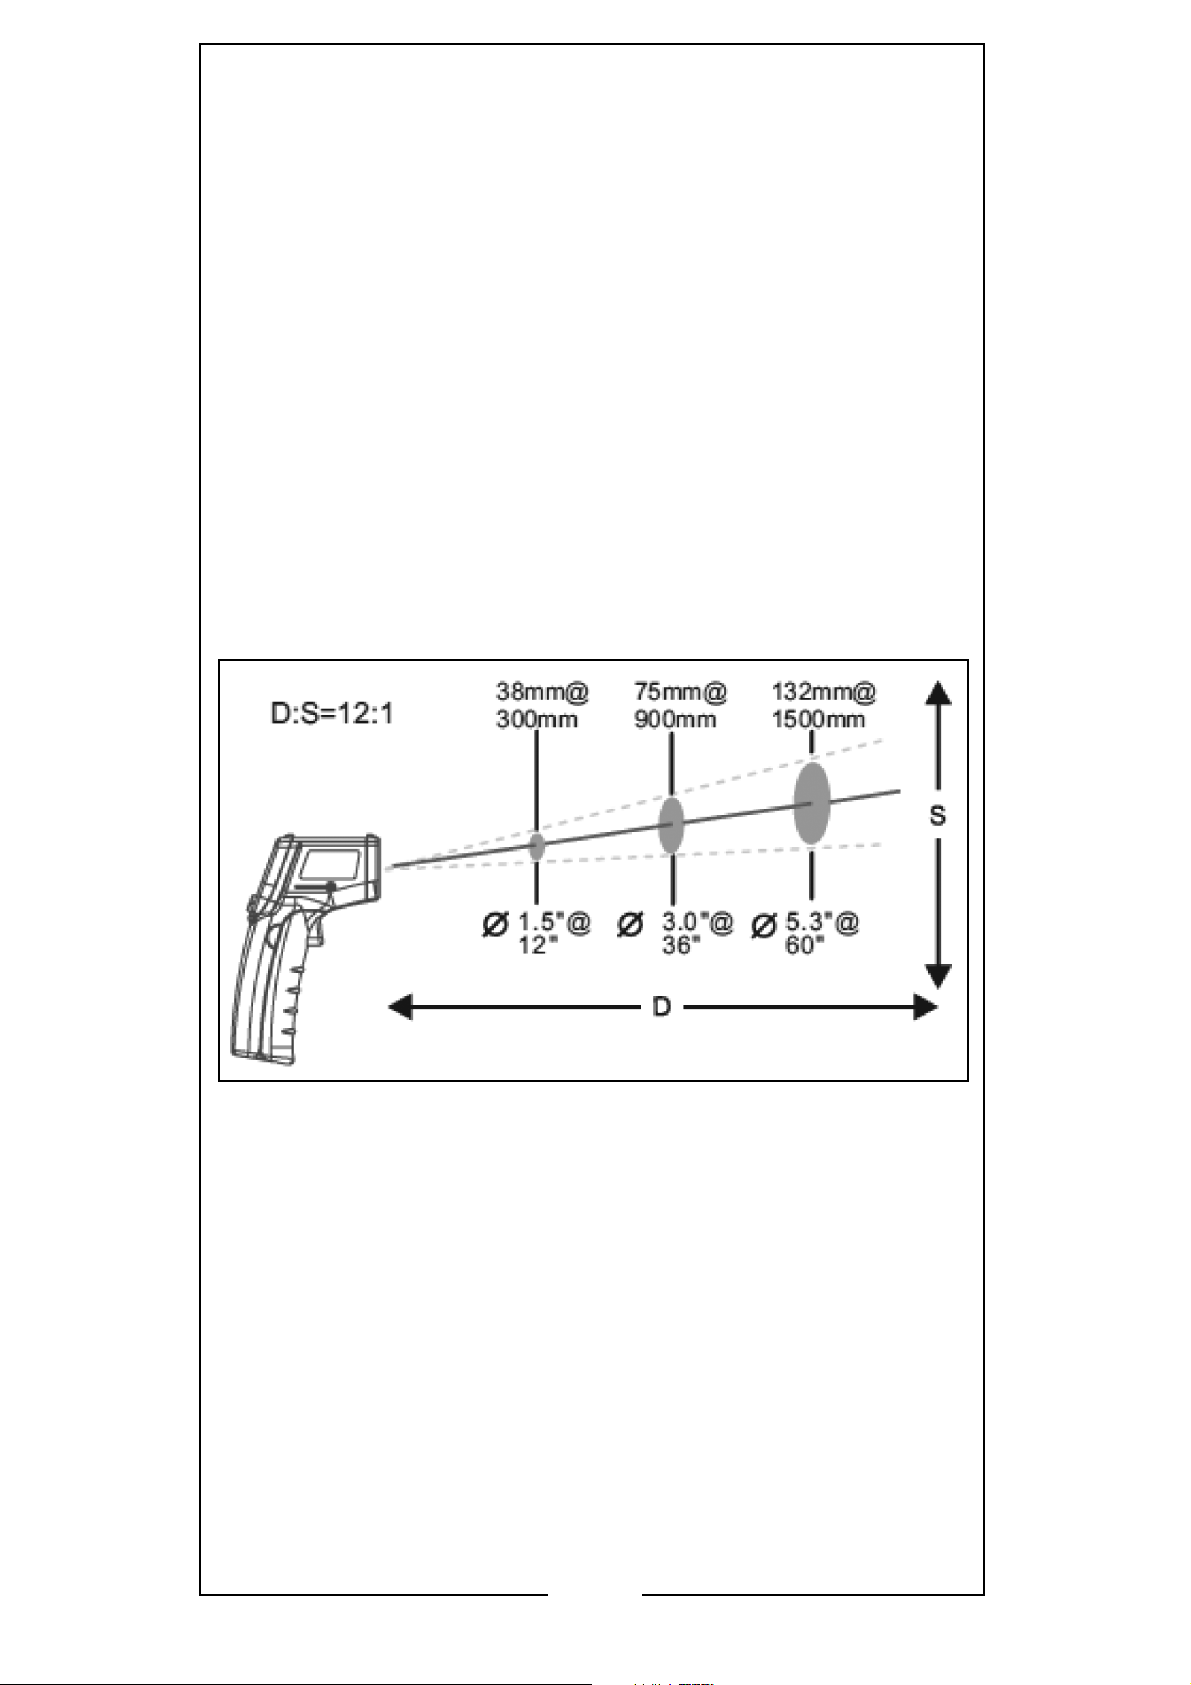
DISTANCE TO SPOT SIZE
1. When taking a measurement, pay attention to
the Distance to Spot Size. As the Distance (D)
from the target surface increases, the Spot Size
(S) of the area measured by the unit becomes
larger. The Distance to Spot Size of this unit is 12:1.
2. Make sure the target is larger than the units spot
size. The smaller the target, the closer the
measure distance will need to be. When
accuracy is critical, make sure the target is at
least twice as large as the spot size.
EMISSIVITY
Most organic materials and painted or oxidised
surfaces have an emissivity of 0.95 (pre-set in the
unit). Inaccurate readings will result from measuring
shiny or polished metal surfaces. To compensate,
cover the target surface with masking tape or flat
black paint. Measure the tape or painted surface
when the tape or paint reach the same temperature
as the material underneath.
6
Parts & Service: 020 8988 7400
Page 7
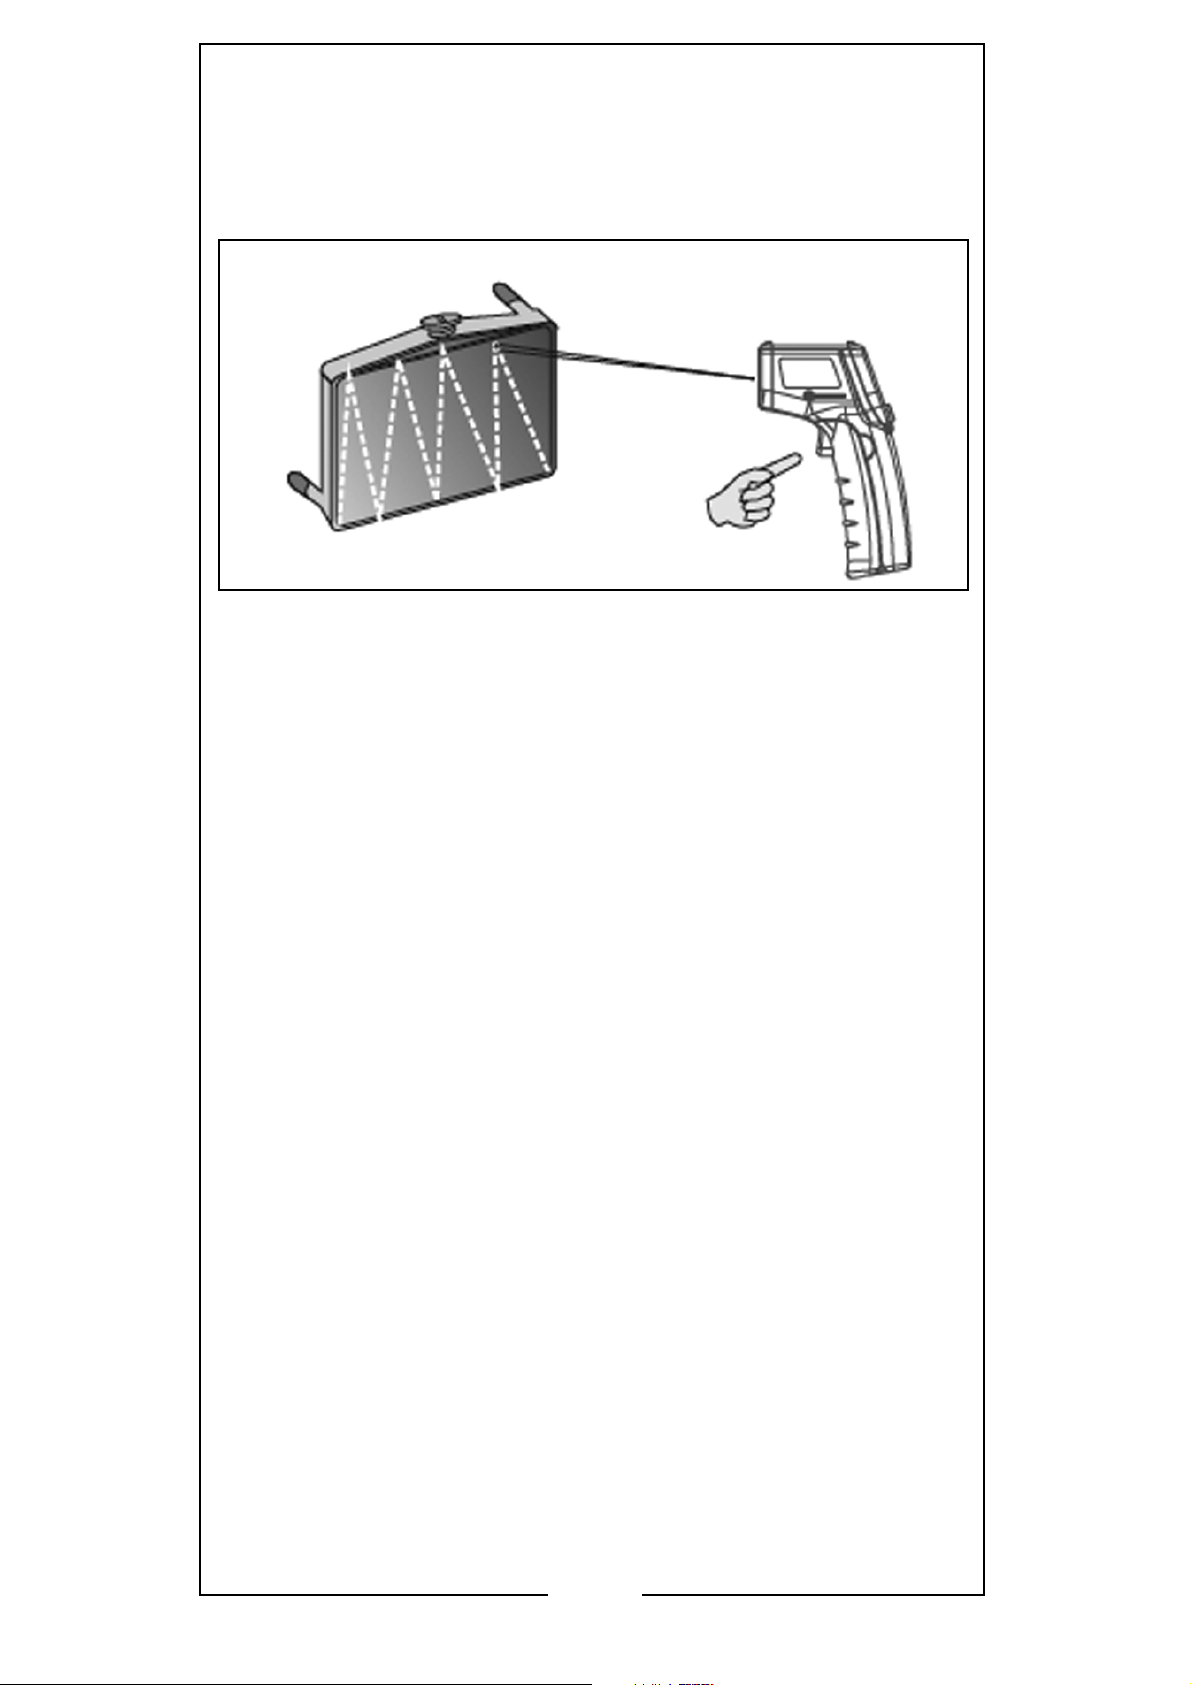
LOCATING A HOT SPOT
To locate a hot spot, aim the unit outside of the
interested area, keeping the trigger depressed, then
scan across with an up and down motion until you
locate the hot spot, as shown.
MAINTENANCE
1. Lens Cleaning: Blow off any loose particles using
clean compressed air (ALWAYS use eye
protection when using compressed air). Gently
brush remaining debris away with a moist cotton
swab. The swab can be moistened with water.
2. Case Cleaning: Clean the case with a damp
sponge/cloth and mild soap.
3. DO NOT use solvents to clean the lens or casing.
4. DO NOT submerge the unit in water.
Parts & Service: 020 8988 7400
7
Page 8
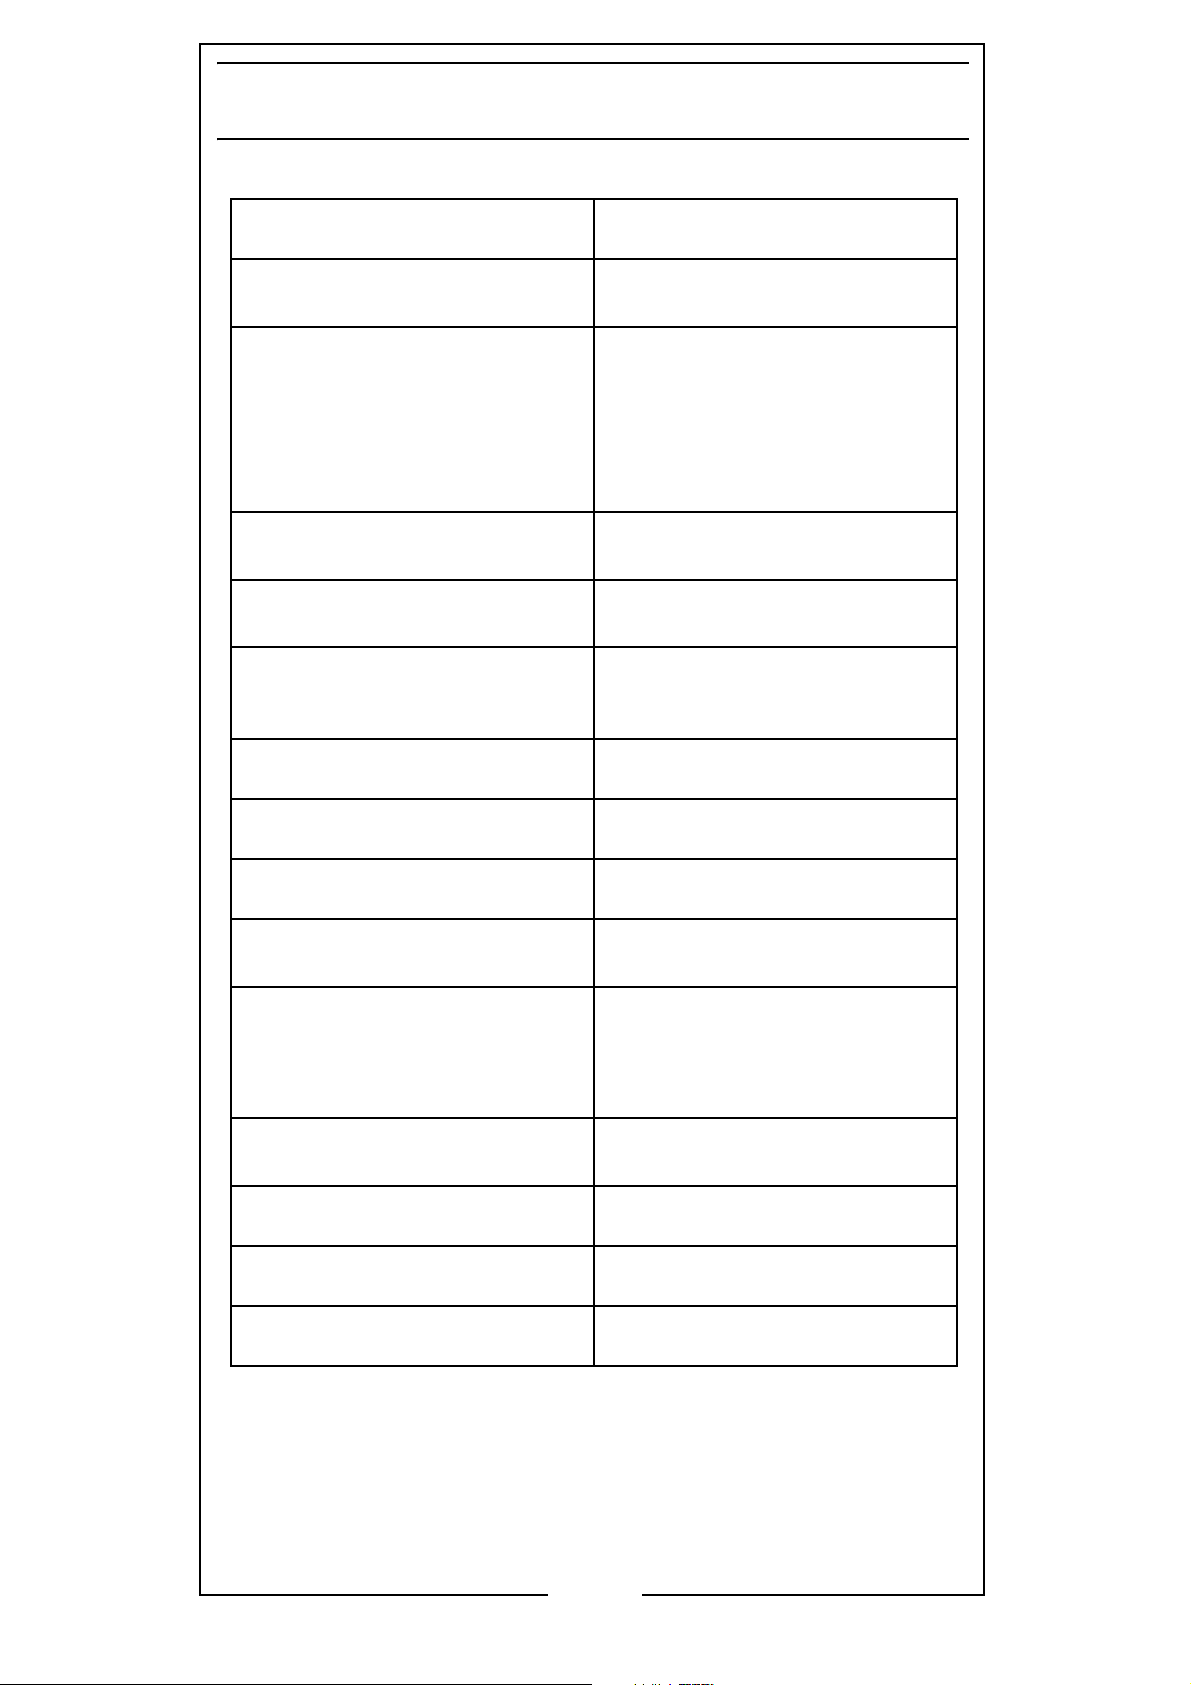
PRODUCT SPECIFICATIONS
Model IRT2
Temperature Range
Accuracy
Resolution
Repeatability
-50~400
-50~0
0~400
+/- 1.5
1% of Reading or 1
o
C (-58~752oF)
o
C (-58~32oF):
+/- 3
0.1
o
C (5oF)
o
C (32~752oF):
o
C (2.7oF)
o
C or 0.1oF
Response Time 500 mSec, 95%
Response
Spectral Response 5~14 um
Emissivity 0.95 Preset
o
C
Distance to Spot Size 12:1
Operating Temperature
0~40
o
C (32~104oF)
Operating Humidity 10~90%RH
Non-condensing up to
o
30
C (86oF)
Storage Temperature
-20~60
o
C (-4~140oF)
Typical Battery Life Laser Off: 12 Hours
Dimensions (L x W x D) 154 x 36 x 83mm
Weight 102g
The details and specifications contained herein, are
correct at the time of going to print. However, CLARKE
International reserve the right to change specifications
at any time without prior notice.
Parts & Service: 020 8988 7400
8
Page 9
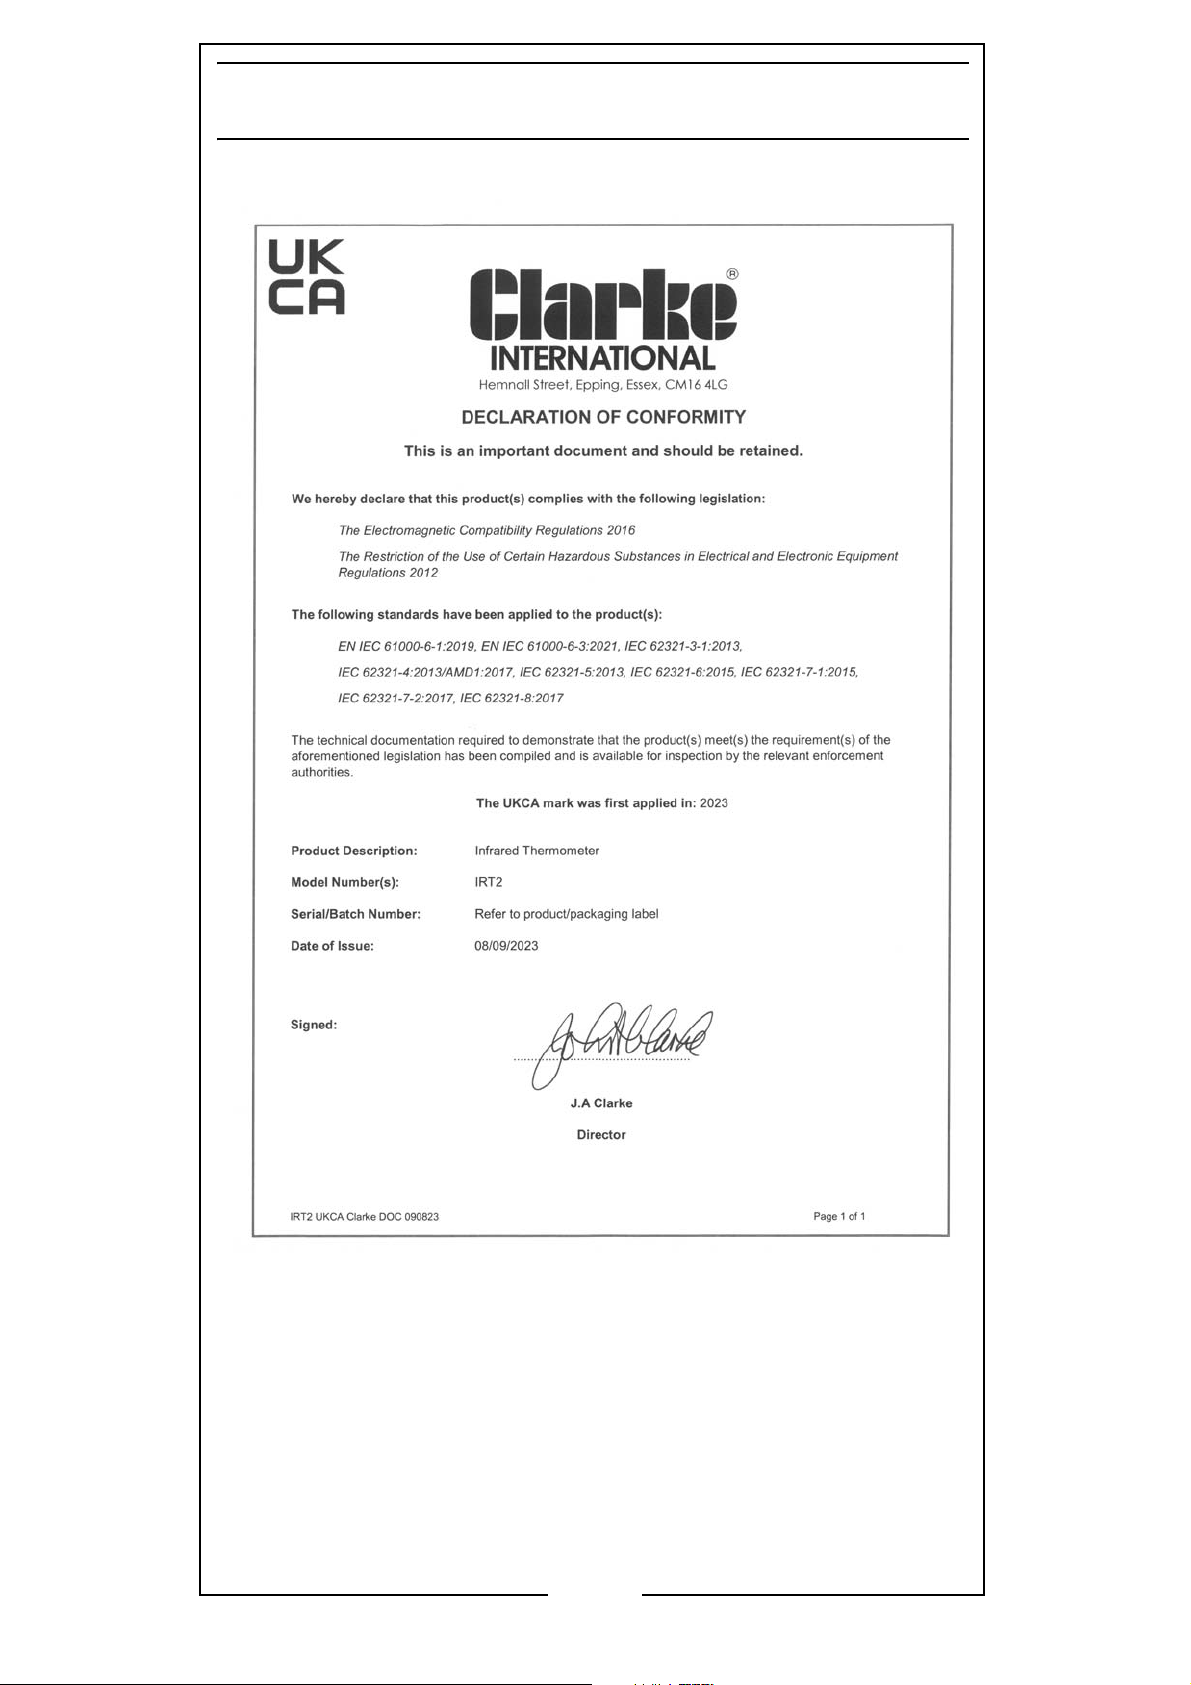
DECLARATION OF CONFORMITY - UKCA
Parts & Service: 020 8988 7400
9
Page 10
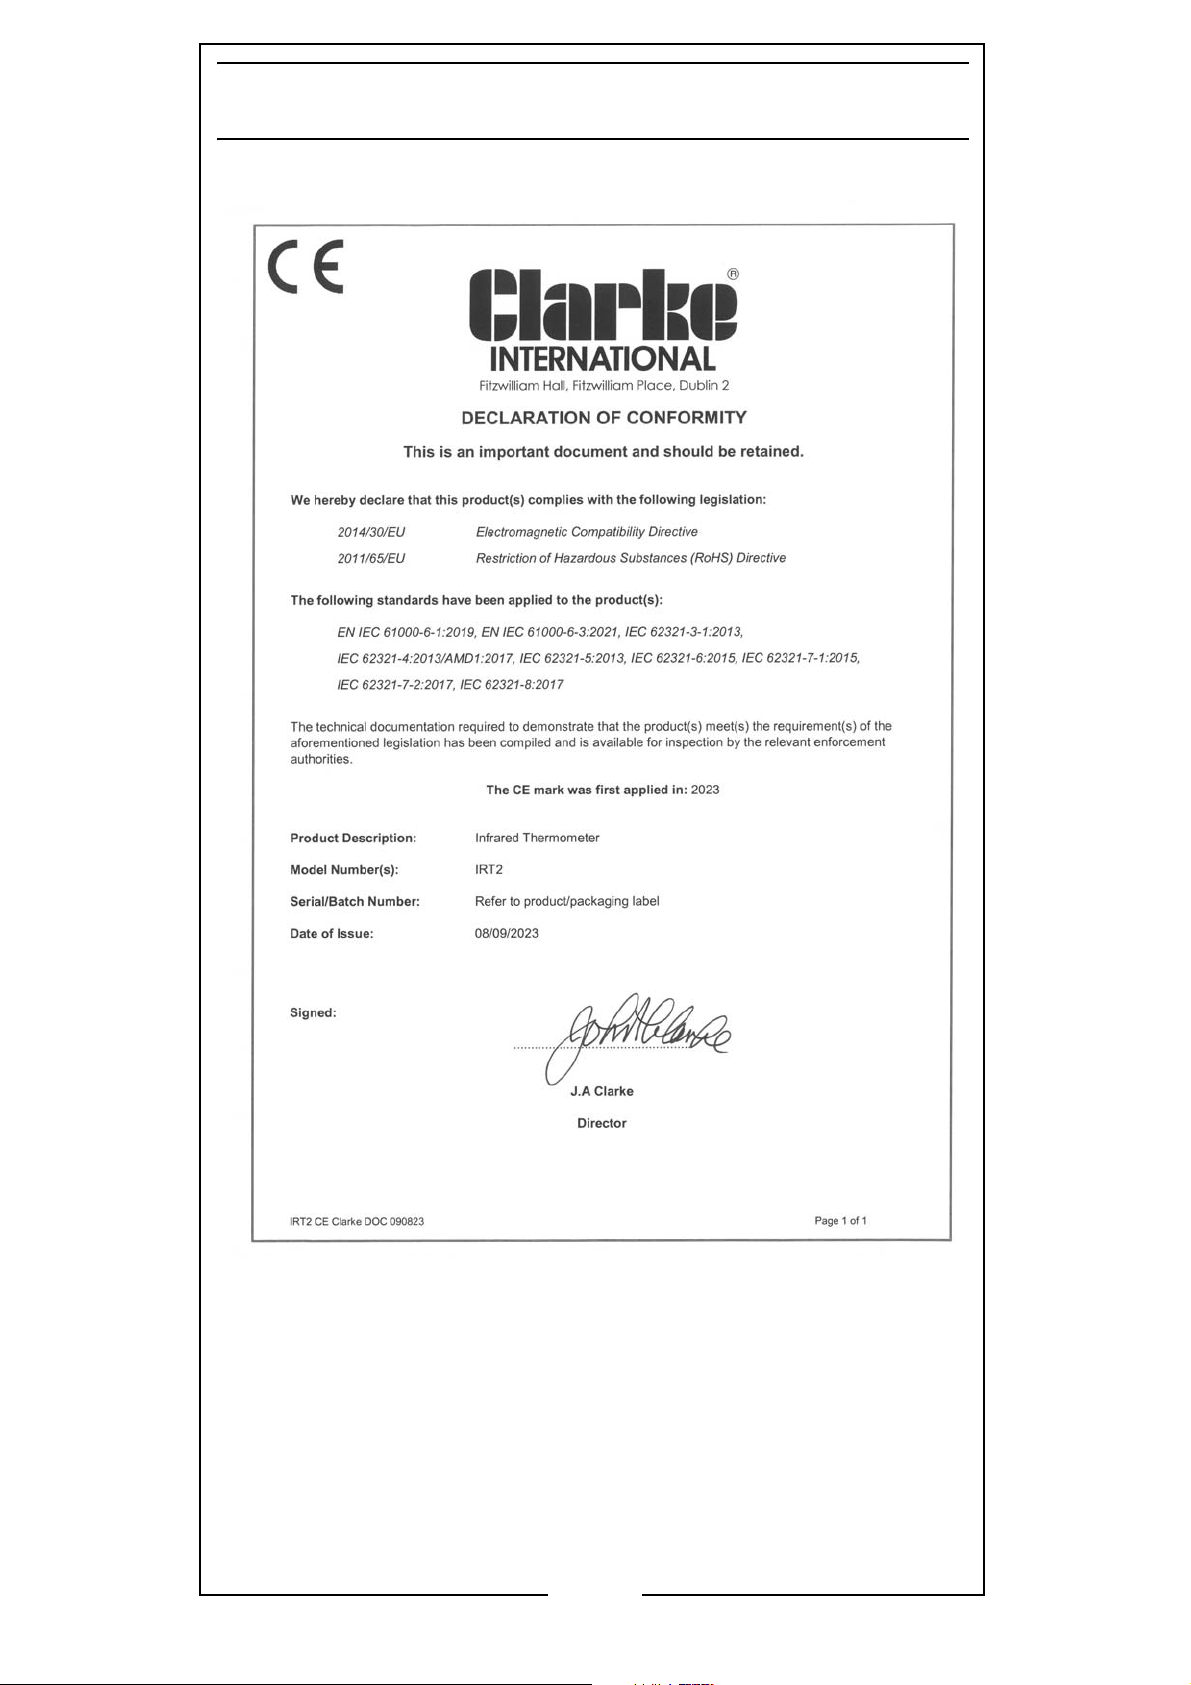
DECLARATION OF CONFORMITY - CE
Parts & Service: 020 8988 7400
10
Page 11

NOTES
--------------------------------------------------------------------------
--------------------------------------------------------------------------
--------------------------------------------------------------------------
--------------------------------------------------------------------------
--------------------------------------------------------------------------
--------------------------------------------------------------------------
--------------------------------------------------------------------------
--------------------------------------------------------------------------
--------------------------------------------------------------------------
--------------------------------------------------------------------------
--------------------------------------------------------------------------
--------------------------------------------------------------------------
--------------------------------------------------------------------------
--------------------------------------------------------------------------
--------------------------------------------------------------------------
--------------------------------------------------------------------------
--------------------------------------------------------------------------
--------------------------------------------------------------------------
--------------------------------------------------------------------------
--------------------------------------------------------------------------
--------------------------------------------------------------------------
--------------------------------------------------------------------------
--------------------------------------------------------------------------
--------------------------------------------------------------------------
--------------------------------------------------------------------------
--------------------------------------------------------------------------
--------------------------------------------------------------------------
--------------------------------------------------------------------------
--------------------------------------------------------------------------
Parts & Service: 020 8988 7400
11
Page 12

 Loading...