

Page 1
USER INSTRUCTIONS
GC1109
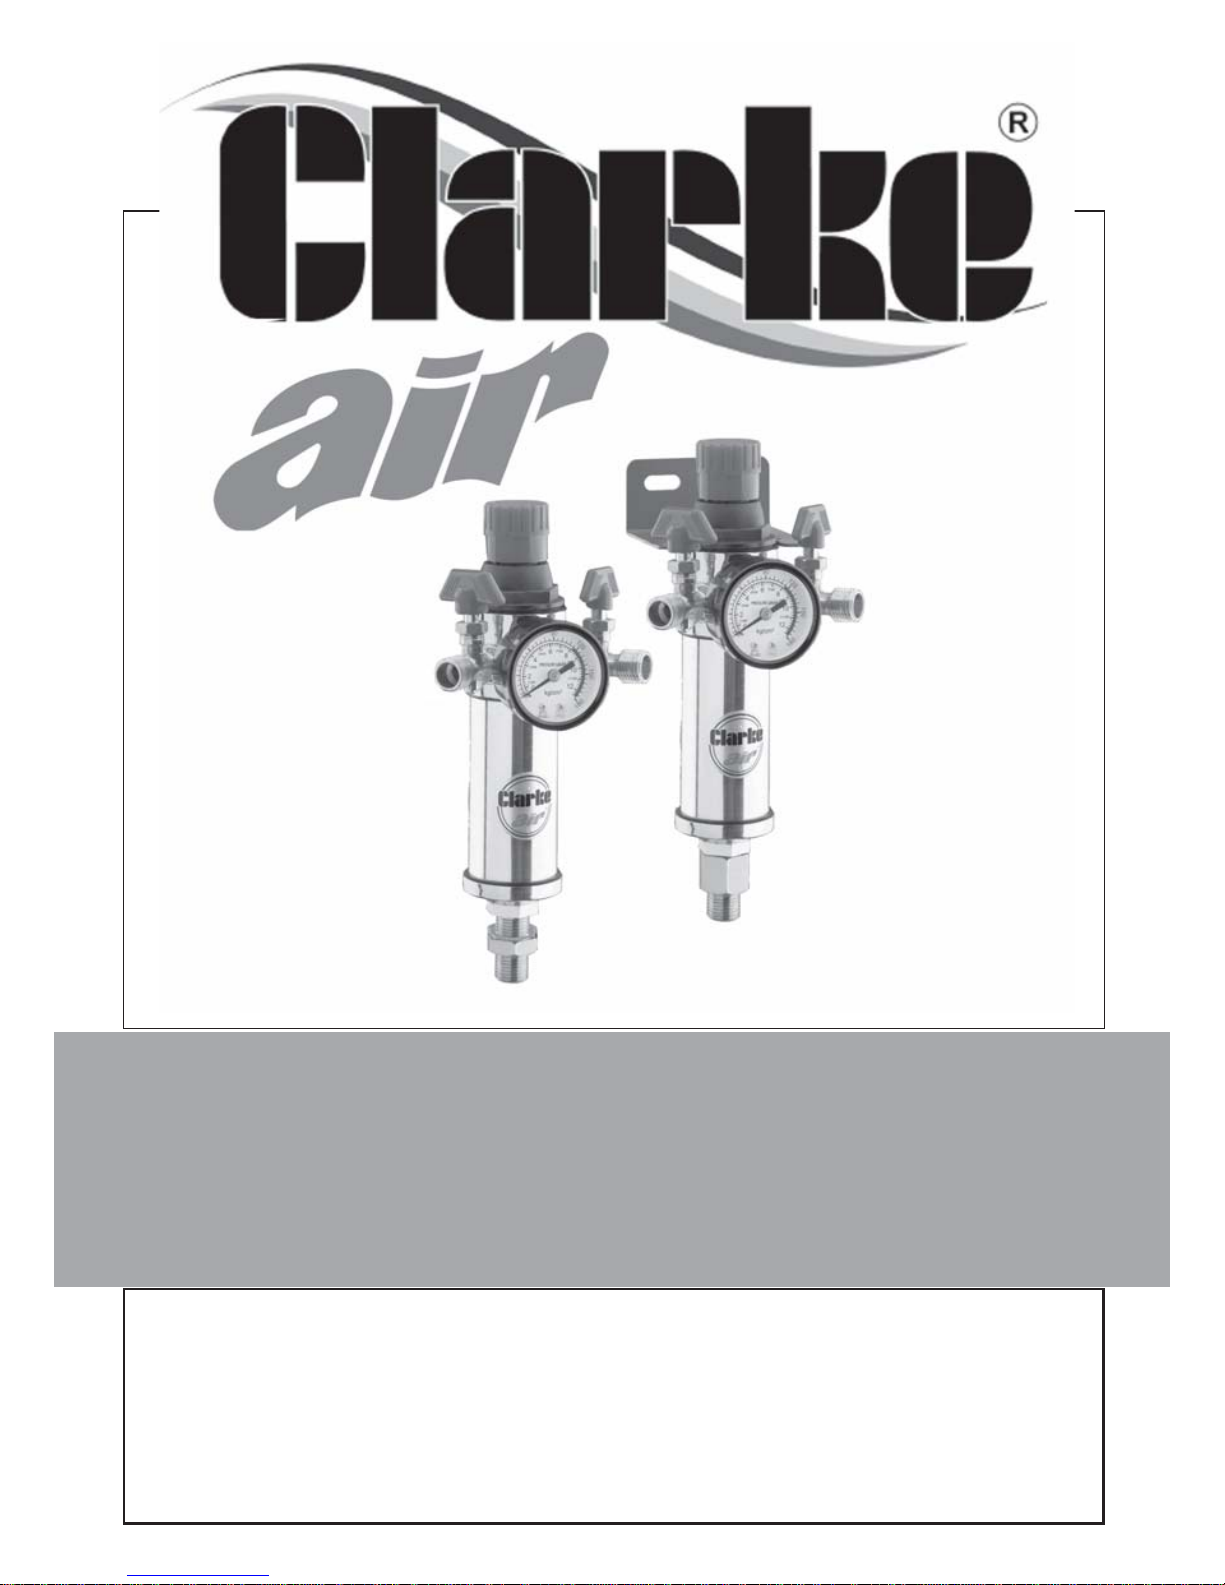
FILTER/REGULATORS
Models FR1 & FR2
Part Nos 5100800 / 5100802
Page 2
2
GUARANTEE
This CLARKE product is guaranteed against faulty manufacture for a period of
12 months from the date of purchase. Please keep your receipt as proof of
purchase. This guarantee is invalid if the product is found to have been
abused or tampered with in any way, or not used for its intended purpose.
Faulty goods should be returned to their place of purchase, no product can
be returned to us without prior permission. This guarantee does not effect
your statutory rights.
ENVIRONMENTAL PROTECTION
Do not dispose of this product with general household waste. Any
tools, accessories and packaging should be sorted, taken to a
recycling centre and disposed of appropriately.
TECHNICAL SPECIFICATIONS
USER INSTRUCTIONS
This filter/regulator unit is designed to remove up to 95% of foreign matter
from the airline and to set the delivery pressure accurately using the gauge.
IMPORTANT! Any airline lubricator required for motorised air tools must be
fitted downstream of the filter/regulator.
)htdiWxhtpeDxthgieH(smiDA/Omm89x57x091
thgieWgk5.0
retemaideguaGmm24
daerhttroptelnI )2RF(PSB"4/1)1RF(PSB"8/
3
daerhttropteltuOPSB"4/1x2
)isp09(rab2.6@wolfriamumixaMMFC04
muidemretlifriAnottoC
erusserptelnixaMrab21
erus
serpteltuoxaMrab01
egnareguagerusserPmc/gk2.21-0(isp081-0
)2
Page 3
3
The filter/regulator should ideally be connected to a fixed airline, or wall
mounted using the fixing bracket supplied (FR2 only).
Adjust the delivery air pressure as required, by pulling the regulator cap
upwards and then twisting clockwise to increase or anti-clockwise to reduce
the outlet pressure, as displayed by the gauge. When the pressure is correct,
press the cap back to lock and retain the setting.
With use the filter will become sufficiently blocked that the air throughput can
become severely diminished. It should be removed and cleaned as follows:
1. Shut off the air compressor and vent any remaining air from the airline.
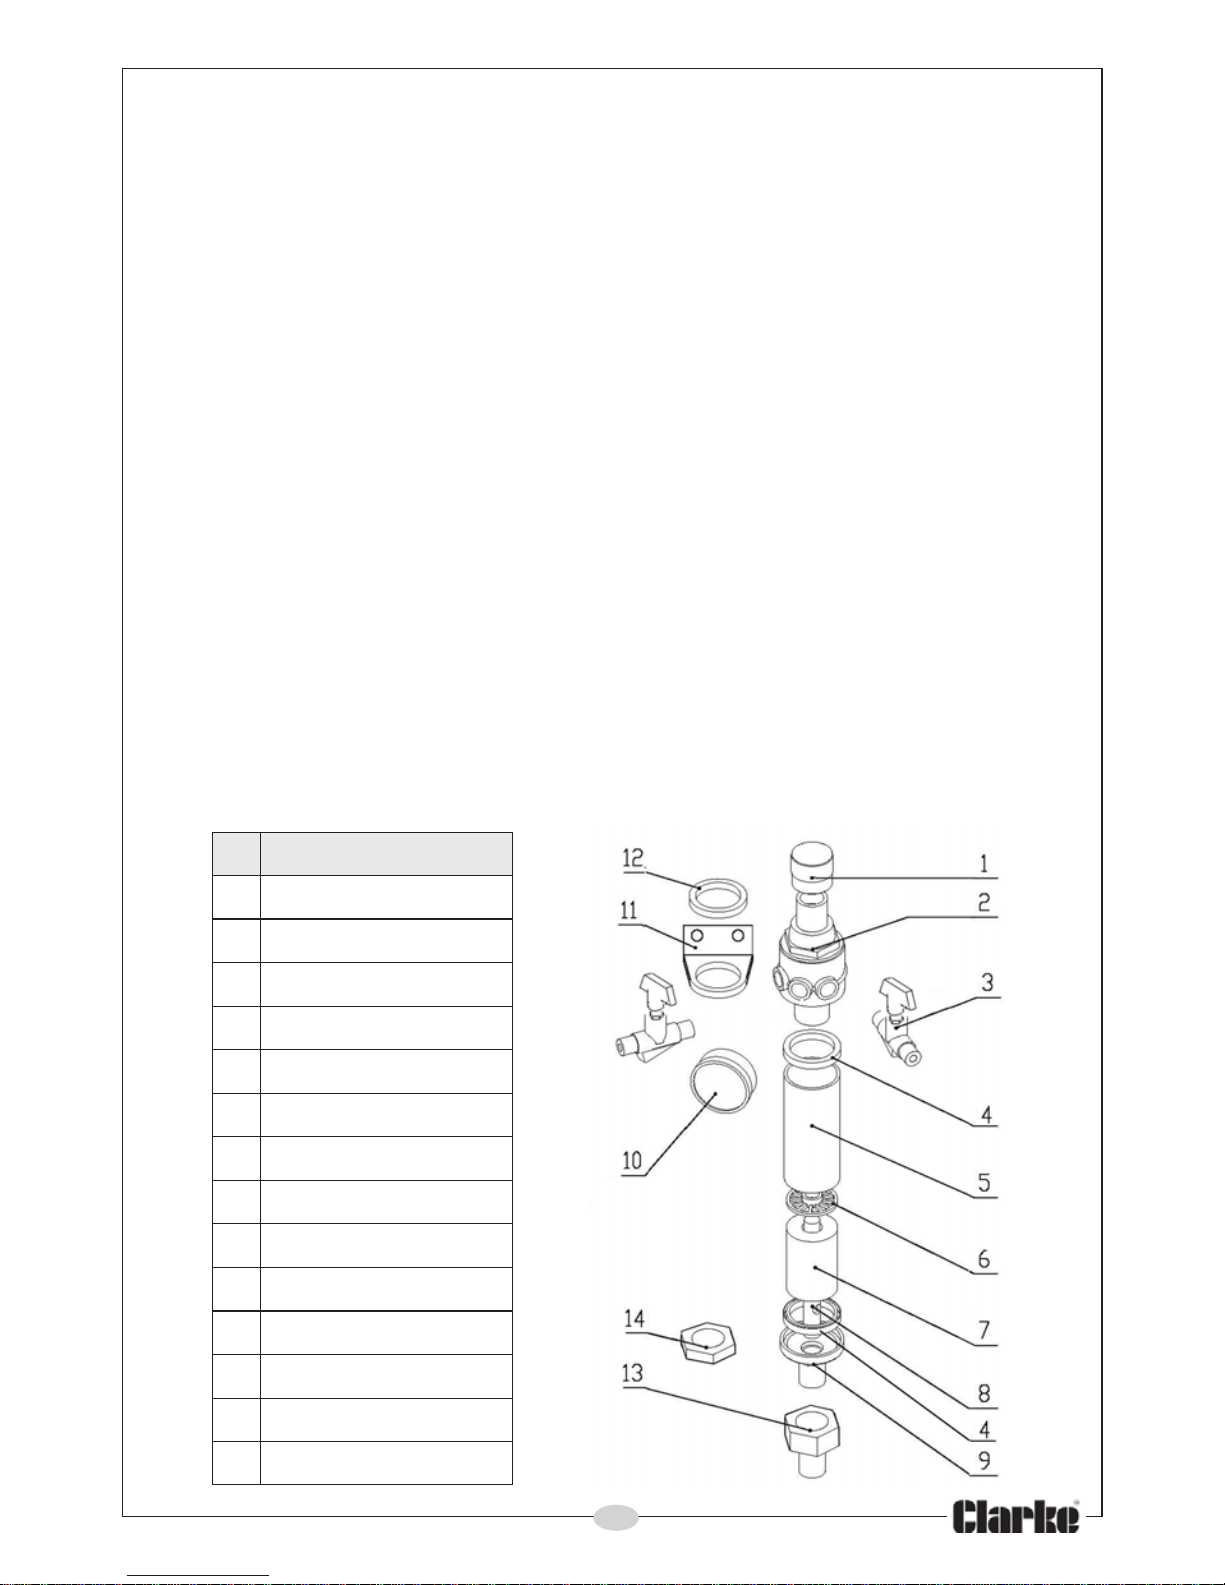
2. Unscrew the lower seat (9) from the filter body (5) using a 3/4”(19 mm)
spanner, and remove the filter (7). If this is found to be tight, remove the
filter/regulator from the installation & grip the regulator body securely in a
vice.
3. Gently clean the filter using dishwashing liquid and allow to dry. Clean out
the air holes in both the delivery stud (8) and the regulator body (2).
4. Re-install the filter in the body and replace the lower seat, taking care not
to overtighten. The seat should only be tightened until the sealing rings (4)
are compressed and an airtight seal is achieved.
Caution: Over tightening will permanantly damage the sealing rings.
5. Finally, re-install the unit into the airline.
oN noitpircseD
1bonKrotalugeR
2rotalugeR
3evlaVteltuO
4gniRgnilaeS
5ydoBretliF
6pilCcitsalP
7retliF
8dutSyrevileD
9taeSrew
oL
01eguaGerusserP
11tekcarBgnitnuoM
21gniRgnixiF
31)ylno2RF(recudeR
41)ylno1RF(tuNkcoL
Page 4
 Loading...