

Page 1

1
VARIABLE SPEED
JIG SAW
OPERATING & MAINTENANCE
INSTRUCTIONS
0514
Part No. 6460200
BELT SANDER
MODEL No. CBS2
Part No. 6462080
BELT SANDER
Page 2

2
Thank you for purchasing this CLARKE Belt Sander, which is designed for DIY and trade
use only.
Before attempting to use the sander, please read this manual thoroughly and follow the
instructions carefully. In doing so you will ensure the safety of yourself and that of others
around you, and you can look forward to the Sander giving you long and satisfactory
service.
GUARANTEE
This product is guaranteed against faulty manufacture for a period of 12 months from the
date of purchase. Please keep your receipt which will be required as proof of purchase.
This guarantee is invalid if the product is found to have been abused or tampered with in
any way, or not used for the purpose for which it was intended.
Faulty goods should be returned to their place of purchase, no product can be returned
to us without prior permission.
This guarantee does not effect your statutory rights.
PACK CONTENTS
• CBS2 Belt sander • Carry case
• Dust collection bag • 2 x 80 grit sanding belts (1 fitted)
• Spare Carbon Brushes • 1 x 120 grit sanding belt
SPECIFICATIONS
Model ........................................................ CBS2
Part No ....................................................... 6462080
Electrical Supply .......................................230V 50Hz 1 ph
Power Rating ............................................1200 Watt Motor
Fuse Rating ................................................ 13 Amp
No Load Speed ........................................ 480m/min
Net Weight ................................................ 6.5kg
Belt Size ...................................................... 610mm x 100mm
This Product Conforms To 98/37/EEC Regulations
Please note that the details and specifications contained herein, are correct at the time of going to print. However, CLARKE
International reserve the right to change specifications at any time without prior notice.
Page 3
3
SAFETY PRECAUTIONS
WARNING:
As with all machinery, there are certain hazards involved with their operation
and use. Exercising respect and caution will considerably lower the risk of
personal injury. However, if normal safety precautions are overlooked or
ignored, personal injury to the operator or damage to property, may result.
1. ALWAYS Learn the machines applications, limitations and the specific potential
hazards peculiar to it. Read and become familiar with the entire operating manual.
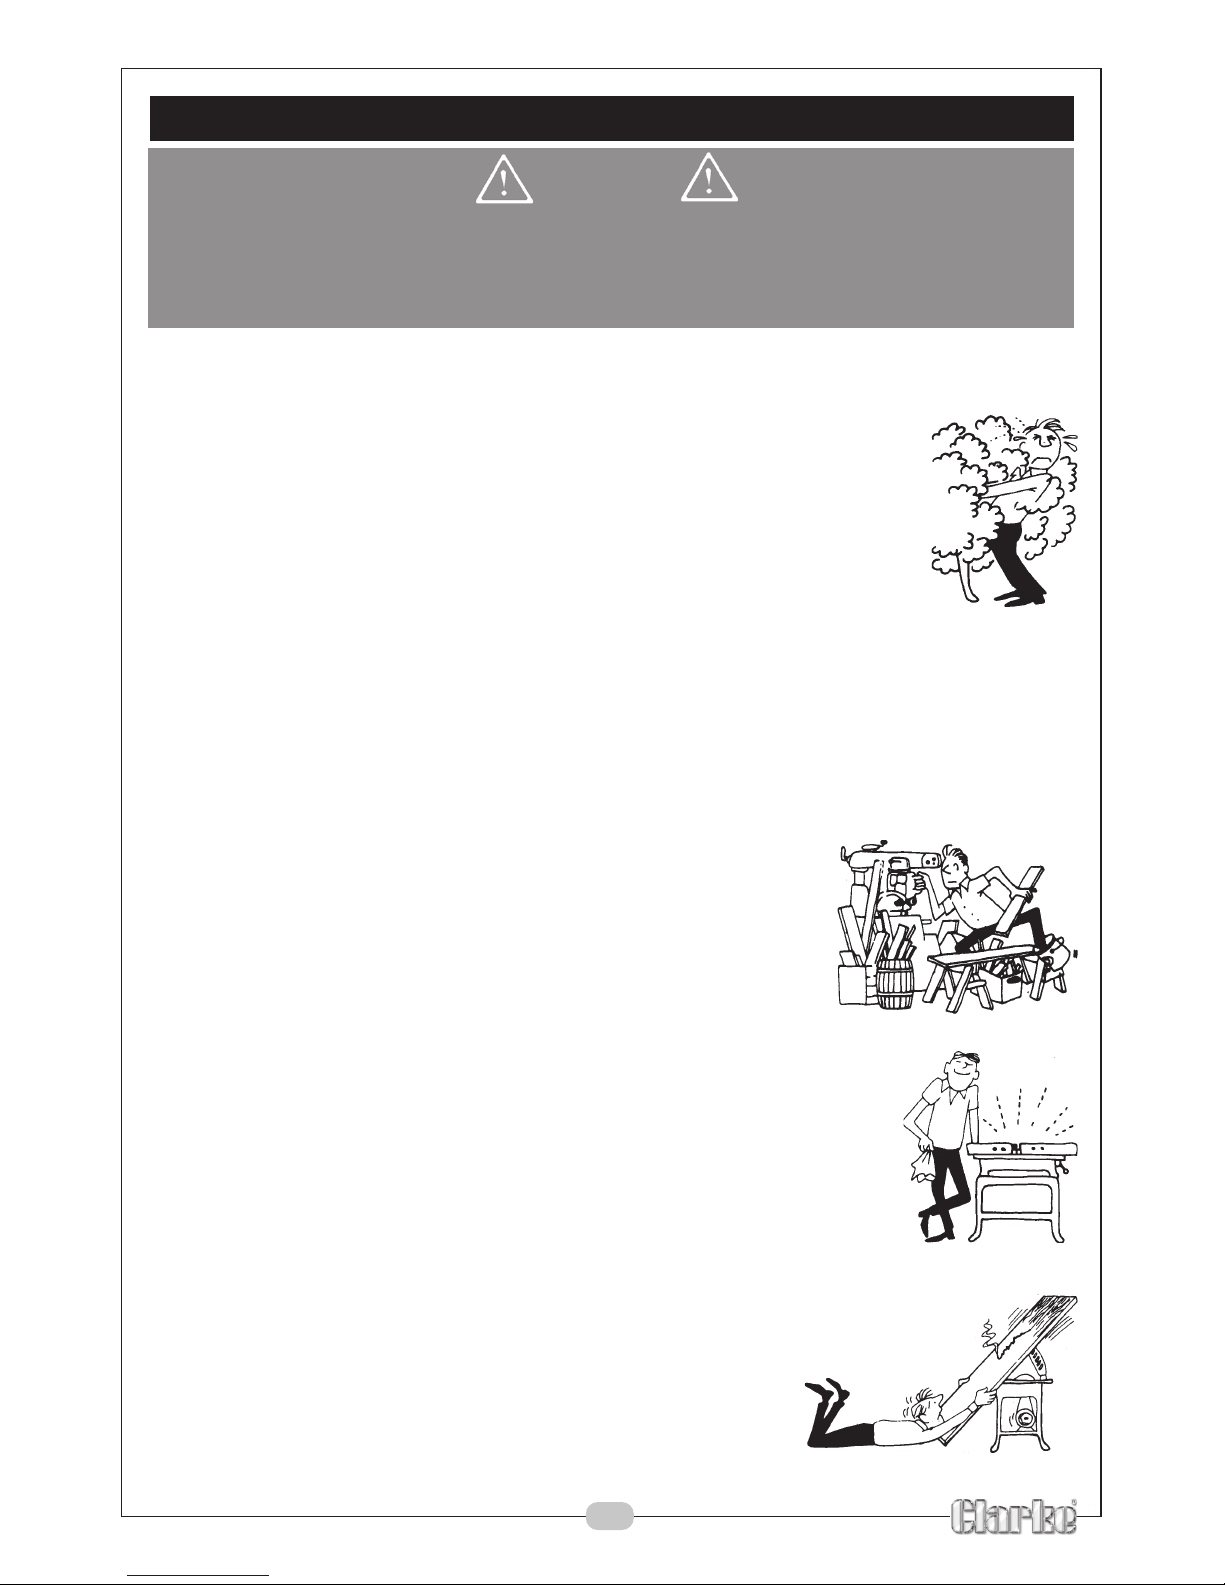
2. ALWAYS use a face or dust mask when sanding.
3. ALWAYS check for damage, before using the machine. Any
damage should be properly repaired or replaced. If in doubt, DO
NOT use the machine. Consult your local dealer.
4. ALWAYS disconnect the machine from the power supply before
servicing and when changing the belt.
5. ALWAYS wear safety goggles, manufactured to the latest European
Safety Standards.Everyday eyeglasses do not have impact resistant lenses, they are
not safety glasses.
6. ALWAYS keep work area clean. Cluttered areas and benches invite accidents.
7. ALWAYS ensure that sufficient lighting is available. Position lighting in a way that you
will not be working in your own shadow.
8. ALWAYS keep children away. All visitors should be kept at a safe distance from the
work area.
9. ALWAYS maintain the machine in top condition. Keep tools/
machines clean for the best and safest performance.
Follow maintenance instructions.
10. ALWAYS handle with care do not carry the machine by its
electric cable, or yank the cable to disconnect it from the
power supply.
11. ALWAYS ensure the switch is off before connecting to the
mains to avoid accidental starting.
12. ALWAYS concentrate on the job in hand, no matter how trivial it
may seem. Most accidents are caused by carelessness due to
familiarity.
13. ALWAYS keep your footing and balance at all times do not
overreach. Wear rubber soled footwear and keep floor clear of
oil, scrap wood, etc.
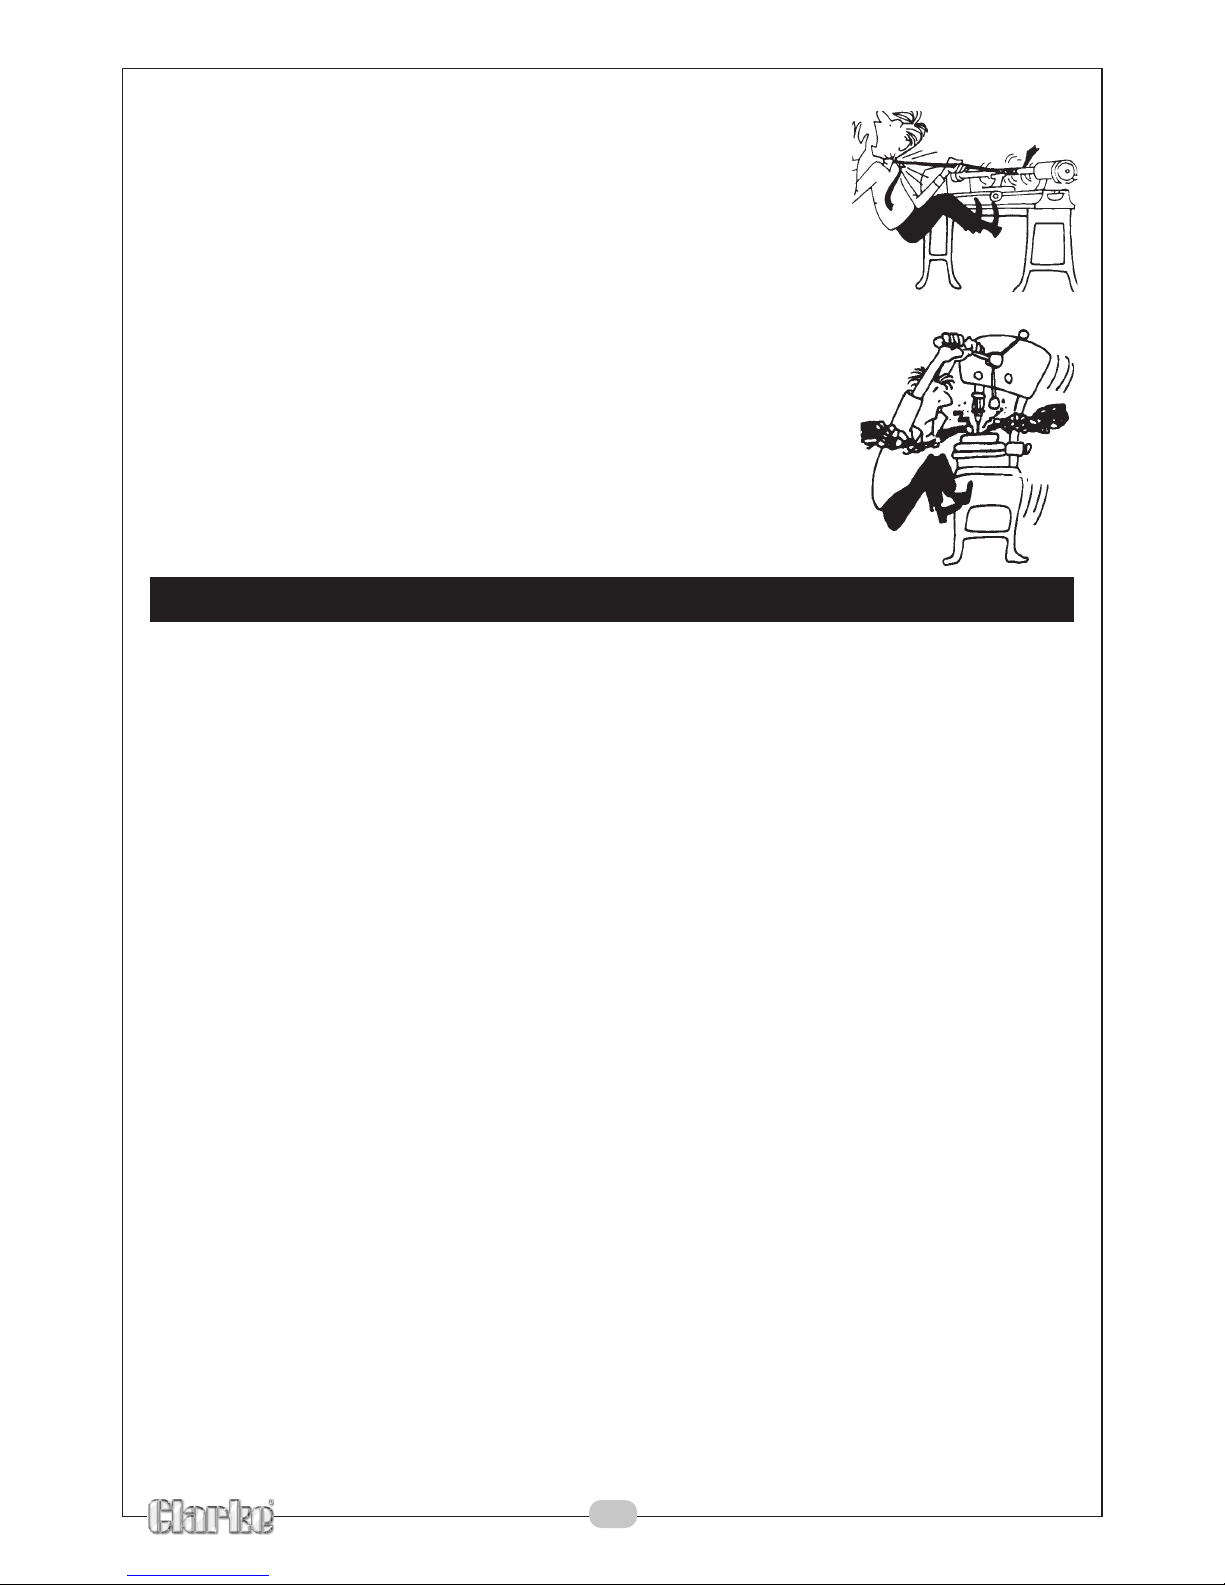
14. ALWAYS wear proper clothing. Loose clothing or jewellery may
get caught in moving parts. Wear protective hair covering to
contain long hair.
15. ALWAYS use recommended accessories. The use of
improper accessories could be hazardous.
Page 4
4
16. ALWAYS have your power tool serviced by a qualified repair
person using only identical replacement parts. This will ensure
that the safety of the power tool is maintained.
17. NEVER operate machine while under the influence of drugs,
alcohol or any medication.
18. NEVER leave machine running unattended.
19. NEVER force the machine. It will do a better and safer job at
the rate for which it was designed.
20. NEVER use power tools in damp or wet locations or expose
them to rain.
21. NEVER operate power tools in explosive atmospheres, such as
in the presence of flammable liquids, gases or dust. Power
tools create sparks which may ignite the dust or fumes.
ADDITIONAL PRECAUTIONS FOR POWER TOOLS
1. ALWAYS wear ear protectors/defenders as the noise level of this machine can
exceed 89dB (A).
2. ALWAYS use the appropriate sanding belt for the material being worked.
3. ALWAYS keep the mains cable well away from the sanding belt and make sure an
electrical supply is close at hand so that the operation is not restricted by the length
of the cable.
4. ALWAYS use extreme caution when using power tools, avoid contact with earthed or
grounded surfaces (e.g. pipes radiators etc).
5. ALWAYS switch the machine OFF as soon as the task is completed.
6. ALWAYS use secure the workpiece using clamps or vice etc.
7. ALWAYS store idle tools safely out of the reach of children in a dry location, preferably
locked away in a cupboard etc.
8. NEVER allow the ventilation slots in the machine to become blocked.
9. DO NOT exert pressure on sander to stop it quickly, allow it to stop normally.
10. DO NOT use the machine if the electric cable, or plug is in poor condition.
Additionally, please keep these instructions in a safe place for future reference.
Page 5

5
SANDING WARNINGS
WARNING!
Contact with or inhalation of dust from certain materials can endanger the health of
the operator and bystanders. The sanding of lead based paint is not recommended.
It is difficult to control the spread of lead contaminated dust. Pre-1960 buildings may
have been painted with lead based paints and then subsequently covered by
additional layers of paint. If you are in doubt whether the paint to be sanded
contains lead, the following precautions must be observed.
1. No pregnant women or children should enter the work area.
2. Dust masks, or respirators, suitable for working with lead based paint should be worn
by all persons entering the work area.
3. Do not eat, drink or smoke in the work area.
4. Wash and clean up before eating or drinking.
5. Do not take food or drink into the work area.
6. Areas where paint is being removed should be sealed with plastic sheeting to
reduce the paint dust drifting outside the work area.
7. All surfaces, tools, clothing and other items that could have been contaminated by
the paint dust, must be thoroughly cleaned before being used again.
8. If you are sanding MDF the same precautions as above should be taken.
9. Sanding plaster creates a lot of dust and an appropriate dust mask must be worn.
10. Regardless of the material being sanded, if the work is dirty, always use an
appropriate dust mask and keep bystanders away.
Dust Extraction
The belt sander is provided with a dust extraction facility, Please note however, that this
does not preclude the user from wearing a face mask to prevent the inhalation of dust
particles.
It is an EEC requirement that a dust extraction facility be provided on power tools, however,
due to the nature of the tool, some of the dust produced will be forced into the surrounding
atmosphere, and will not be collected.
ENVIRONMENTAL RECYCLING POLICY
Through purchase of this product, the customer is taking on the
obligation to deal with the WEEE in accordance with the WEEE
regulations in relation to the treatment, recycling & recovery and
environmentally sound disposal of the WEEE.
In effect, this means that this product must not be disposed of with
general household waste. It must be disposed of according to the laws
governing Waste Electrical and Electronic Equipment (WEEE) at a recognised
disposal facility.
Page 6
6
ELECTRICAL CONNECTIONS
This product is provided with a standard 13 amp, 230 volt (50Hz), BS 1363 plug, for
connection to a standard, domestic electrical supply. Should the plug need changing at
any time, ensure that a plug of identical specification is used.
WARNING
This appliance is Double Insulated, and the two wires in the mains lead should
be wired up in accordance with the following colour code:
BLUE - NEUTRAL
BROWN - LIVE
•
Connect the BLUE coloured wire to the plug terminal marked with a letter “N”
• Connect the BROWN coloured wire to the plug terminal marked with a letter “L”
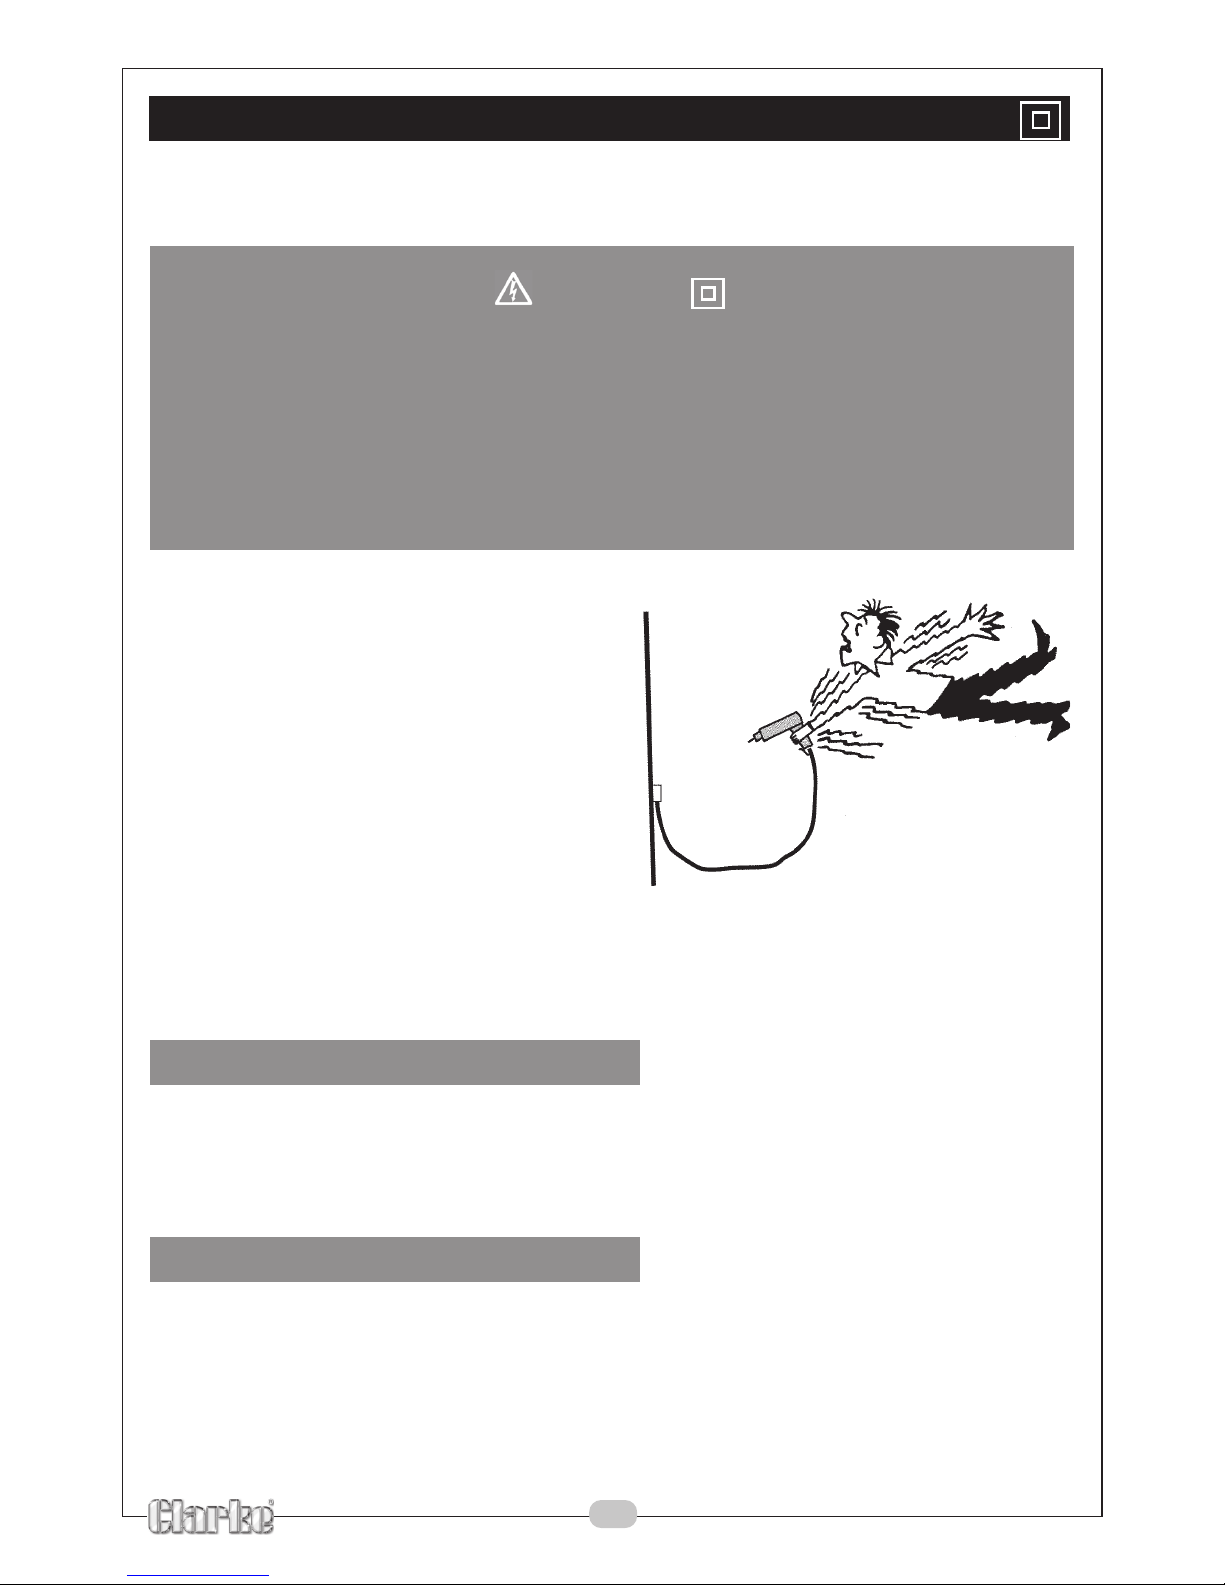
If this appliance is fitted with a plug which is
moulded on to the electric cable (i.e. nonrewireable) please note:
1. The plug must be thrown away if it is cut
from the electric cable. There is a
danger of electric shock if it is
subsequently inserted into a socket
outlet.
2. Never use the plug without the fuse
cover fitted.
3. Should you wish to replace a
detachable fuse carrier, ensure that the
correct replacement is used (as
indicated by marking or colour code).
4. Replacement fuse covers can be obtained from your local Clarke dealer or most
electrical stockists.
Fuse Rating
The fuse in the plug must be replaced with one of the same rating (13 amps) and this
replacement must be ASTA approved to BS1362.
If in doubt, consult a qualified electrician. Do not attempt any electrical repairs yourself.
Cable Extension
Always use an approved cable extension suitable for the power rating of this tool (see
specifications), the conductor size should also be at least the same size as that on the
machine, or larger. When using a cable reel, always unwind the cable completely. If using
tool outdoors, only use extension cables intended for outdoor use.
Page 7
7
PREPARATION
Changing The Sanding Belt
WARNING
!
Disconnect the plug from the power source before changing the belt.
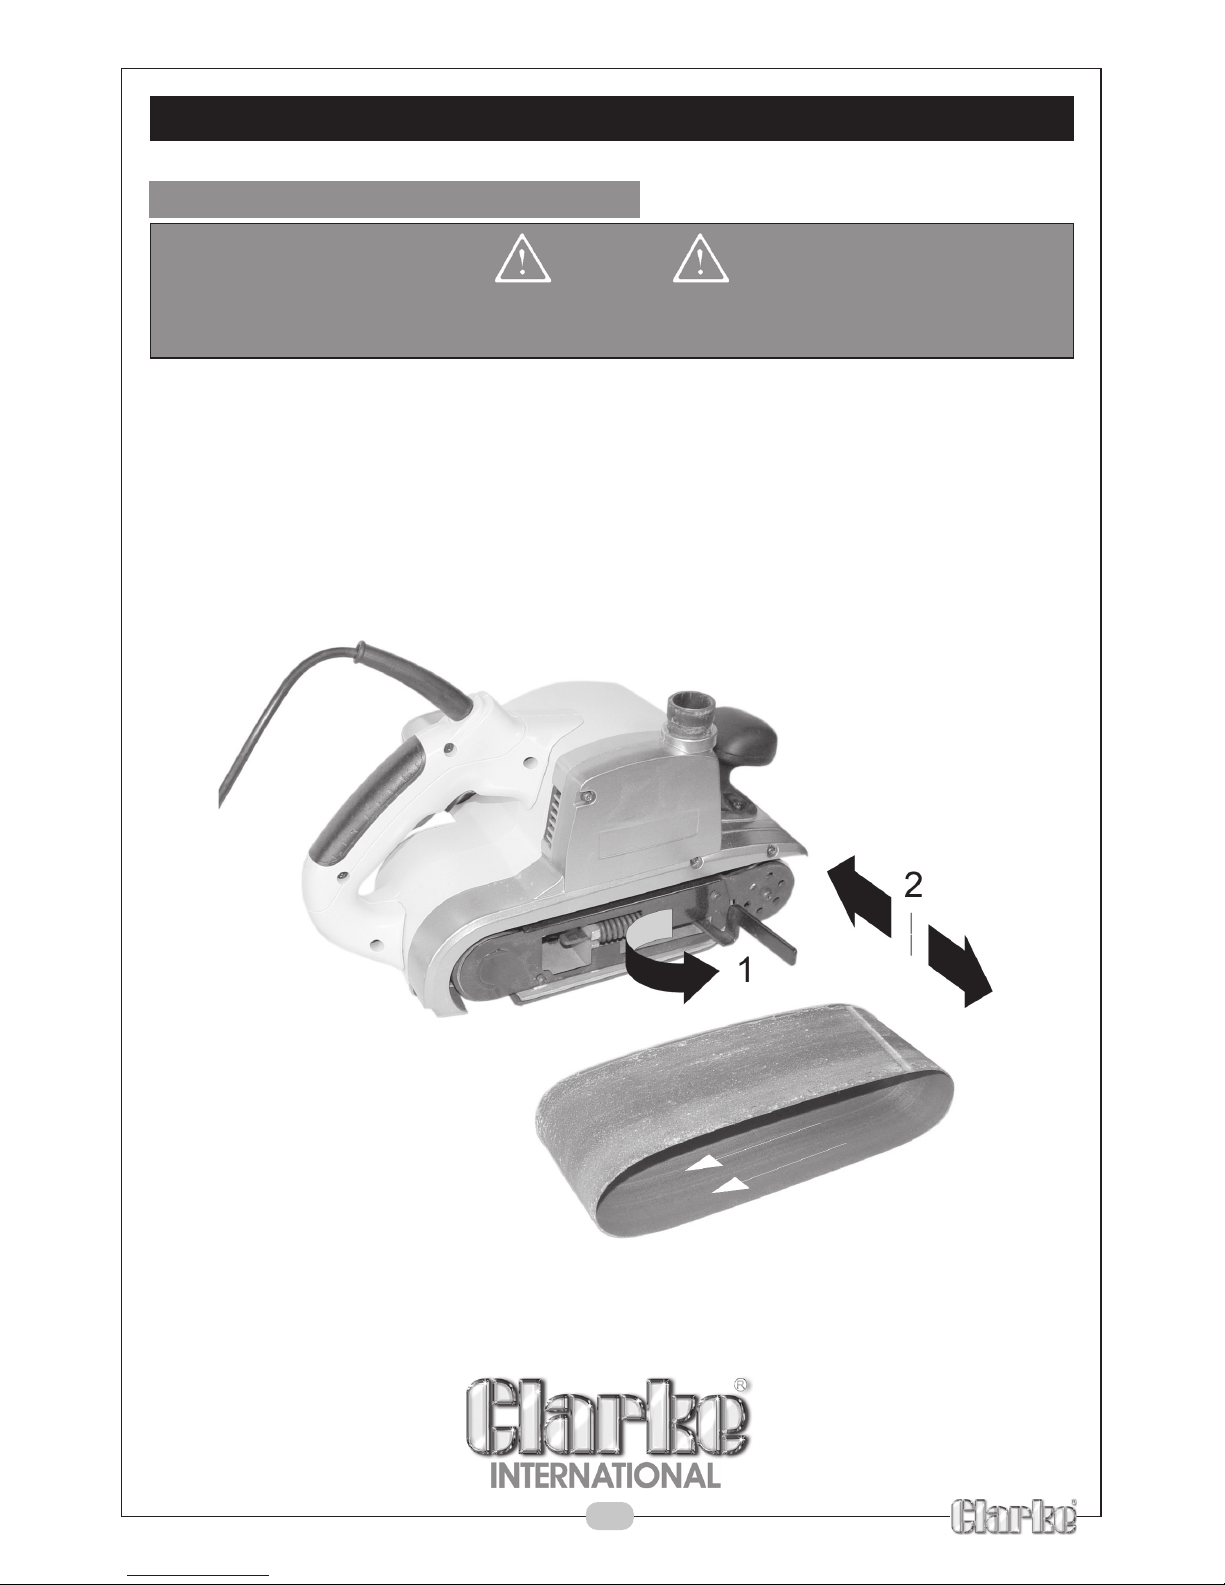
To change the sanding belt, proceed as follows:
1 Pull out the belt tension lever.
2 Slide the old belt away from the rollers.
3 Slide the new sanding belt into position over the front and rear rollers, ensuring that
the arrows on the sanding belt and on the tool are pointing in the same direction.
4 Push the sanding belt tension lever back into the recess to apply the tension.
Page 8
8
ADJUSTING THE SANDING BELT TRACKING
WARNING
!
Always wear eye protection when adjusting or operating the belt sander.
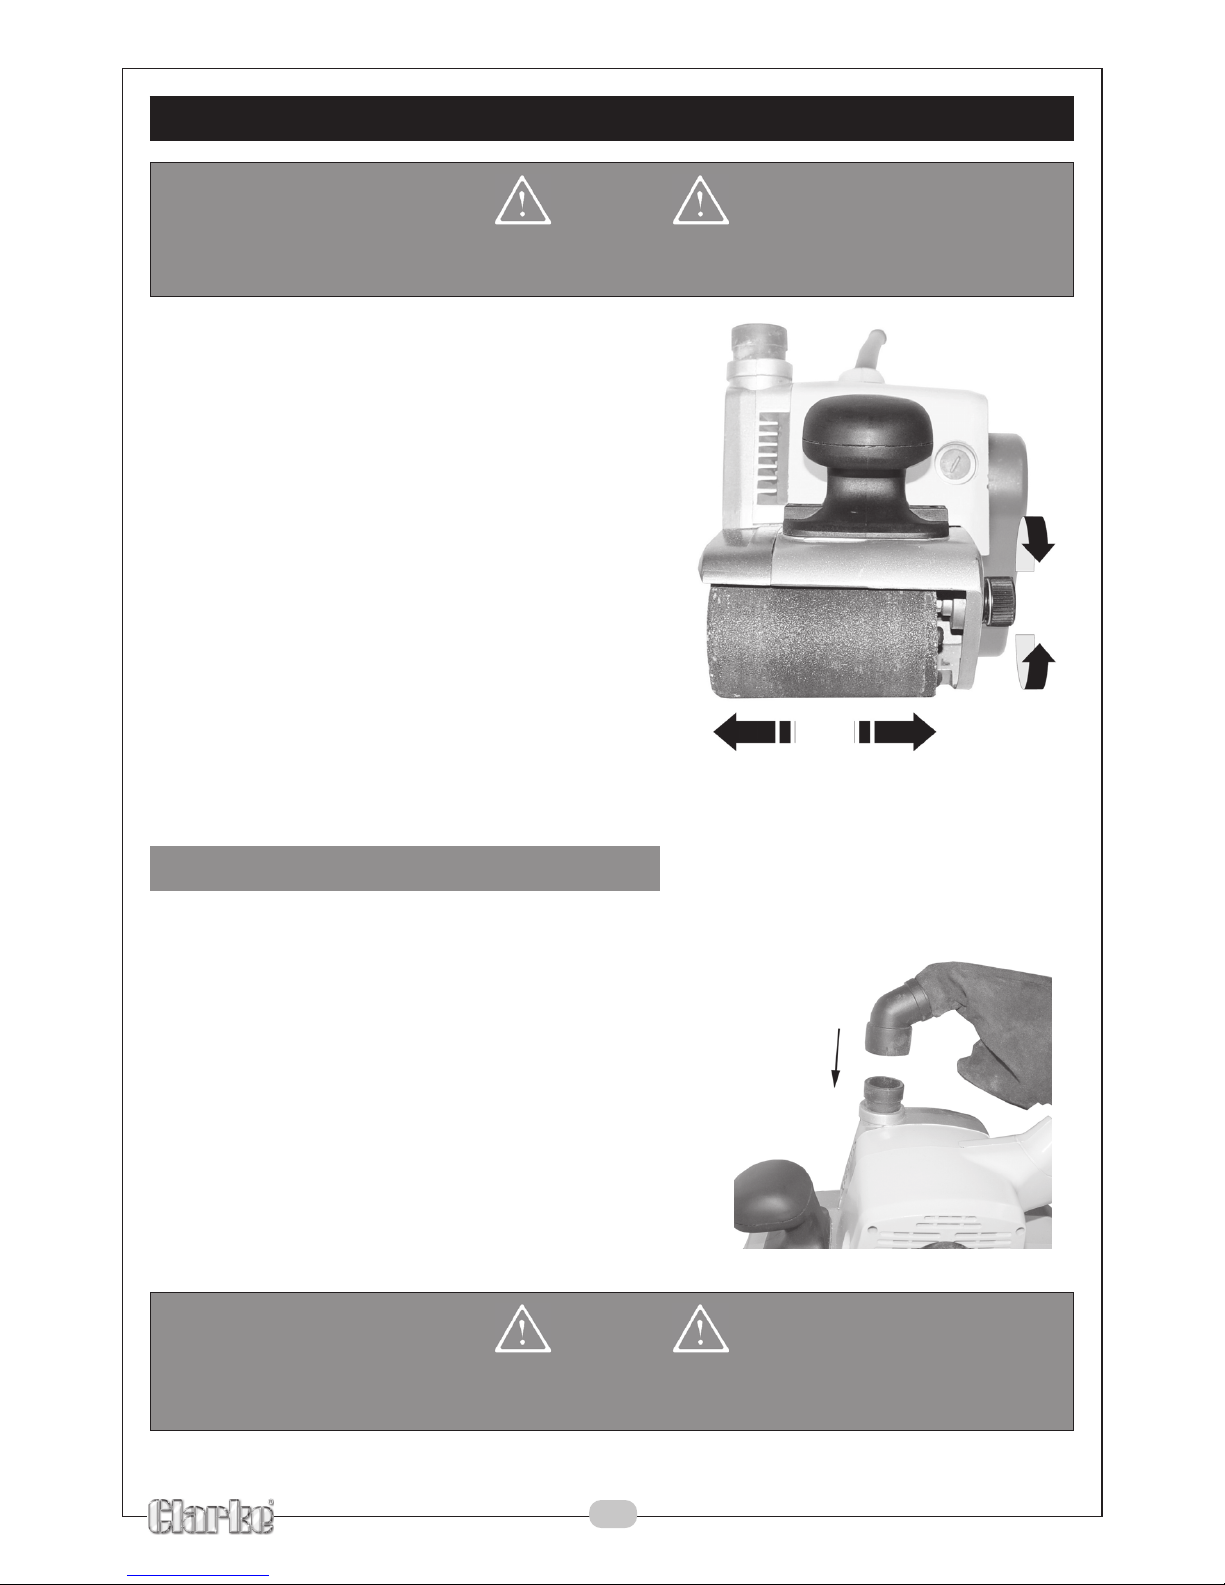
Having changed the belt, it is important to make
sure that the belt runs square on the rollers. This is
achieved by adjusting the tracking.
To adjust the tracking, proceed as follows:
1 Switch on the belt sander.
2 Adjust the tracking screw until the sanding
belt is running in line with the flat side of the
tool.
Turn the screw anti-clockwise to run the belt
into the tool. Turn the screw clockwise to run
the belt away from the tool.
Fitting The Dust Collection Bag
When using the belt sander, certain materials will generate harmful or toxic dusts and grit.
For this reason it is important to fit the dust collection bag. Do not allow the dustbag to
get too full. Empty the bag after about 5 minutes of continuous operation.
To fit the dust collection bag, proceed as follows:
1 Put the plastic nozzle of the dust collection bag
over the dust extraction outlet.
2 Push firmly home.
3 To empty the dust bag, grasp the bag by the
plastic nozzle and pull away from the dust
extraction outlet.
WARNING
!
When working on metal surfaces do not use the dustbag as sparks can be
generated causing a risk of fire.
Page 9
9
OPERATION
1 Connect the plug to the mains socket and switch on.
2 Hold the sander firmly with both hands
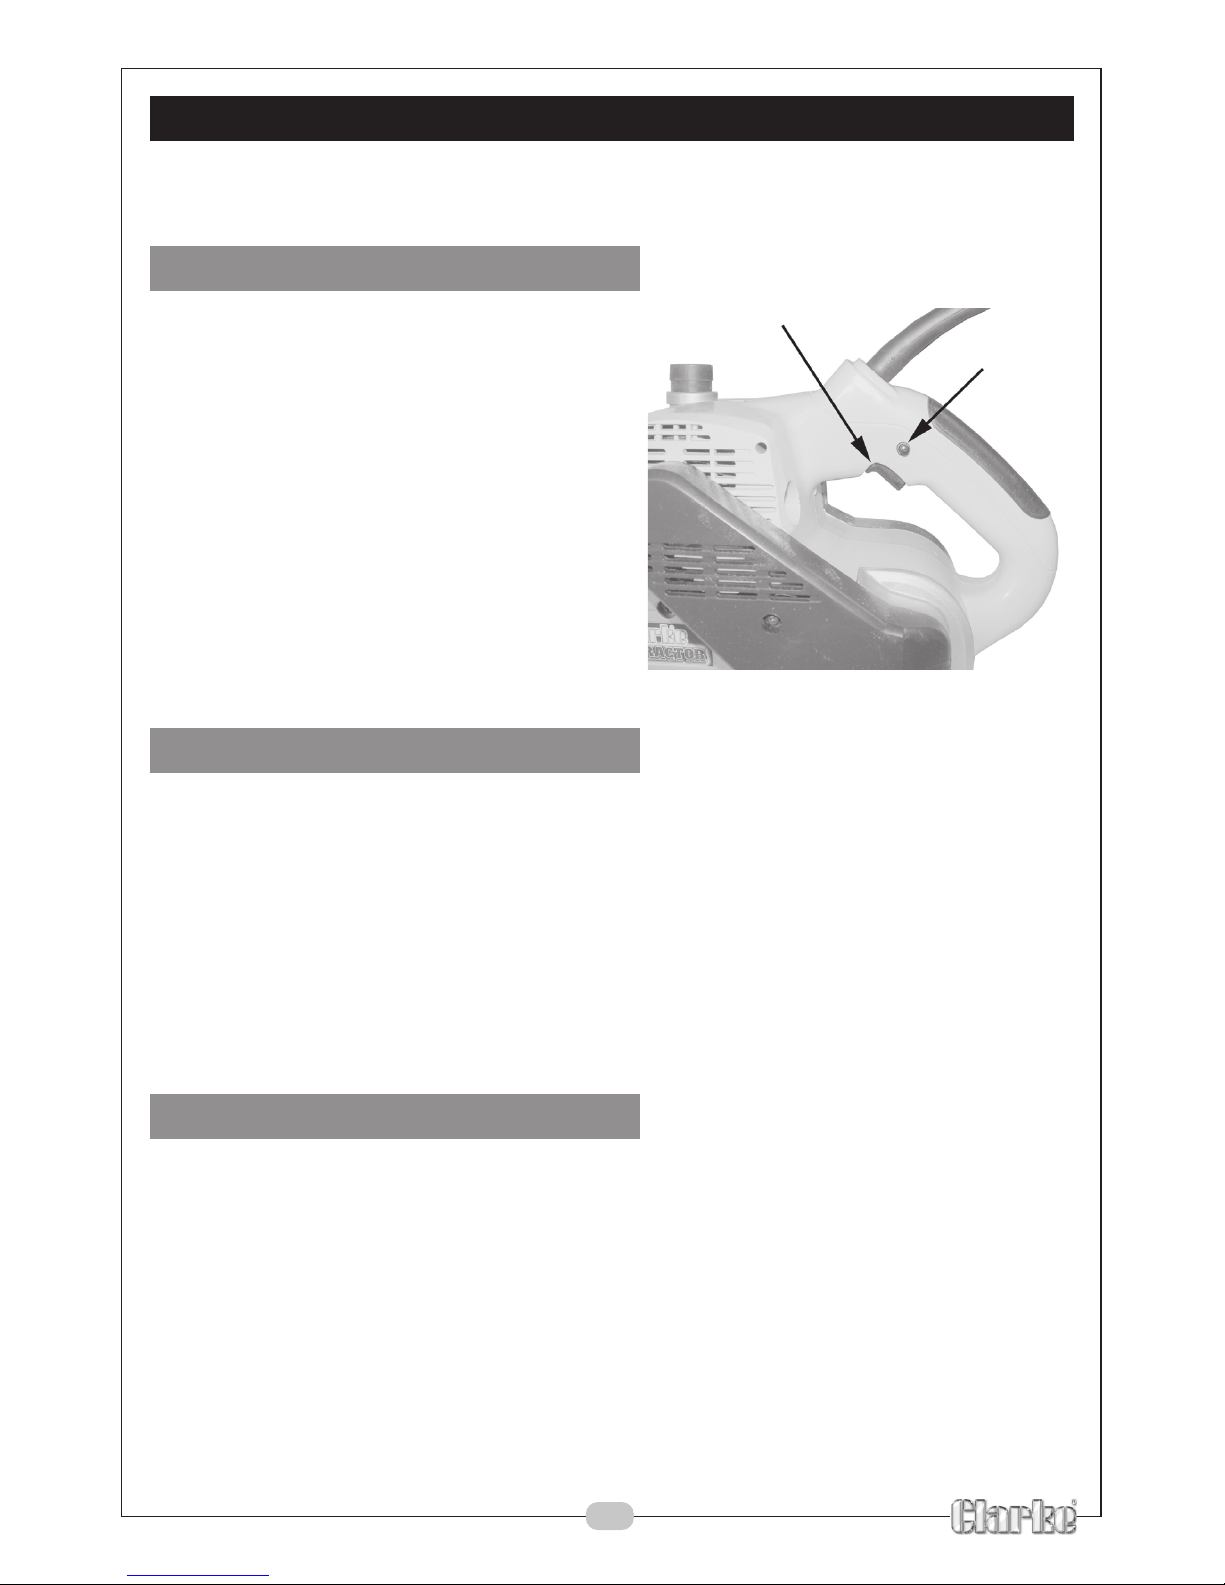
Operating The Trigger Switch
Use the trigger switch as follows:
1 Squeeze the trigger, the belt sander will
start.
2 Release the trigger to stop the belt
sander.
3 If continuous operation is required,
squeeze the trigger, and depress the
lock-on button and release the trigger.
4 To stop the belt sander, squeeze the
trigger to release the lock-on button,
then release the trigger.
Using The Sander
a) Make sure that there are no nails or other objects in the area to be sanded.
b) Let the sander reach full speed before applying it to the work surface.
c) Do not apply pressure to the sander during use. The weight of the sander alone is
sufficient for normal use
d) Move the sander evenly over the work area. Do not allow the sander to stay in
one place for too long, this will give an uneven finish.
e) Replace worn sanding belts. The performance of your sander is dependant on
the quality of the sanding belts being used.
f) Remove the sander from the work area before releasing the trigger, (wait until the
belt has stopped moving before putting the sander down).
Sanding Hints
• Always use both hands to hold the sander and clamp the workpiece for added
stability and safety.
• When sanding wood, always sand in the direction of the grain,
Trigger
Lock-on
button
Page 10
10
MAINTENANCE
WARNING
!
Make sure that the belt sander is switched off and disconnected from the
mains supply before starting any cleaning or maintenance procedures.
After use clean out any accumulated dust etc. Keep the cooling vents clear. If the
sander should become too hot, run it for 2 minutes without load.
Clean the housing with a soft cloth. Any worn or damaged parts should be replaced by
qualified personnel. Keep the handles clean and free from oil and grease. Refer to
qualified service personnel if internal maintenance is required. Always store the belt
sander in the carrying case.
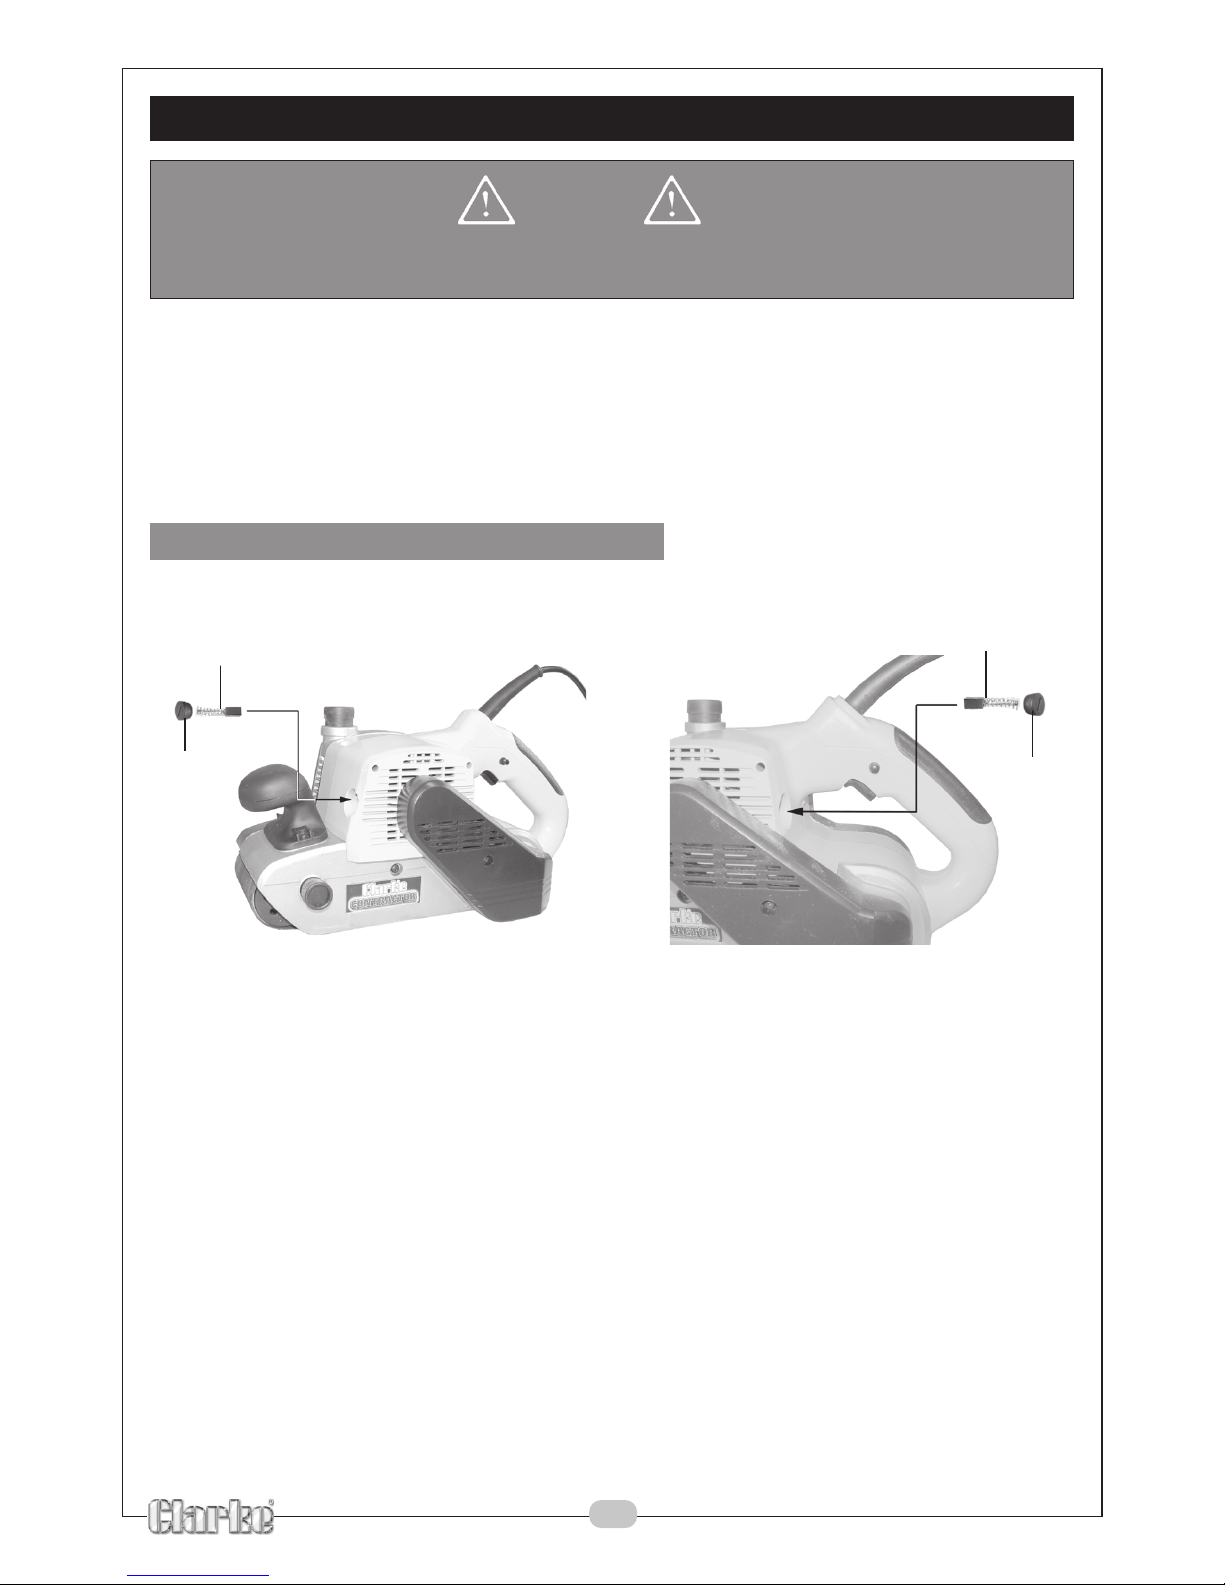
Changing The Carbon Brushes
1. With a suitable screwdriver, remove the carbon brush caps on either side of the belt
sander.
2. Remove the carbon brush/spring assembly.
3. If the carbon brushes are worn down to 4mm, or less, replace them with the new
brushes (1 spare set supplied).
4. Replace the carbon brush caps and tighten them.
Note :
Both brushes must be replaced at the same time.
Carbon Brush
Cap
Carbon Brush
Cap
Page 11

11
TROUBLE SHOOTING
Sander Is Overheating
This indicates the machine is dirty. Clean the ventilation holes, and blow out with compressed
air or clean with a dry cloth.
Overloading the machine will also cause overheating. Do not apply excessive pressure.
Excessive Sparking Occurs
This indicates worn brushes. This problem is quickly remedied but you should consult your
CLARKE dealer for parts and advice.
Sander Does Not Operate When Switched On
Check to ensure the fuse is sound and replace if necessary. If the fuse is sound or blows
repeatedly, consult your CLARKE dealer.
The Dust Is Not Extracted
Dust bag is full (empty waste bag), dust extractor flue is blocked, this is usually caused by
allowing bag to become too full, (remove and empty bag, also clear blockage).
Note :
Ensure sander is switched OFF and isolated from the mains by removing plug from socket.
ACCESSORIES
A wide range of accessories is available from your nearest CLARKE dealer, for further
information, contact your nearest dealer, or telephone CLARKE International Sales
department on 01992 565300
Page 12
12
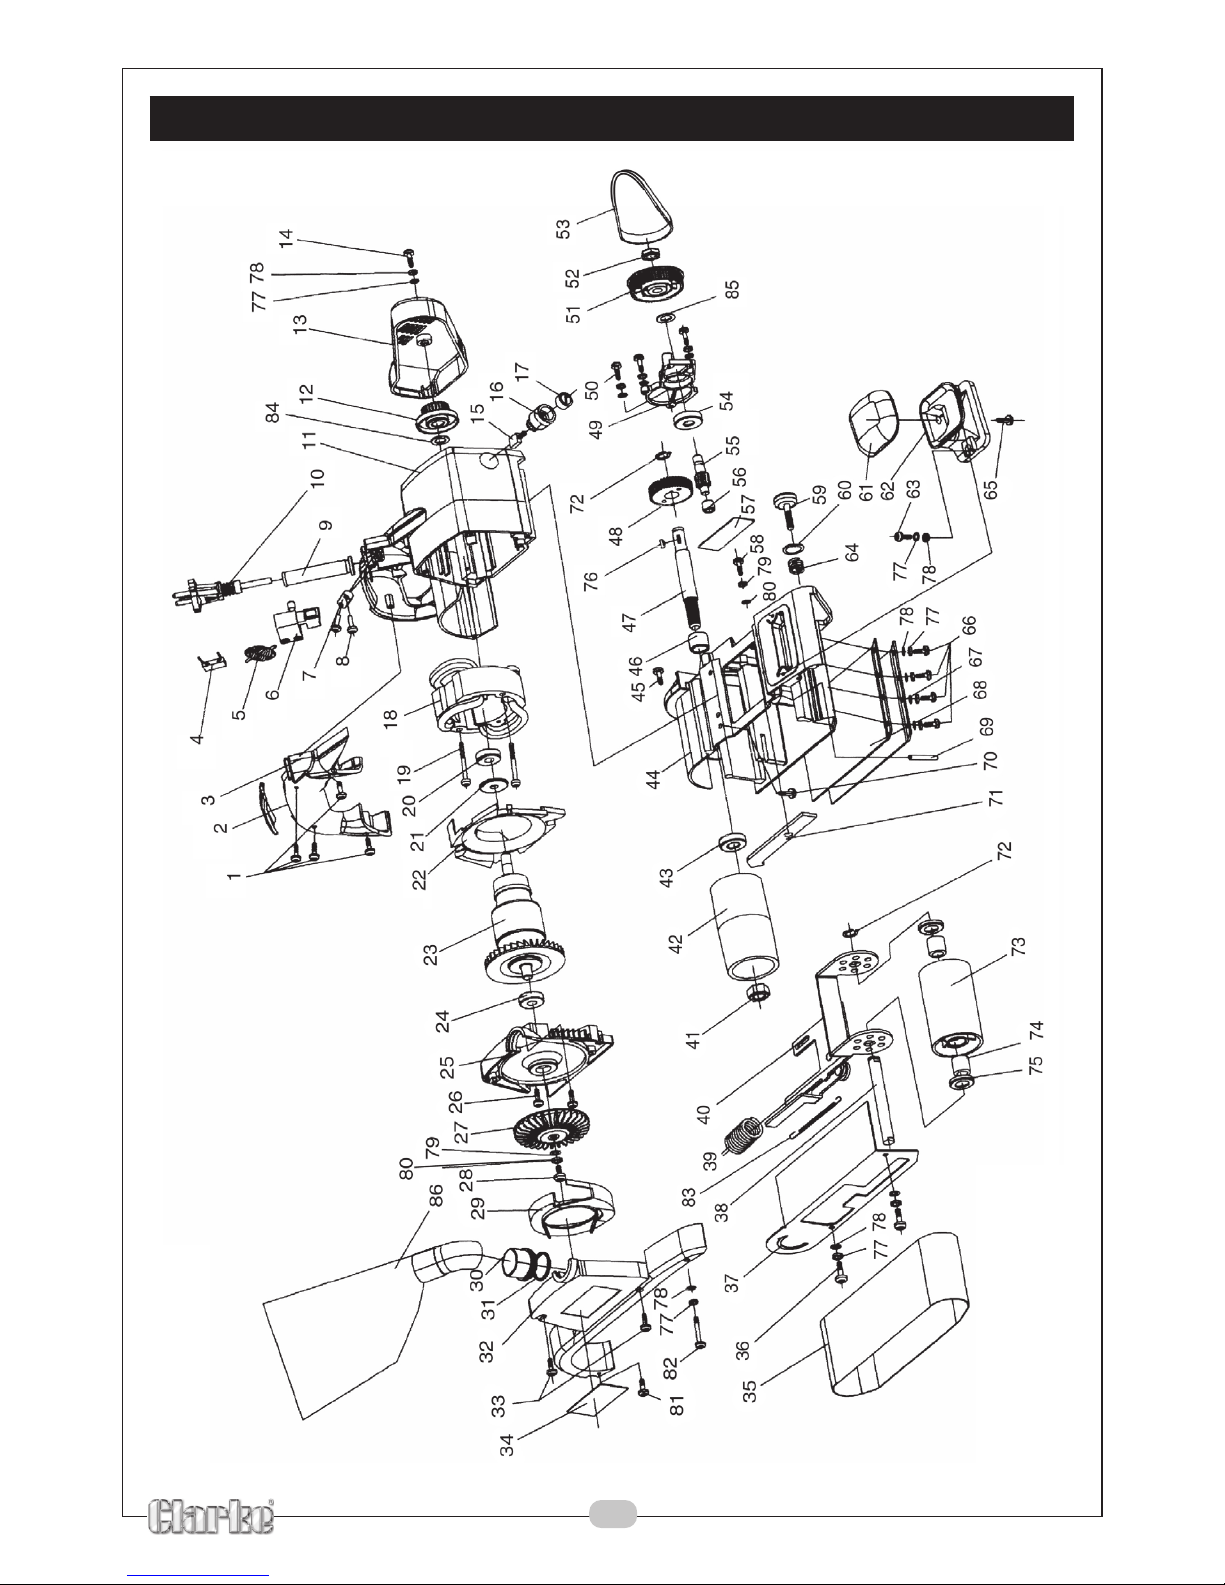
PARTS DIAGRAM
Page 13
13
PARTS LIST
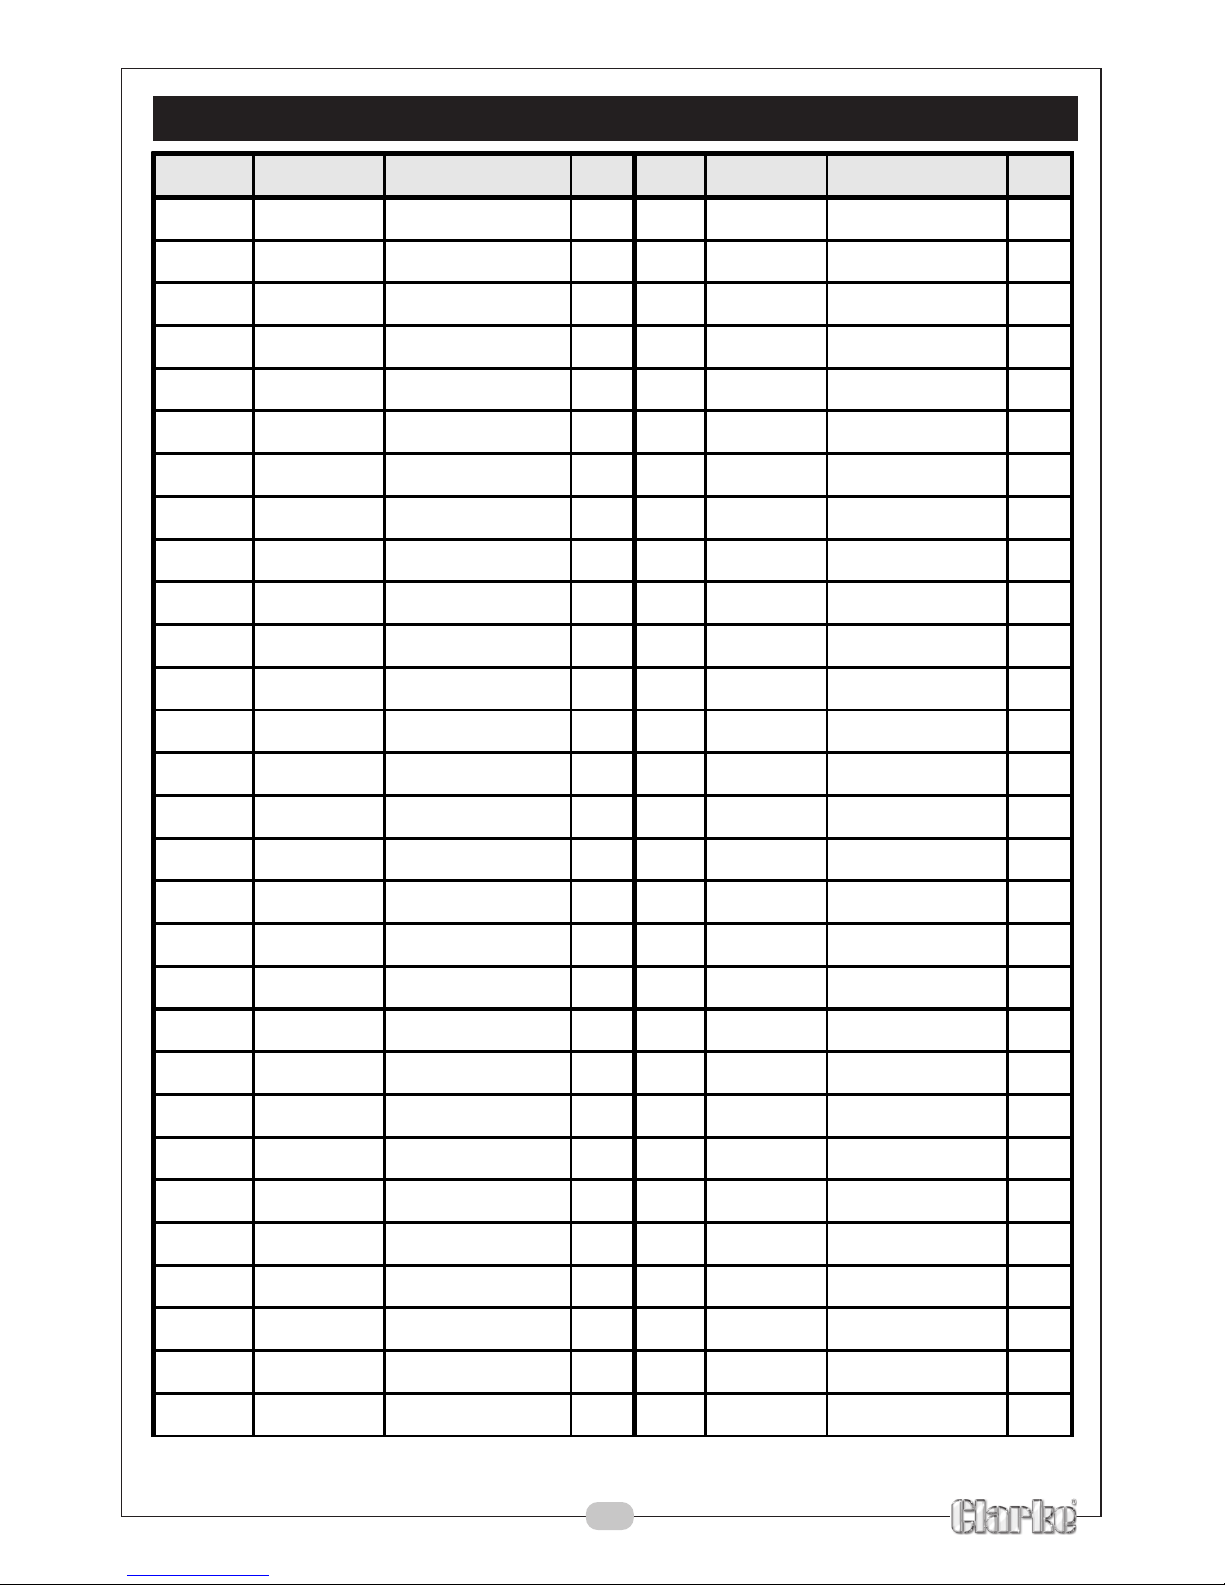
Item Part Number Description Qty Item Part Number Description Qty
1 HTBS2001 ScrewST4.2X16 4 30 HTBS2030 Dust control 1
2 HTBS2002 Soft grip 1 31 HTBS2031 Gun seal up circle 1
3 HTBS2003 Hand stem cover 1 32 HTBS2032 Border cover 1
4 HTBS2004 Capacitor 1 33 HTBS2033 Screw ST4.2X45 2
5 HTBS2005 Inductance 1 34 HTBS2034 Name plate 1
6 HTBS2006 Switch 1 35 HTBS2035 Sanding belt 1
7 HTBS2007 Cable pressure board 1 36 HTBS2036 Screw M4X12 2
8 HTBS2008 Screw ST3.8X16 2 37 HTBS2037 Front cover 1
9 HTBS2009 Cable cover 1 38 HTBS2038 Front wheel drive axis 1
10 HTBS2010 Cable 1 39 HTBS2039 Pressure spring 1
11 HTBS2011 Housing 1 40 HTBS2040 Front wheel frame 1
12 HTBS2012 Small belt wheel 1 41 HTBS2041 Nut M12 1
13 HTBS2013 Belt cover 1 42 HTBS2042 Rear wheel 1
14 HTBS2014 Screw M4X12 1 43 HTBS2043 Bearing 6200 1
15 HTBS2015 Carbon brush 2 44 HTBS2044 Engine rack 1
16 HTBS2016 Carbon brush holder 2 45 HTBS2045 Screw M4X16 1
17 HTBS2017 Brush holder cover 2 46 HTBS2046 Needle bearing 1
18 HTBS2018 Stator 1 47 HTBS2047 Rear wheel axis 1
19 HTBS2019 Screw ST4.8X45 2 48 HTBS2048 Big gear 1
20 HTBS2020 Bearing 6000 1 49 HTBS2049 Gear box cover 1
21 HTBS2021 Insulate washer 1 50 HTBS2050 Screw M4X12 3
22 HTBS2022 Guide wind circle 1 51 HTBS2051 Big belt wheel 1
23 HTBS2023 Rotor 1 52 HTBS2052 Nut M8 1
24 HTBS2024 Bearing 6000 1 53 HTBS2053 Belt 1
25 HTBS2025 Middle cover 1 54 HTBS2054 Bearing 6001 1
26 HTBS2026 Screw ST4.2X18 2 55 HTBS2055 Shaft gear 1
27 HTBS2027 Dust fan 1 56 HTBS2056 Needle bearing 1
28 HTBS2028 Screw M5X12 2 57 HTBS2057 Subsidary name plate 1
29 HTBS2029 Dust cover 1 58 HTBS2058 Screw M5X8 1
Page 14
14
Replacement sanding belts are available from your CLARKE dealer.
PARTS & SERVICE
For Spare Parts and Service, please contact your nearest dealer, or CLARKE Inter national,
on one of the following numbers.
PARTS & SERVICE TEL: 020 8988 7400
or e-mail as follows:
PARTS: Parts@clarkeinter national.com
SERVICE: [email protected]
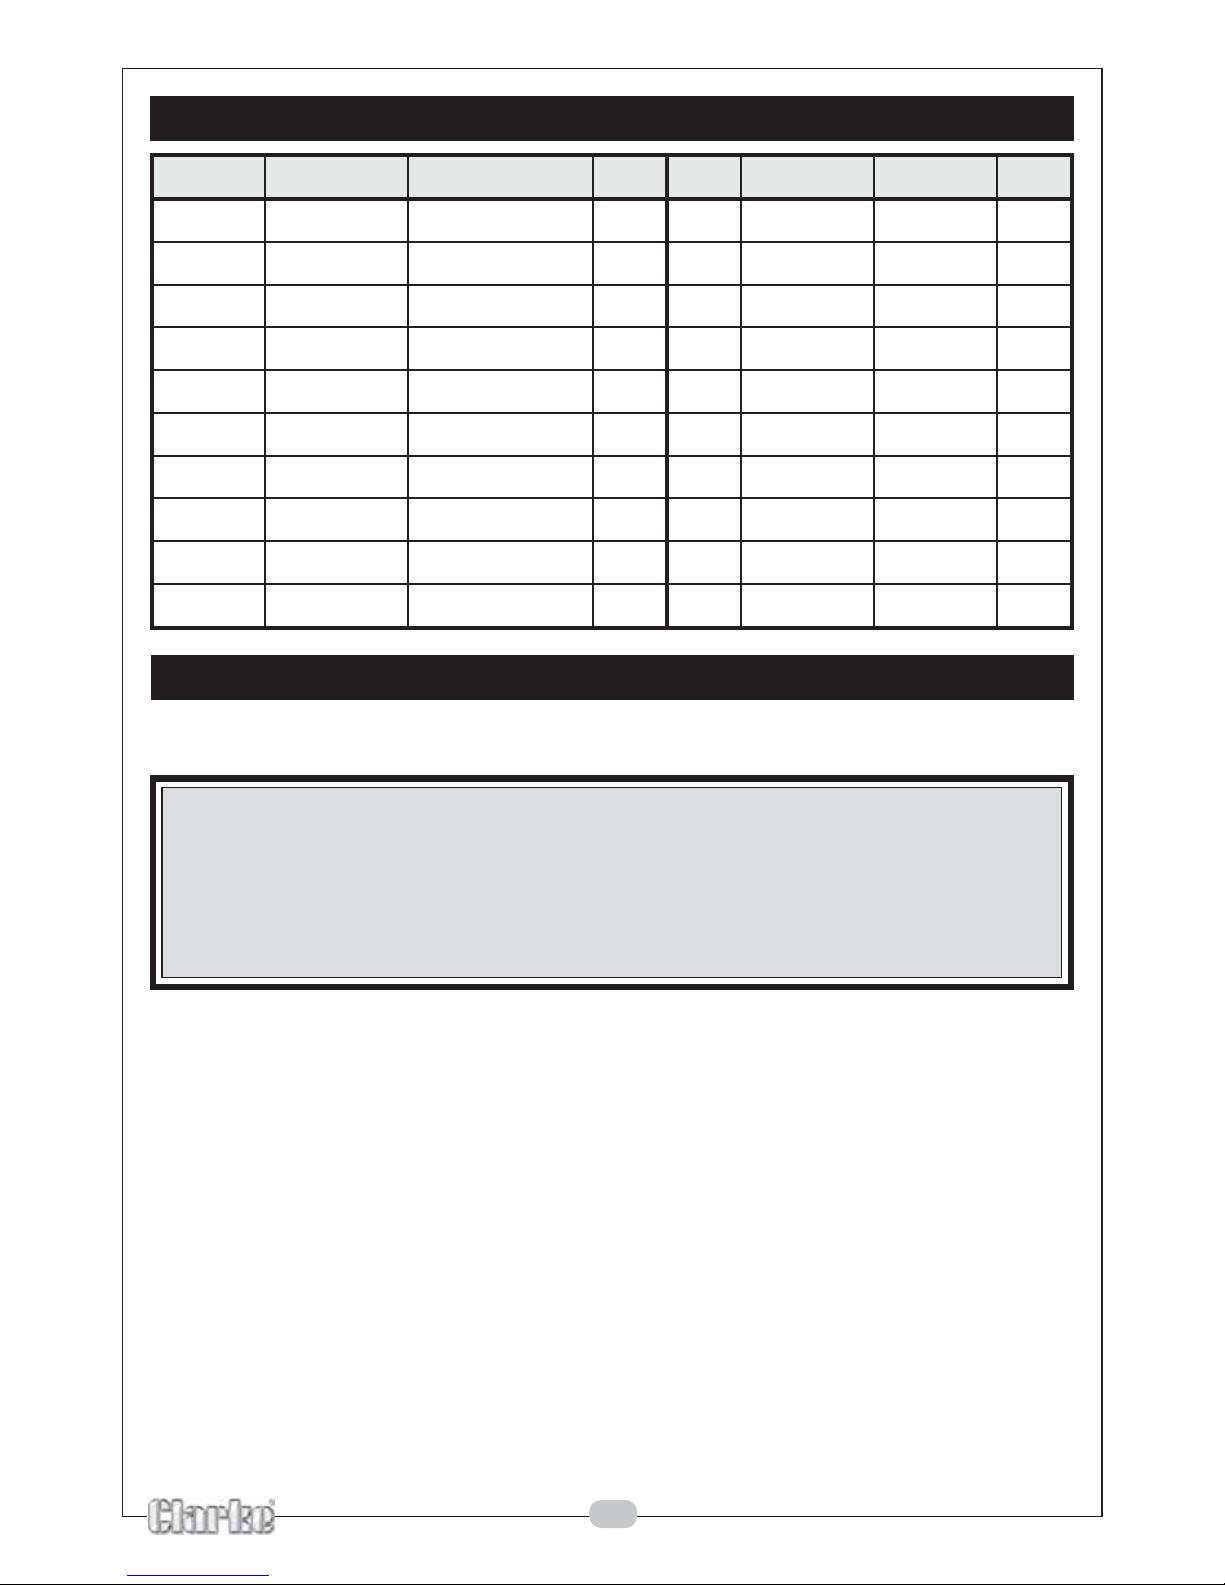
metI rebmuNtraP noitpircseD ytQ metI rebmuNtraP noitpircseD ytQ
959502SBTHbonkgnitsujdA1777702SBTHrehsawnialP31
060602SBTH61rehsawnialP1878702SBTHrehsaW31
161602SBTHrevoceldnahwalC197970
2SBTHrehsawnialP1
262602SBTHeldnahwalcerofeB1080802SBTHrehsaW1
363602SBTH21X4MwercS2181802SBTHwercS1
464602SBTHgnirpsgnits
ujdA1282802SBTHwercS1
565602SBTH41X2.4TSwercS1383802SBTHgnirpslluP1
666602SBTH01X4MwercS4484802SBTHrehsaW1
575702SBTH81rehsaw
gniR2585802SBTHrehsaW1
676702SBTHrehsaW1686802SBTHgabtsuD1
PARTS LIST
Page 15

15
DECLARATION OF CONFORMITY
Page 16

 Loading...